Hi friend! Welcome to WEEK 5 of our Unicorn Garden QAL!
Let’s start the same as every week. In case you’d like to review previous weeks’ resources please follow the links below:
This is our program for this week: we’re assembling our Unicorn Garden quilt tops. Yes, almost done, woohoo!
Your questions
A had someone ask to share more about my Santa hat, so here we go!
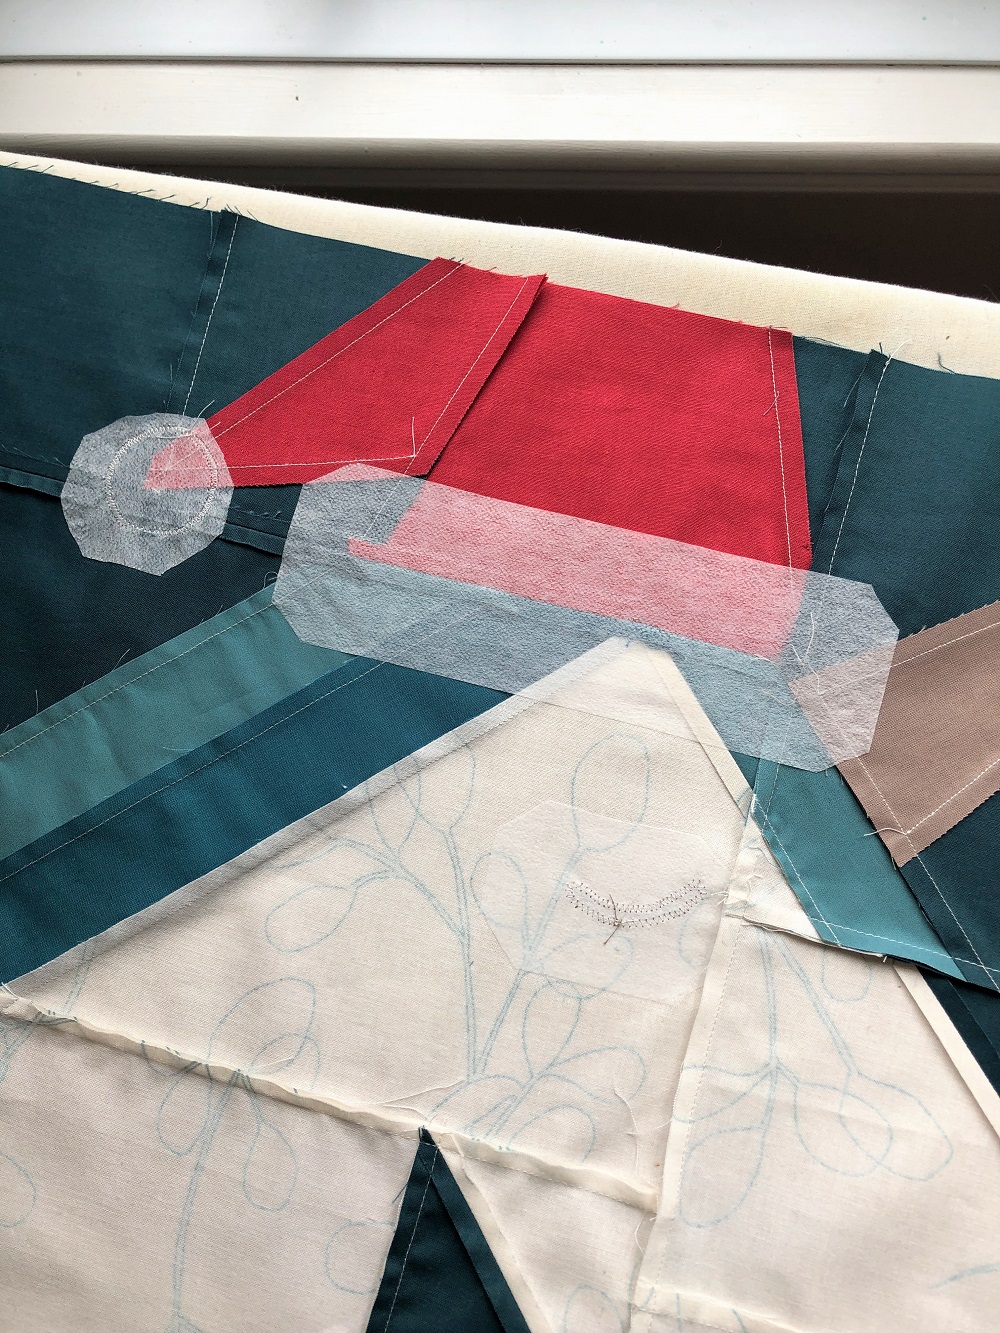
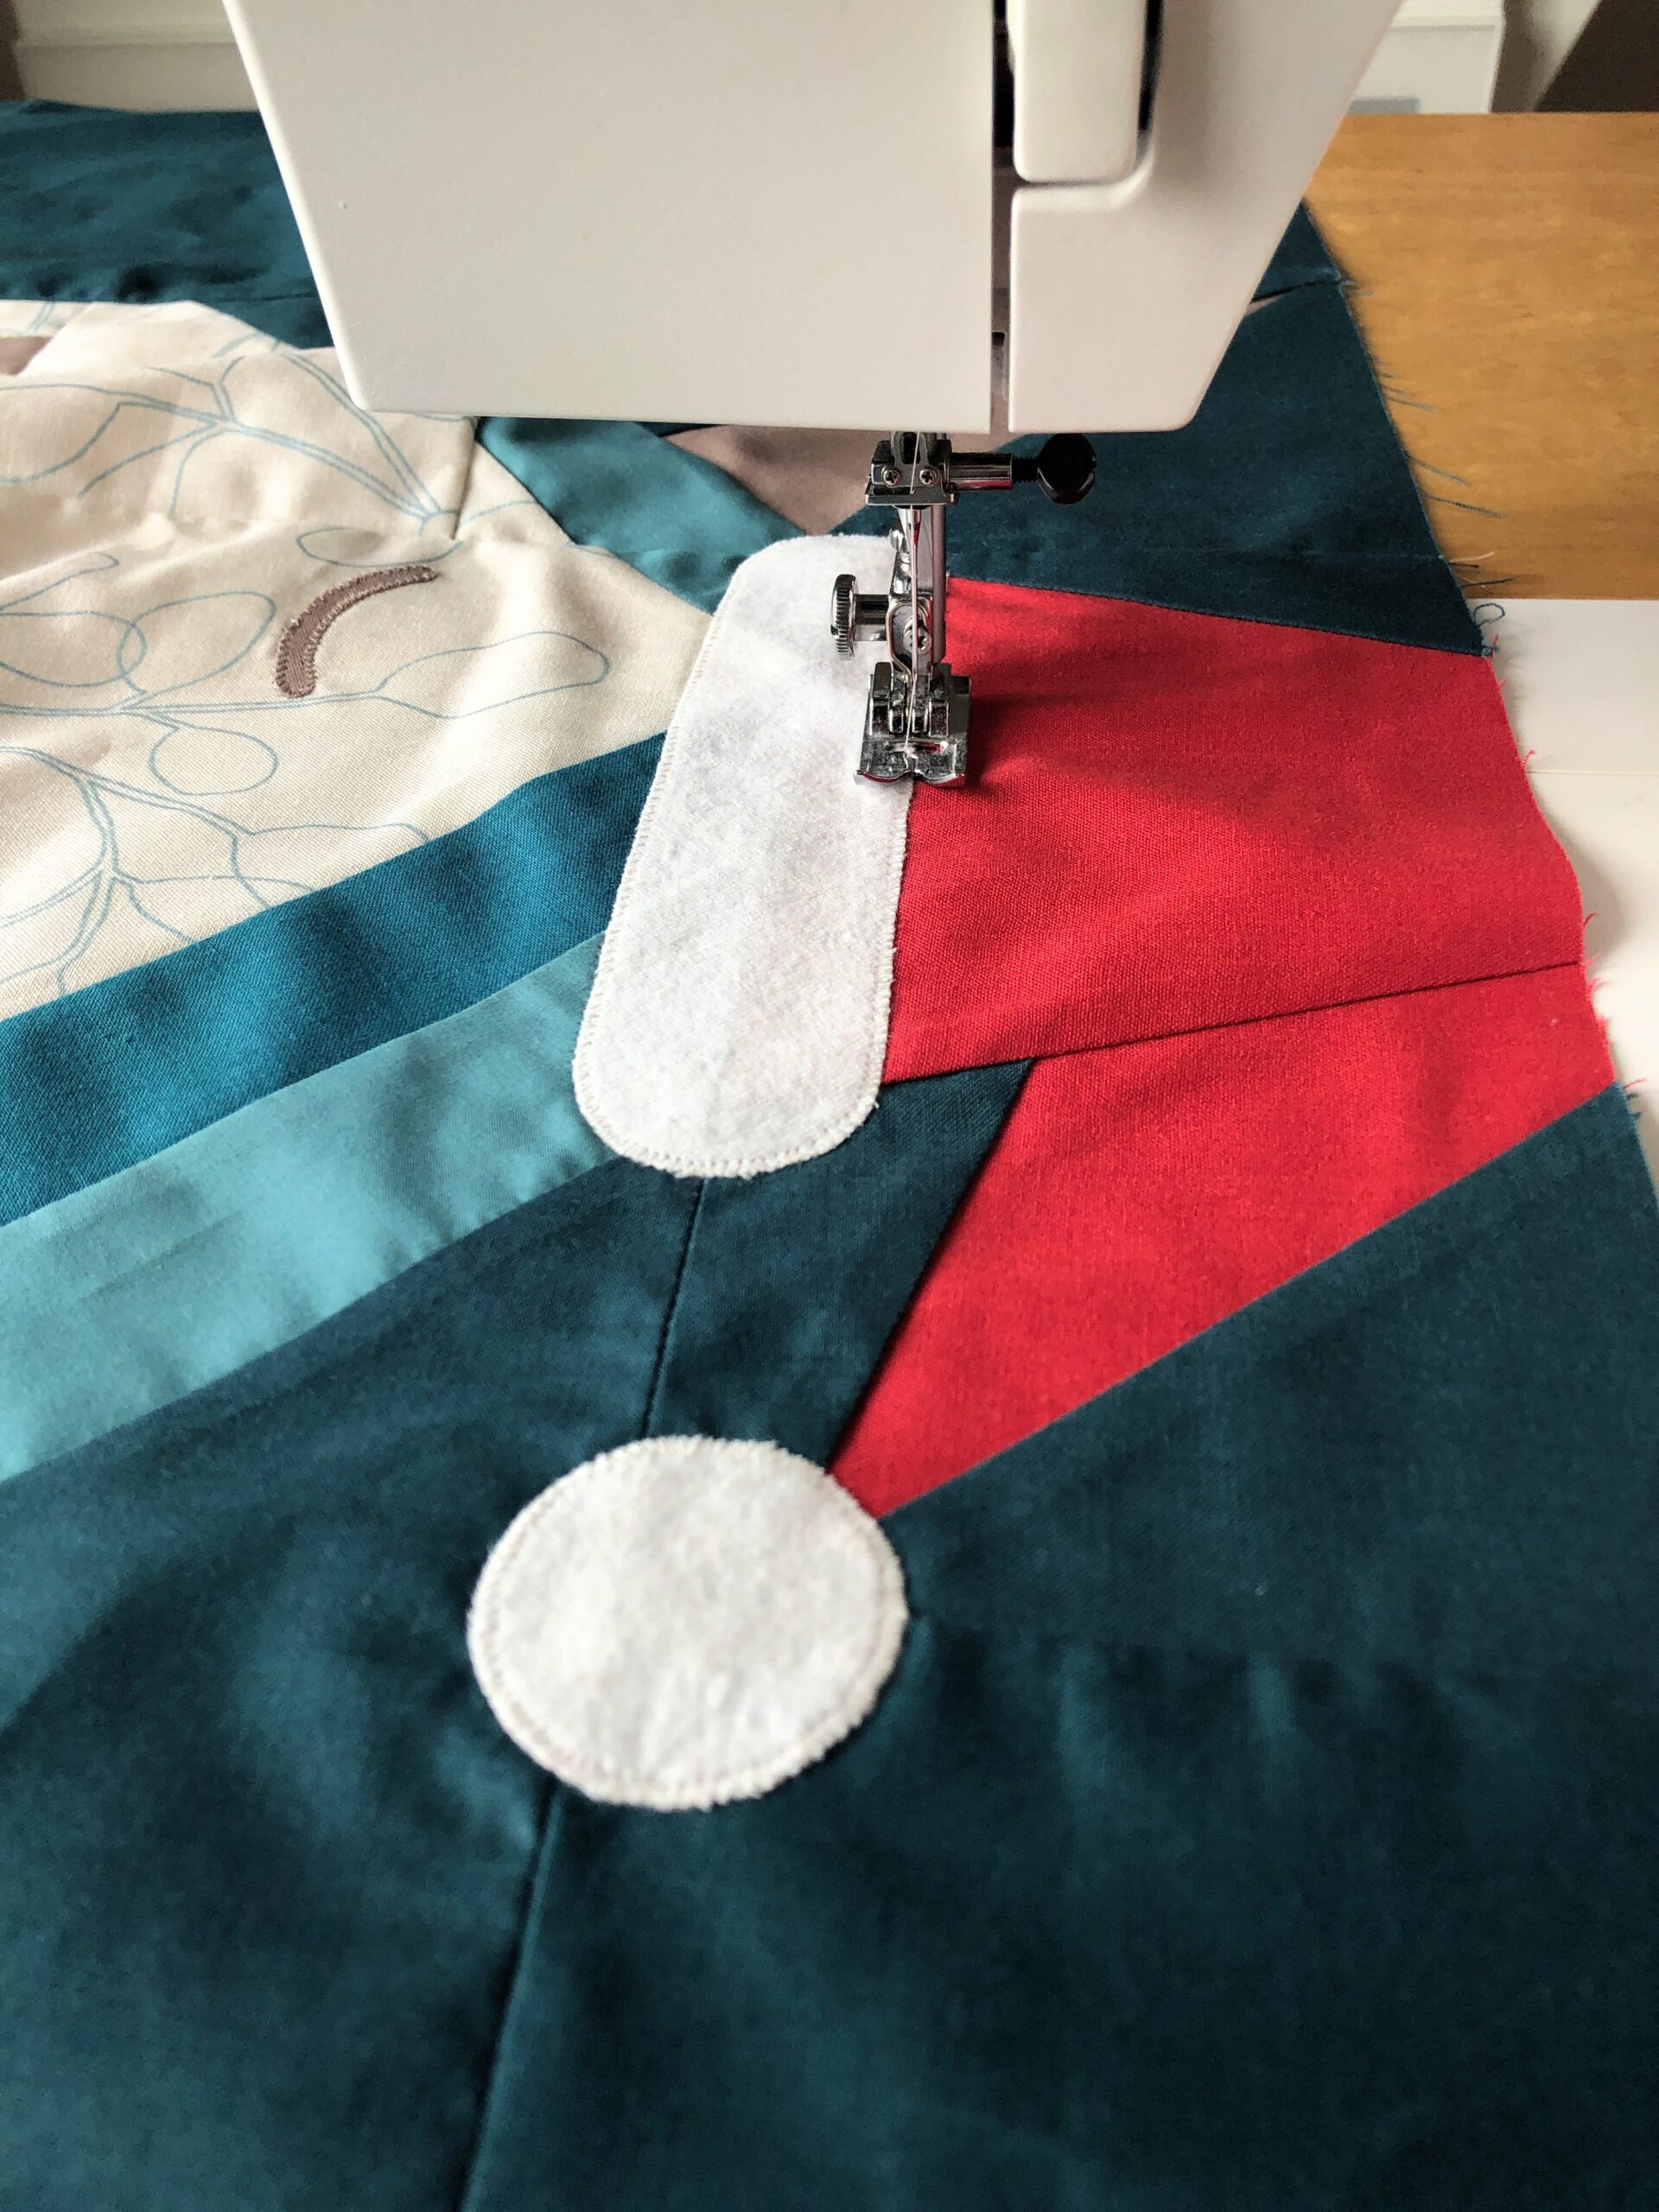
Not sure if you could tell from my previous photos, but I used a piece of white flannel. Firstly, I thought it was a cozy and appropriate material for a Santa hat rim and pom pom. Secondly, and maybe more importantly, it was the least see-through option I could find, lol!
As to how I did it:
I started by tracing the templates onto my double-sided fusible interfacing and stuck it onto my flannel. Then I cut out the two shapes and positioned them on my quit top, the rim centred on the seam between the hat and the mane, and the pom pom at the tip of the hat. Then I gave it a good press to fuse.
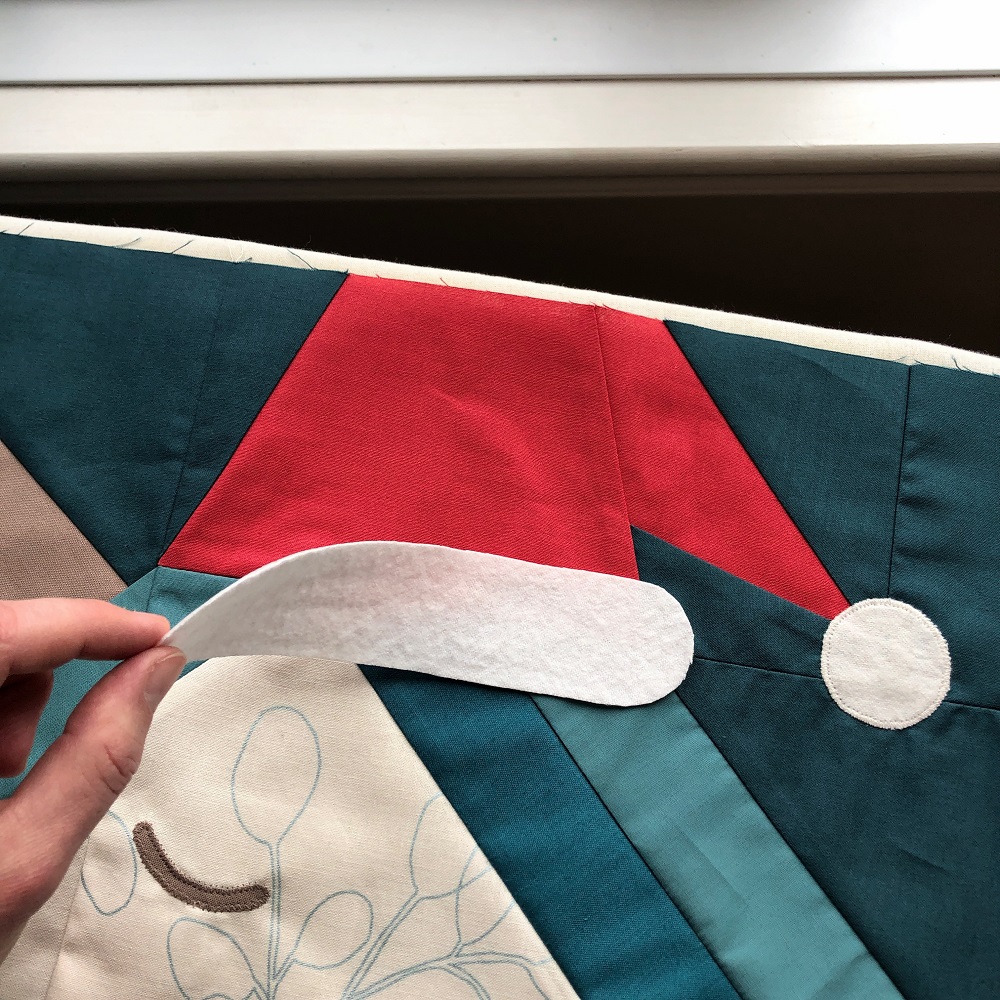
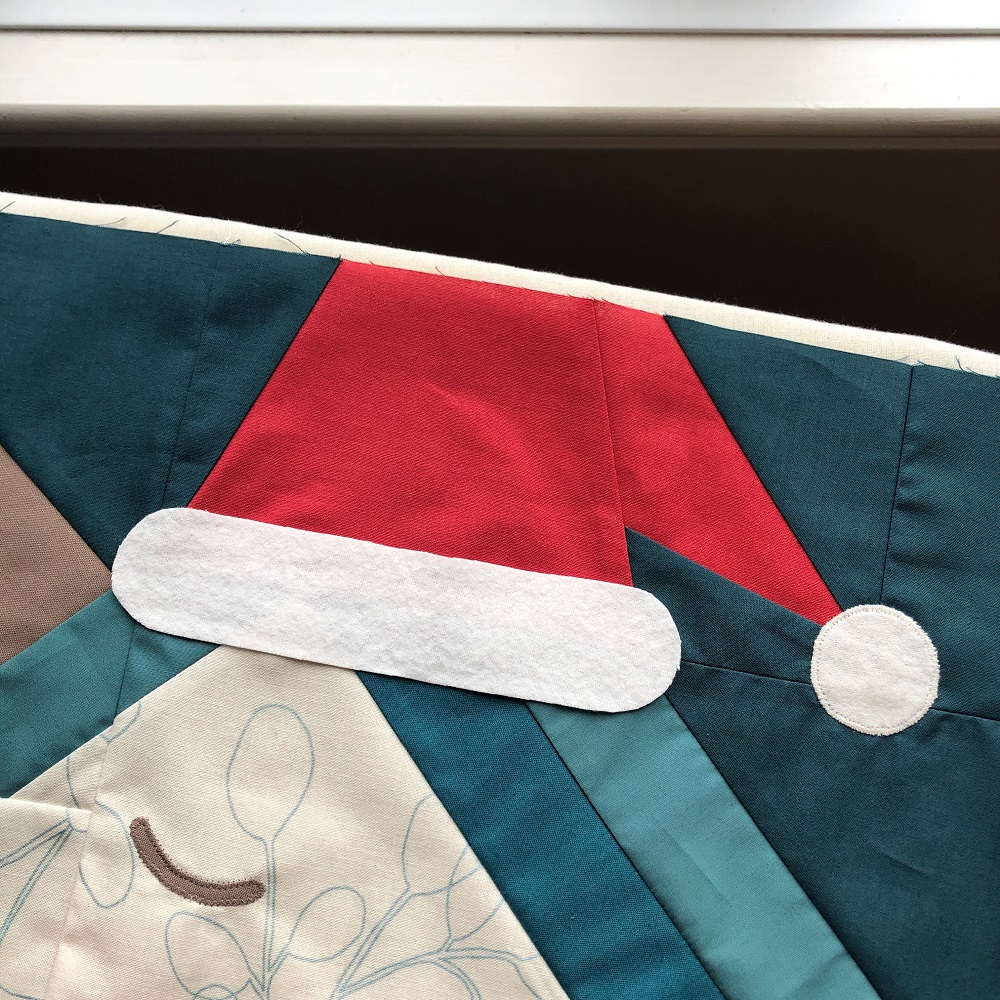
Next, I flipped my quilt top and stabilized the area around the rim and pom pom from behind with a piece of light-weight fusible interfacing (left photo). And lastly, I secured the edges of both appliqués with a small zig zag stitch (right photo). That’s all, pretty straight forward!
Assembling your quilt top
Joining your sections
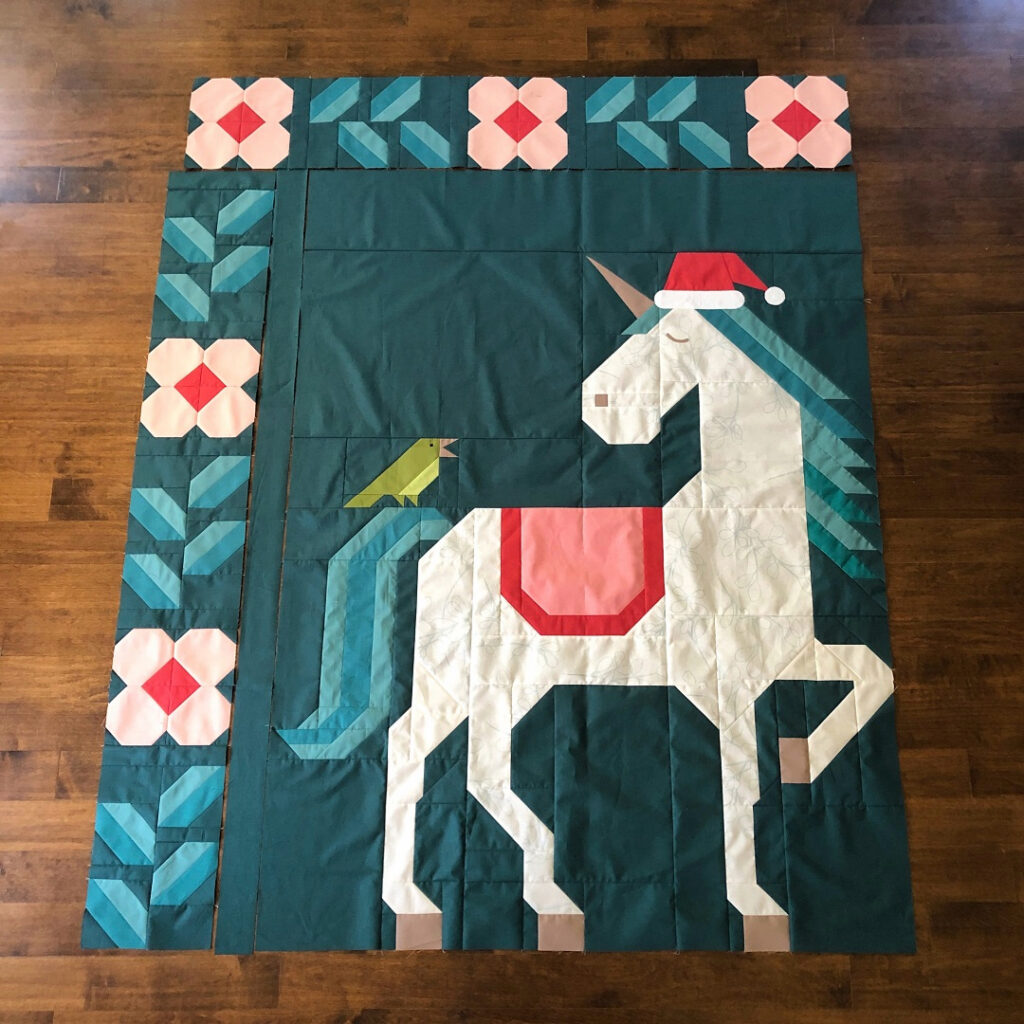
If you’ve sewn with perfectly consistent 1/4″ seams, all your sections should fit together beautifully. At least in theory. With the number of seams we’re dealing with though and all sections being different, it is not unlikely that your dimensions will be slightly off. For both full size unicorn quilt tops that I’ve completed by now, my flower borders turned out slightly short, about 1/4″. Conveniently the background pieces ee and ff around the unicorn provided enough “meat” that cutting both of those pieces a tiny bit narrower easily solved my problem.
Just as a tip, in case this happens to you as well…
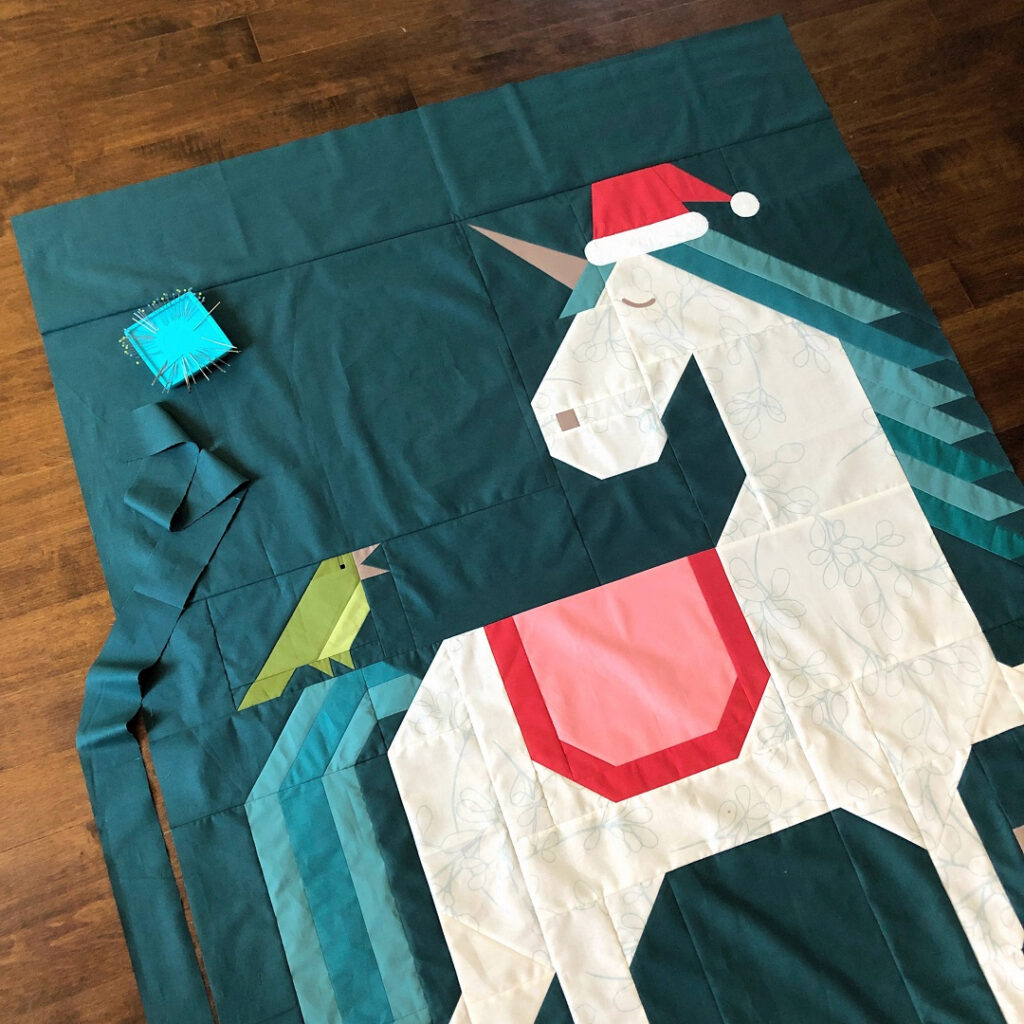
Although I don’t always do that myself, I generally recommend giving all your quilt sections one last gentle yet thorough press before you assemble your quilt top. This will help you both with seams staying flat and with measuring to make sure all your sections fit together nicely.
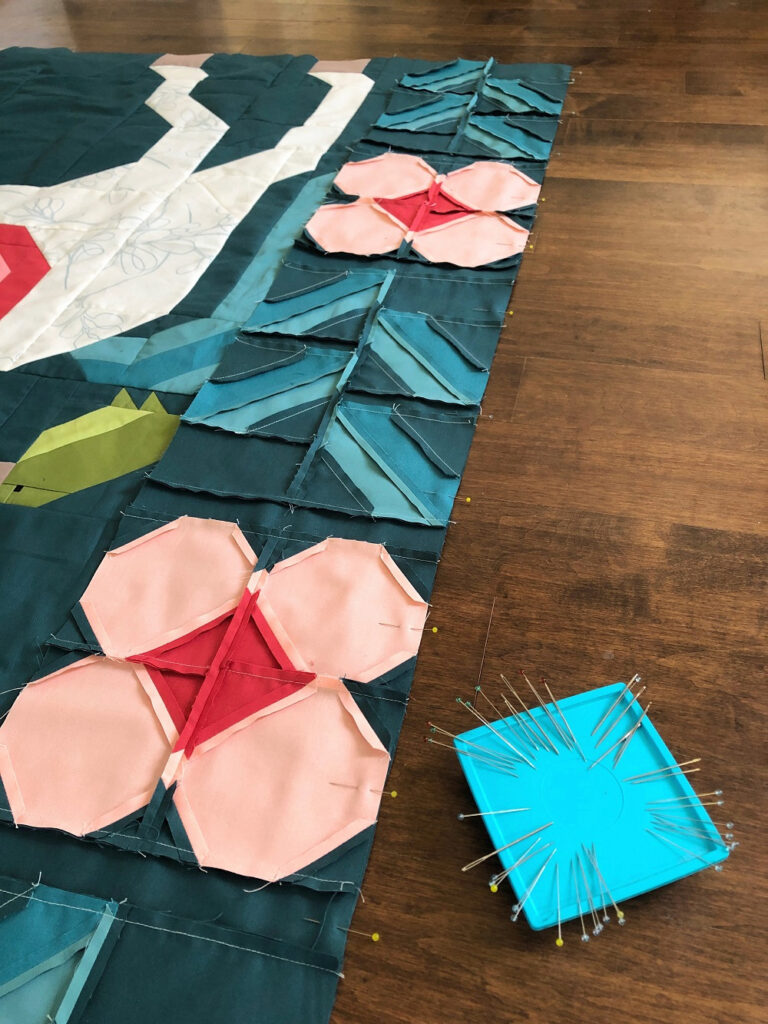
As you can see in the photo above, I like to pin larger sections on my living room floor. Especially when I don’t have block corners to match and one of my sections (here the flower banner) is a lot more stretchy than the other. In order to evenly distribute the long flower sections along the sides of your unicorn, I recommend pinning both ends and the centre first. Then you can fill in with more pins. I usually add one every four inches or so.
Next, carry your growing beast to your sewing machine. While preventing it from slipping off your table, sew your seam and press. Ugh, always happy when that struggle is over!
Adding the borders
The Unicorn Garden pattern states specific dimensions for your gg and hh border strips. I do however highly recommend checking the dimensions of your border-less quilt top before sewing them on to ensure proper fitting and avoiding wavy borders.
I have seen slightly different approaches to adding borders, this is how I’ve been getting my best results:
- Measure the length of two opposing edges and identify the arithmetic mean as your border length:
border length = (length of first edge + length of second edge) / 2 - Cut first set of borders to length determined in step 1 and fold in half to find middle, in half again to find quarter length marks. Finger press or use temporary marker.
- In the same manner, find middle and quarter length marks of corresponding quilt top edges.
- RST, match and pin your markings, then add more pins in between (not too sparsely!) and sew first set of borders to quilt top. Press towards borders strips.
- Repeat the same process for second set of borders.
And that’s it! This last assembly phase usually takes me way longer than it should. Mostly because I really dislike maneuvering anything through my machine that’s larger than a single quilt block. But at least it is so rewarding to see the whole quilt top finished right after!
So yeah, quilty friends, congratulations on finishing your Unicorn Garden quilt top and thanks for sewing along with me! 💛 I hope my weekly posts were helpful and more importantly you enjoyed the process! Next week I’ll start sharing photos from anyone who wants to show off their make. Please email a photo of yours if you’d like to be featured in the WEEK 6 post. I would love to see your unicorn and I’m sure your fellow quilters as well!
