Hi friend! Welcome to WEEK 4 of our Unicorn Garden QAL!
Let’s start the same as every week. In case you’d like to review previous weeks’ resources please follow the links below:
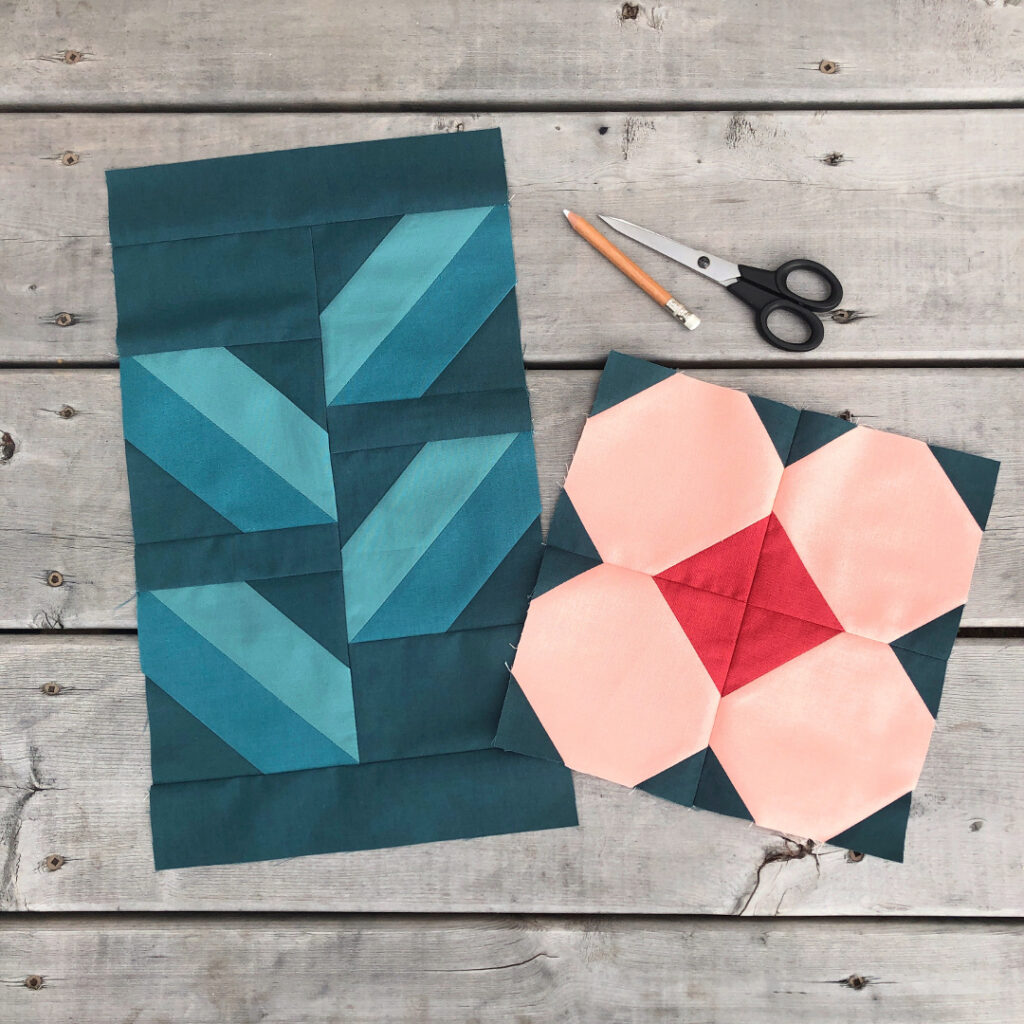
This is our program for this week: we’re making our flower banner to frame our beautiful unicorn.
Your questions
There were only a handful of questions this week but interestingly they were all about the same thing. People were having difficulties making different sub-units of their unicorns’ leg and tail sections. And in particular with making units which involved stitch-and-flip with two rectangles.
I get it, squares are just so much more intuitive, right?! With rectangles, I also need to lay my pieces out in front of me and do a dry run flipping my pieces this way and that way before I sew them. But this recurring issue got me thinking. There had to be a way to simplify things and to make it easier to visualize and memorize how to sew those units. So sketched a few diagrams trying to find a simple mnemonic. And this is what I came up with: I present to you my brand-new stitch-and-flip with two rectangles cheat sheet!
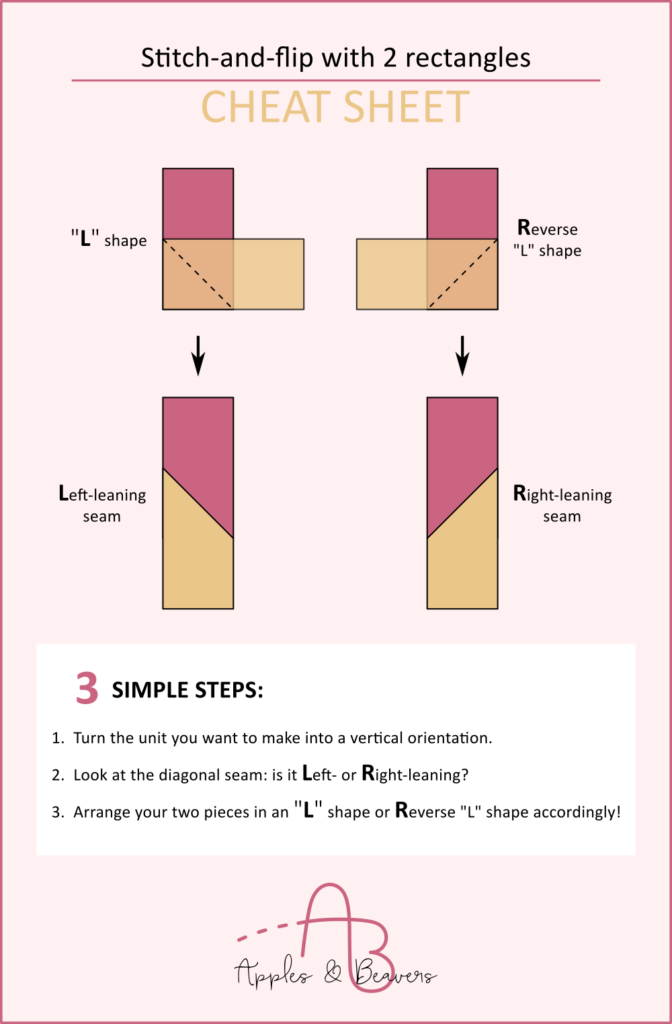
Silly or helpful? I hope my “L” and “R” rule works for you and your seam ripper gets a little break! Although I wish I could have provided this a bit sooner, lol!
Making your flower banner
I probably don’t need to tell you that I enjoy puzzles – and sewing up my own quilt patterns where essentially no step is like the previous. But sometimes a little more repetitive sewing can be so soothing and relaxing too! Mindless chain-piecing, here we come this week!
Marking
I suppose being a quilter in itself is prove for having a certain minimum of patience. I do however try to be efficient in basically every step of the process. For the blocks that make up the flower banner that means I batch-work wherever possible, starting with marking all the diagonals of my s, u, x and y pieces.
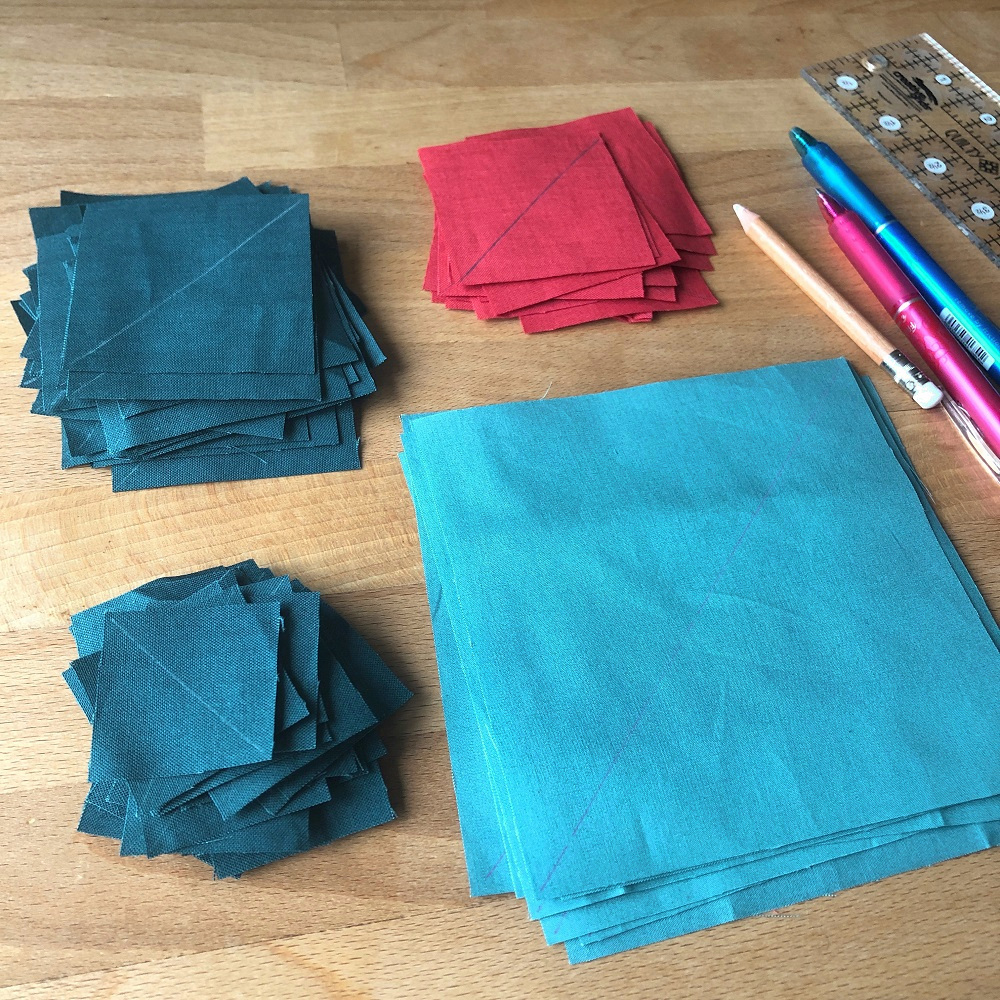
Depending on the colour of my fabric I use one of my three favourite markers. A simple white chalk pencil for the darks and a pink or blue Frixion heat-erasable ballpoint pen for everything light or medium.
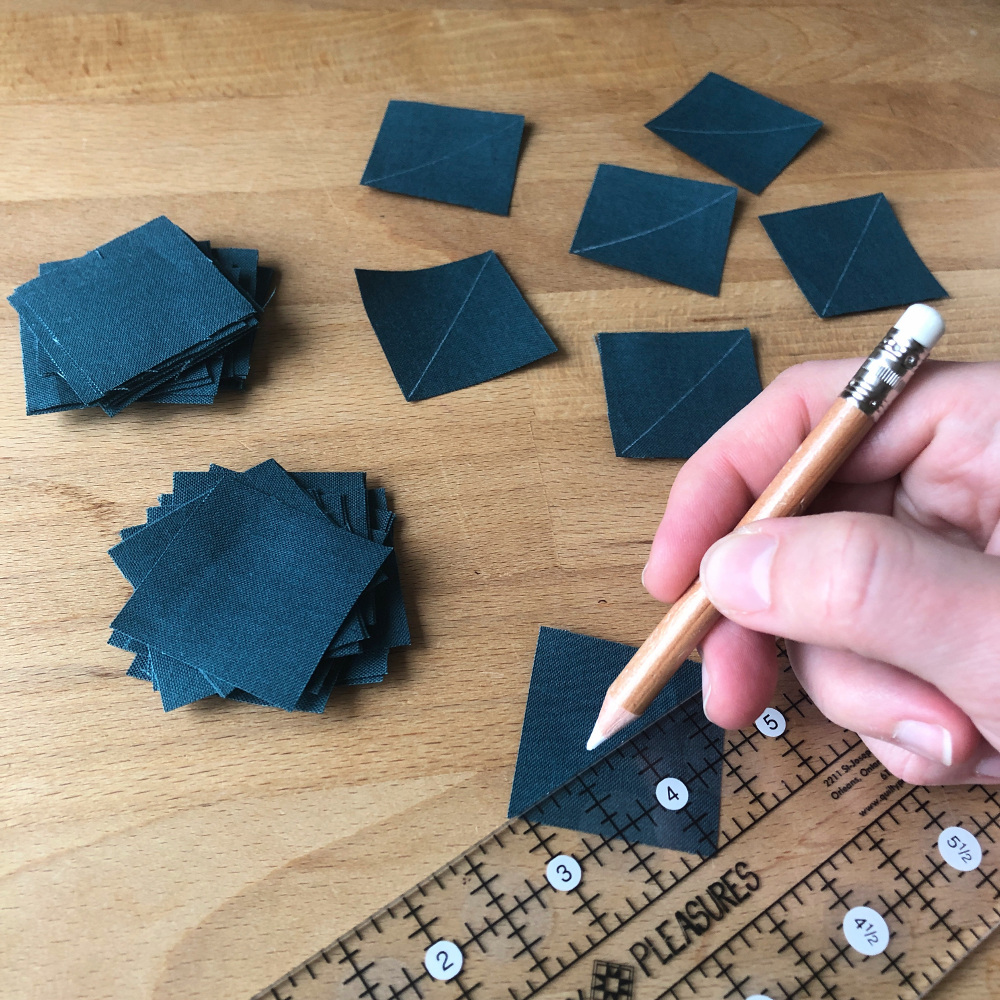
Just like cutting fabric marking is not my favourite step either. Nope. So I like to get it done all at once.
Making your flower blocks
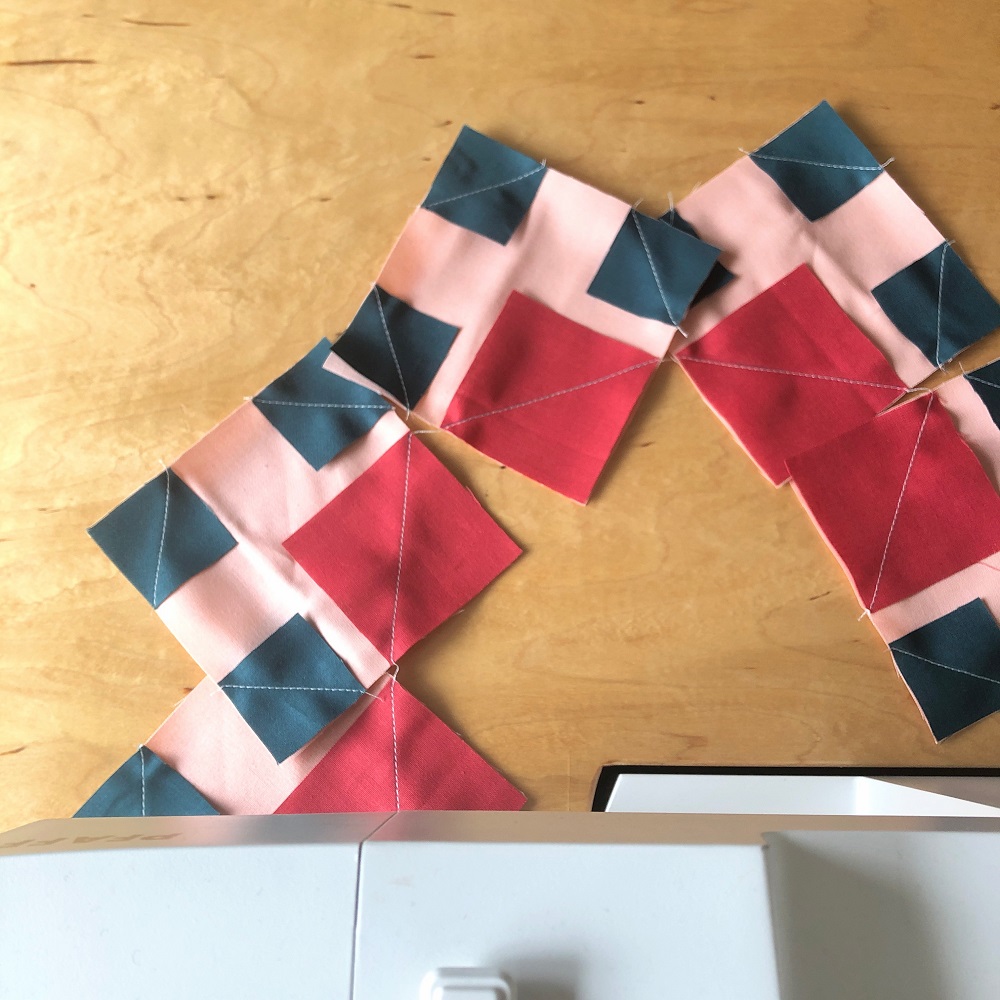
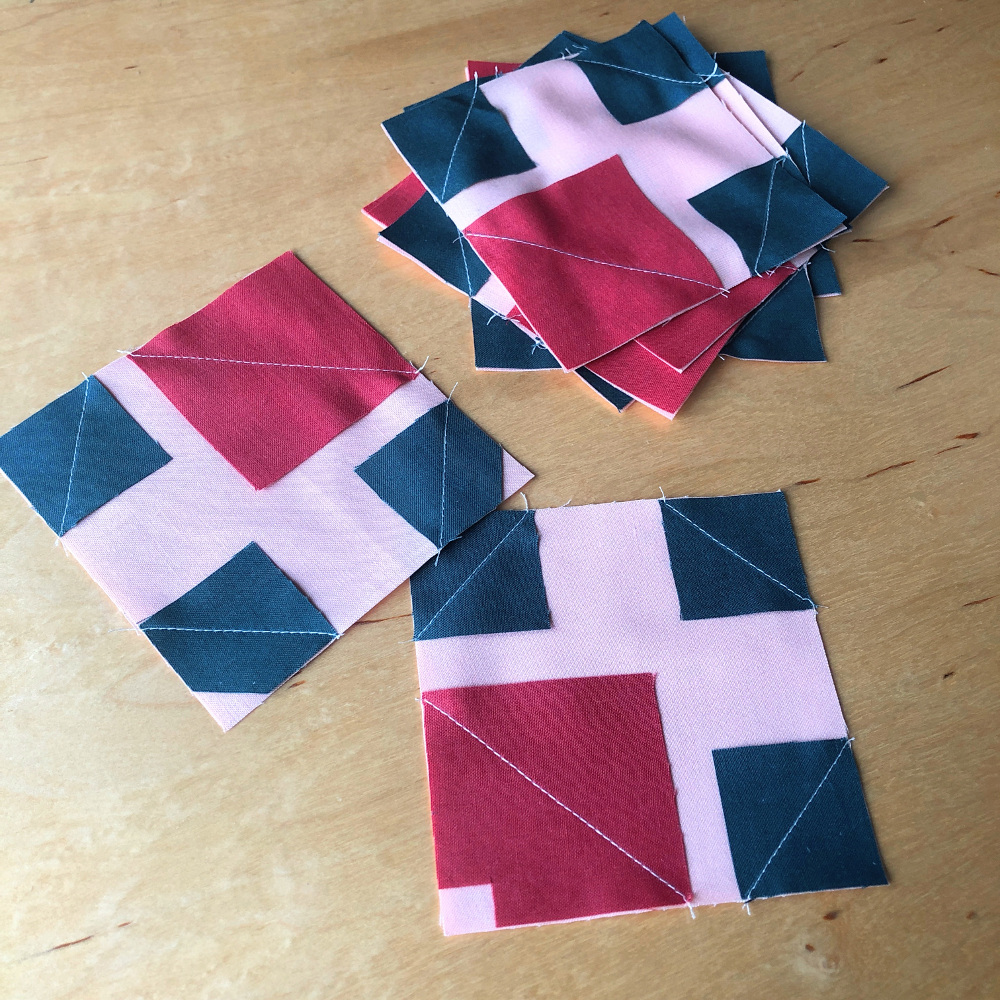
And now let’s finally start the fun part, the chain-piecing! When making your petal units, I suggest sewing a first y piece to each r piece. Just feed them all through your machine, one after the other, growing a beautiful chain of r pieces. Once each r piece as a first y piece sewn to it, clip your chain of petal units apart. Add the second and third y piece and your s pieces during three more passes of those same units through your machine. Clip your chain units apart after each pass.
First pass:
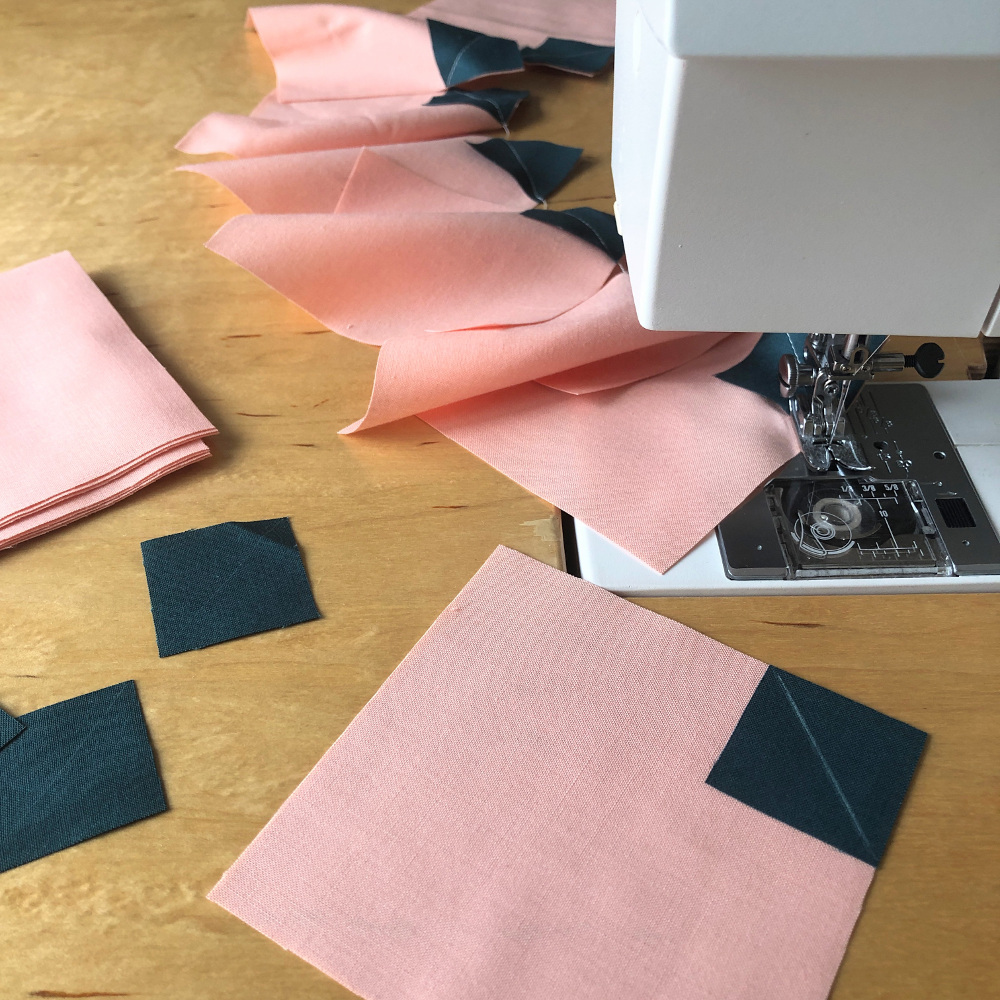
Second pass:
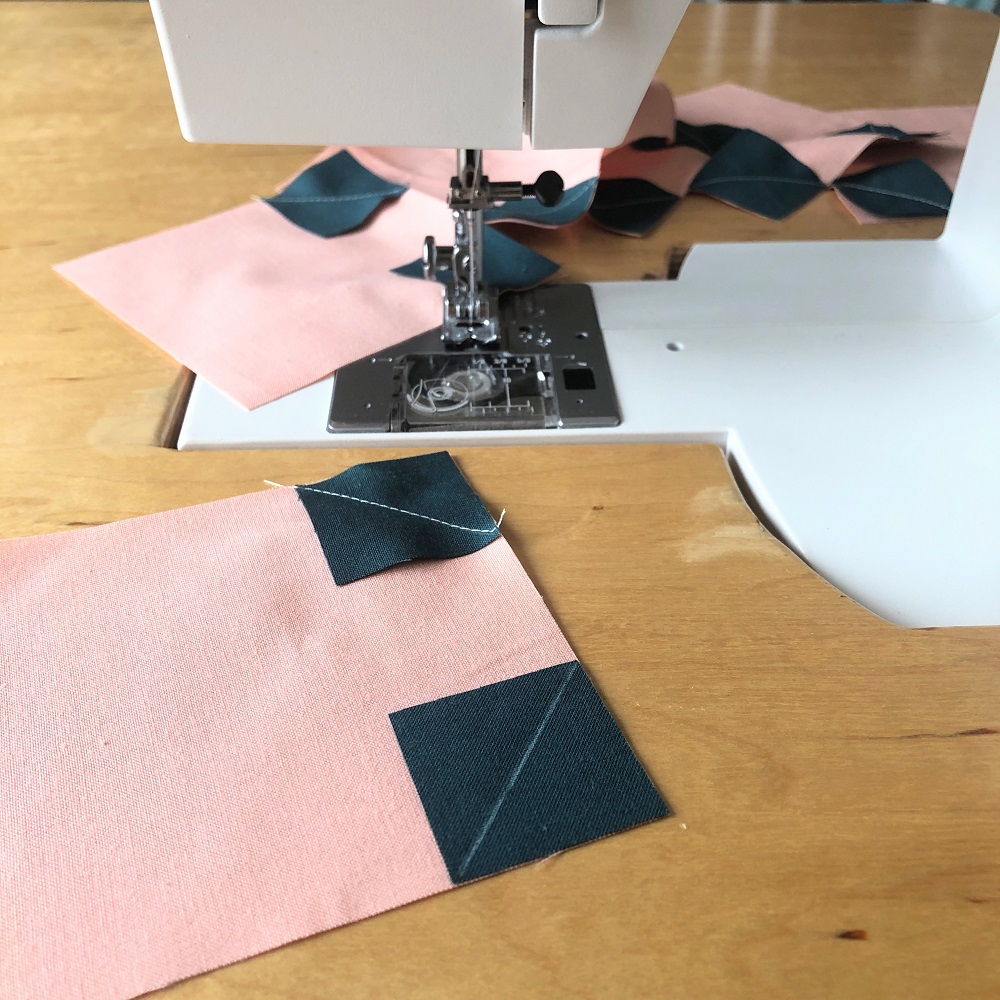
Fourth pass (no photo of third pass):
And here is an extra tip: When cutting your stitch-and-flip squares (s, x and y pieces) from scraps or using the off-cuts from previous steps in the pattern, you may come across some pieces that are just not quite large enough. Good news if the problem is just a missing corner! As long as the “defect” is outside the seam allowance and your edges are long enough to allow for precise alignment you can still use them. The two photos below show an example where some incomplete stitch-and-flip squares were used to create totally complete petal units after trimming off the defects.
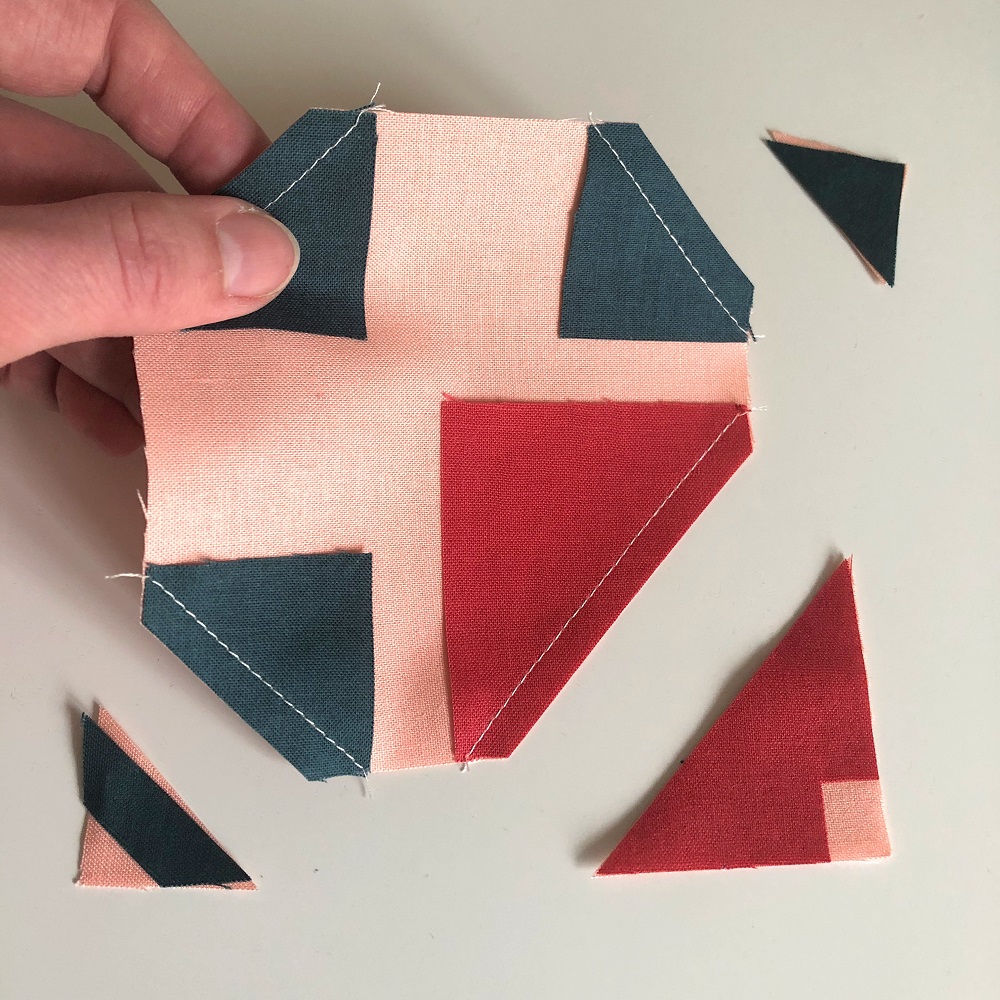
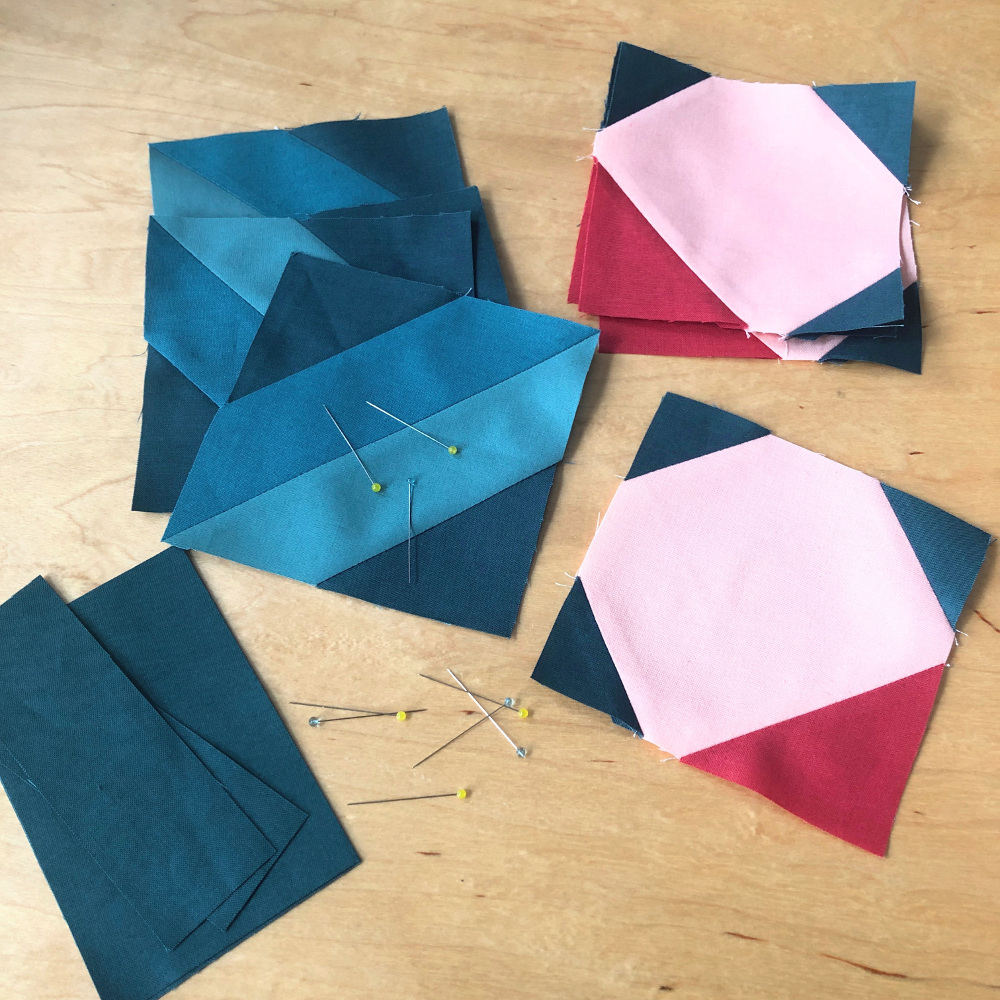
After trimming all the corners, open up the corners and press. Then sew your petal units together in pairs. Press all seams to the same side.
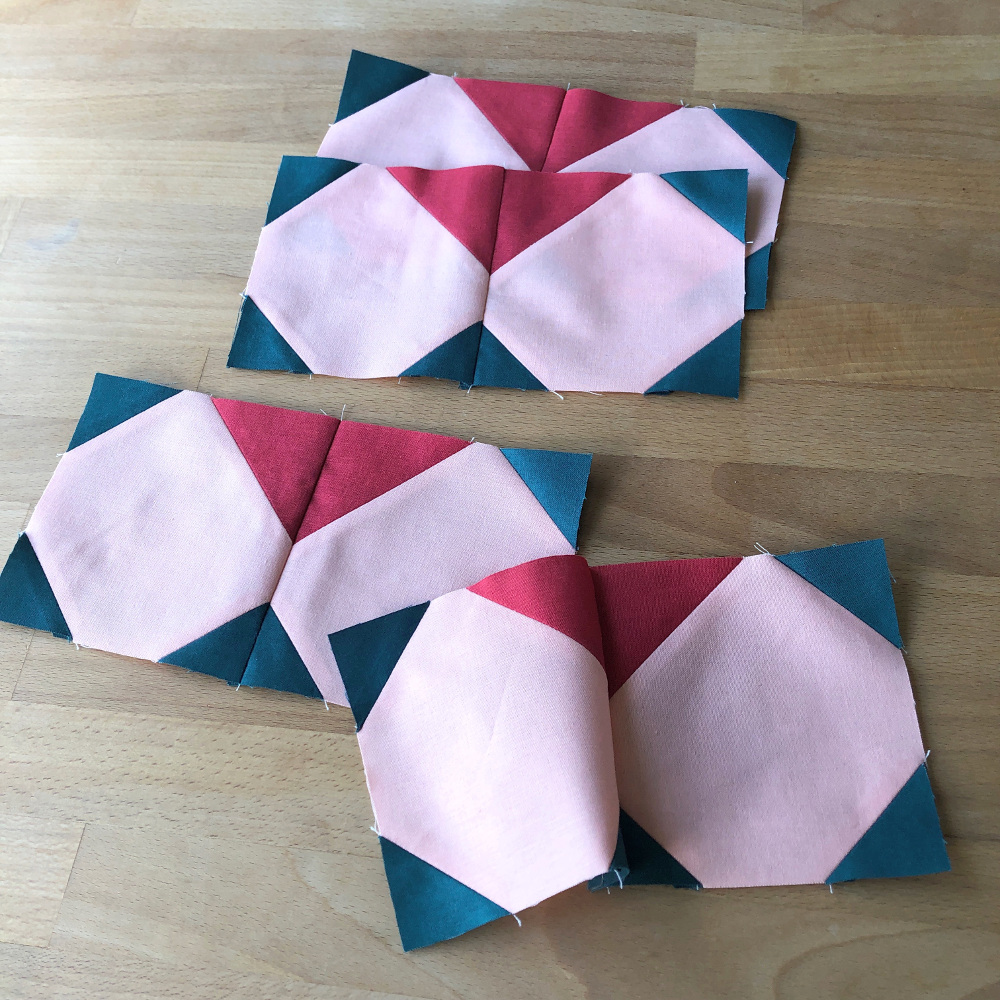
Once again, sew these units together in pairs. For perfect alignment, nest you centre seams.
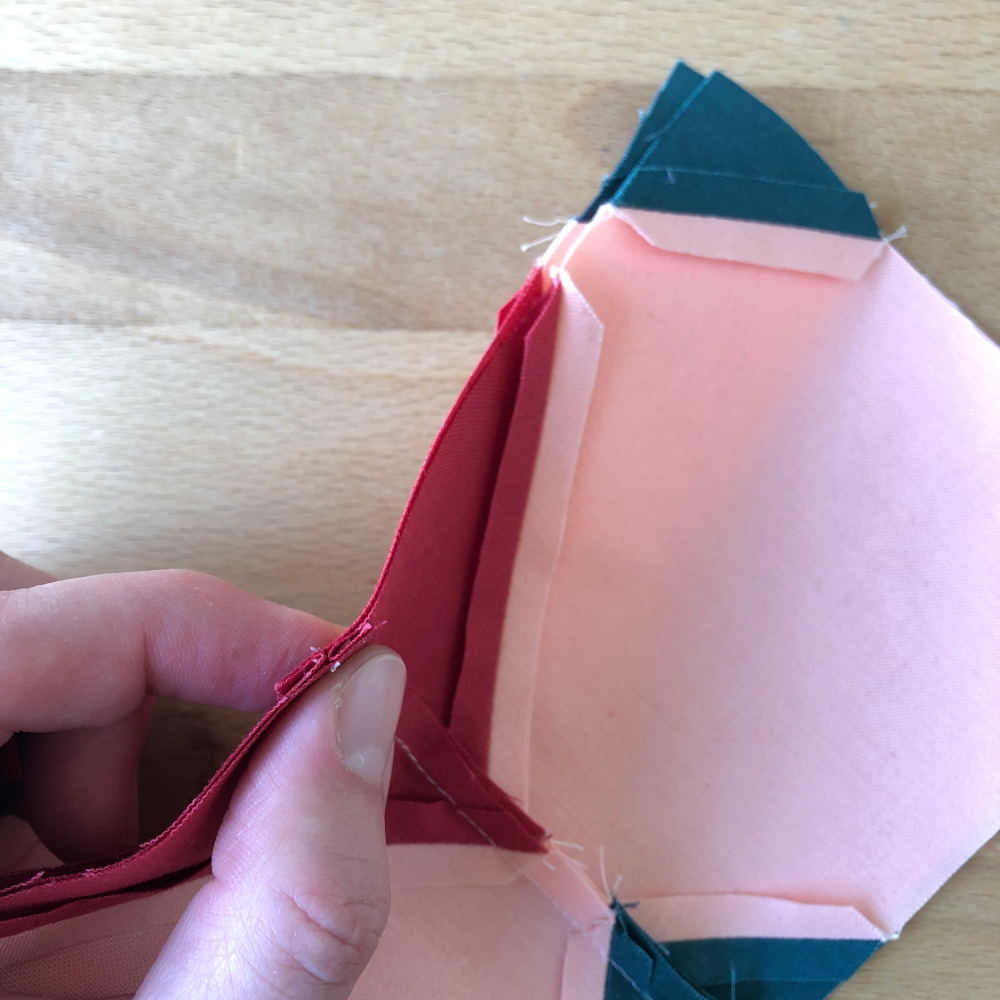
Then open up your completed flower block and press.
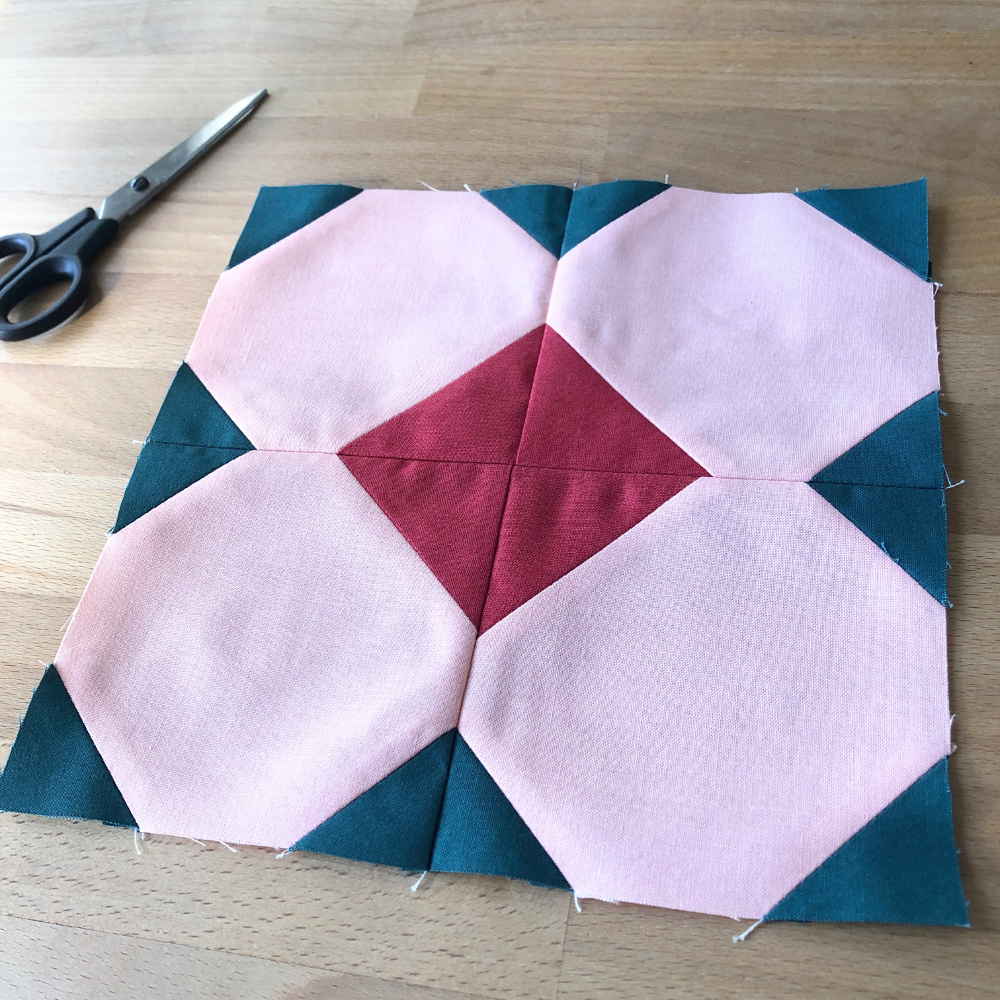
Making your leaf blocks
I hope you’ve liked the chain-piecing so far, you can enjoy some more of it while making your leaf units. When sewing your t and u pieces for your HST units, you don’t even need to snip your units apart. Just chug along all the diagonals on one side of the line (1/4″ away, not on the line!), then feed your entire chain through your machine for a second pass on the other side of the line.
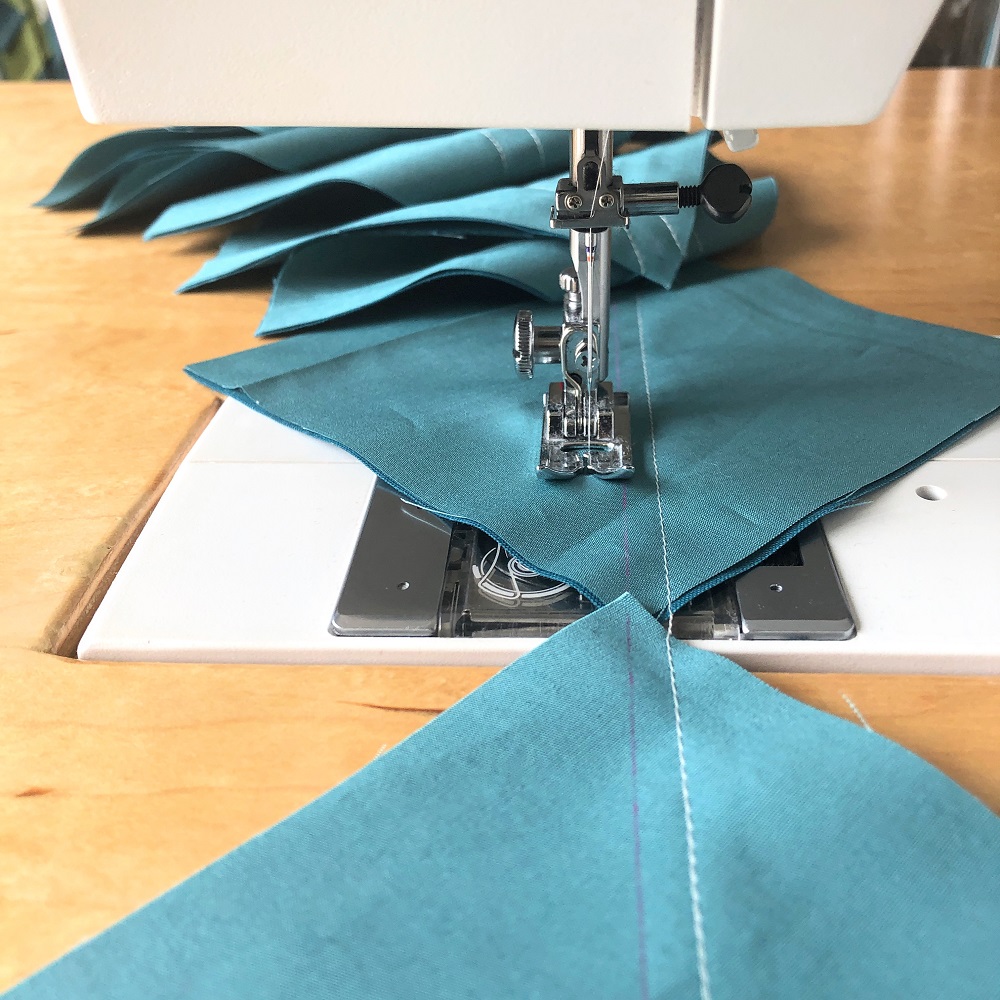
Separate all your units and trim them in half along the drawn diagonals. Then open them up and press your squares. There are several special HST rulers but (especially for seams pressed open) I just like to use my regular 4.5″ square ruler for trimming.
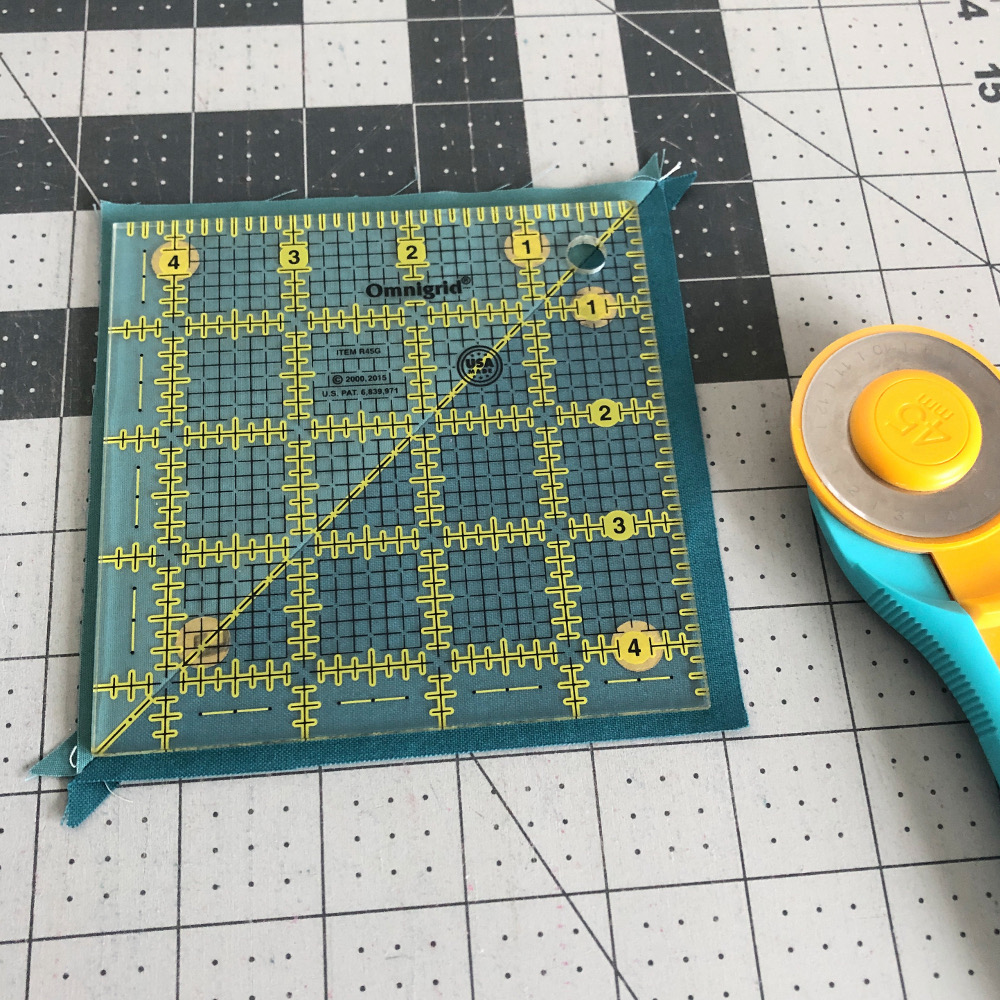
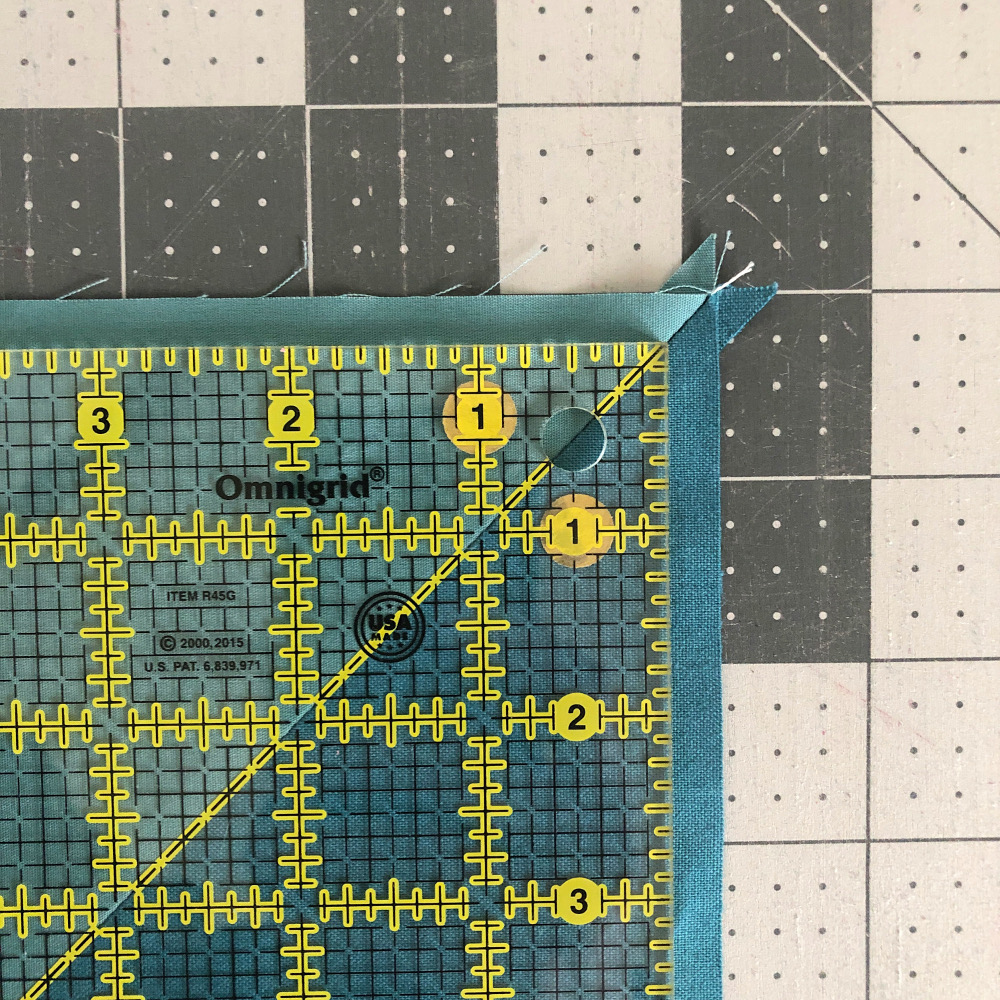
Make sure to line up your ruler of choice, so the seam of your HST goes right through two opposing corners.
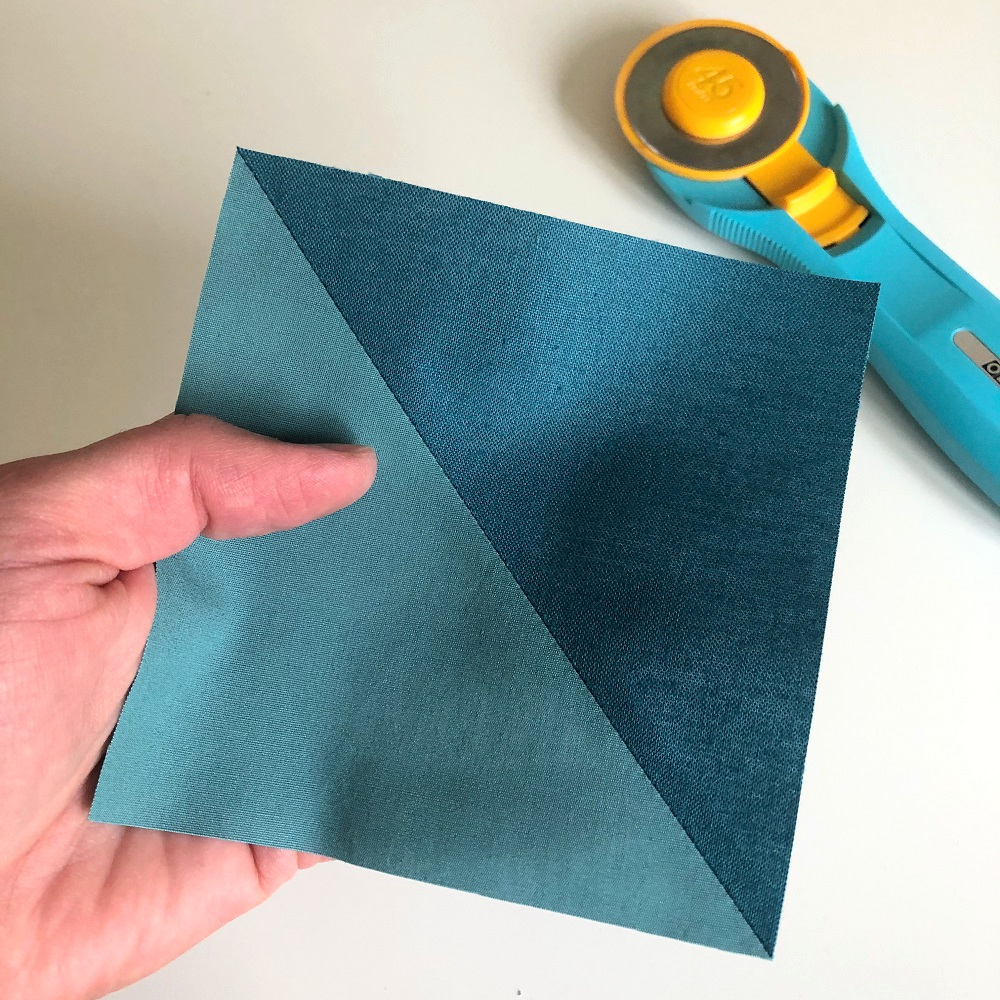
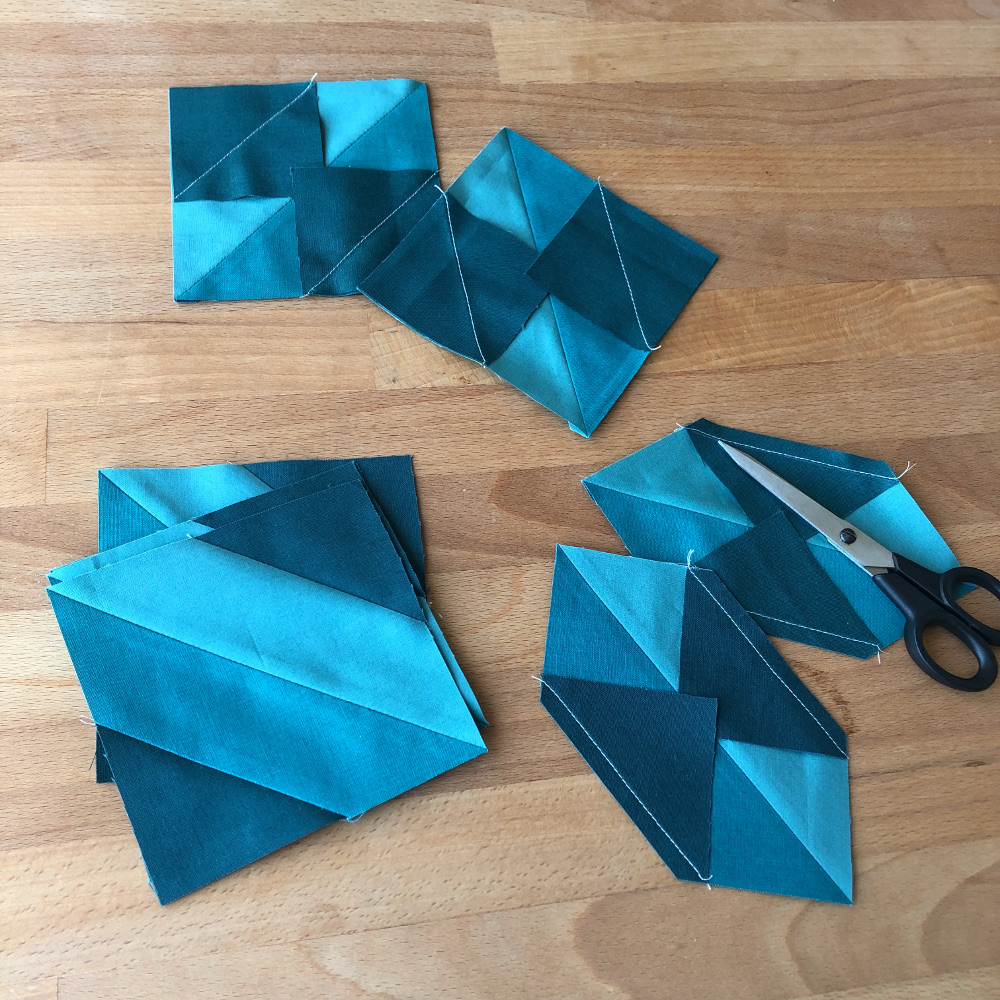
Add an x piece to each of the two plain corners of each HST using the same technique as with the petal units above.
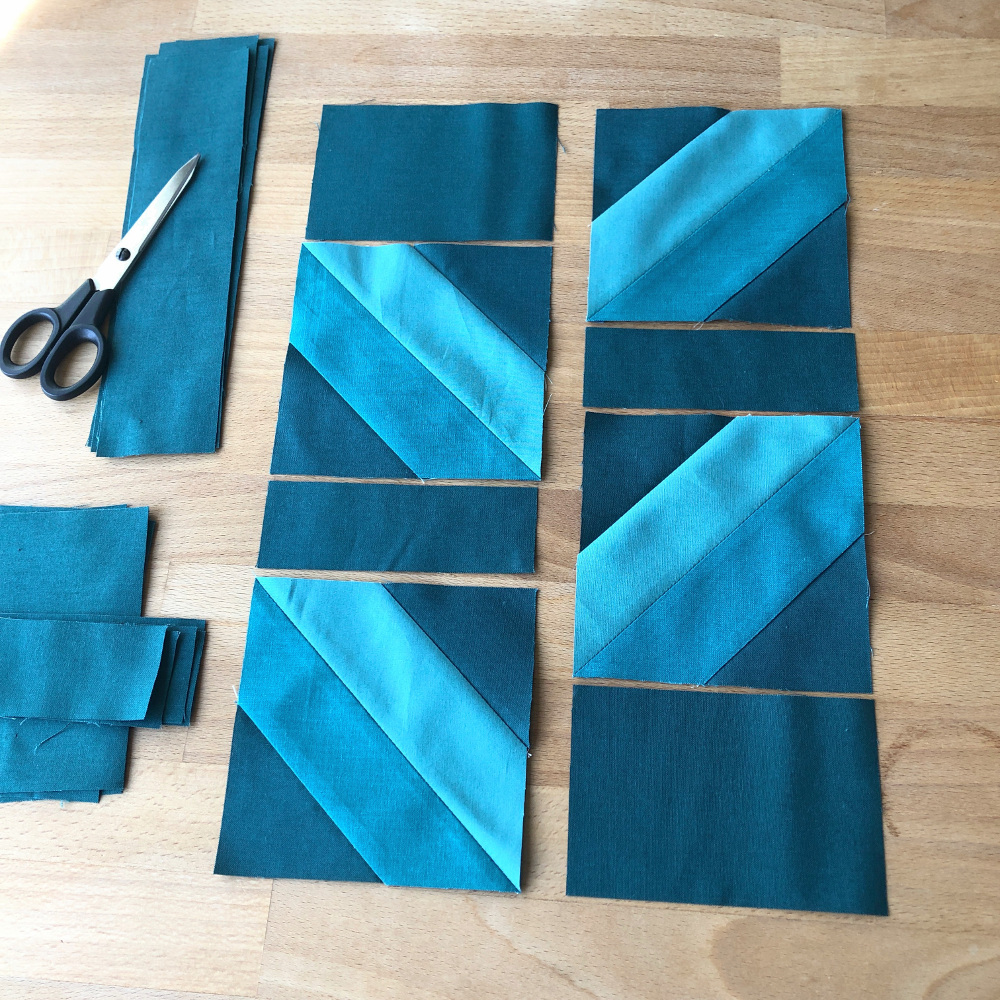
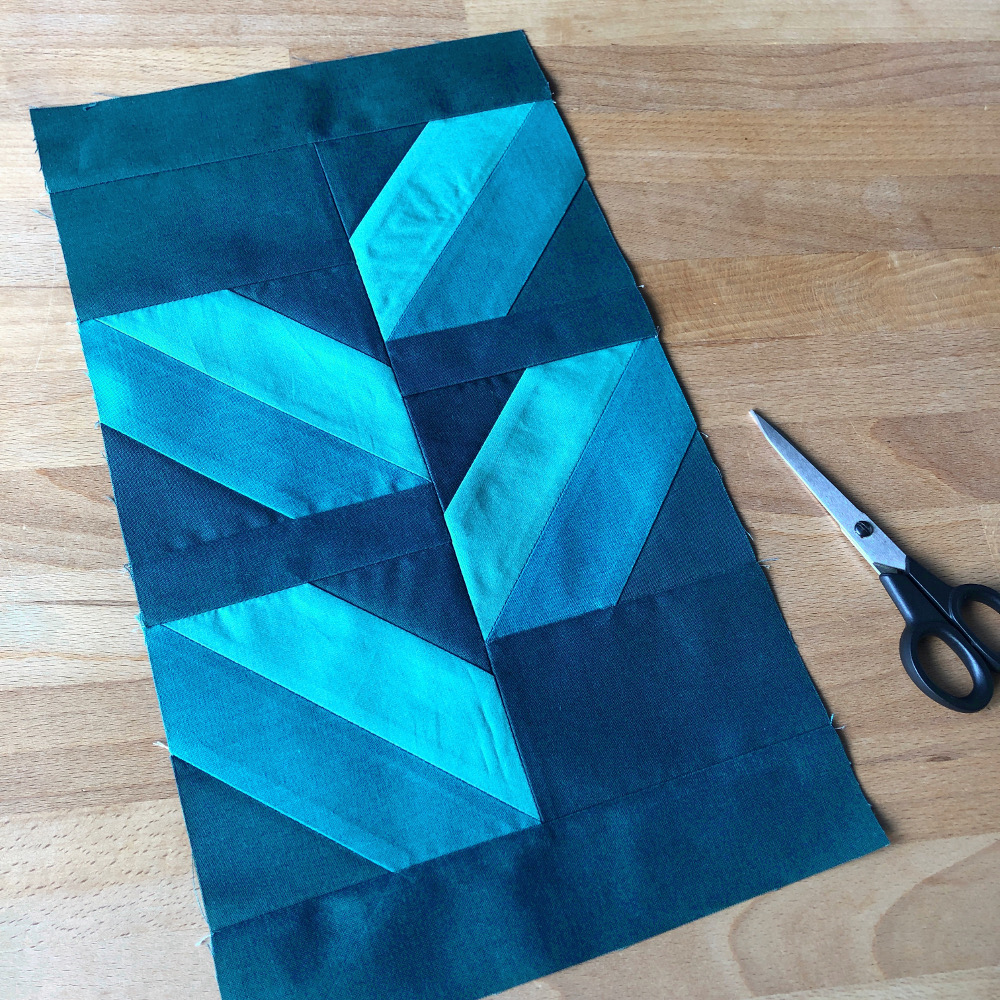
Using your BB, cc and dd pieces, complete your five leaf blocks. I don’t know about you, but for me the leaf blocks are one part of the pattern where I easily get confused if I don’t pay close attention. In order to assure all pieces and units are oriented correctly, I really need to lay them out in front of me.
Joining your flower and leaf blocks
Once all your flower and leaf blocks are completed, sew your horizontal and vertical banner sections as shown in Fig. 34 and 35 of the Unicorn Garden pattern.
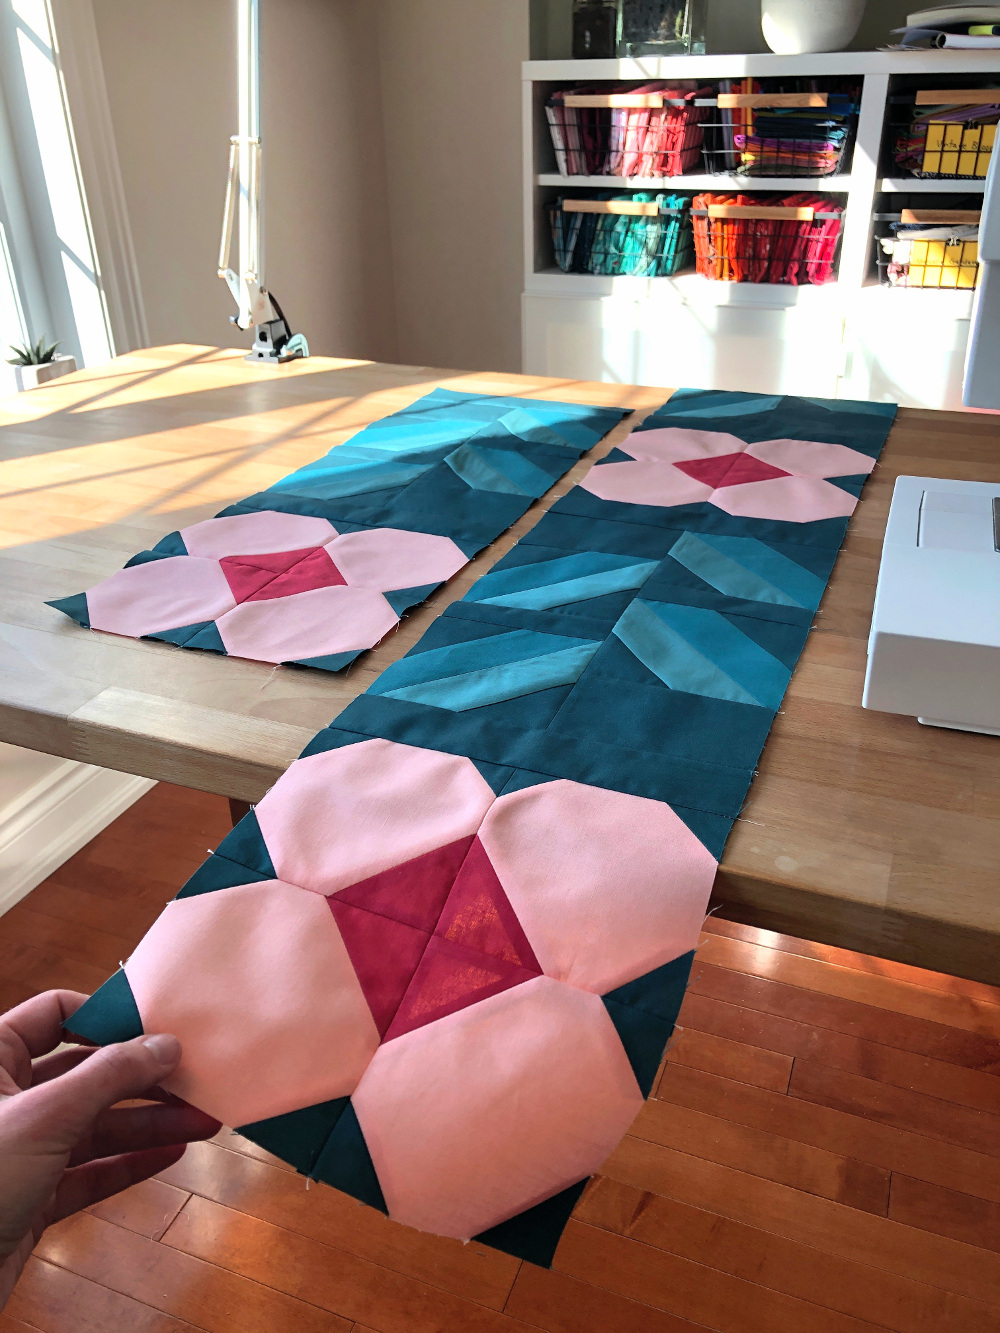
And that’s it for WEEK 4 of our Unicorn Garden QAL. I hope you enjoyed the more traditional and repetitive rhythm! I sure did! 🙂
Next week, we’ll already assemble our quilt tops – almost there!!
Happy chain-piecing and see you next Monday!
