Hi friend! Welcome to WEEK 3 of our Unicorn Garden QAL!
How did your mane sections come together? I hope your seam rippers weren’t as busy as mine! 🤣 In case you’d like to review previous weeks’ resources:
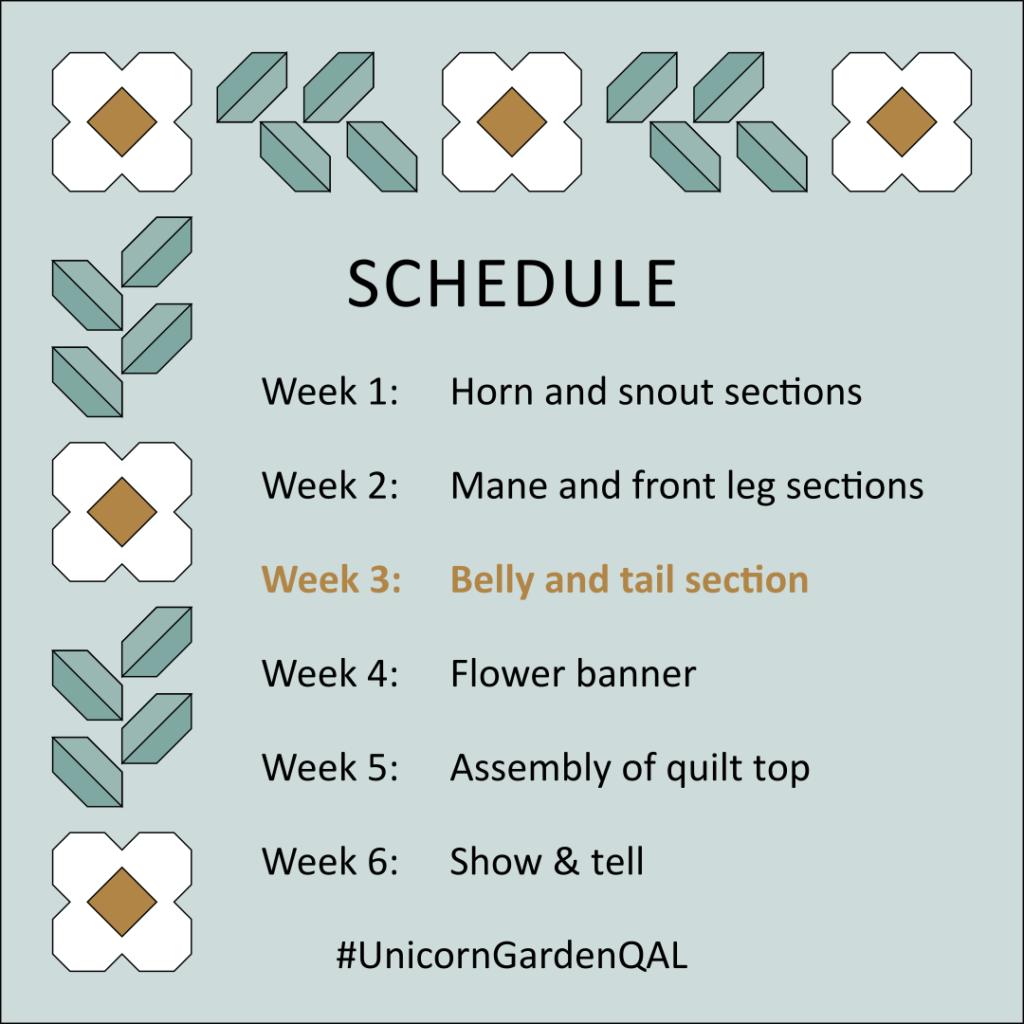
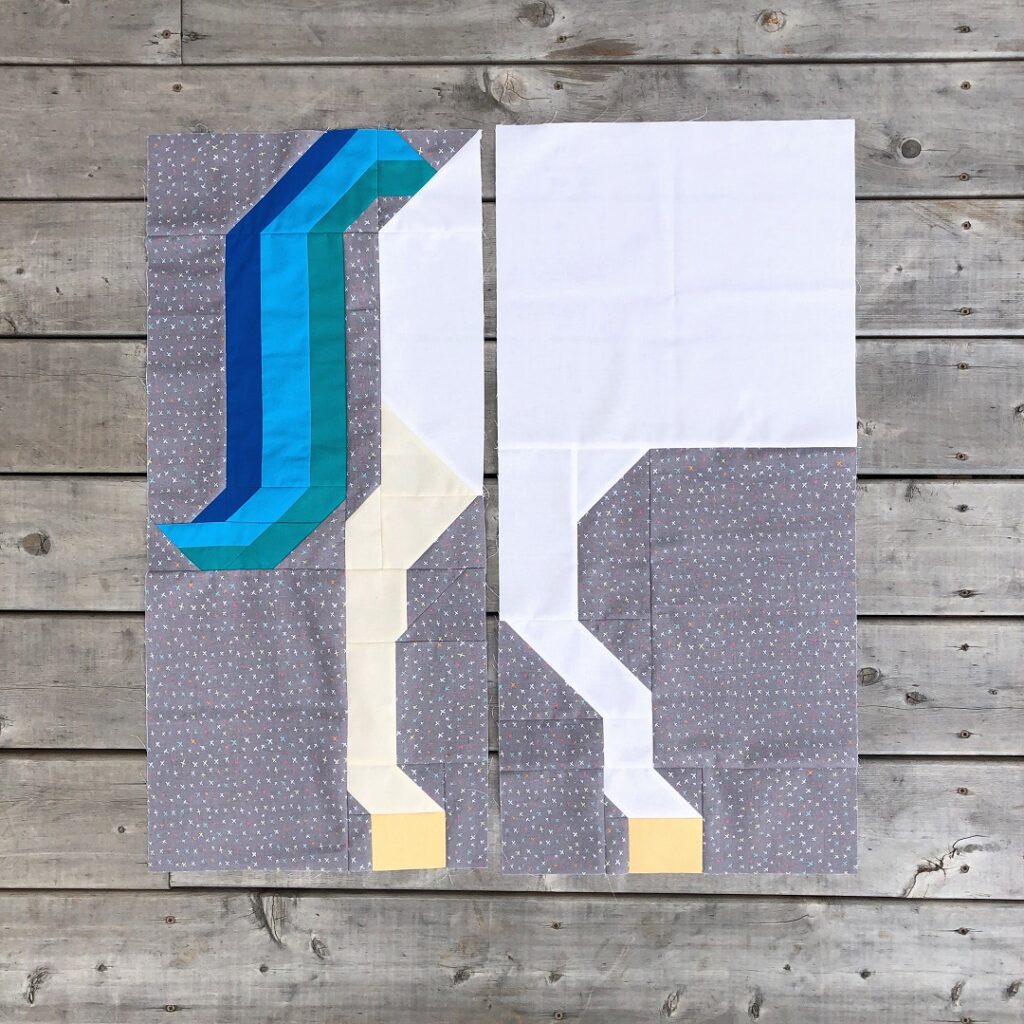
This is our program for this week: we’re making the belly and tail sections, the last remaining sections of our unicorn.
Your questions
My rainbow unicorn sample
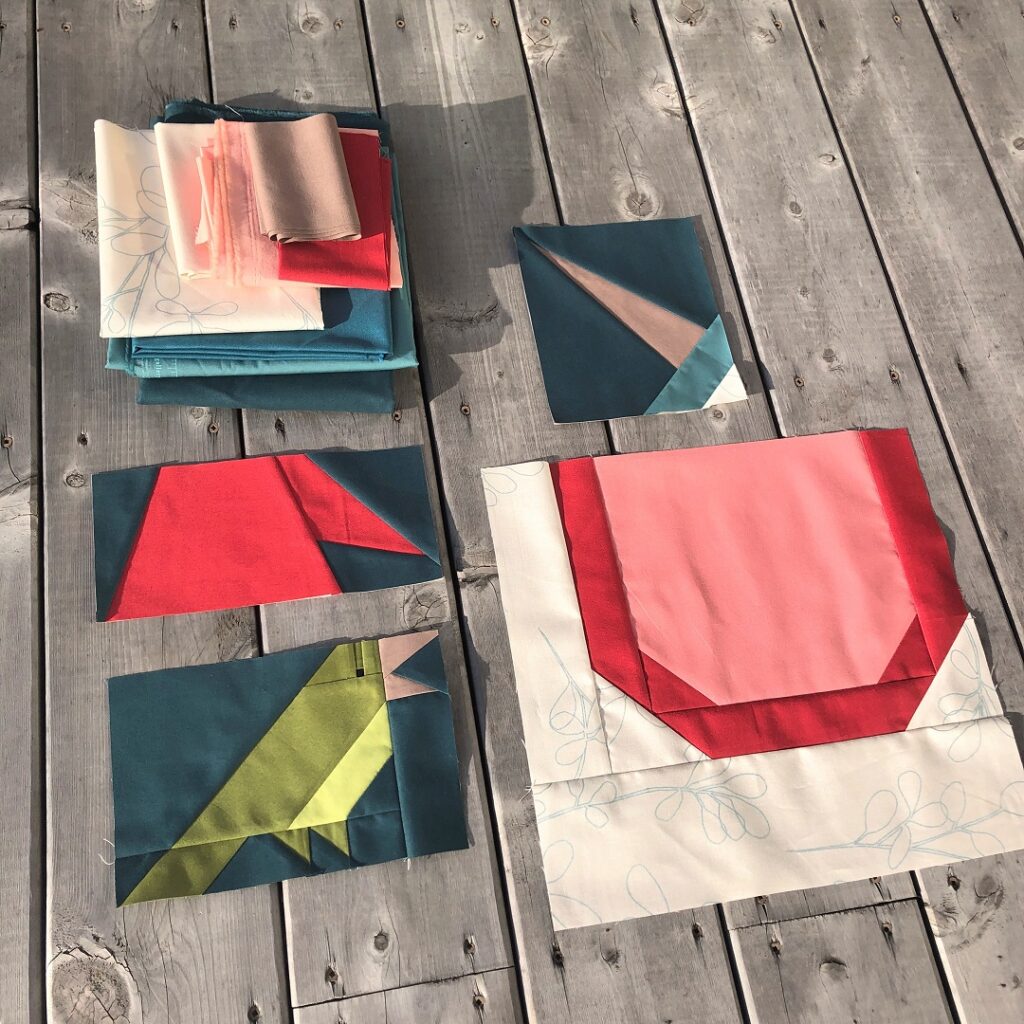
Most of your questions from last week were inquiries about the fabrics I’m using for my rainbow unicorn. My initial plan had been to use a mix of different small prints and blenders for the mane and tail, as I thought I’d have plenty of those in my stash. And I guess I do, but as it turns out I don’t really have the colours I was looking for. Lots of teals, pinks, brick reds and caramels – a lot of them in beautiful earthy and muted shades. But unfortunately not ideal to build a rainbow. 😛 On my hunt for brighter scraps I found my left-overs from my First Contact cover sample (see below).
Can you spot each Martian’s colours in the unicorn mane below, lol?
So I really only needed a yellow, a purple and some blue to fill in the gaps of my rainbow. And luckily I was able to find those in my solid scraps, yay!
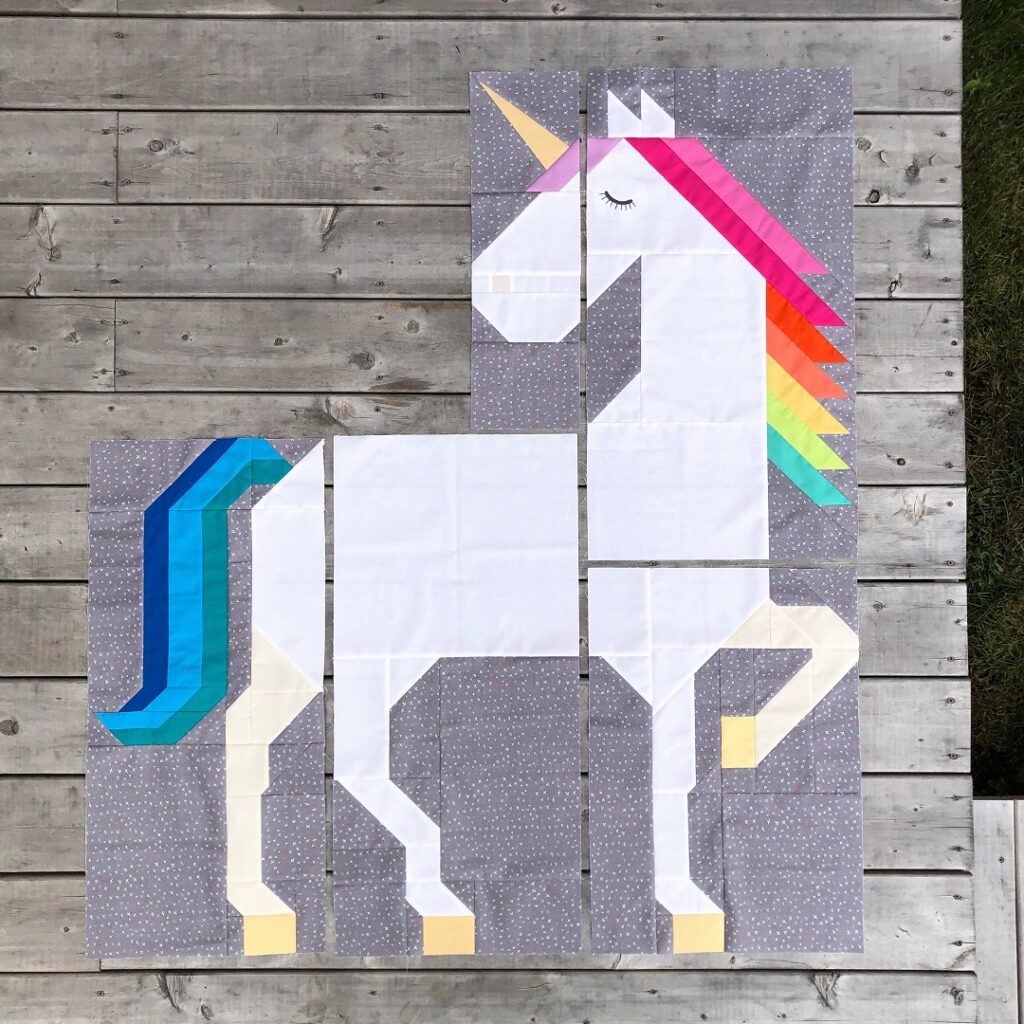
For the background fabric I was lucky again. When making the sample for my Star Cruisers pattern about a year ago (see below), I substantially overestimated how much of the happy grey x’s print I would need for this FPP project. But great! While the 2 yards of leftovers would not have been enough for the regular quilt size incl. the flower banner around the unicorn, it was plenty for the toddler size I was going for anyway.
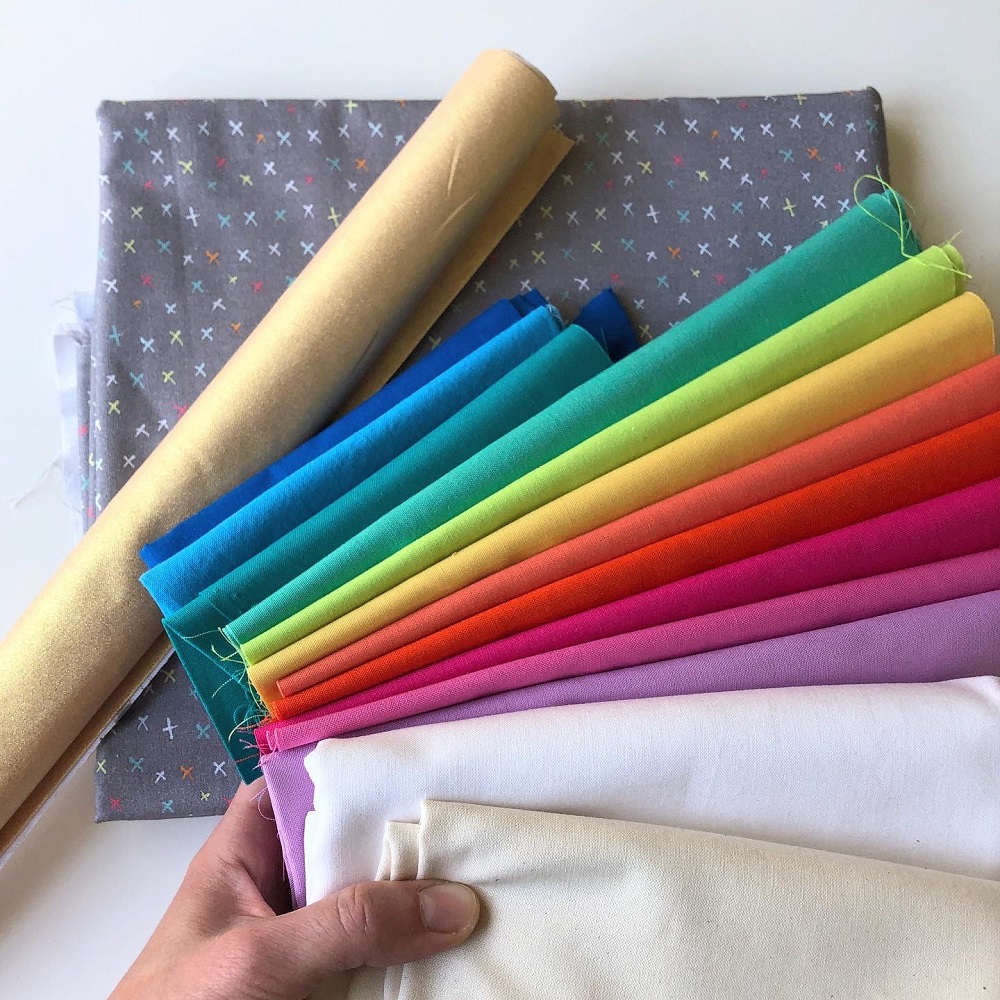
So yeah, I really feel like patting myself on the back for this almost exclusive stash project. The only purchase so far was a fat quarter of golden fabric for the horn and hooves. I was originally looking for some Kona Sheen, but then found this even sparklier option at my LQS. And now I’m debating what to back her with. Pink minky? A happy rainbow print? Pleae let me know if you have any ideas!
But enough talking, here are the details of all the fabrics I’m using:
- Background: Benartex, Elephant Joy, Playful Shards in Medium Grey
- Mane and tail (all Kona): Corsage, Sassy Pink, Bright Pink, Tangerine, Nectarine, Daffodil, Key Lime, Candy Green, Jade, Water, Surf
- Horn and hooves: Stof, Shiny in Gold (also comes in Silver and Pearl)
- Body: Bella Solids in Bleached (Colour 1), Kona Natural (Colour 2)
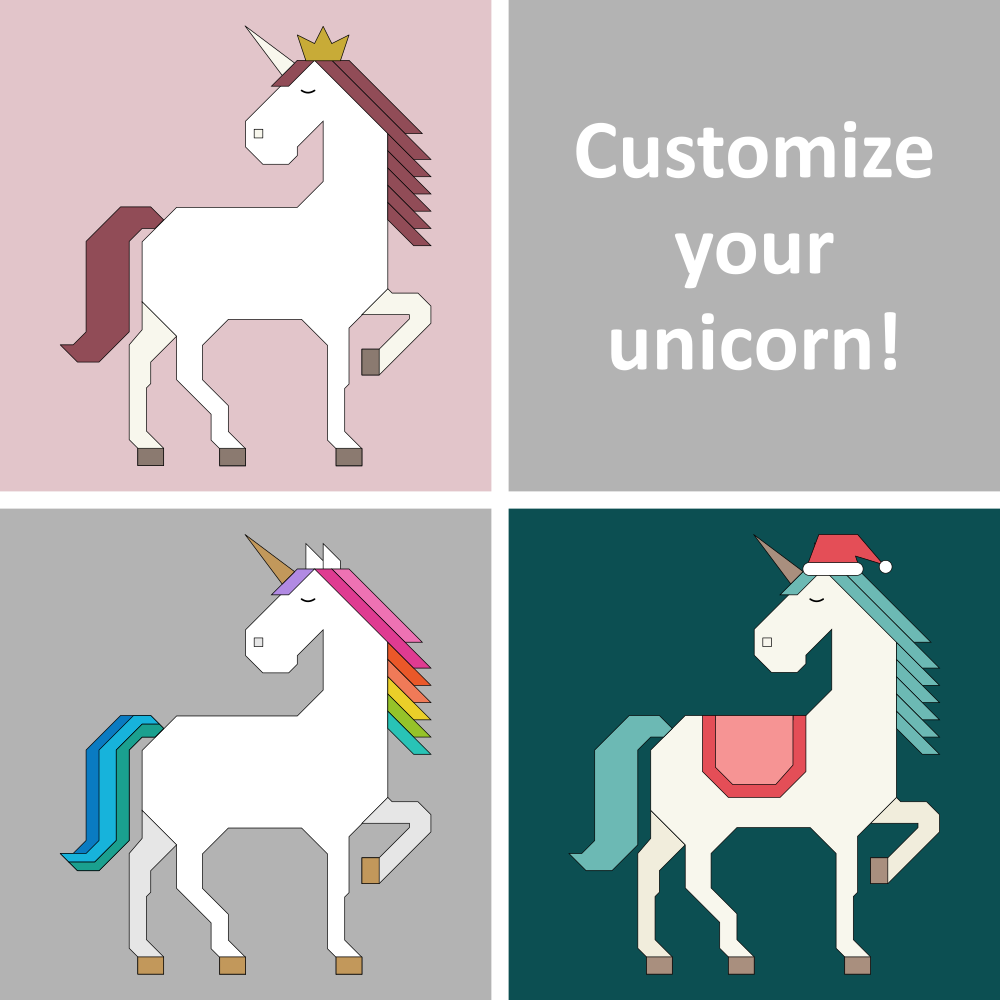
The customize-your-unicorn add-on options
Another question was geared towards the crown and other add-on patterns and their long-term availability.
As promised at the beginning of this quilt along, participants are offered multiple options to customize their unicorns. These patterns are available for free to anyone who’s already part of this project and to those joining the QAL before or during WEEK 6 at the latest. Afterwards I am planning to make them available as a paid add-on pattern bundle in my shop.
As goes for all my patterns, free or paid, please keep your personal copies to yourselves and do not share them with any third party! Thank you!
Belly and tail sections
If you have mastered last week’s front leg section, you shouldn’t have too many problems with this week’s belly and tail sections either. So I’ll limit my tips to the following:
Belly section
- The S piece at the top of your belly section is almost square, but not quite. Be sure to orient it horizontally when trying to add it to your belly section.
- If you are choosing to add the optional saddle detail (which went out with this week’s email), and have already prepared a regular S piece, you can sub-cut it to be your new S1–S3 pieces. No extra colour 1 fabric required!
Tail section
- The tail section is comprised of some slightly more complex sub-units. If you can’t guess how they’re being constructed from Fig. 29 alone, please have a close look at Fig. 26-28!
- During steps 54 and 59 you can nest your central seams. This will help you line up your units more precisely.
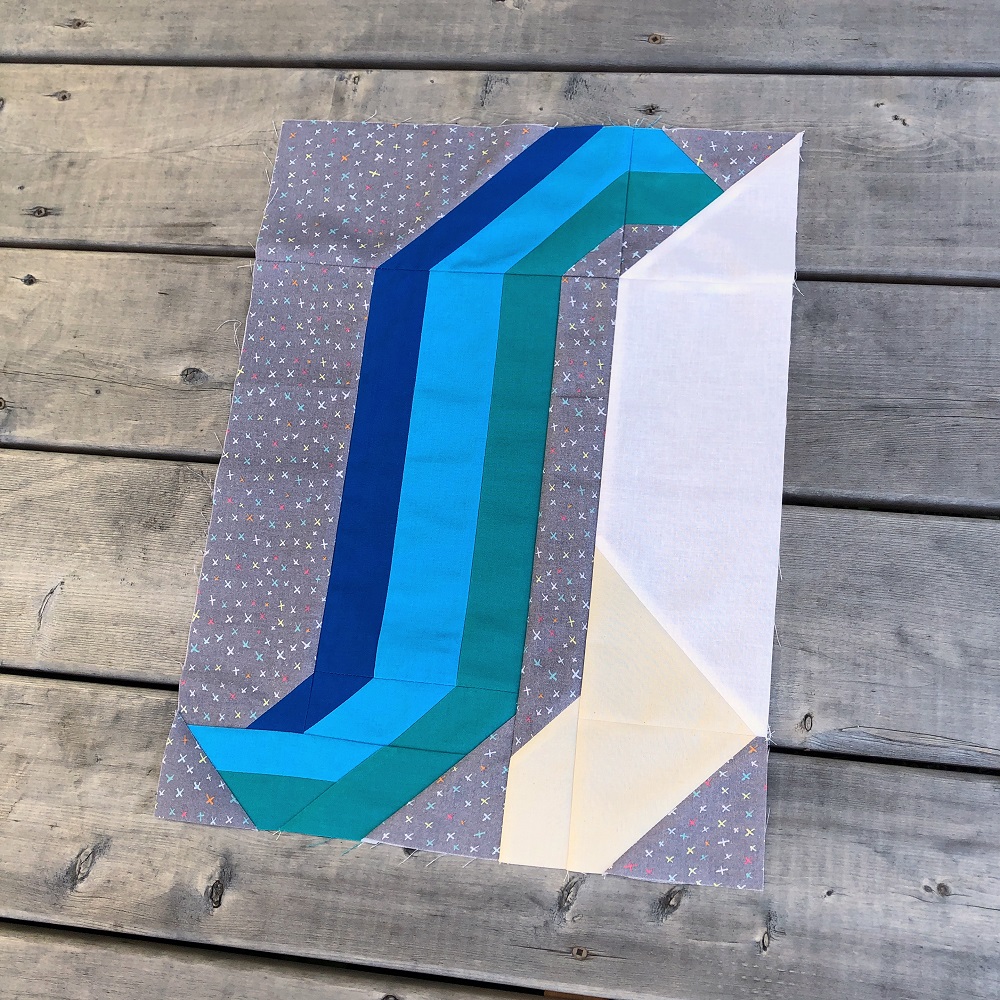
- If you are choosing to feature a striped tail (which also went out with this week’s email), you’ll be dealing with a few more pieces in your tail units. Just be extra aware of your seam allowance to make sure they turn out with accurate dimensions!
UPDATE:
The Santa hat, saddle, striped tail and previously shown crown add-on are now available as Unicorn Garden Accessories (pdf pattern) in my shop.
Assembly of your unicorn
Now that all the sections of your unicorn are complete, please don’t hesitate to assemble your little beauty. Besides the piecing of all the small units, this is my favourite step of the pattern! To see the unicorn come together but not yet maneuvering a large quilt top through my machine! Yeehaw!
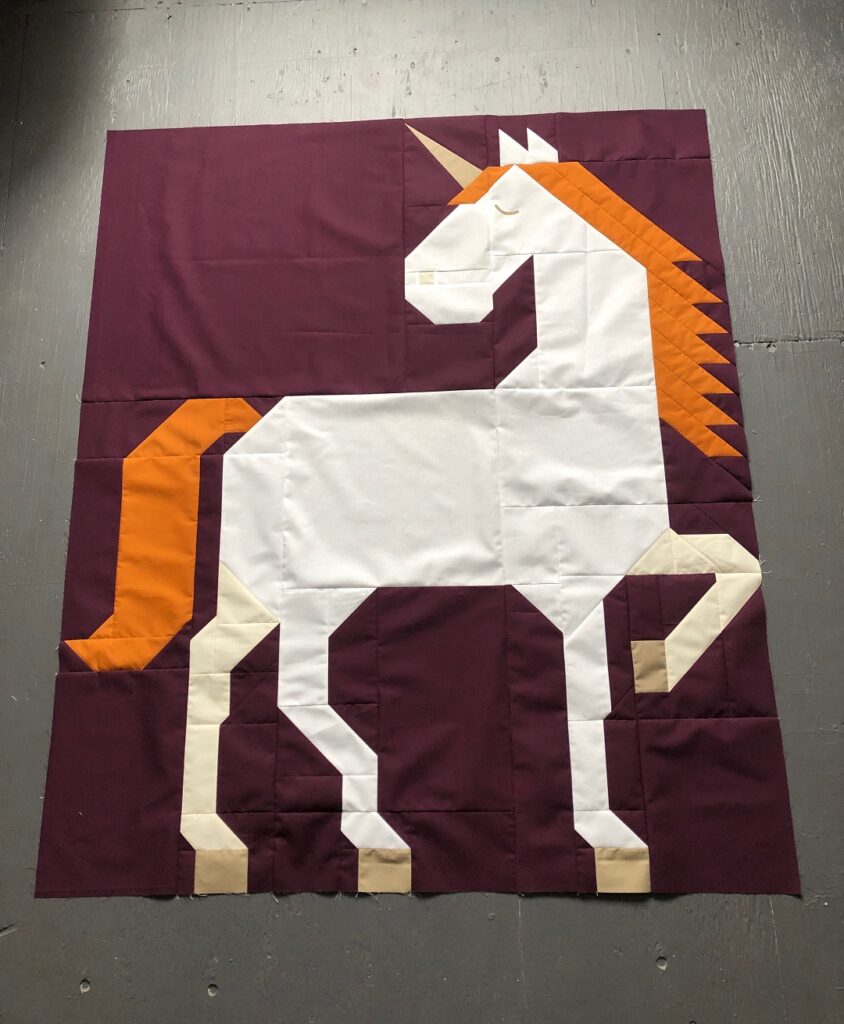
If you are following the regular pattern, you can work your way up to step 67 this week. If you’re doing the toddler size like me, all that’s left to do is adding your borders!
Have fun with those few seams and I can’t wait to see your unicorns! 🙂
(Please use #UnicornGardenQAL when sharing your quilt on social media, thanks!)
For everyone doing the full size Unicorn Garden quilt, next week, we’ll add the flower banner. Until then, happy sewing and have a wonderful week!
