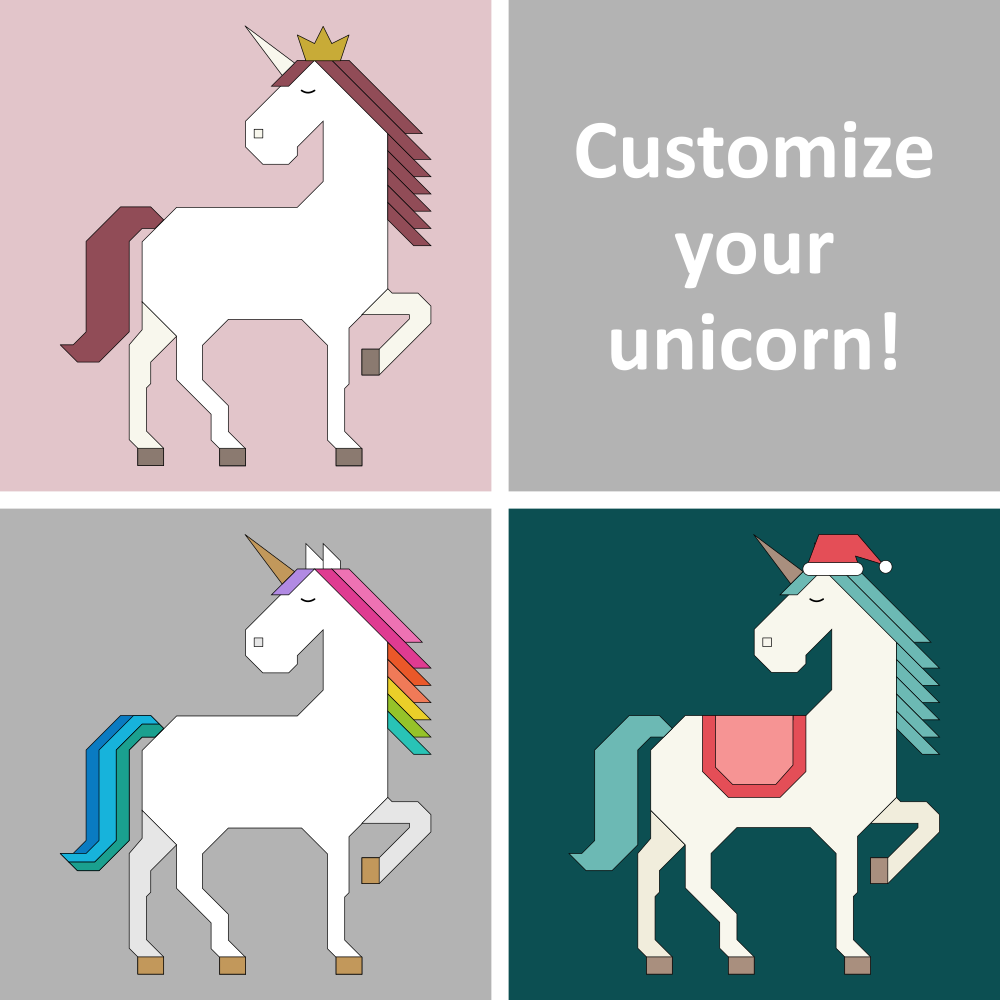
Hi friend! Welcome to WEEK 2 of our Unicorn Garden QAL!
I hope you’ve had a good start cutting all your pieces last week and making your horn and snout sections! In case you’d like to review last week’s resources:
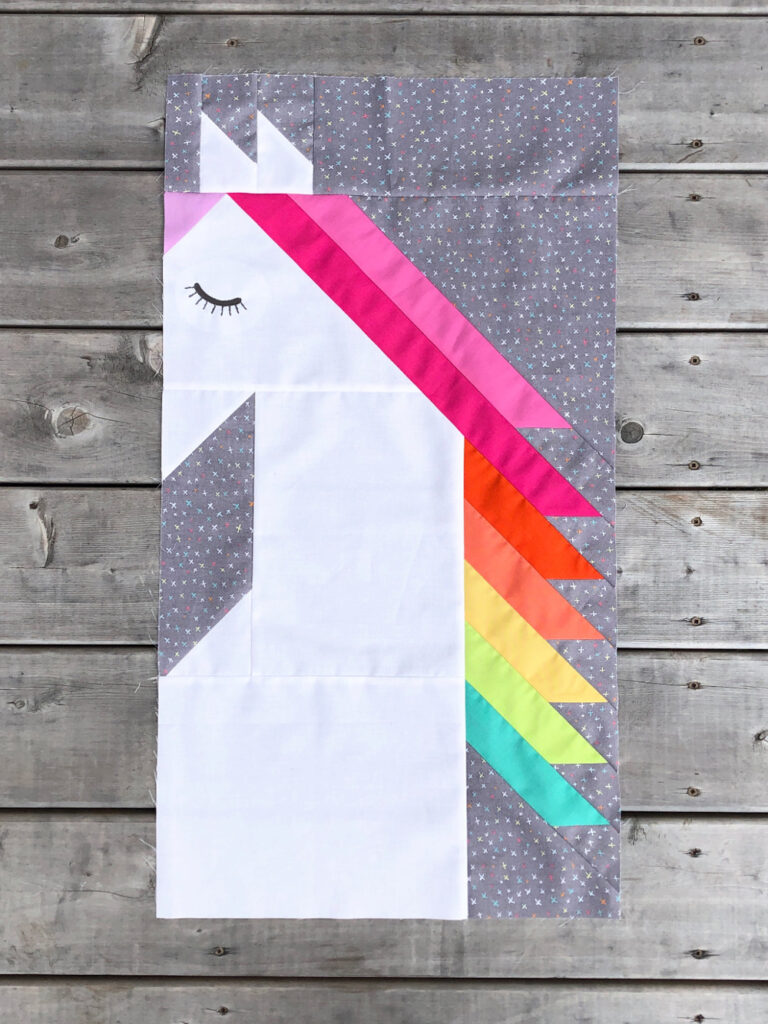
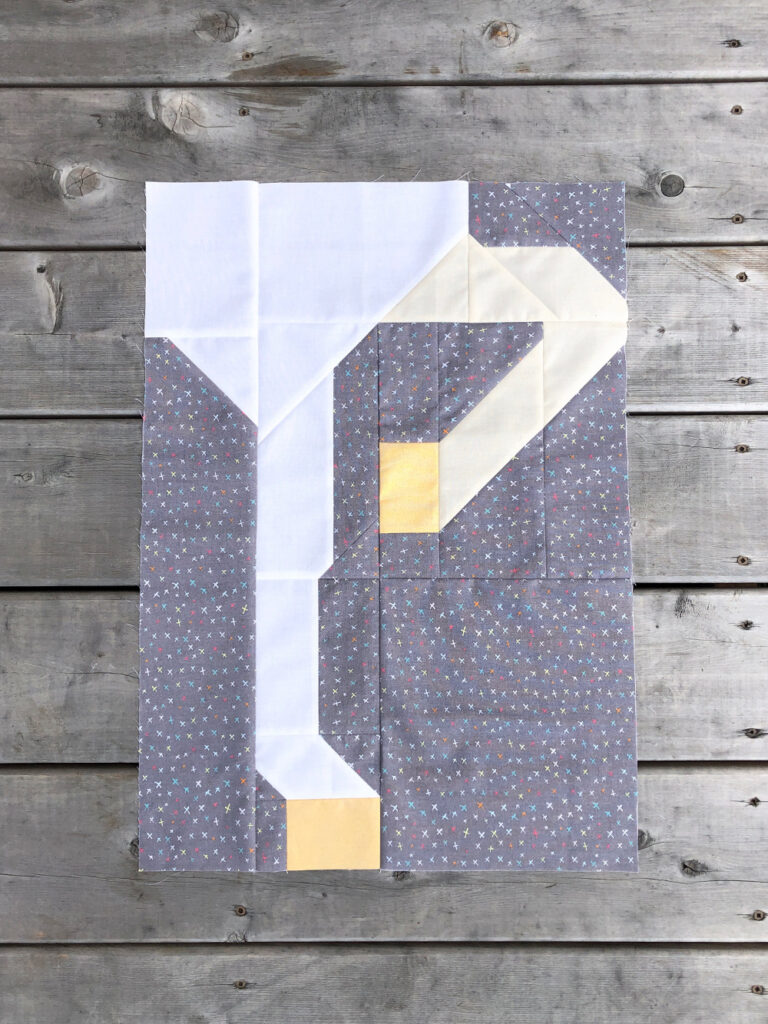
This is our program for this week: the mane section and the front leg section of our unicorn.
Your questions
Stitch-and-flip with rectangles
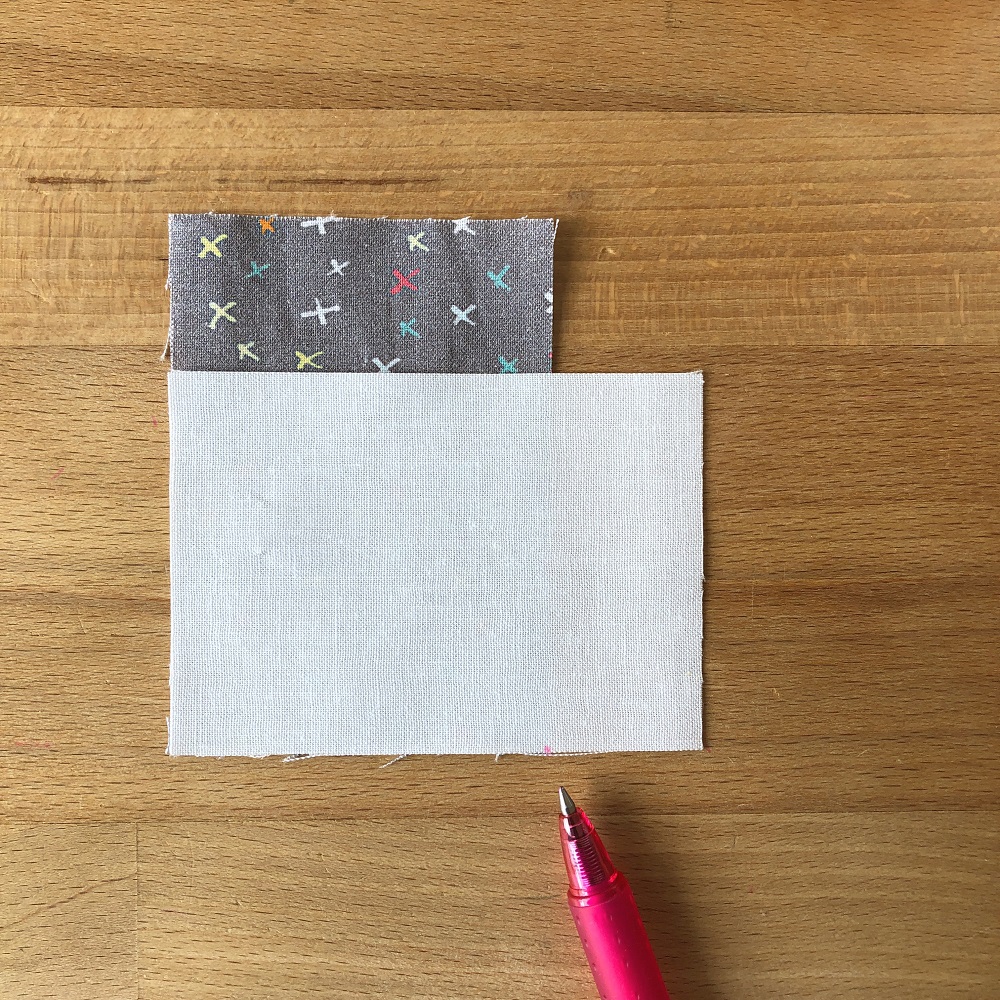
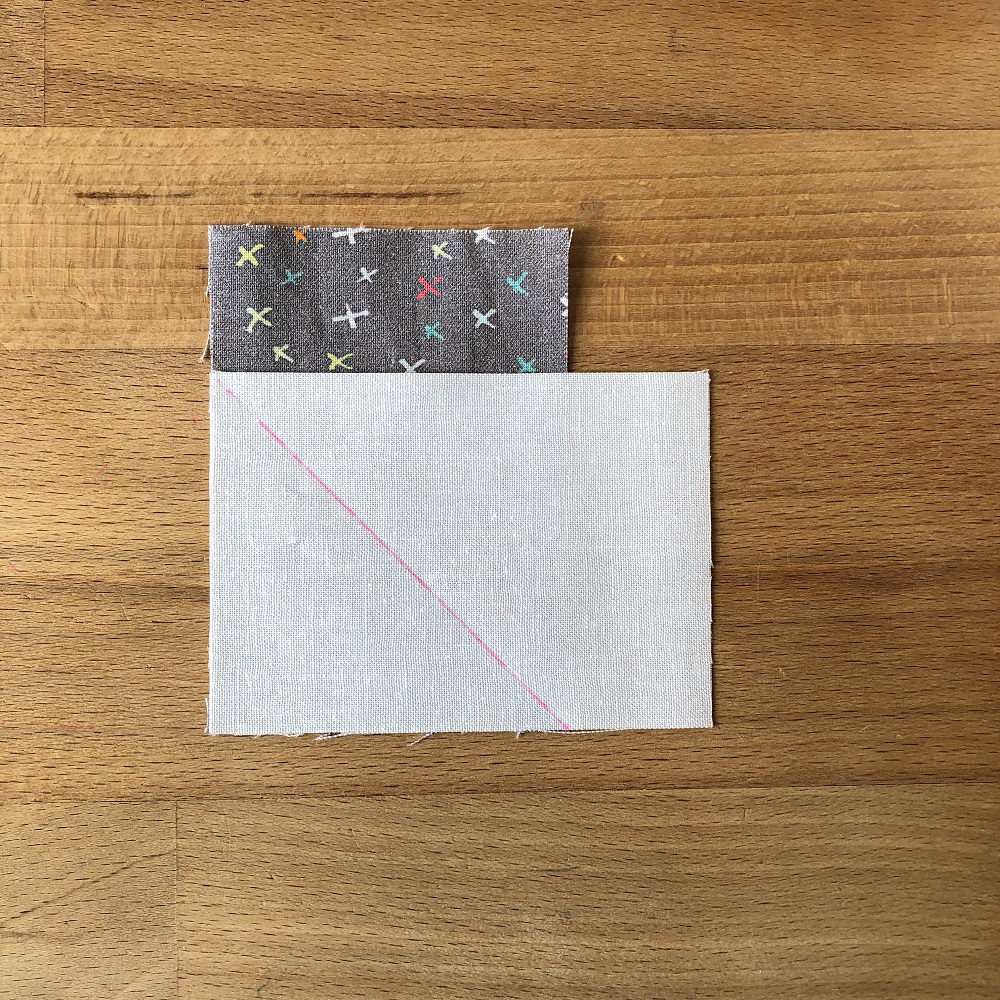
I have had a question about how I mark my pieces when doing stitch-and-flip with rectangles (instead of a square as the upper piece). There’s no real secret to it. I just position the two pieces as needed, then mark a little dot where the corner of the bottom rectangle meets the edge of the upper rectangle (first photo). Then I connect that dot with the opposing corner of the upper rectangle (second photo), sew on the drawn line and continue as usual.
Crown add-on
And someone was asking about the optional crown add-on (which went out with my WEEK 2 QAL email) and specifically if it isn’t the same as my Pocket Crown pattern. Yes and no. The design is exactly the same but the included sizes do not perfectly fit on the unicorn. So I scaled it to fit and laid out the exact steps to follow for a smooth integration with the Unicorn Garden pattern. But if you’re confident with a little pattern blending, you could also print the 6″ template from the Pocket Crown pattern at 114%, centre it on your unicorn’s head and fill in the background as needed.
WEEK 2 tips
Making your mane section
While still traditionally pieced (and no templates used!) I think the construction of the mane section is maybe the part of the pattern requiring the most diligence. At least for me! Even while working through this section trying to get a photo of every step and pointing out the potential mistakes to avoid, I had to use my seam ripper more than once myself. 😛
So firstly, be careful when trimming your neck unit! Mark your diagonal line as described in step 14 of the pattern, then trim 1/4″ beside that line! Not on the line!
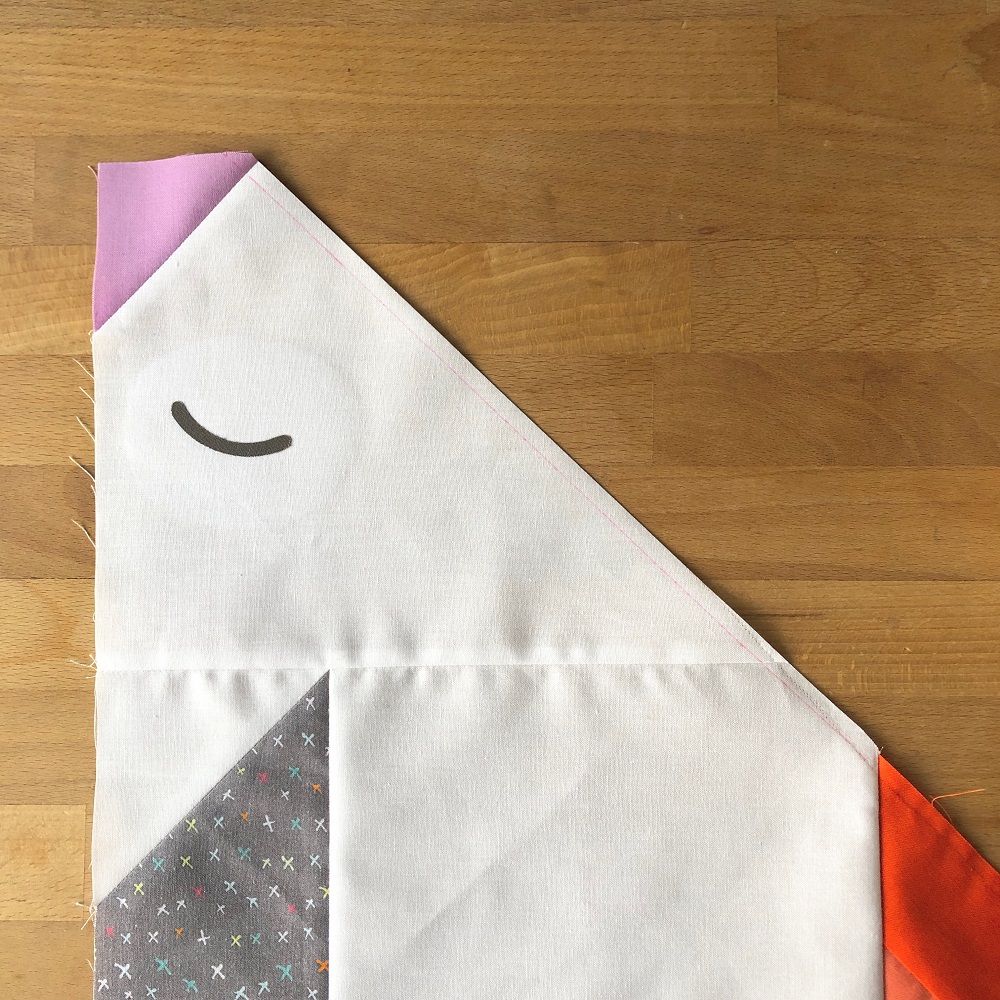
Secondly, the mane strips. After you have prepared the mane units shown in Fig. 13 and 14 of the pattern (use the rectangle stitch-and-flip described above), be sure to off-set your strips when joining them. The first photo below shows the little dog ear at the top which is required so the left edge of your section grows as a straight vertical line. Fig. 15 of the pattern also illustrates this step, but I added the second photo below to show how you can actually measure the width of your dog ear. Keep adding your mane strips with the same off-set (third and fourth photo) until your lower mane unit is complete (note the straight edge on the left!). Follow the same principle when sewing your completed lower mane unit to the right of your diagonally trimmed neck unit (5th and 6th photo).
Please note: I accidentally joint the lower mane unit before it was complete – the top strip in the 5th and 6th photo should be red (see photo at the bottom of this post)!
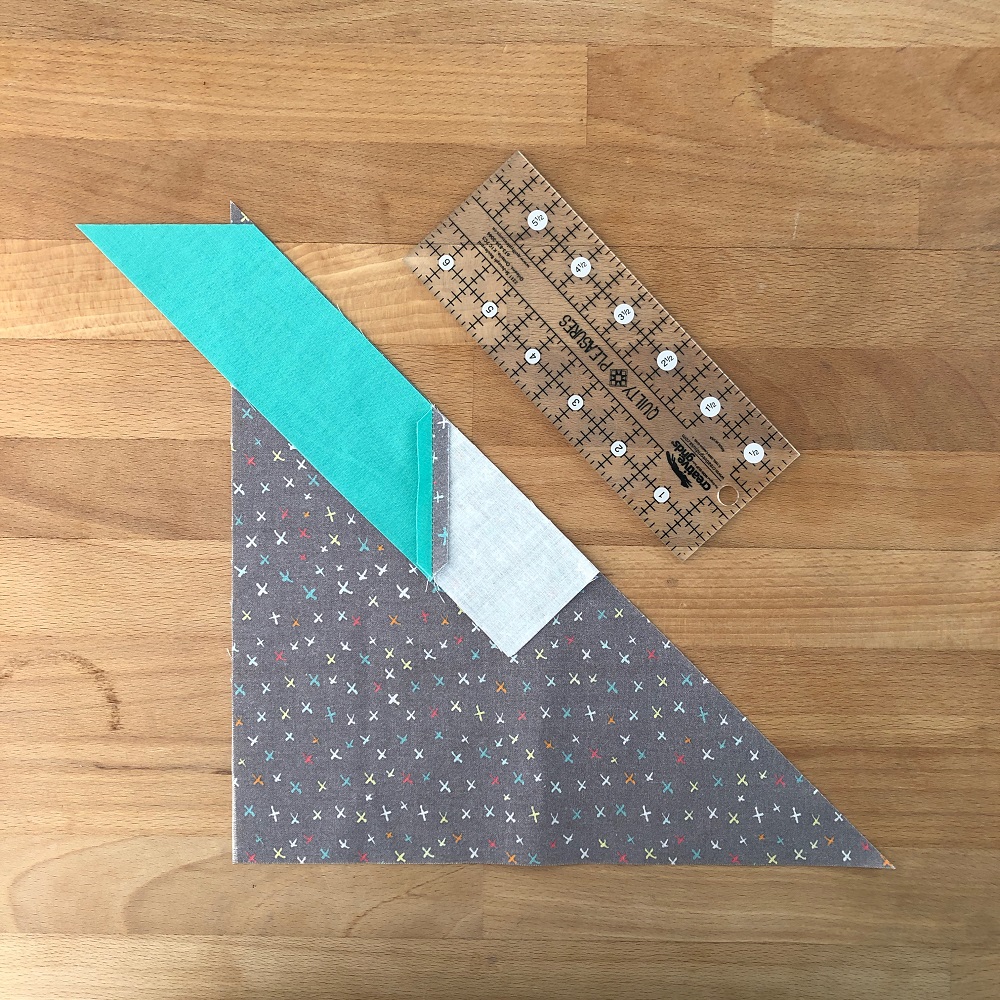
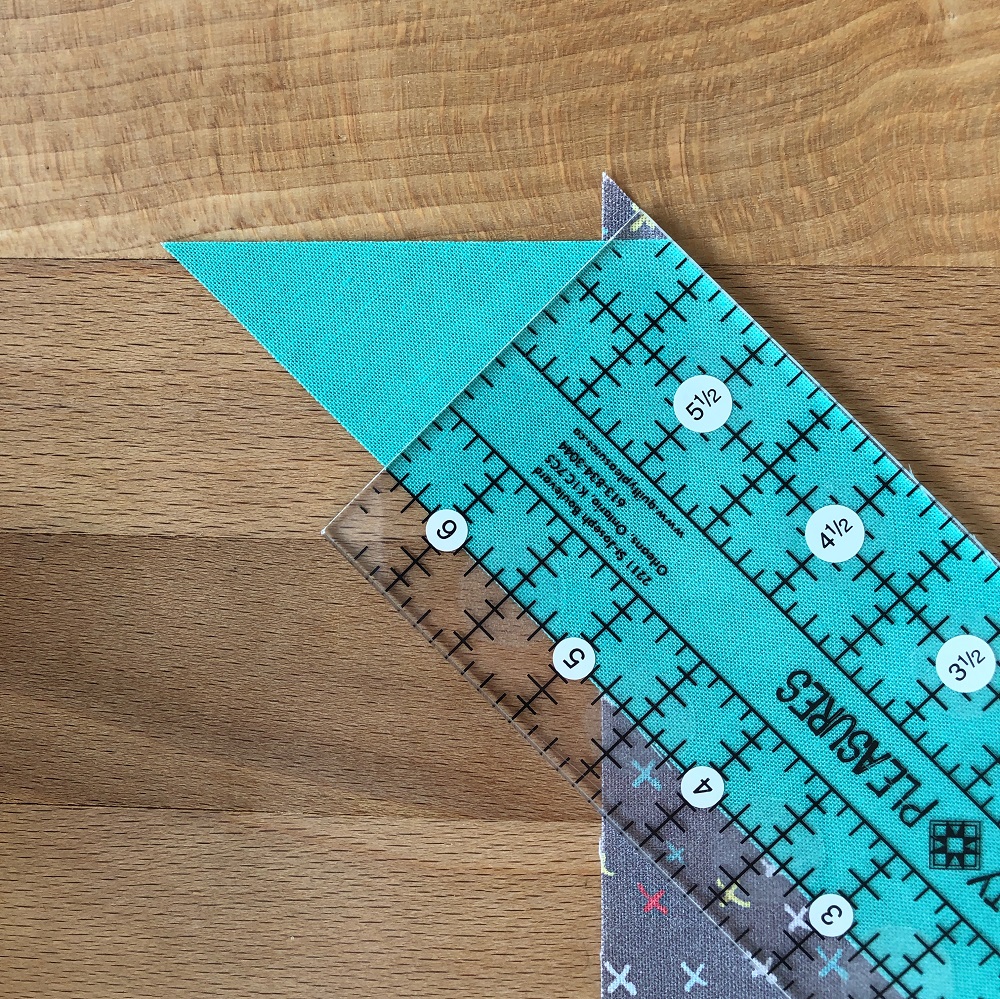
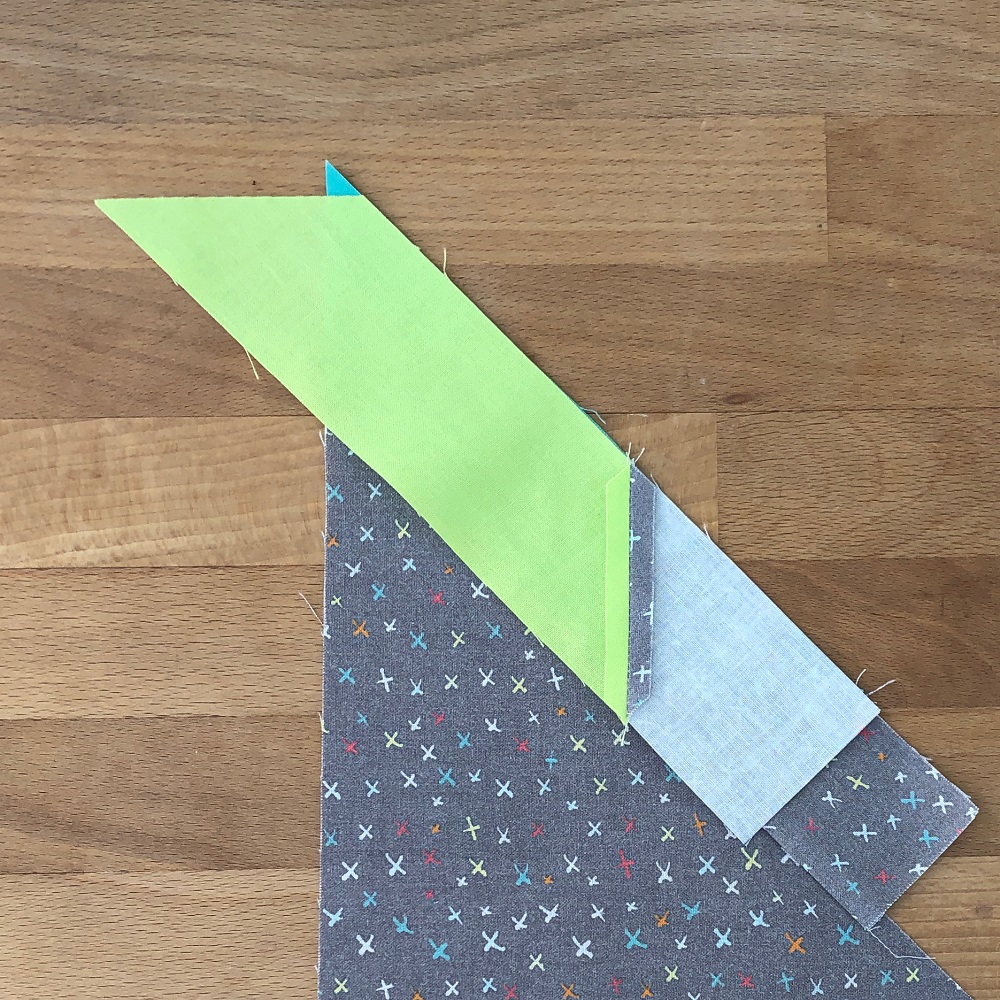
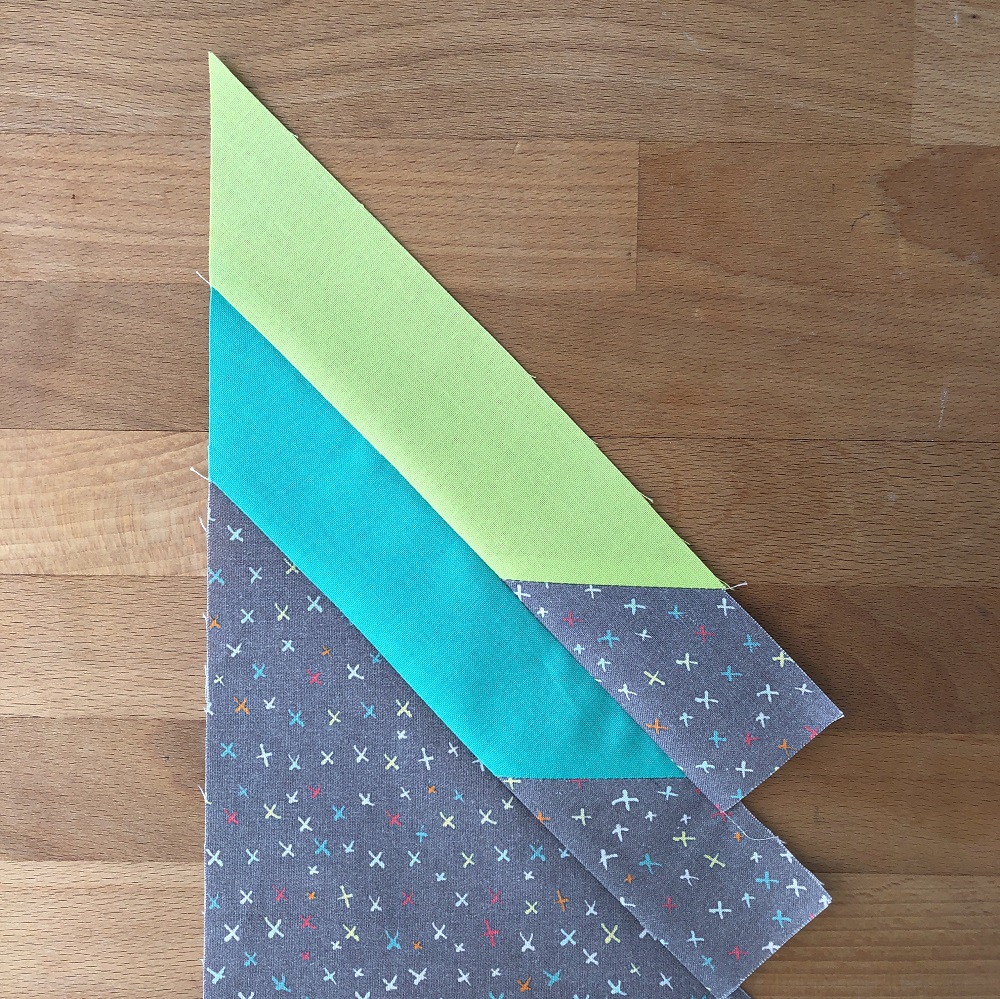
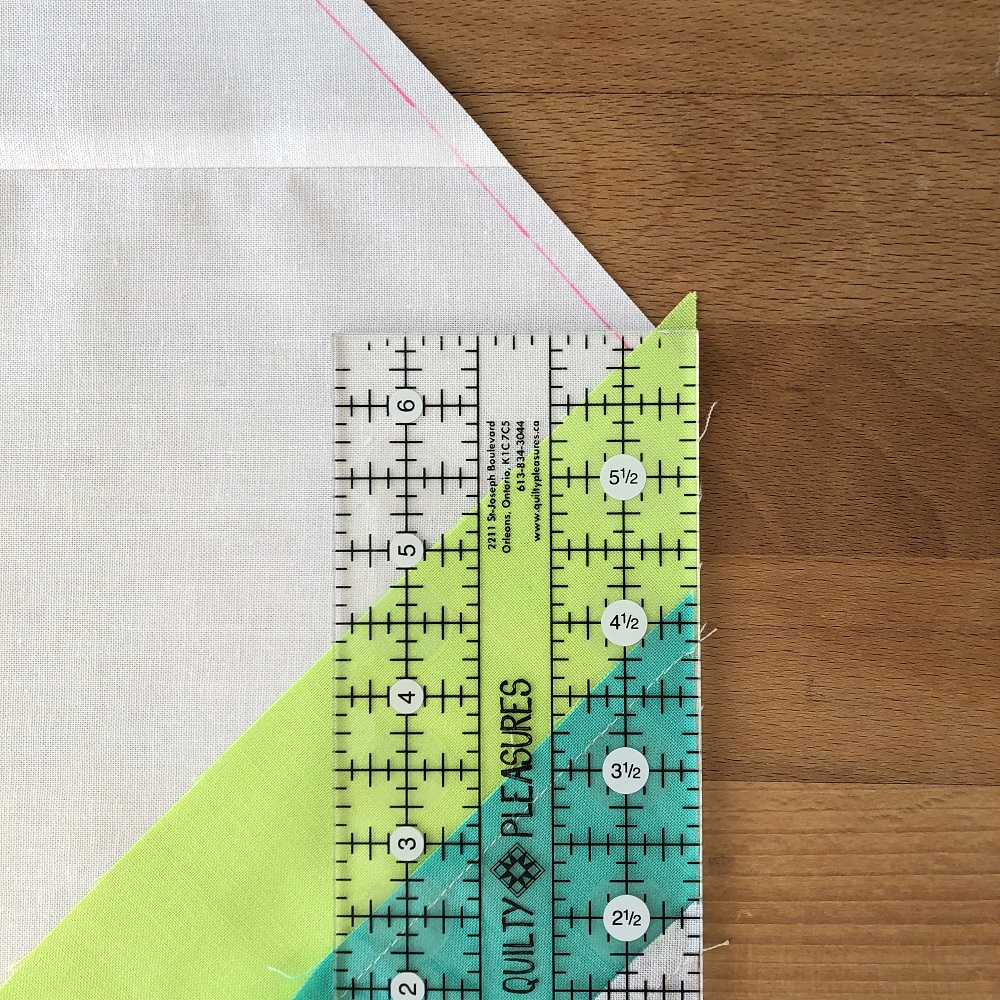
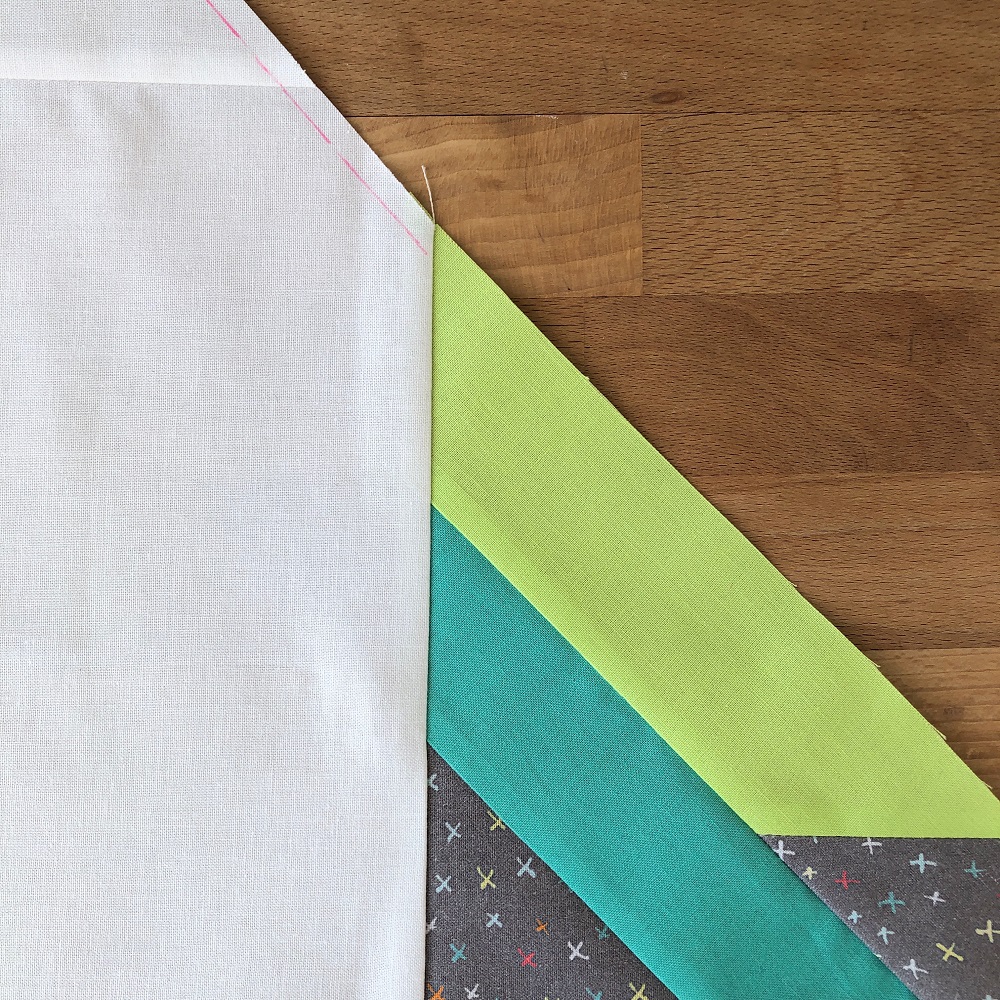
Precise alignment of all these units is crucial for them to turn out with the correct dimensions. A consistent (scant) 1/4″ seam also helps.
And lastly, be gentle and sew slowly when assembling your mane section! The diagonal edges of your neck unit and your v pieces are bias edges. Don’t stretch or distort them! Using starch, pinning and low speed can all be your friends during these steps. And please, even if it sounds lame, please take your time and read the pattern carefully!
Adding the eye detail
And here’s a little note about how I did my unicorn’s eye.
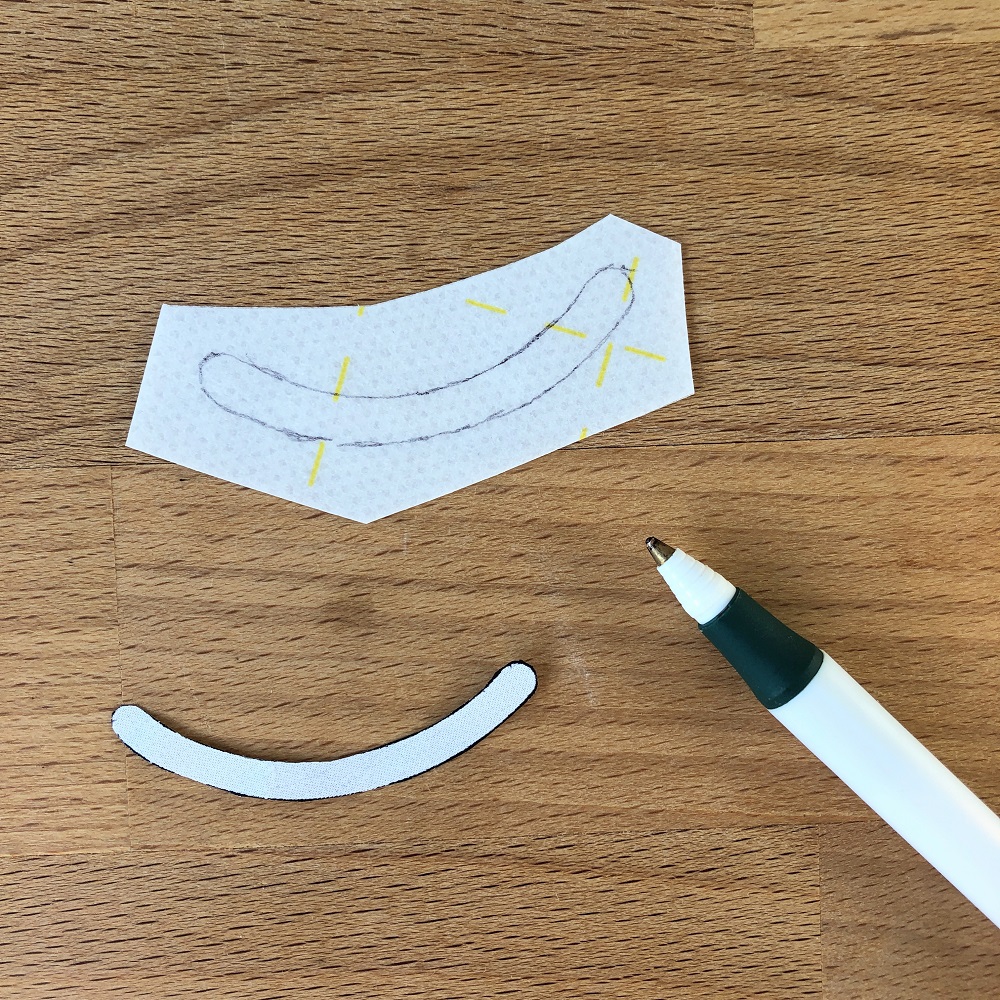
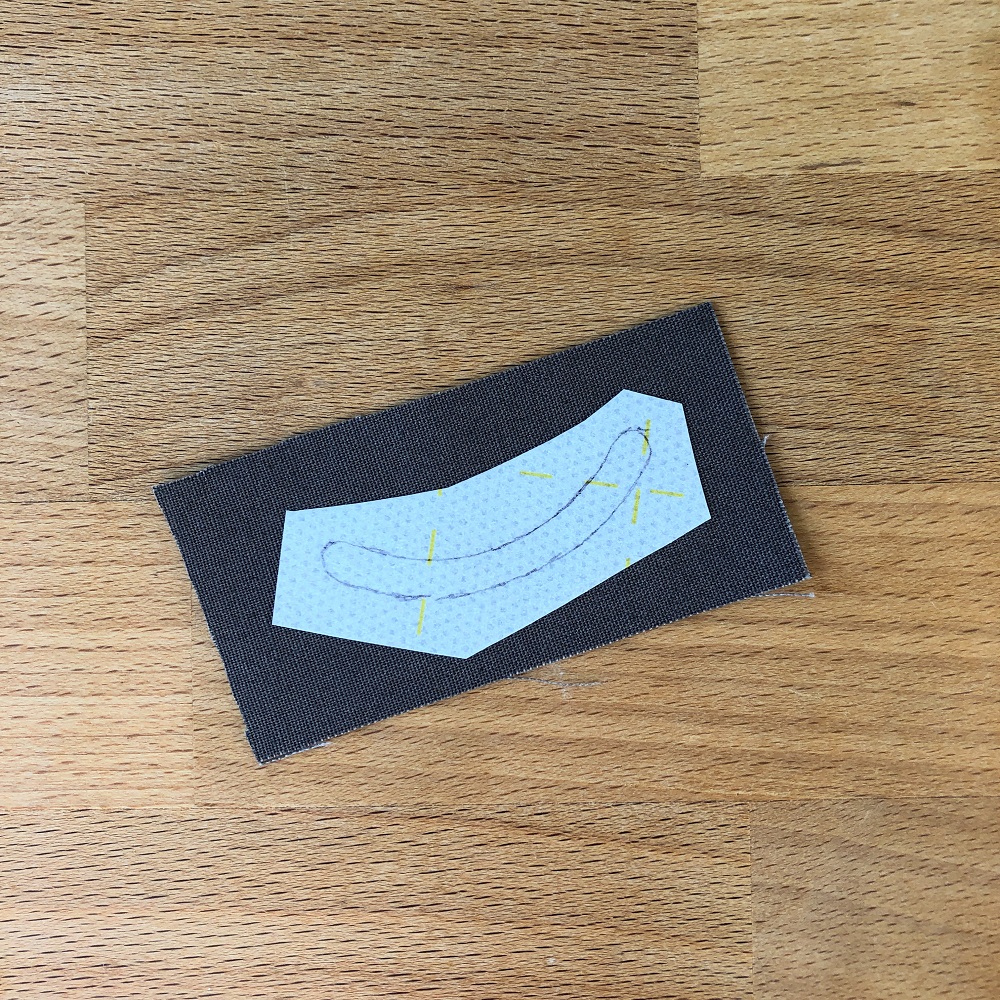
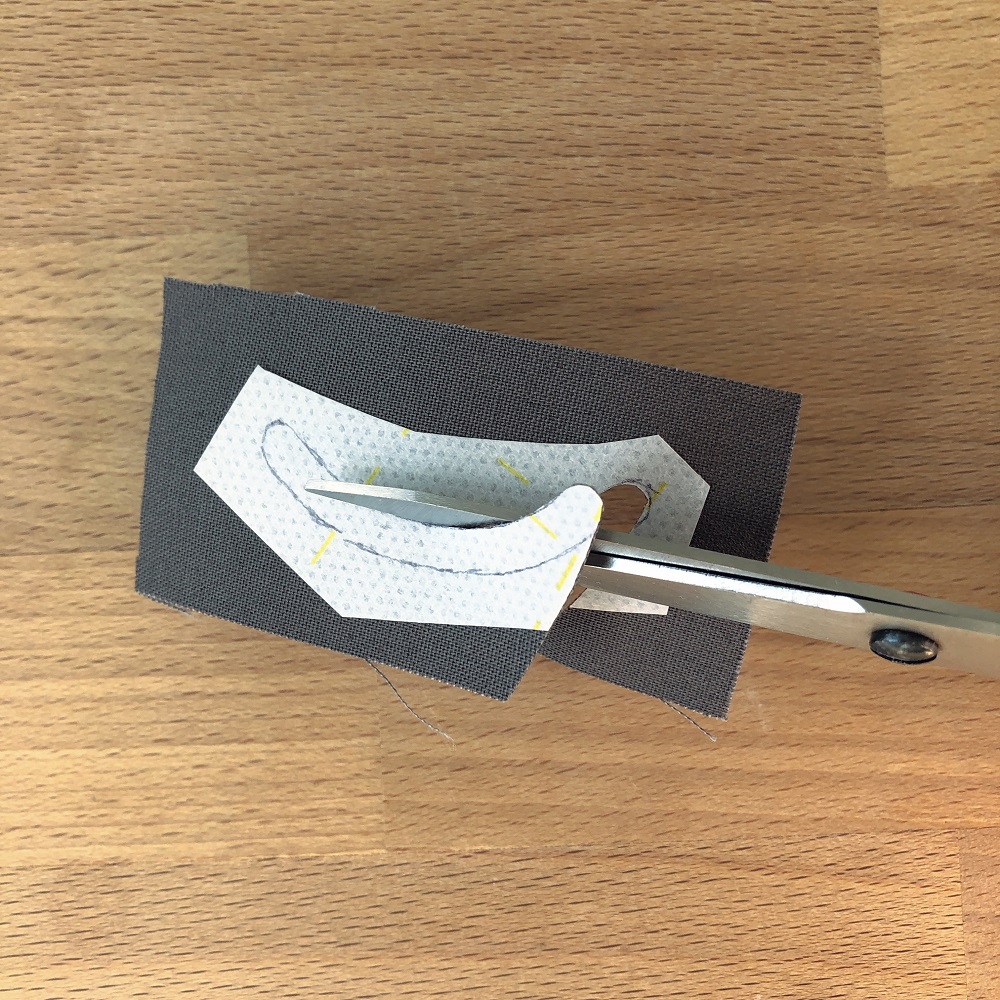
First I cut out the eye template, then traced around it onto a piece of Steam-A-Seam 2 (first photo). I peeled the paper off one side and stuck the piece onto the scrap of fabric I had chosen for my unicorn’s eye (2nd photo). Steam-A-Seam 2 works like a sticker for this step, if you are using a different product you may have to use heat to fuse it to your fabric (read the instructions!). I then cut out the eye piece (3rd photo), peeled off the second paper and positioned the eye in my unicorn’s face, again like a sticker.
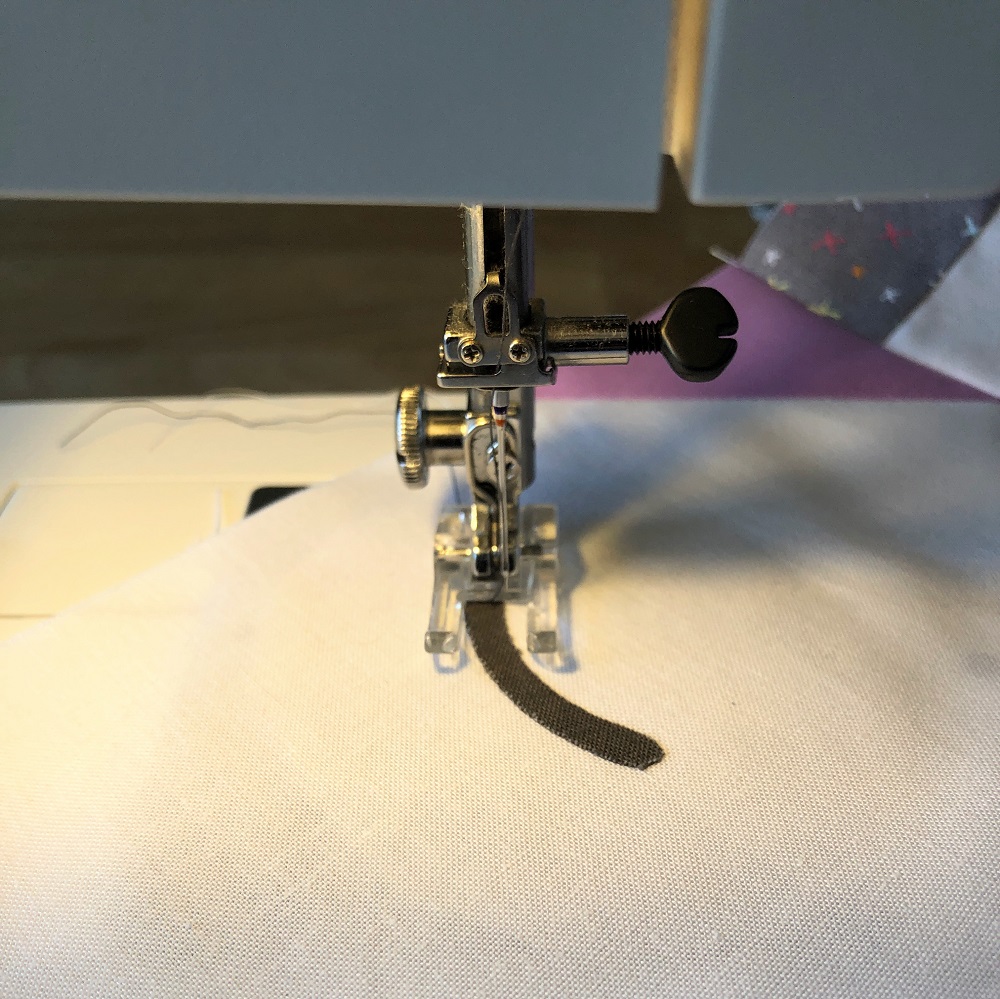
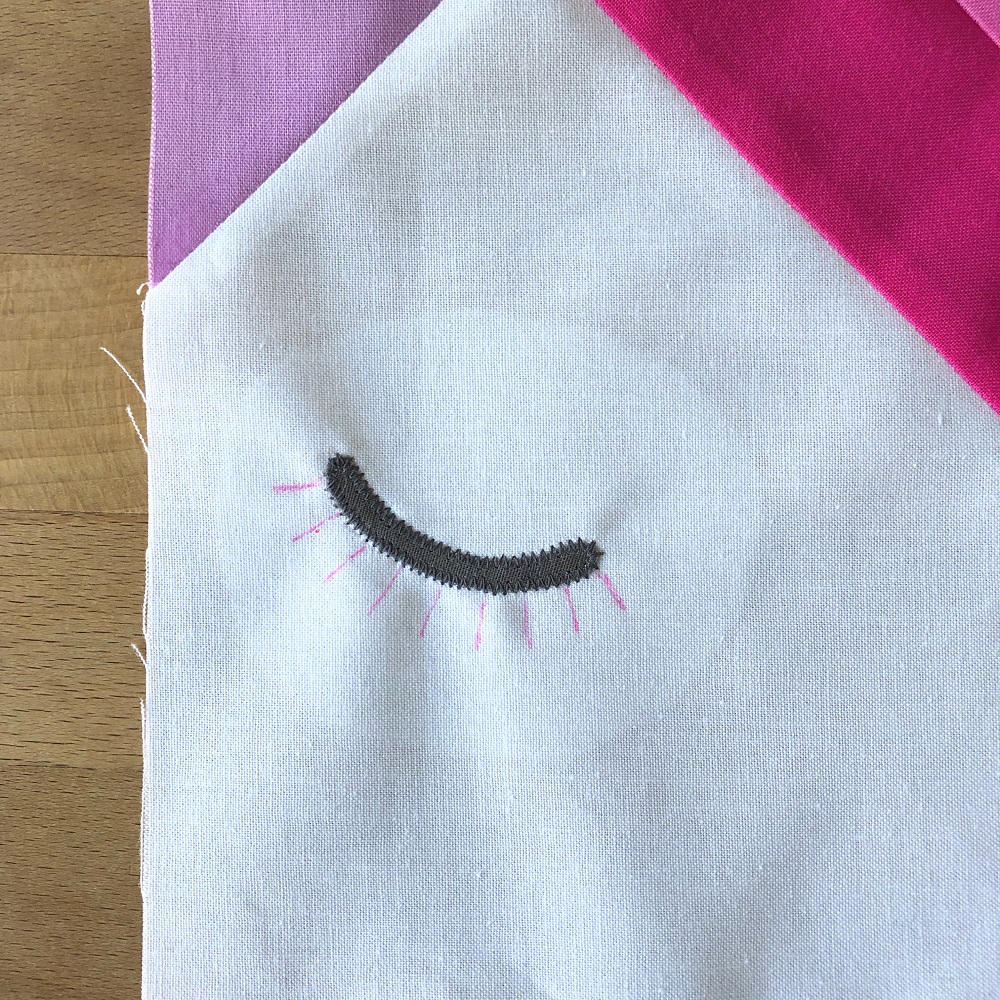
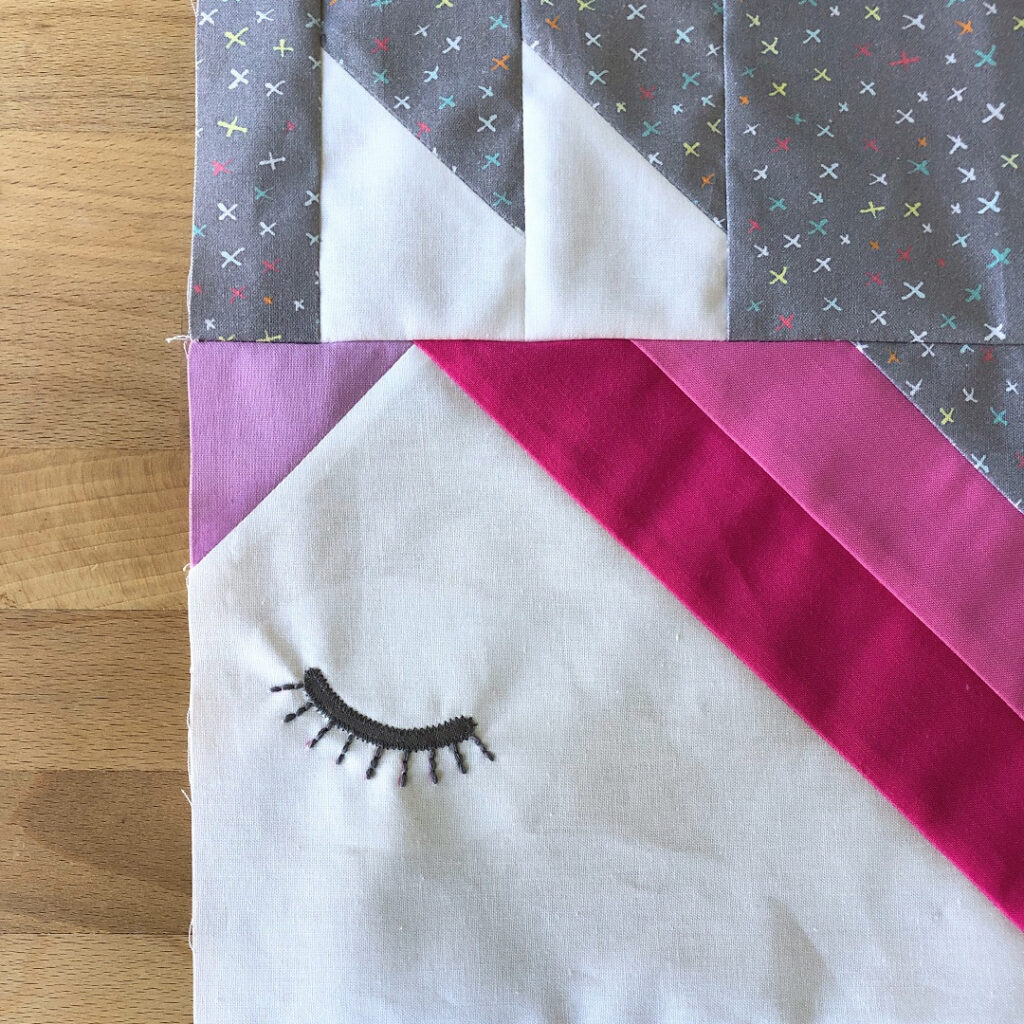
After pressing it in place and adding a potato-shaped piece of stabilizer from the back (I used Pellon 906F), I secured the raw edges with a small zig zag stitch (first photo). For better visibility I like to use a clear foot and I make sure the width of my zig zag is no more than half the width of my eye piece. Because I thought adding embroidered lashes would be a fun detail for my rainbow unicorn I then marked some lines with a temporary marker (second photo). Using all six strands of a piece of colour-matching embroidery floss and doing three back stitches per lash worked great for me (third photo). Or is it too much mascara? What do you think?
Front leg section
I can’t think of any specific tips for the front leg sections not already covered as general tips before. Some straight seams, some stitch-and-flip. Consistent 1/4″ seam allowance when joining your units – you got this!
Sneak peek for WEEK 3
There has been progress on the striped tail option, look! I just looove how it complements the multi-coloured mane.
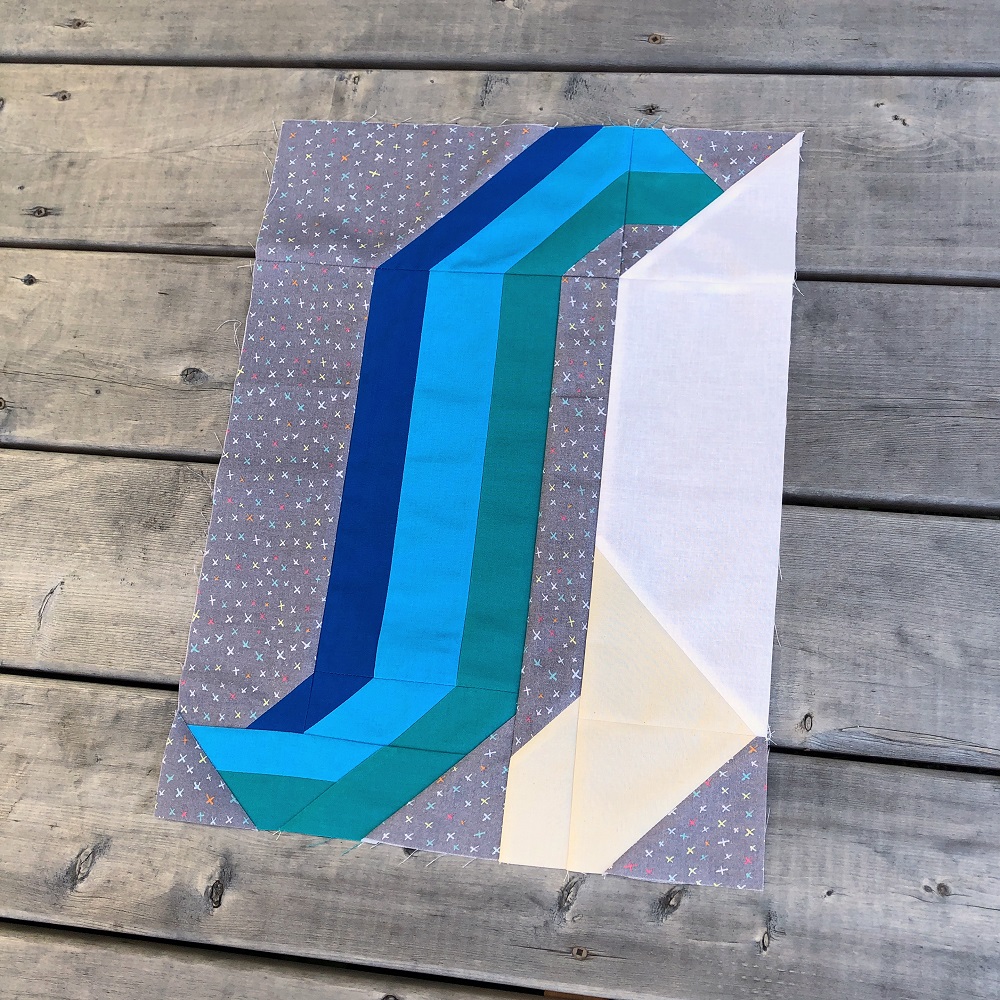
If you are going for this options, there are no big changes for you this week. Just pick your favourite colours for your g–k pieces (instead of all the same) and be sure your g and h pieces are of the same colour! Full instructions for the tail will come with your WEEK 3 email.
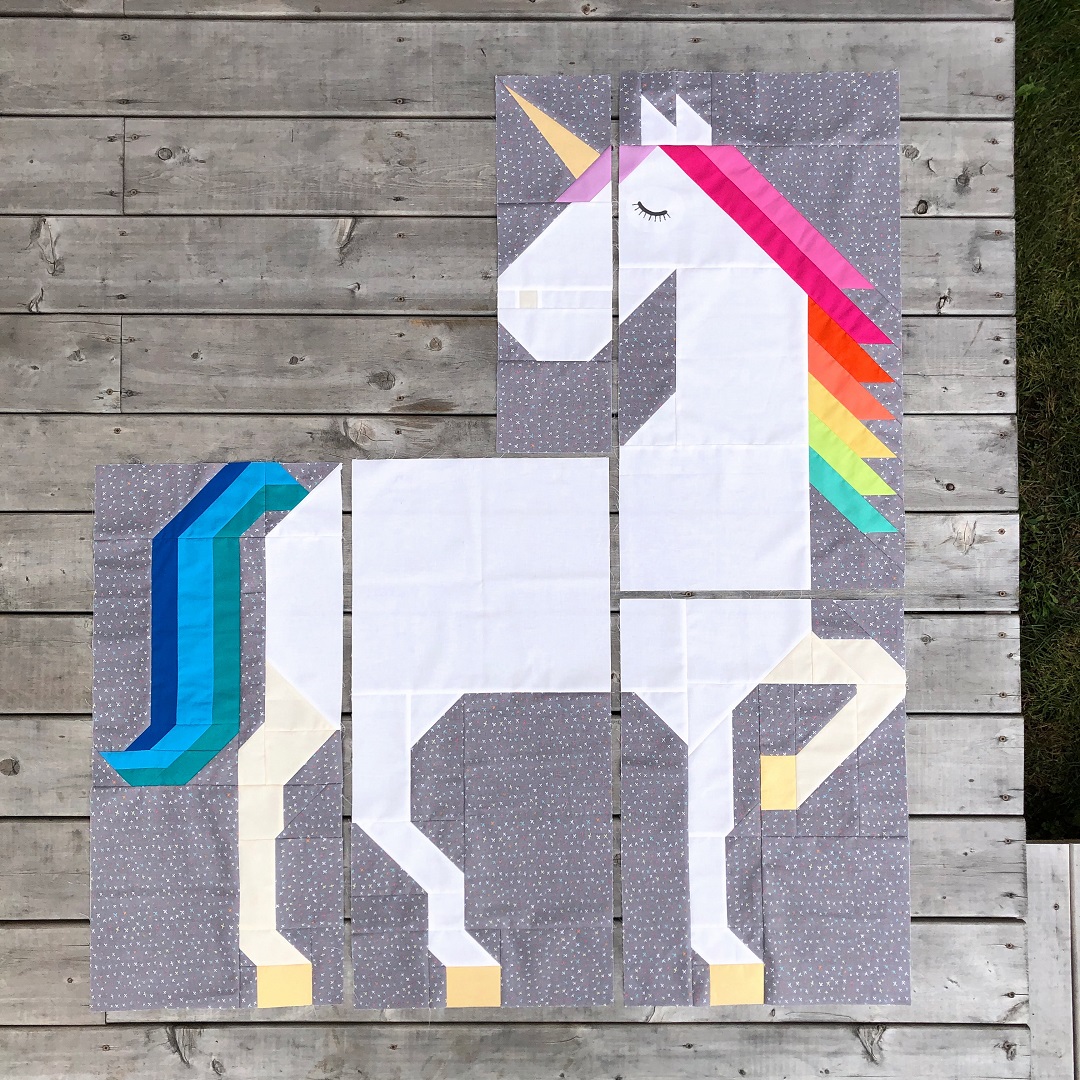
Ok, I think that’s it. Have a great week everyone! Happy sewing and all the best until next Monday!
UPDATE:
The striped tail and previously shown crown add-on are now available as Unicorn Garden Accessories (pdf pattern) in my shop. The pattern add-on bundle also includes a Santa hat and a saddle detail.
