Hi friend! Welcome to WEEK 1 of our Unicorn Garden QAL!
My first quilt along is now officially underway and I couldn’t be more excited! Let’s stitch up a bunch of beautiful unicorns together, shall we?!
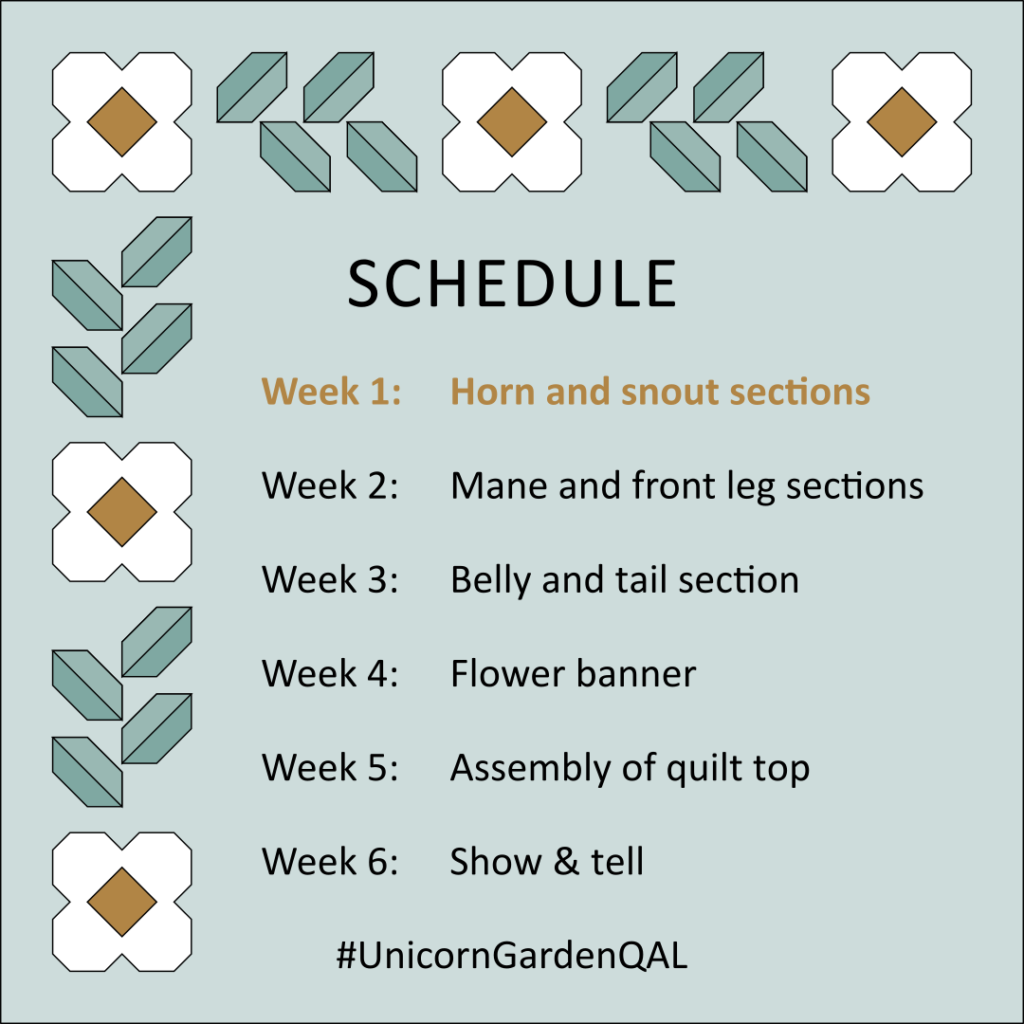
This is our program for this week: our unicorns’ horn and snout sections.
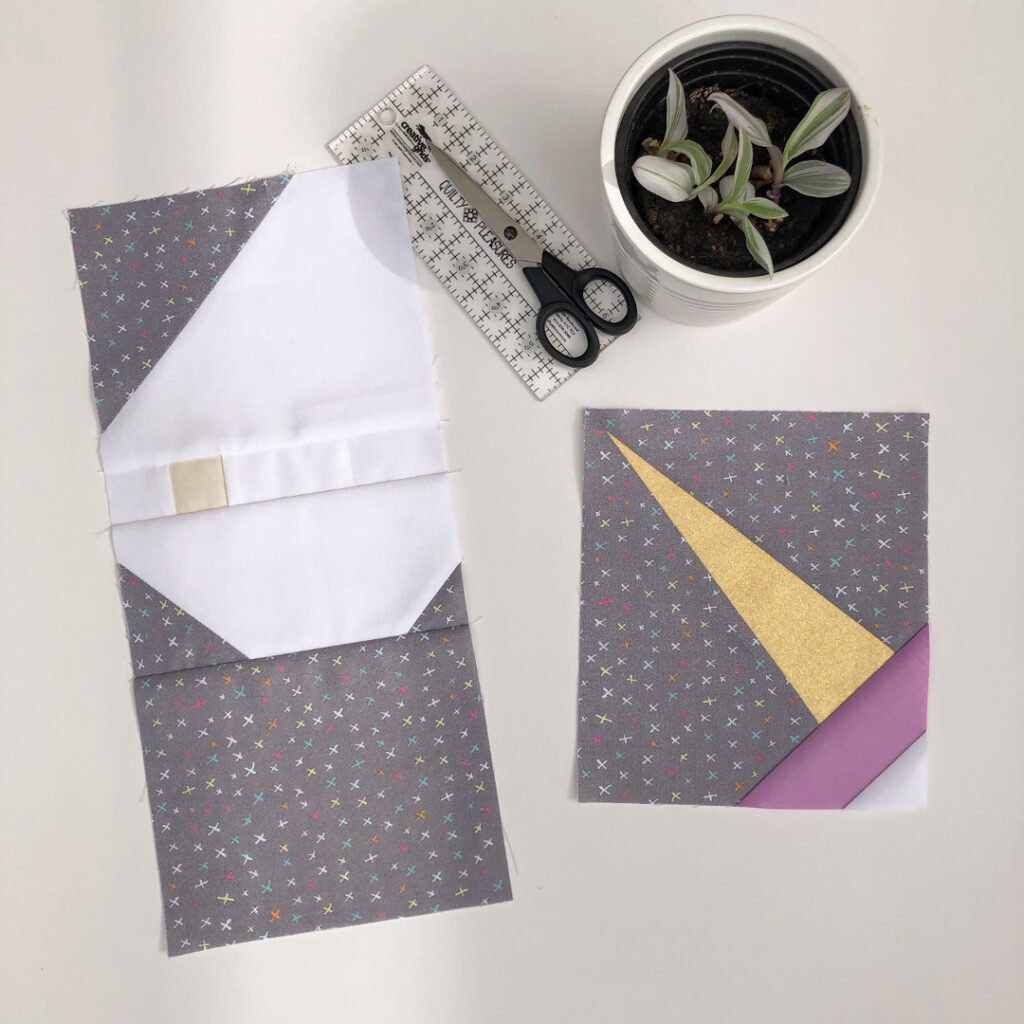
Well, plus one maybe less fun chore: the cutting… but more on that in a bit.
Let me share my tips and tricks for this week to help you have a great start with this project! Be sure to scroll all the way to the end for a sneak peek of next week’s bonus option!
And if you’d like to review my previous tips on colour selection, please check out this blog post.
General
Ok, let’s start with a few conventions and techniques that you should be familiar with when working through the Unicorn Garden pattern.
Pressing symbols
If you have made any of my patterns before, you are familiar with my notation for pressing instructions, which are included in virtually all of my diagrams:

These triangles and dots are your best friends! Especially if you like visual information, you can “read” all the required details from the diagrams and essentially skip the text. Here’s an example, Fig. 8 and Fig. 9 from the Unicorn Garden pattern:

Pretty neat, eh? 😎
Stitch-and-flip
Next up: stitch-and-flip. When you’re somewhere in the middle of Unicorn Garden and not sewing along a straight edge, chances are you’re creating a diagonal seam using this very technique. In most cases, you’ll be sewing along the diagonal of a smaller square placed on a larger square or rectangle. The example below is from Fig. 7 of the pattern.

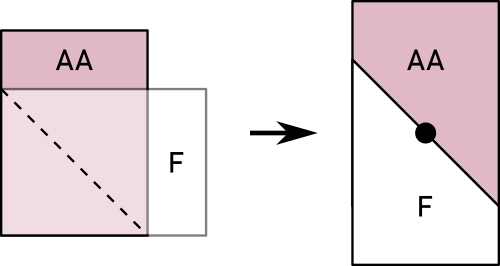
In some cases though, you’ll be using two rectangles. You’ll be sewing along the diagonal of the square created by the two overlapping rectangles. Makes sense? Have a look at Fig. 11 from the pattern to see what I mean:
Seam allowance
One more thing I’d recommend: check your 1/4″ seam allowance! As each body section of the unicorn is made up of multiple pieces, connected by the same number of seams, a consistent 1/4″ seam really is crucial. Even small inconsistencies add up. Only if each completed section turns out with the correct dimensions, they’ll all fit together nicely in the end.
Check your tools and get comfy
And lastly, the start of a new project is always a great time to clean your machine and switch your needle. Make sure your rotary blade is still sharp and replace if necessary. And maybe remove some of the clutter from your desk to have a nice clean work space? I will immediately admit that I do not always follow all those pieces of advice myself, but each time I finally do any of the above, I wish I had done it earlier. Don’t be like me! 😛
Cutting
Alright, I hear you! Enough theory, let’s get going!
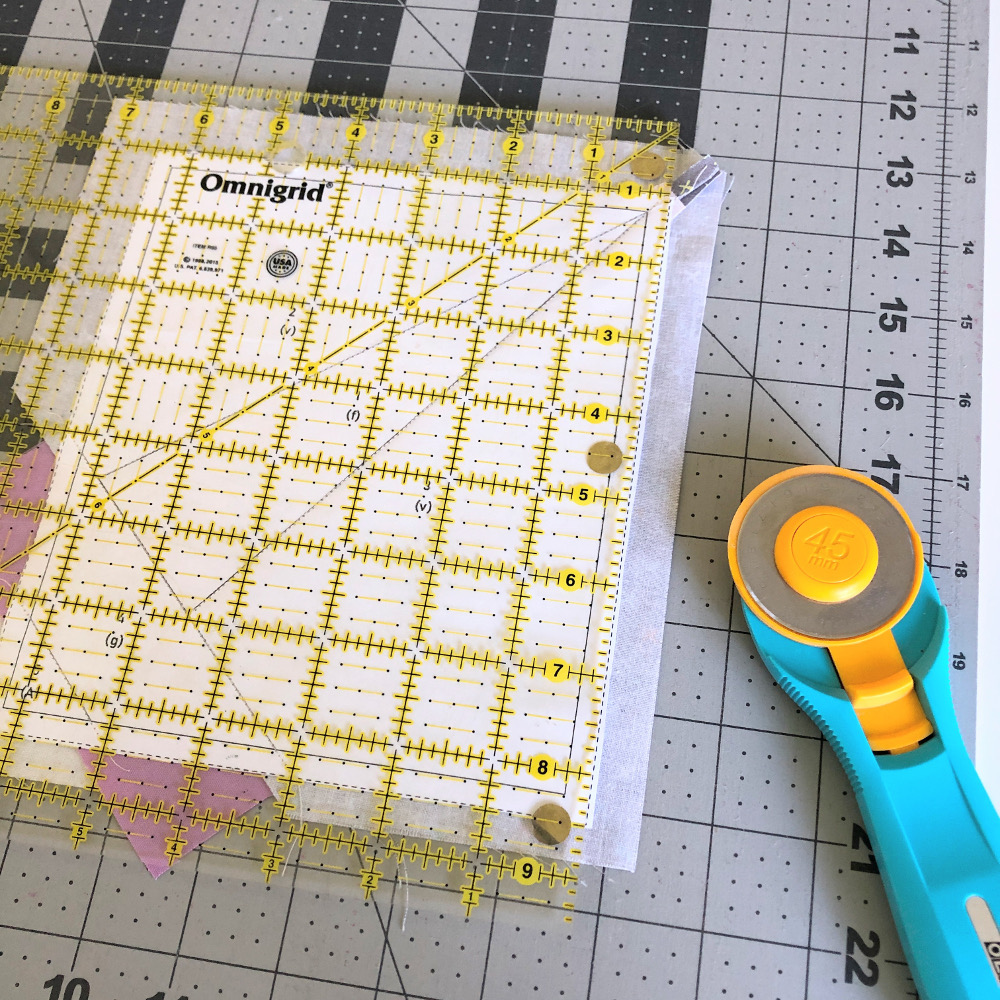
As mentioned at the beginning, we’ll have to cut for a bit, before we can sew anything. I am assuming you are well versed using acrylic rulers and a rotary cutter, so I’ll limit my recommendations to the following:
- Use the provided tags to label all your different pieces and (especially if you have kids and/or pets) consider pinning/clipping them to your fabric cuts.
- Cut WOF strips with the fabric folded in half. Then open up your strips and sub-cut as needed. The dimensions of each piece can be found in the overview table at the beginning of the pattern or on the tags.
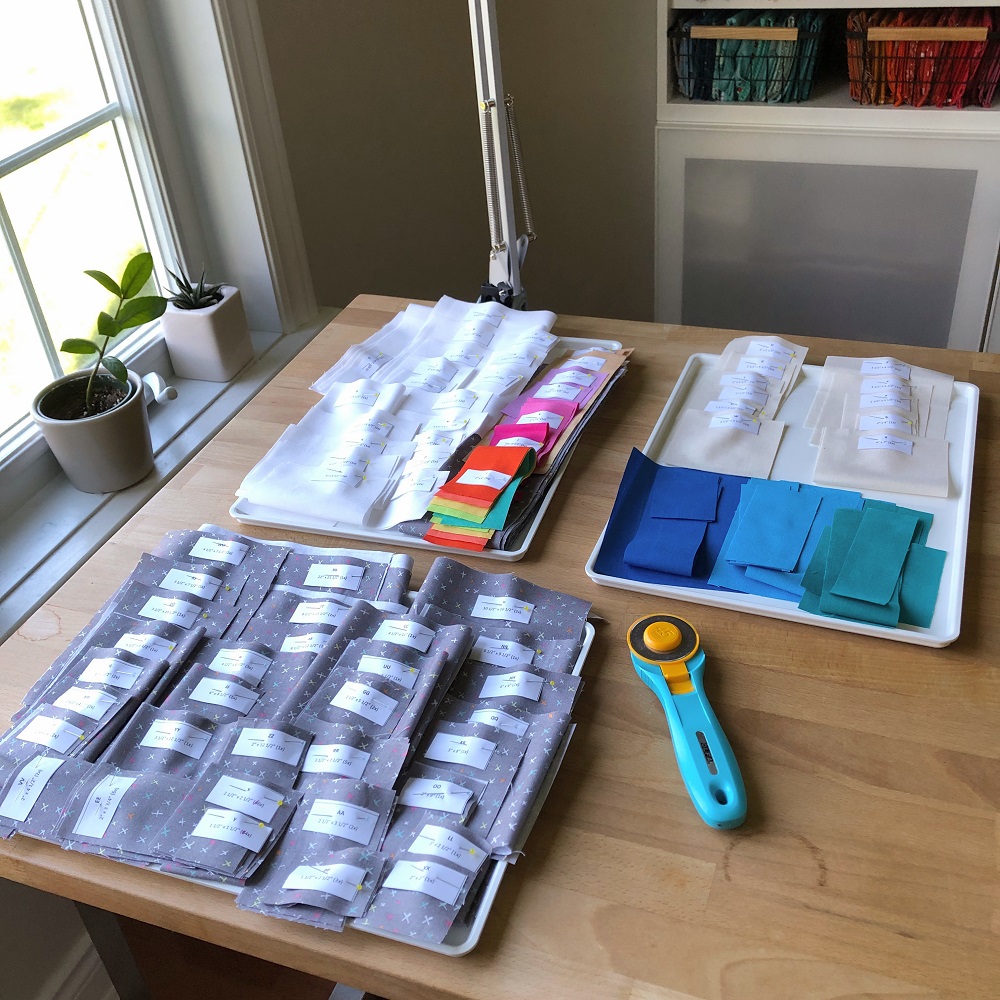
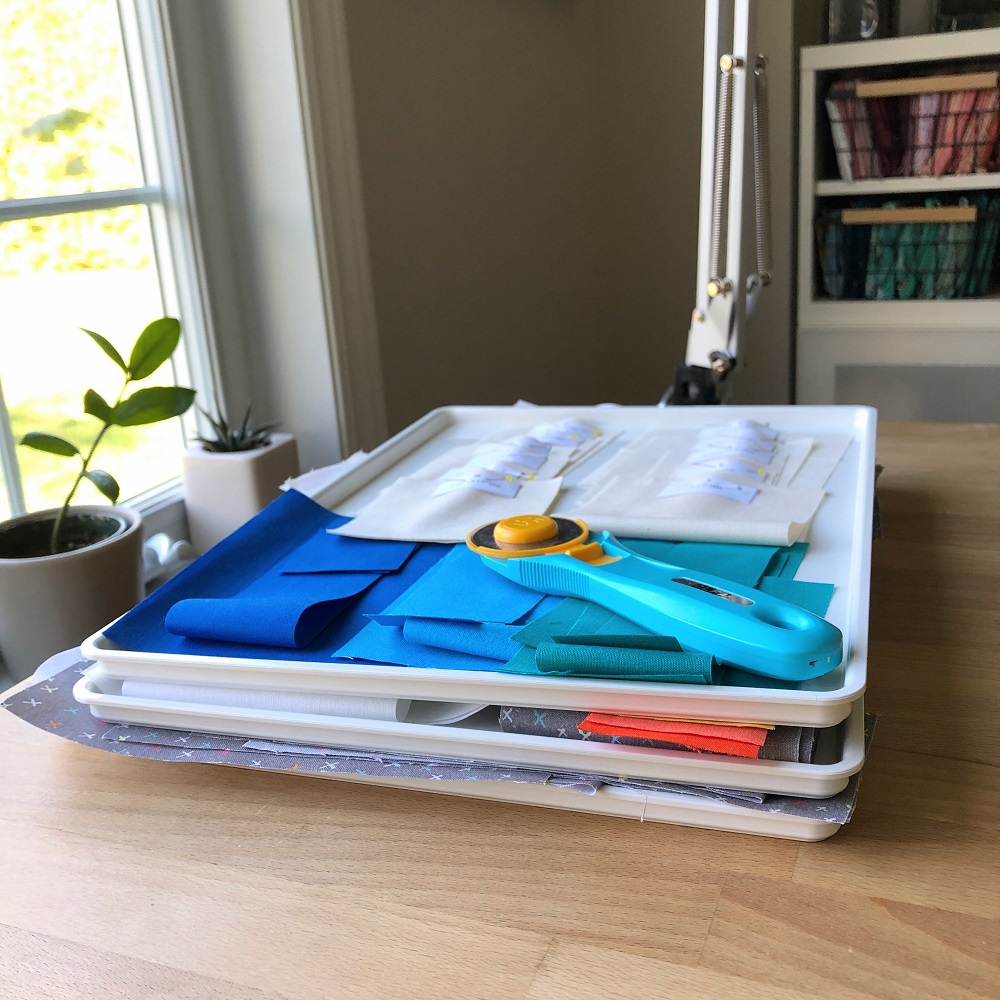
- You’ll be cutting a good number of different pieces. So unless you have a massive work surface on your sewing table: find a big serving tray, some paper plates or an old camping table to accommodate your pieces! I like to use these flat box lids from some Ikea organizers of mine. I lay out all my pieces (folding larger pieces in half), making sure I can see all the labels. Now I can “shop” for what I need for each step of the pattern! But the best part: I can stack my lids and put them aside easily when I need space for a different activity (see second photo)!
- If you’re not starting with a fresh cut of yardage (or new fat quarters), but are using up materials from past projects: cut your largest pieces first and work your way down to the smallest. This will allow you to use your fabric most efficiently. Use the overview table or cutting charts to check off the pieces you’ve cut.
- I like to cut the most tedious part first – for most of my patterns that’s the background pieces – and then work myself up to the other colours with quicker wins. The total time spent cutting might be the same, but this clearly works best for my motivation. 🙂
- And if you really, really want to start sewing ASAP, skip cutting colours 6-9 for now as we won’t start on the flower banner until WEEK 4.
- Just get it done – the fun part awaits on the other side!
Snout section
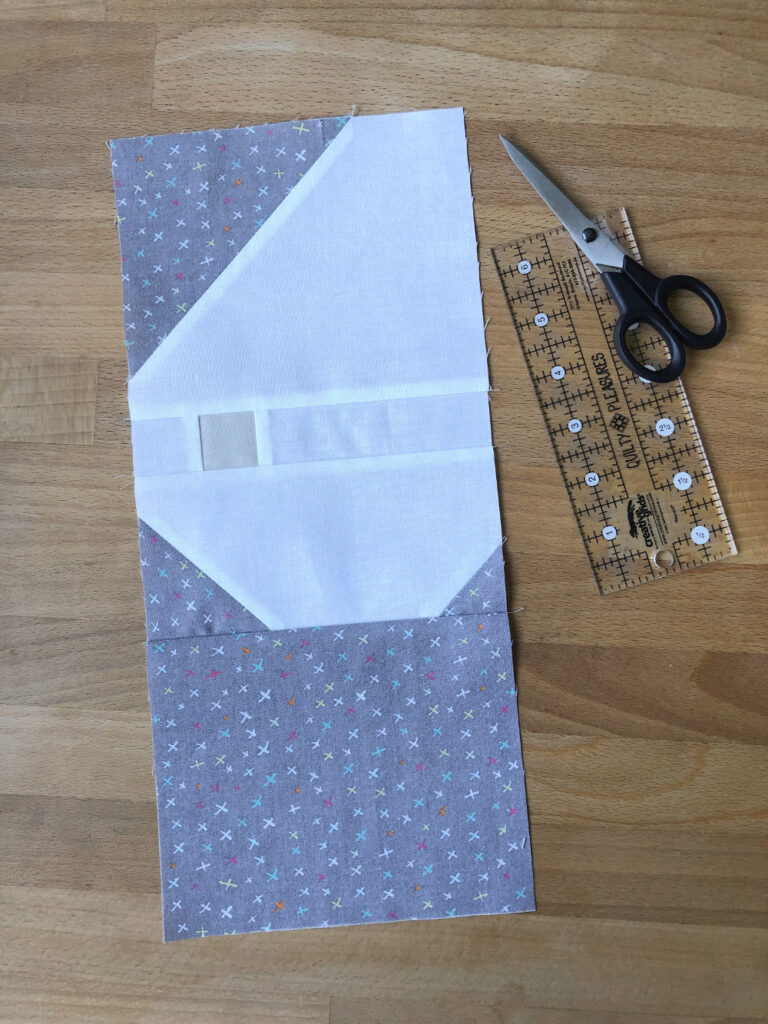
The snout section is the easiest of all unicorn sections. All traditionally pieced and only composed of nine pieces – perfect for the warm-up! With the above tips on pressing symbols and stitch-and-flip, I hope you won’t have too much trouble making this section! You got this!
Horn section
Now to the second section on this week’s program: the horn section. As it is foundation paper pieced it is likely the section giving some of you more of a tummy ache. But you’ll see, it’s not as tricky as you might think! Just follow the quick tutorial below. And if you are an experienced paper piecer, feel free to skip to the end of this post!
Preparations
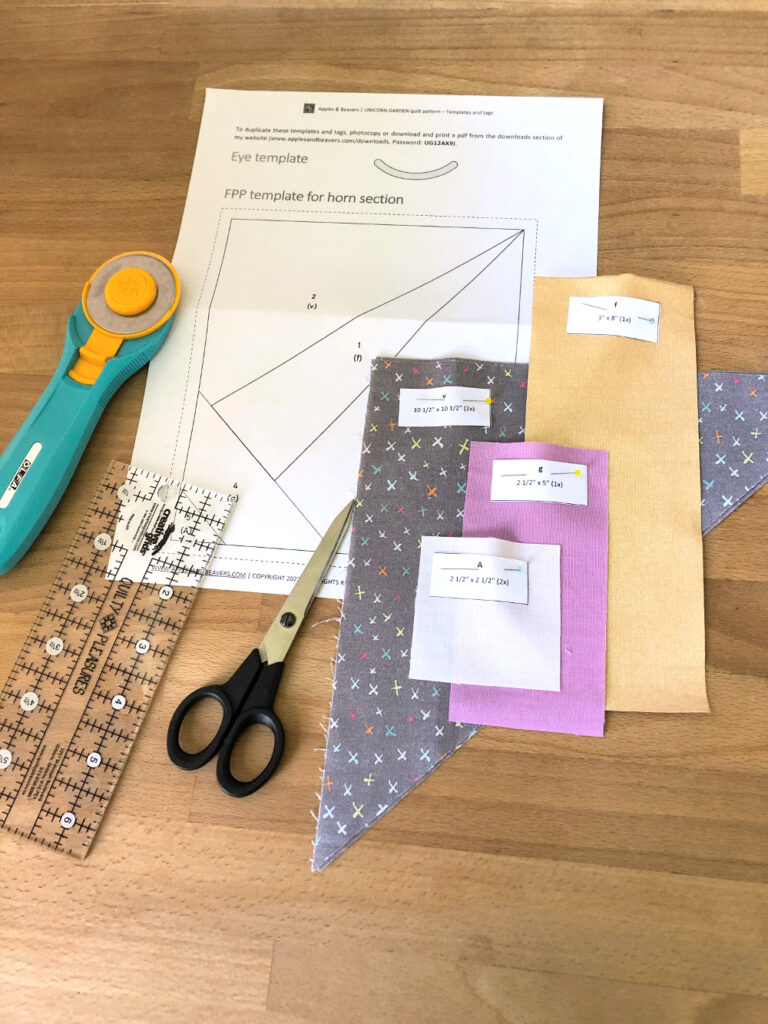
If you are working with a printed Unicorn Garden pattern, you can use the included FPP template. If you prefer a template printed on special foundation paper, you can make a photocopy or print from the linked pdf file (see inside cover of pattern booklet for details!). Same if you have a digital copy of the pattern. But the horn section is simple enough – as long as you pre-fold your sewing lines and use a small stitch length (1.5 – 1.8) you’ll also be just fine with regular paper. Whatever paper you’re choosing to print on, be sure to check the scale: the dashed contours of the horn section should measure 6 1/2″ x 7 1/2″.
The steps
Ok let’s get this horn section done!
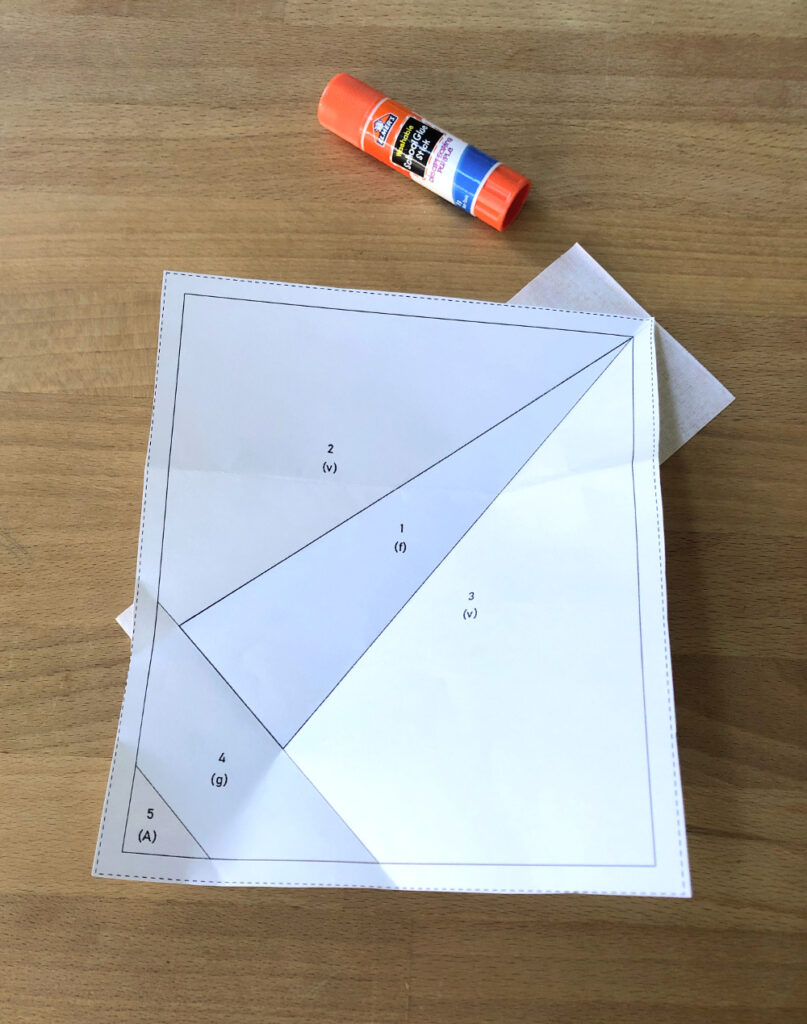
- Rough cut your FPP template around the dashed contours and pre-fold along all sewing lines.
- Centre section “1” of your template on the back of your f piece (f piece faces right side down). Pin or glue in place.
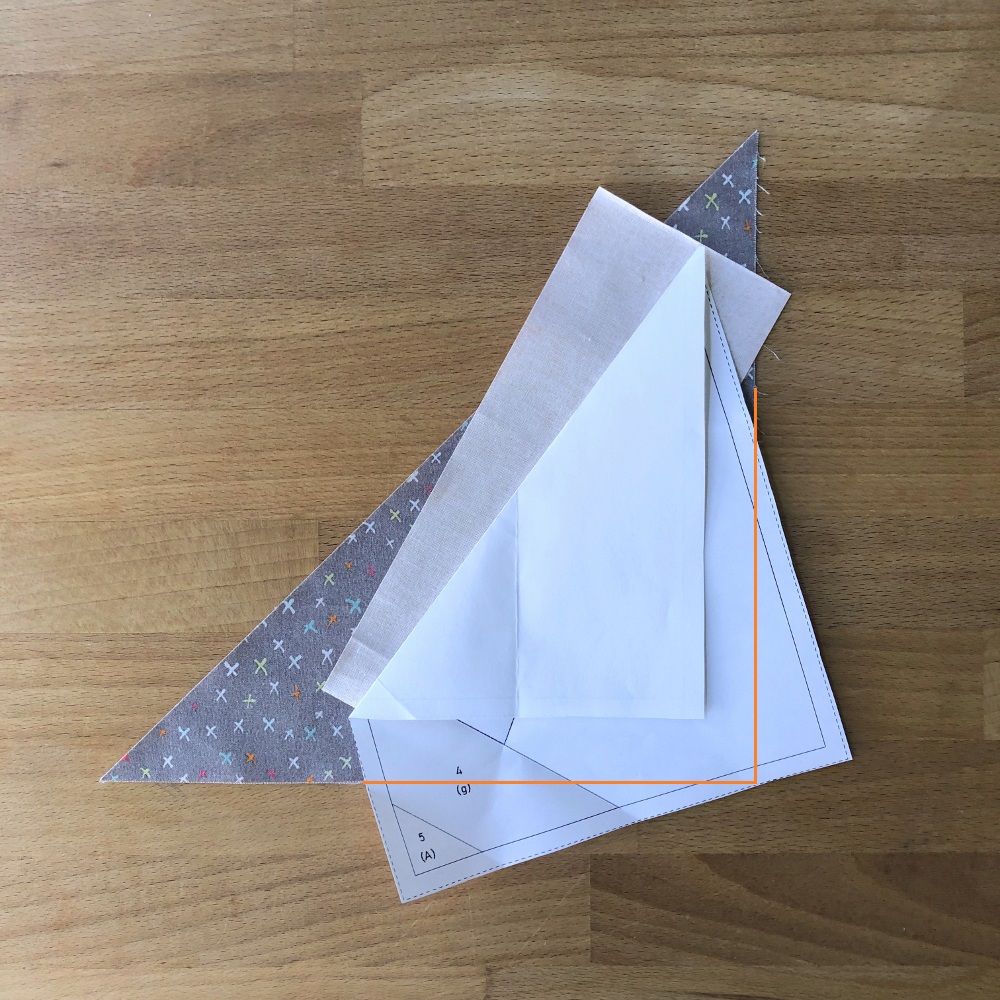
- Fold section “2” up and position the template (with f piece attached) on your first v piece (v piece cut in half along the diagonal and facing right side up). Be sure to leave some margin on all three sides of section “2” (see orange line).
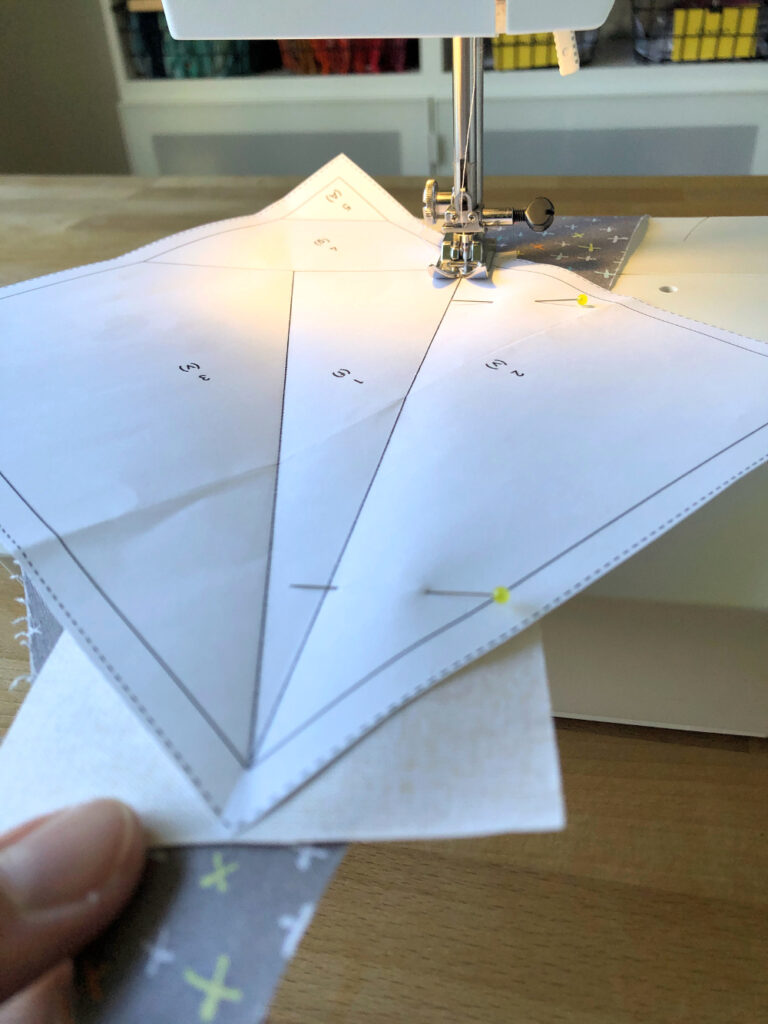
- Fold section “2” back down, secure your fabrics with pins and sew on the line between sections “1” and “2”.
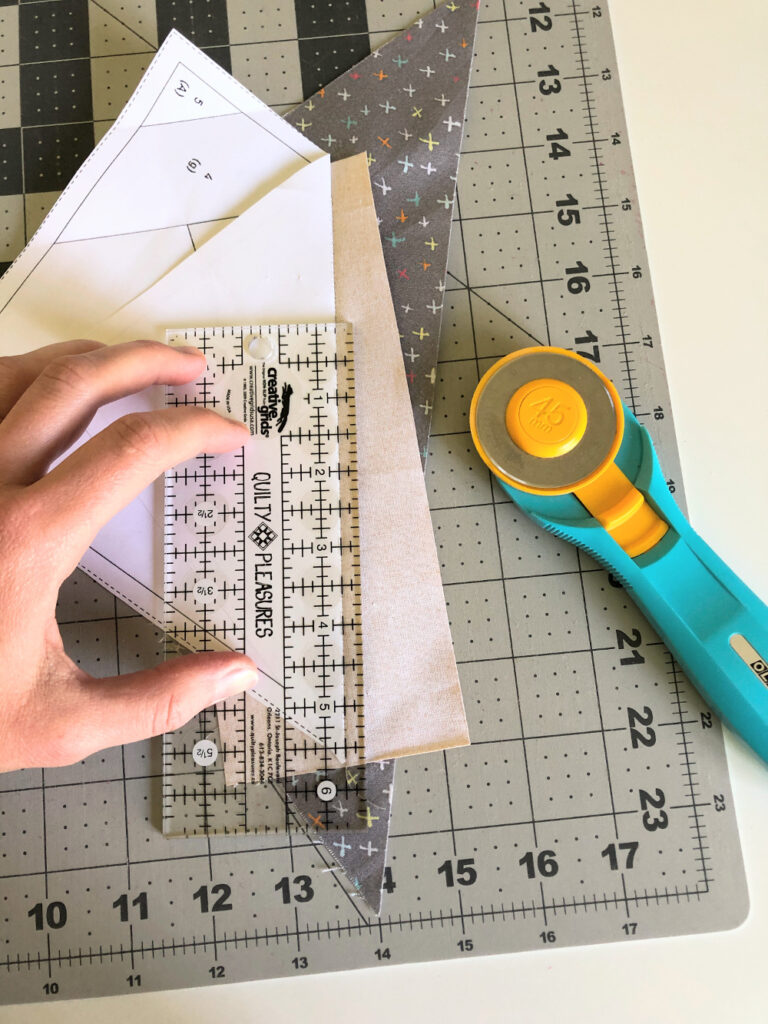
- Fold section “2” up once again and trim your excess at 1/4″ from the seam.
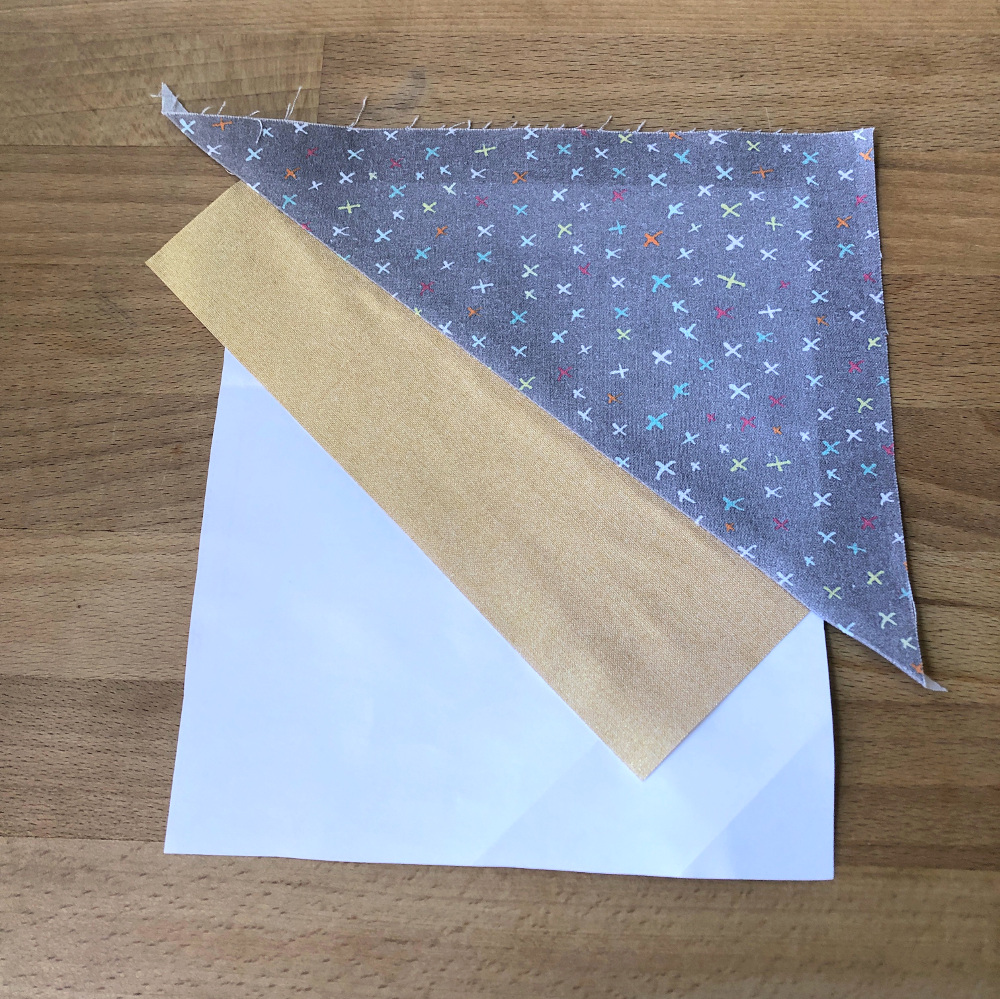
- Gently open up your fabrics and press.
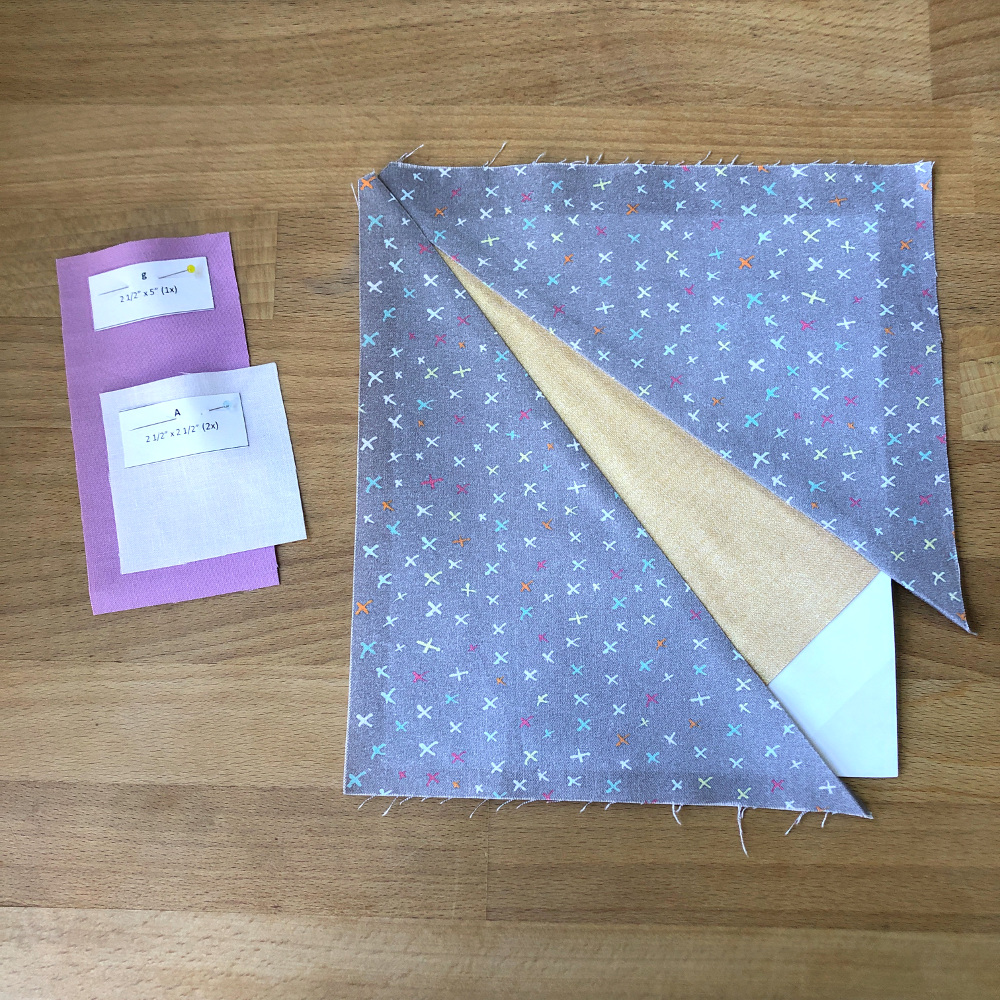
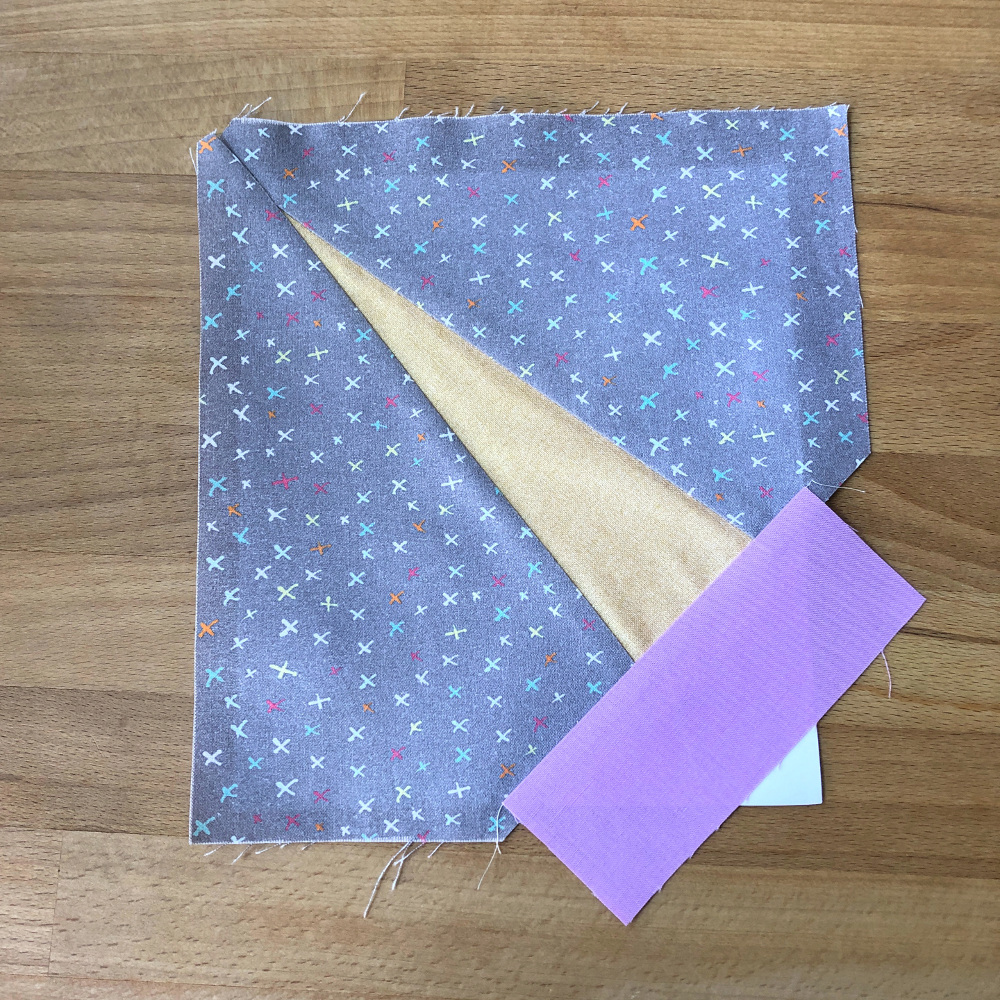
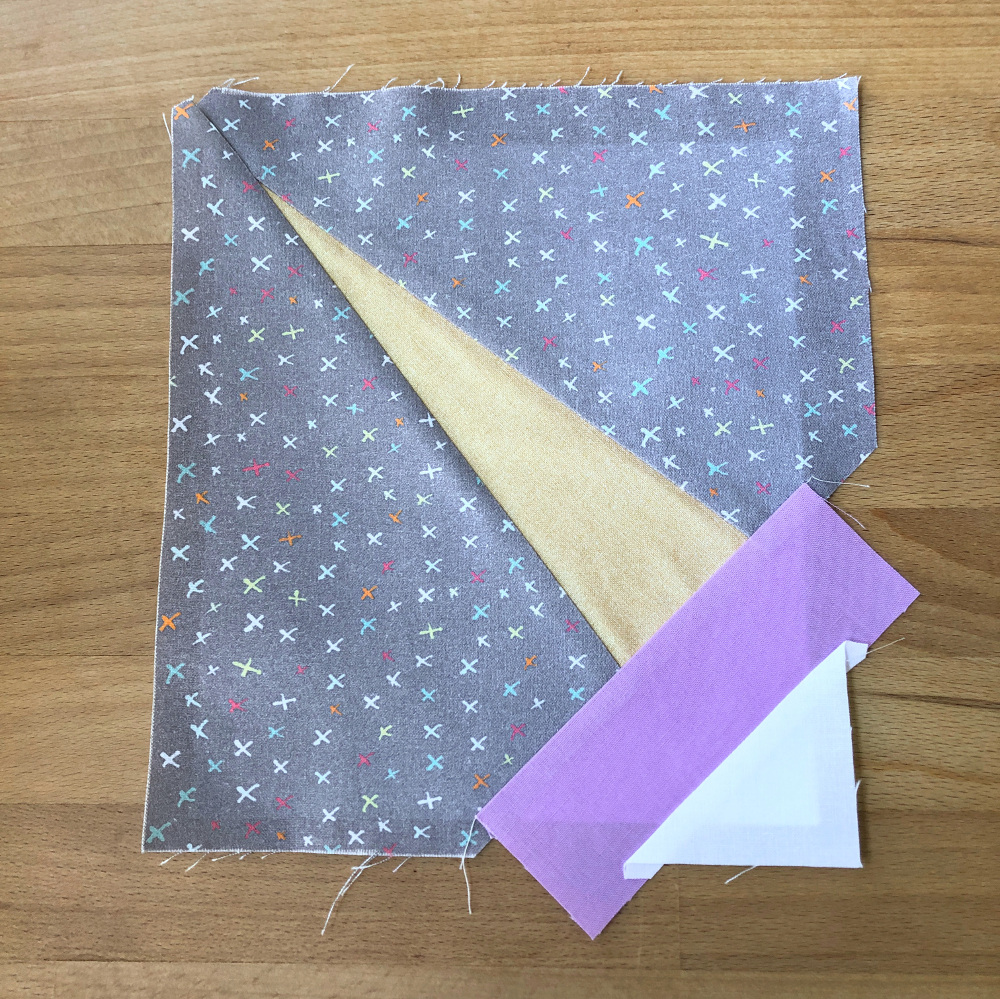
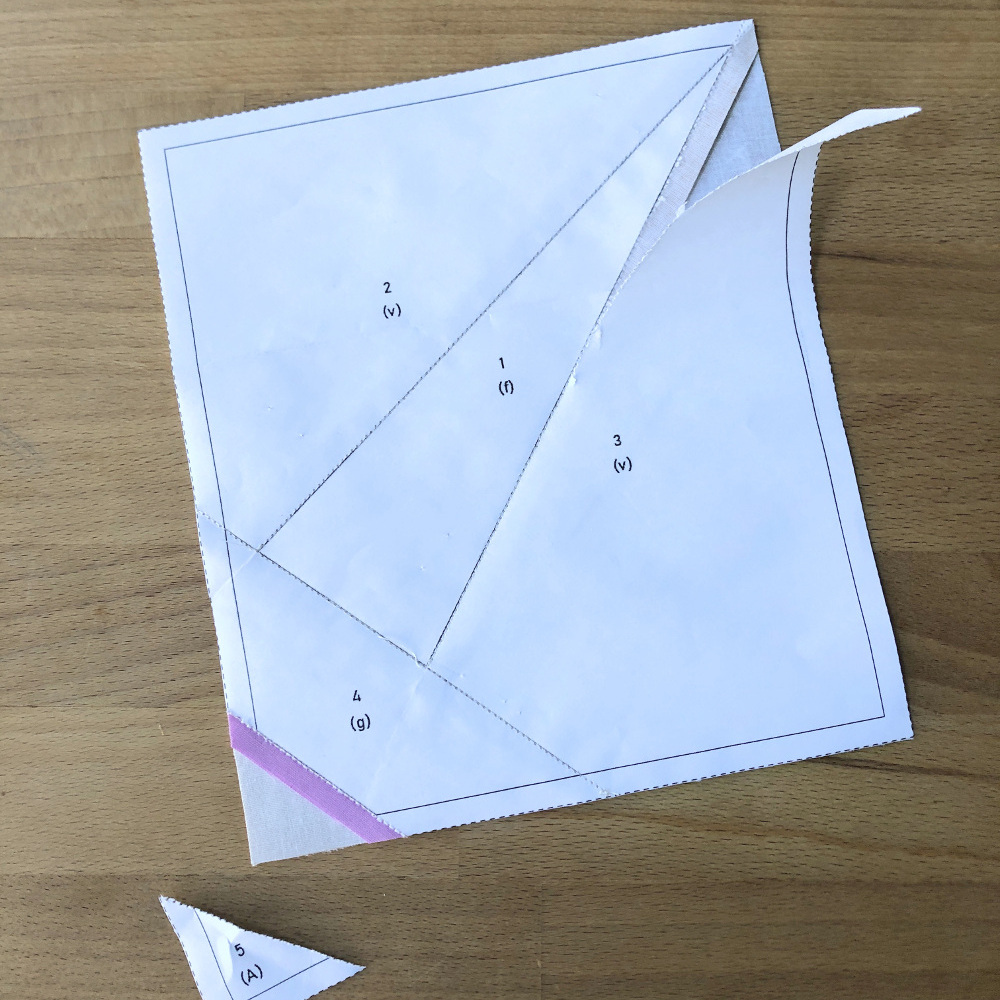
- Repeat the same process with section “3” and the second half of your v piece, then sections “4” and “5” using your f and A pieces.
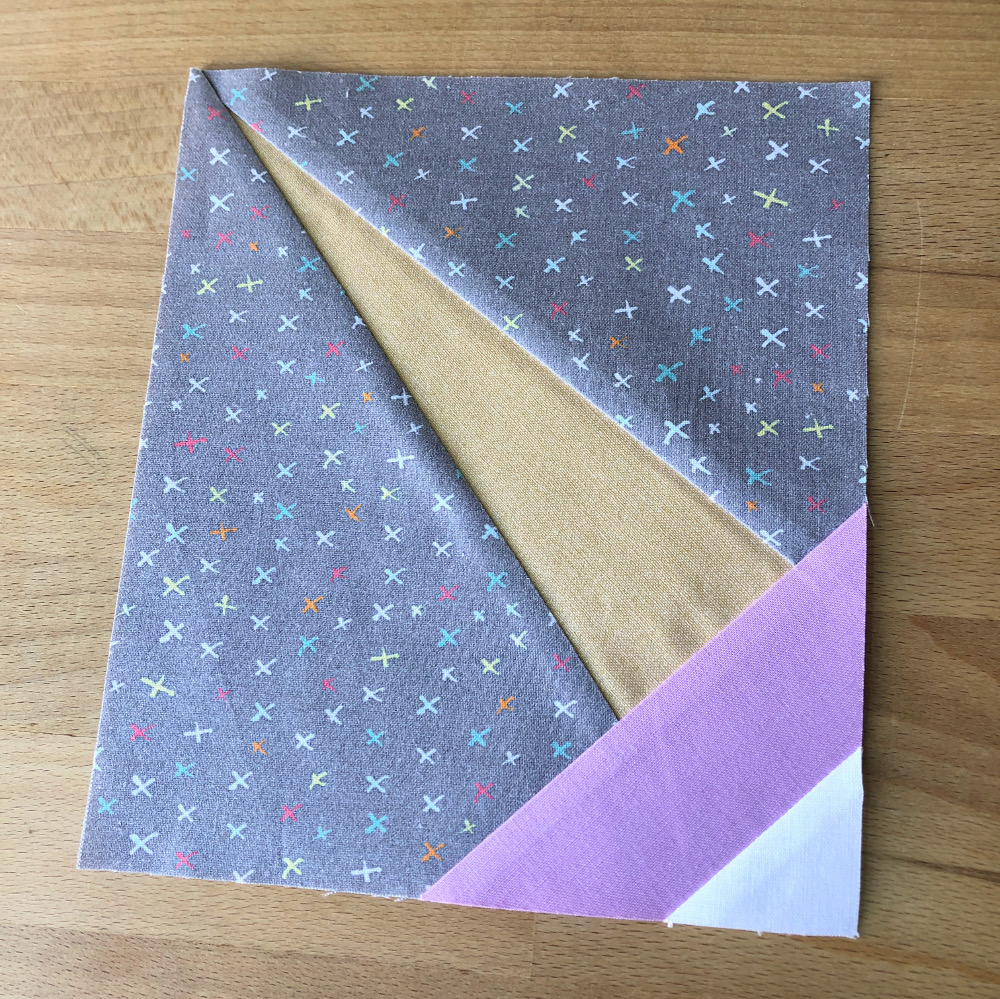
- Trim along the dashed contours of your FPP template and carefully remove the paper.
And that’s it! I find the key with FPP is to carefully position your template on each new piece of fabric with the respective section folded up and to check that there’s enough of a fabric margin all around that section.
I hope the horn section didn’t give you too many head aches and if it did, I hope the rest of the Unicorn Garden pattern (no more FPP!) will be a breeze!
Sharing your progress
And yeah, that’s it for this week! Don’t hesitate to hit me with your questions, if you need any more support! I’ll answer what I can and share them in next week’s newsletter.
Also… I didn’t want to pressure you into sharing each week’s progress on Instagram, but am hoping you’ll use it as an opportunity to see each other’s versions. And of course I’m curious too! 🙂 (If you do, please use #UnicornGardenQAL.)
However… If I were to draw a winner from everyone submitting a photo of their completed quilt top at the end of the QAL (photos via Instagram and email would both be accepted), what would be your preferred prize? A gift card for my shop? A quilt kit? A mixed box of quilting goodies? Other ideas? Don’t be shy and let me know, please!
Sneak peek for WEEK 2
As you may have guessed, next Monday’s newsletter will include instructions on how to add a crown detail to make a unicorn princess. The crown is foundation paper pieced but the overall integration into the unicorn pattern is really simple, you’ll see!
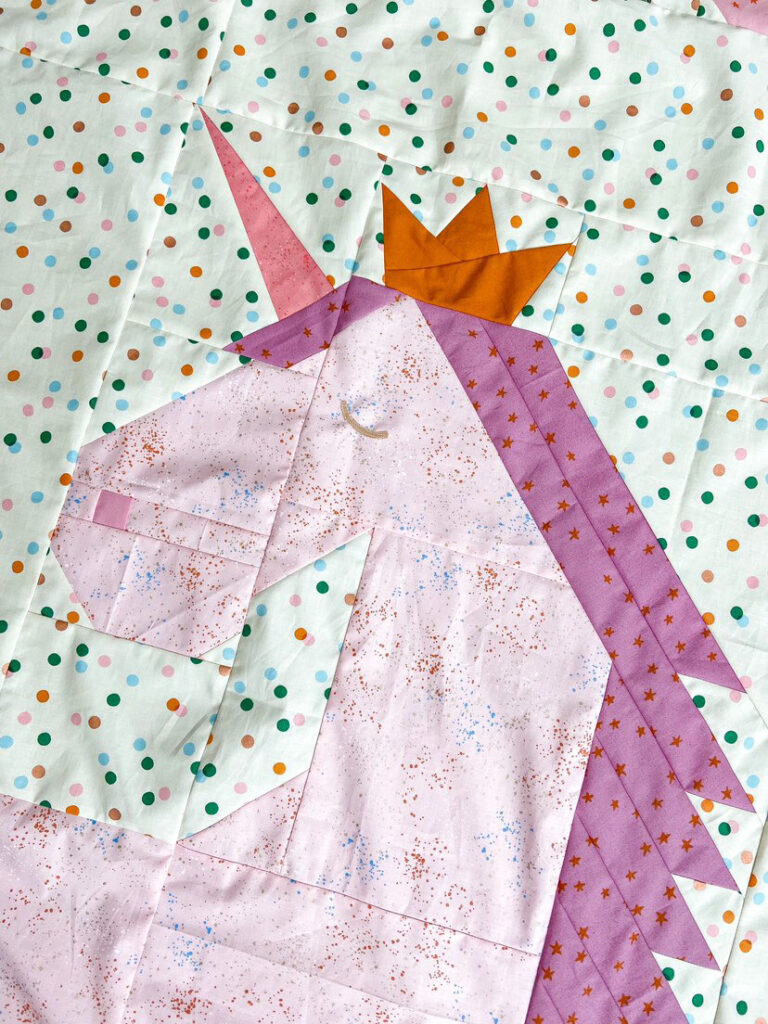
Amanda from @quiltcakes was kind enough to test this option for me and to provide this beautiful photo. Thanks, Amanda! 💛
Happy stitching everyone! Talk to you next Monday!
