Please meet Rufus, my sleepy dragon’s little crow friend! Aren’t they an adorable couple?!
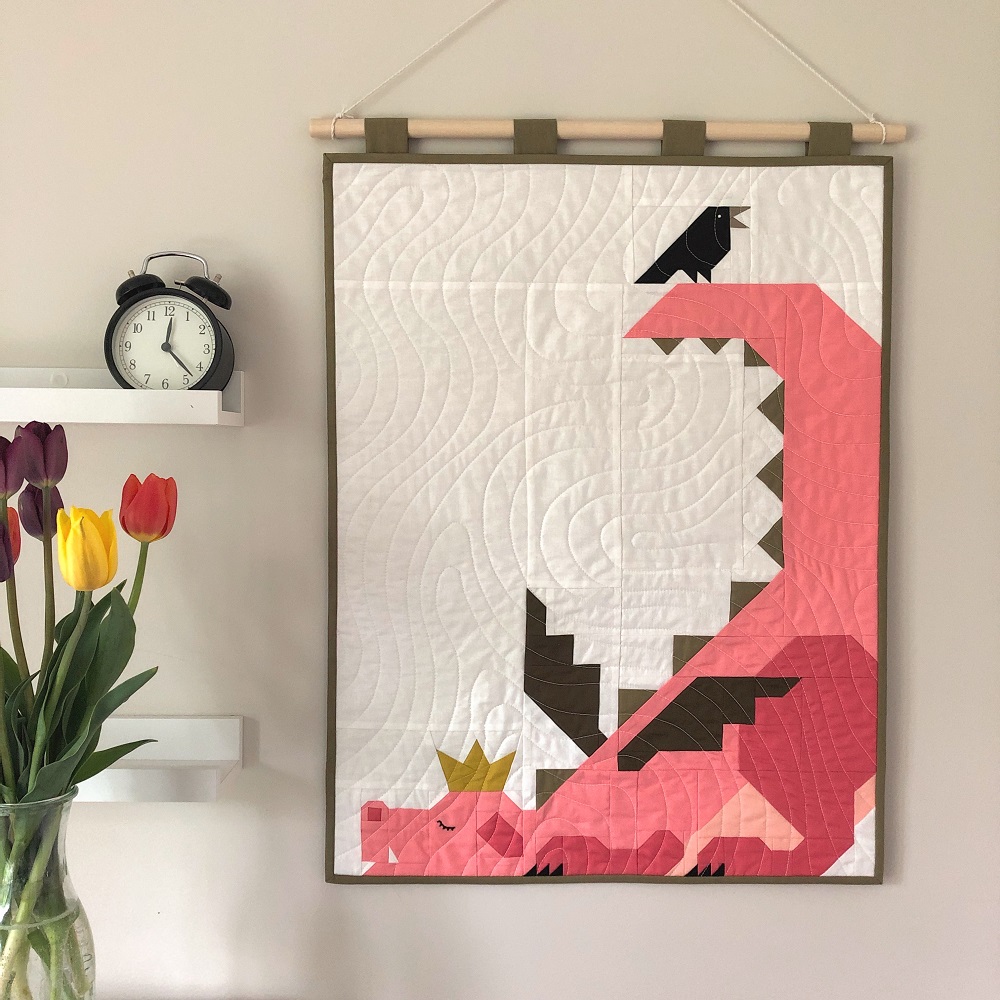
I am sure many of you are just as delighted about this sweet addition to Dragon Dreams as I am. Therefore, here is a quick tutorial for you to make your own. You’re welcome!
Little Crow is a quilt block pattern. The crow block comes in two sizes, so you can add the crow detail to both Dragon Dreams in the regular crib size and Mini Dragon Dreams to make a mini quilt as shown above.
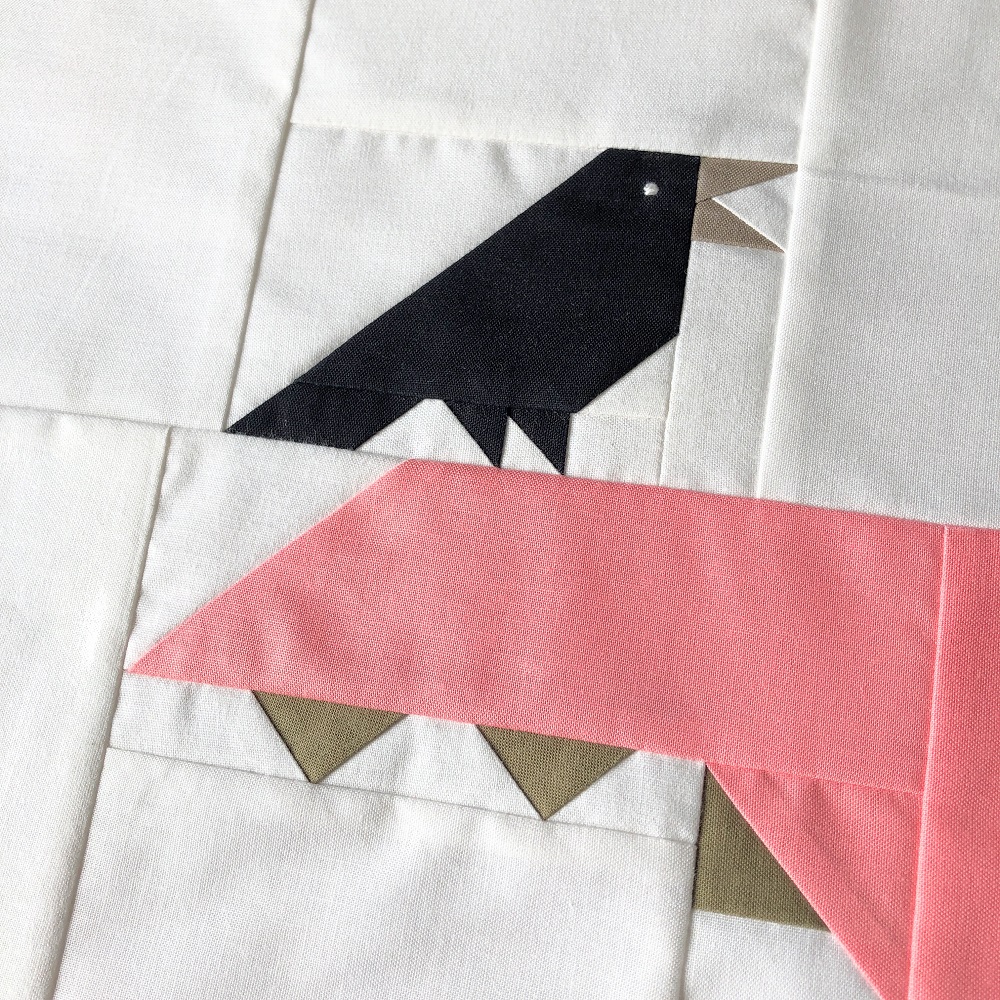
A few notes before we start
- You will need the following quilt patterns:
- The dragon: Dragon Dreams (get the pdf or printed booklet) or Mini Dragon Dreams (get the pdf)
- The crow: Little Crow (get the pdf)
- Mini Dragon Dreams already includes the (optional) crown detail, while Dragon Dreams does not. If you’d like to make a crib size Dragon Dreams quilt with a crown, this tutorial has all the details.
- The crow addition has basically no influence on the fabric requirements of your dragon quilt. All you need is a few extra scraps for the crow block (please refer to the Little Crow pattern for details).
- The crow detail will add 1″ in height for the mini dragon quilt and 2″ for the regular dragon quilt. That means the dimensions of your finished quilt will slightly change: 20″ x 26″ (instead of 20″ x 25″) for the mini dragon and 40″ x 52″ (instead of 40″ x 50″) for the regular crib size.
Making your dragon and crow quilt
Ok, let’s start! There is only one minor change required when making your dragon:
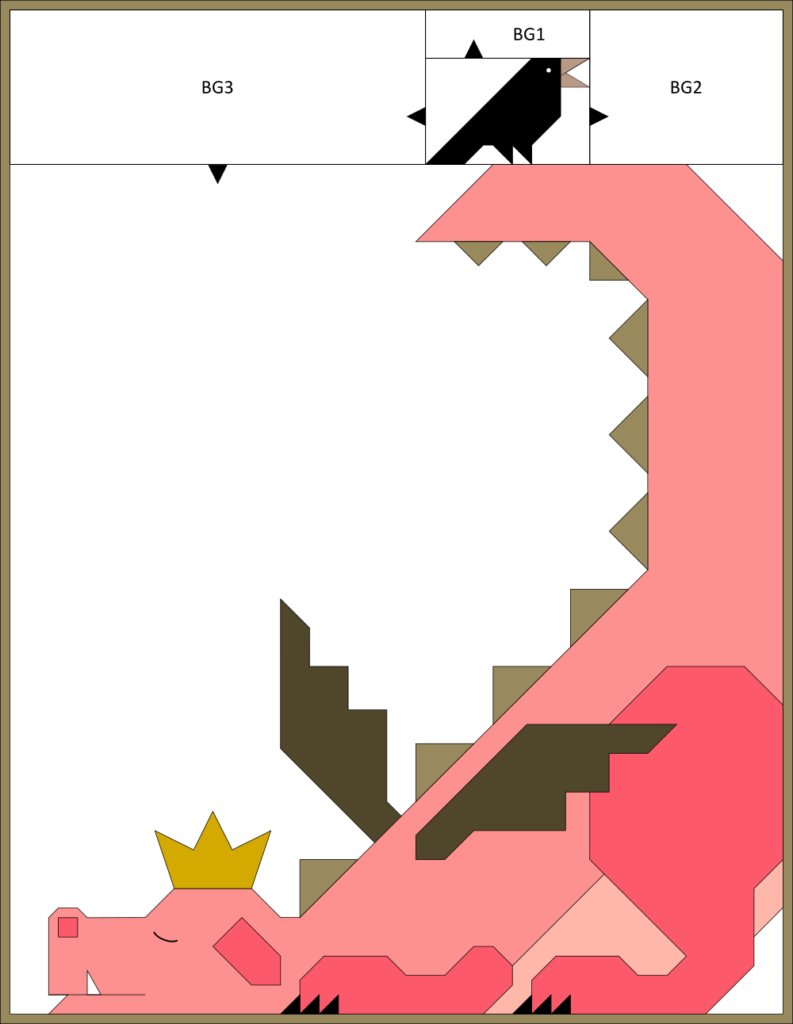
- Instead of the ff piece of your Dragon Dreams quilt pattern (JJ piece of Mini Dragon Dreams), prepare the following three background pieces:

- Follow steps 1-81 of the Dragon Dreams quilt pattern (steps 1-36 of Mini Dragon Dreams).
- Make a right-facing crow block following the Little Crow pattern. Use the larger crow block for Dragon Dreams and the smaller crow block for Mini Dragon Dreams.
Refer to the diagram below to assemble your quilt top.
- RST, sew your BG1 piece to the top of your crow block and press your seam towards the BG1 piece.
- RST, sew your BG2 piece to the right of your crow unit from step 4 and press your seam towards the BG2 piece.
- RST, sew your BG3 piece to the left of your crow unit from step 5 and press your seam towards the BG3 piece.
- RST, sew your crow unit from step 6 to the top of your dragon section from step 2 and press your seam towards the dragon section.
- Finish (baste, quilt and bind) your quilt as desired.
And that’s it! Now your sweet dragon has a little friend watching over her while she sleeps. 💛
If you’d like to finish your quilt as a wall hanging as shown at the top of this post, you might find this tutorial helpful. Those fabric loops and the rustic wooden dowel are still my favourite way to hang a quilt. And it is does not take as long as you might think. 🙂
Colour inspiration
But of course you are not limited to making crows. Firstly, your bird doesn’t have to be black – obviously. Secondly, the Little Crow pattern includes the option to use an additional colour for the bird’s belly, so you can also make a robin, for example.
I hope the mock-ups below will help you chose your favourite colour palette!
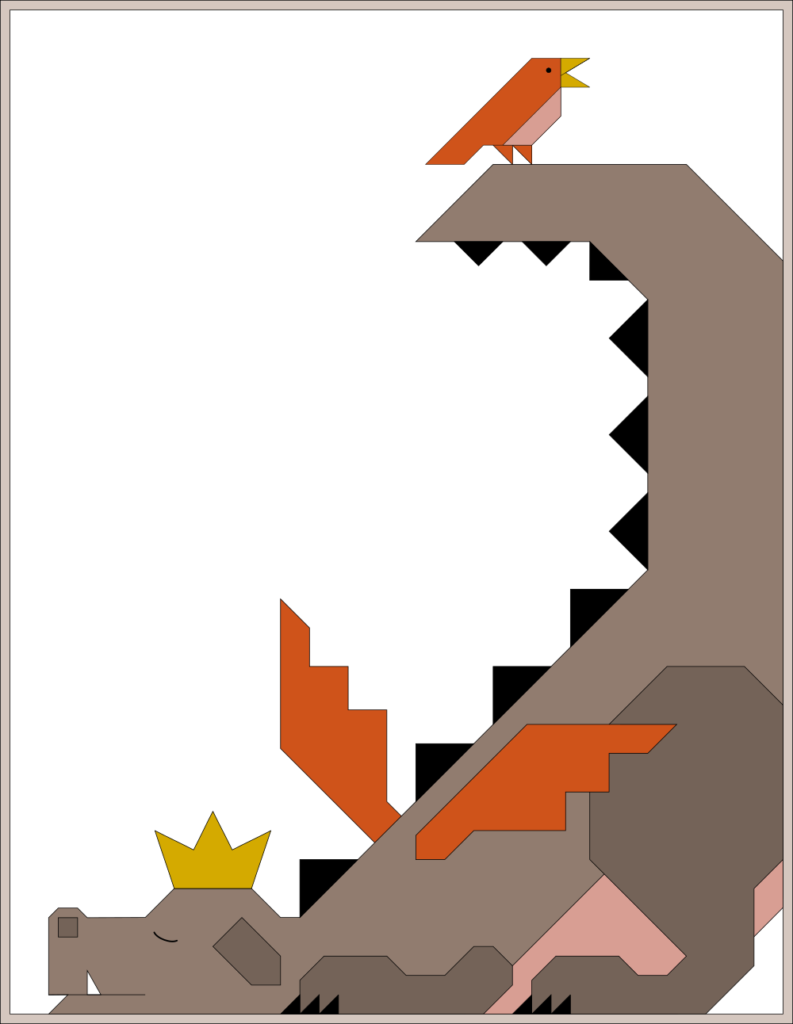
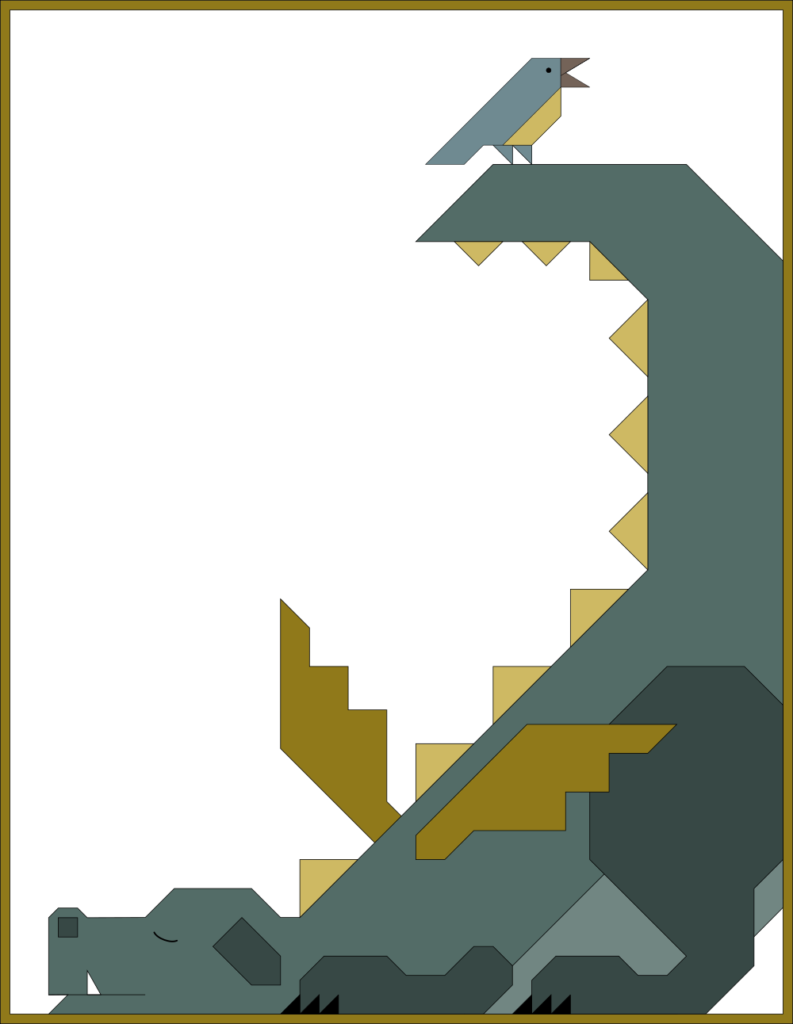
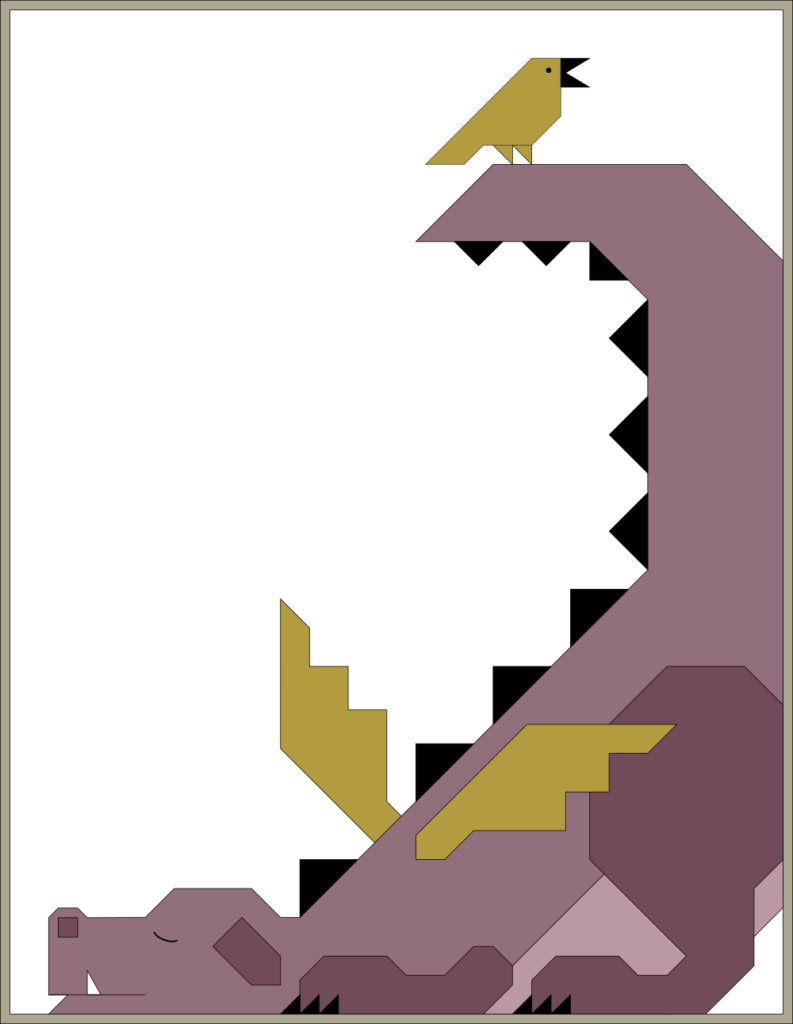
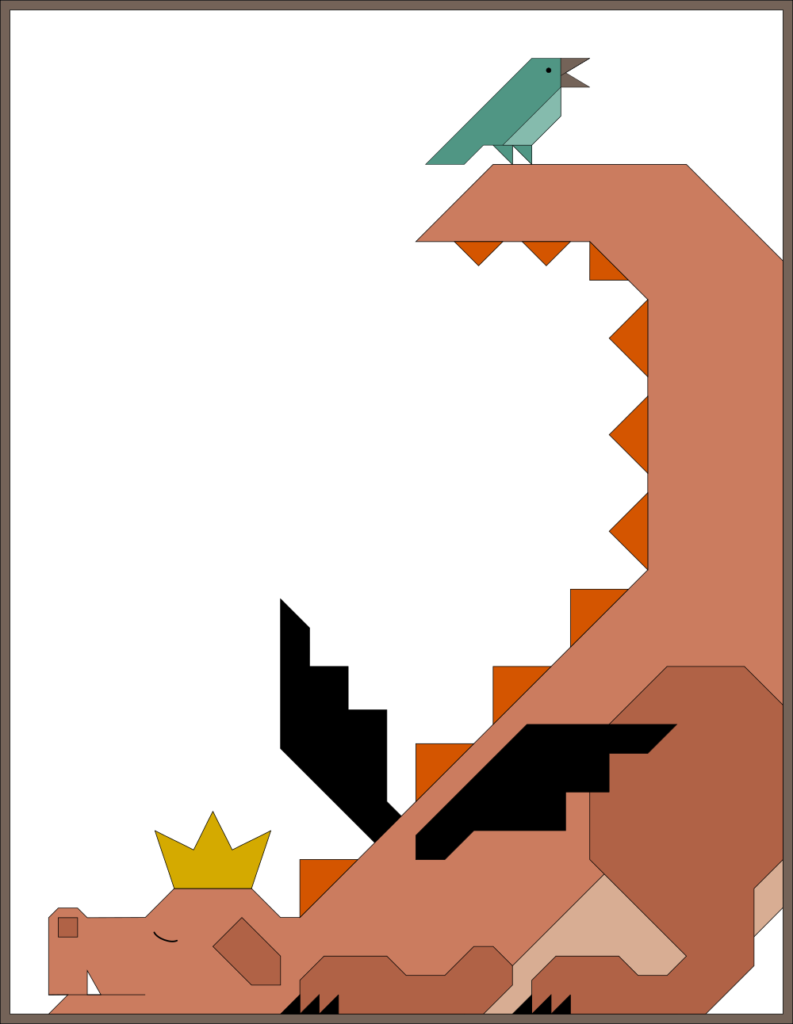
Can’t wait to see all your little dragon and bird pairings! Please share your projects on social media using the hashtags #DragonDreamsQuilt, #LittleCrowQuilt and/or #ApplesAndBeaversPatterns!
For more inspiration on how to combine my quilt patterns, check out my Pattern Blender!

I love your little crow or bird! They are so cute together 😉
Thank you! 💛 And you can use them for sooo many projects!