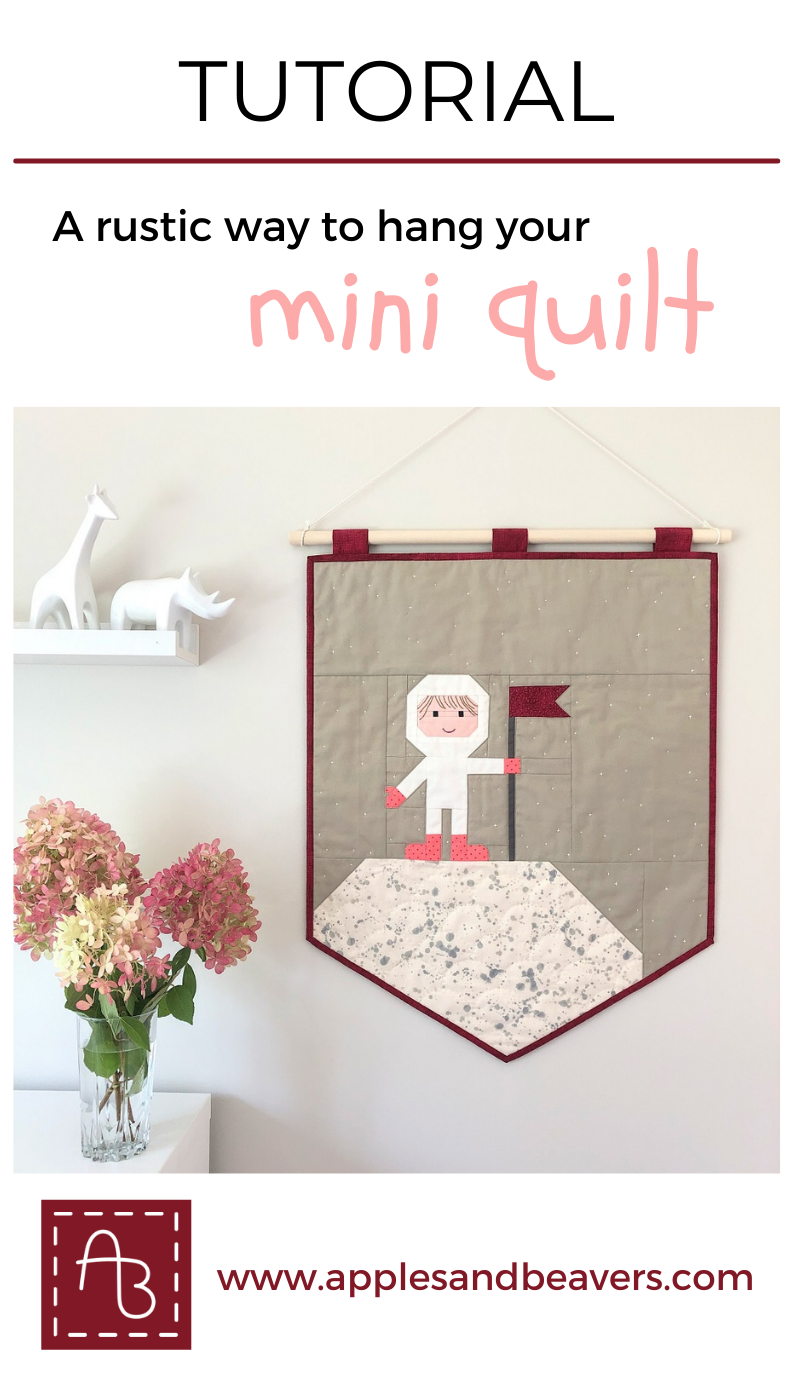
Over the last year I have made a few mini quilts as wall hangings. One of them got an invisible hanging solution. All the rest got fabric loops and a wooden dowel for a more rustic look. And I can definitely say, it’s become one of my favourite ways to finish quilts that I’m planning to hang up. Since I have gotten some pretty amazing feedback on these rustic wall hangings, today I would like to share with you how I make them.

Some thoughts before you start
But just a second, before you start, let me share some general thoughts and recommendations:
- This method of hanging quilts is mostly suited for smaller quilts. Instead of hanging straight at the top edge, larger quilts might bulge between the loops due to their bigger weight.
- For that same reason, I recommend to make your loops at least 1.5″ wide and to space them no further than about 10″ apart.
- You can help limit the weight of your wall hanging by using a light batting. I like to use fusible fleece or a fairly thin bamboo batting.
- The way the fabric loops are attached requires some hand sewing, which again requires some time. This is not meant to scare you off. But if you prefer a really quick solution to get your quilt on your wall, Rachel from Wren Collective has a great tutorial for you. She shows you how to add sleeves to the corners of your quilt while attaching your binding, with almost no extra work. Find it here!
Materials
For the materials it really comes down to three main ingredients to make your wall hanging:
- Fabric strips:
You could use any fabric or even ribbon you fancy, but I like my loops to match the quilt binding and therefore use the same fabric. For 1.5″ wide loops, I cut my fabric strips 3.5″ wide and 6″ long. - Stick/wooden dowel:
My favourite sticks are unfinished hardwood dowels from the hardware store. I cut them to be 1″-2″ longer than the width of the quilt to have a little overhang on both sides. I tend to choose the diameter based on the quilt size (more for looks than strength), 1/2″ for smaller quilts and 5/8″ or 3/4″ for larger ones. There’s no rule, just chose what looks “right” to you! Use a small handsaw to cut it to the desired length and sand the ends smooth. - String/cord:
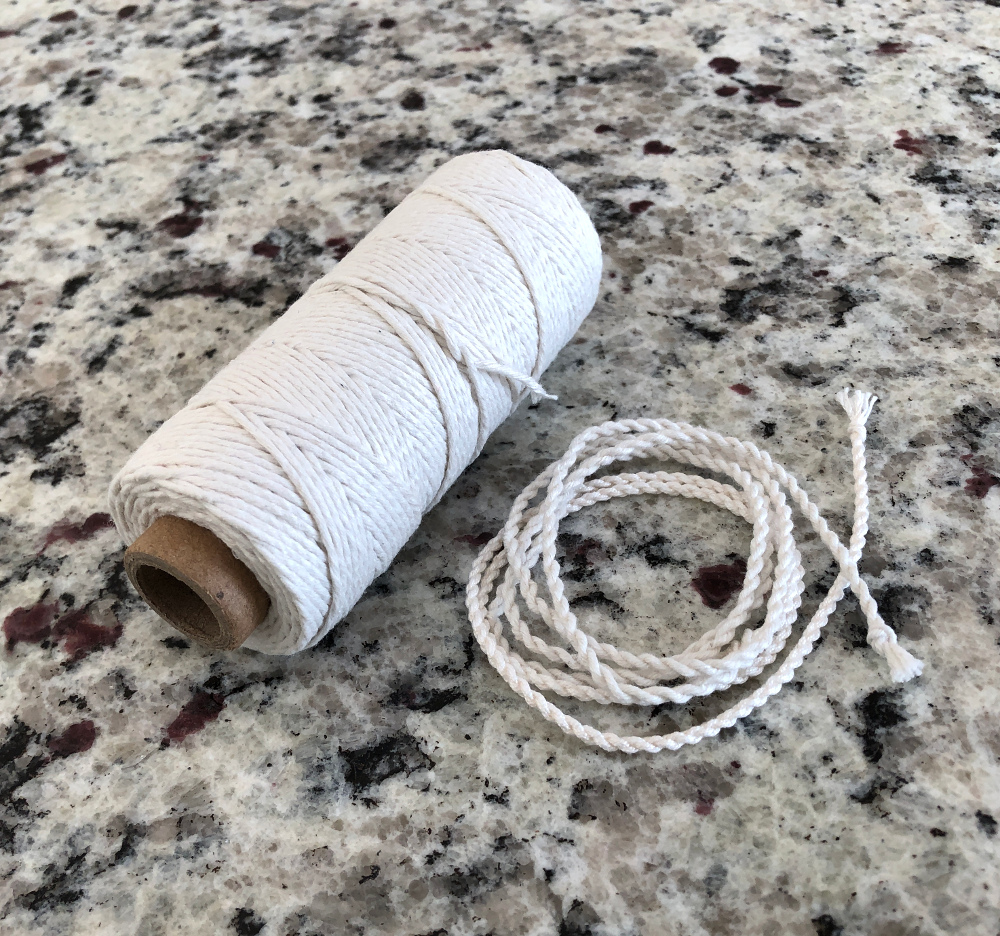
Again, feel free to use anything that looks nice and that is strong enough. You might not have guessed, but so far I have used cooking twine for all of my wall hangings. I like its natural look, it’s 100% cotton, fairly strong, inexpensive and I can get it at the local grocery store, yay! To make it a little thicker I tightly twist two strands of it against each other, creating a small knurled rope and I find it looks really pretty.
And then of course you need some of your standard tools and notions: scissors, a rotary cutter and ruler, a sewing machine, a pen or another long and skinny object to flip your fabric tube, an iron, thread and needle.
Let’s get sewing
Ok, let’s start:
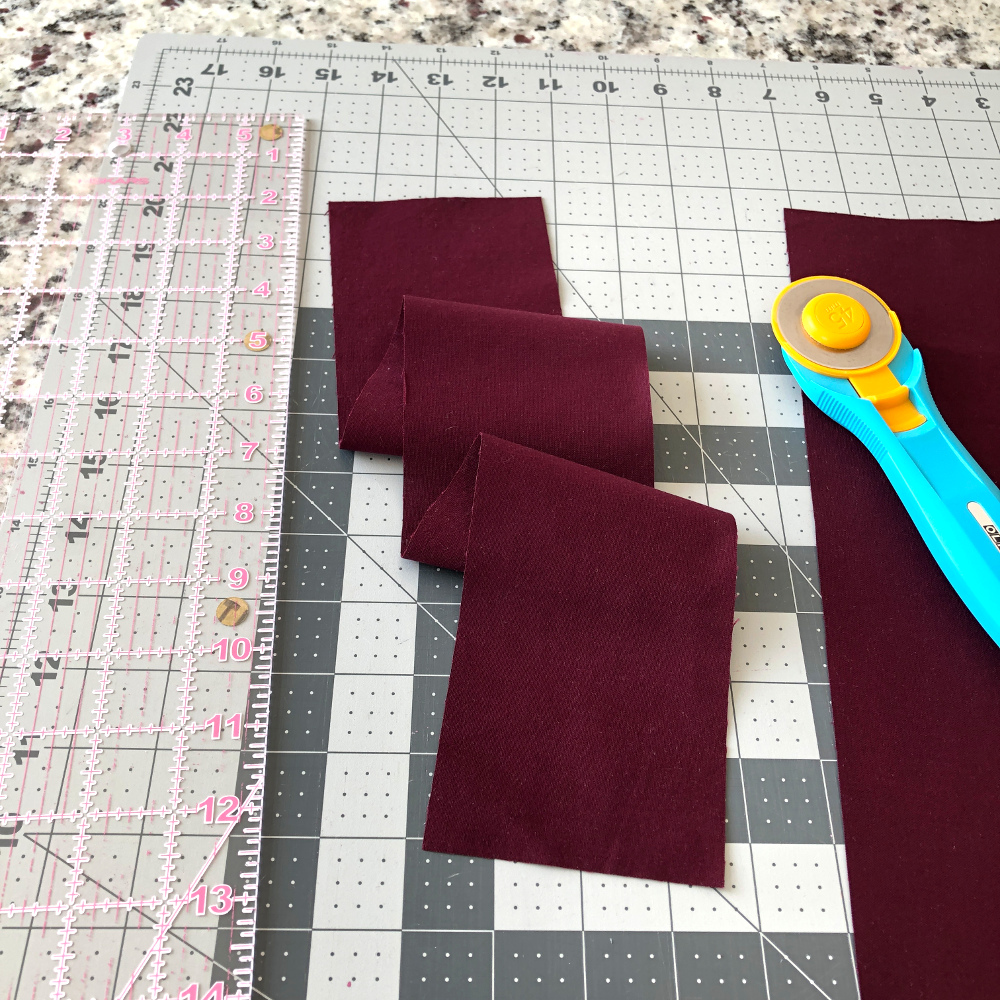
Cut the fabric for your loops. In this example I went for three loops, so my strip measured 3.5″ by about 20″ (= 3 x 6″ + a little extra).
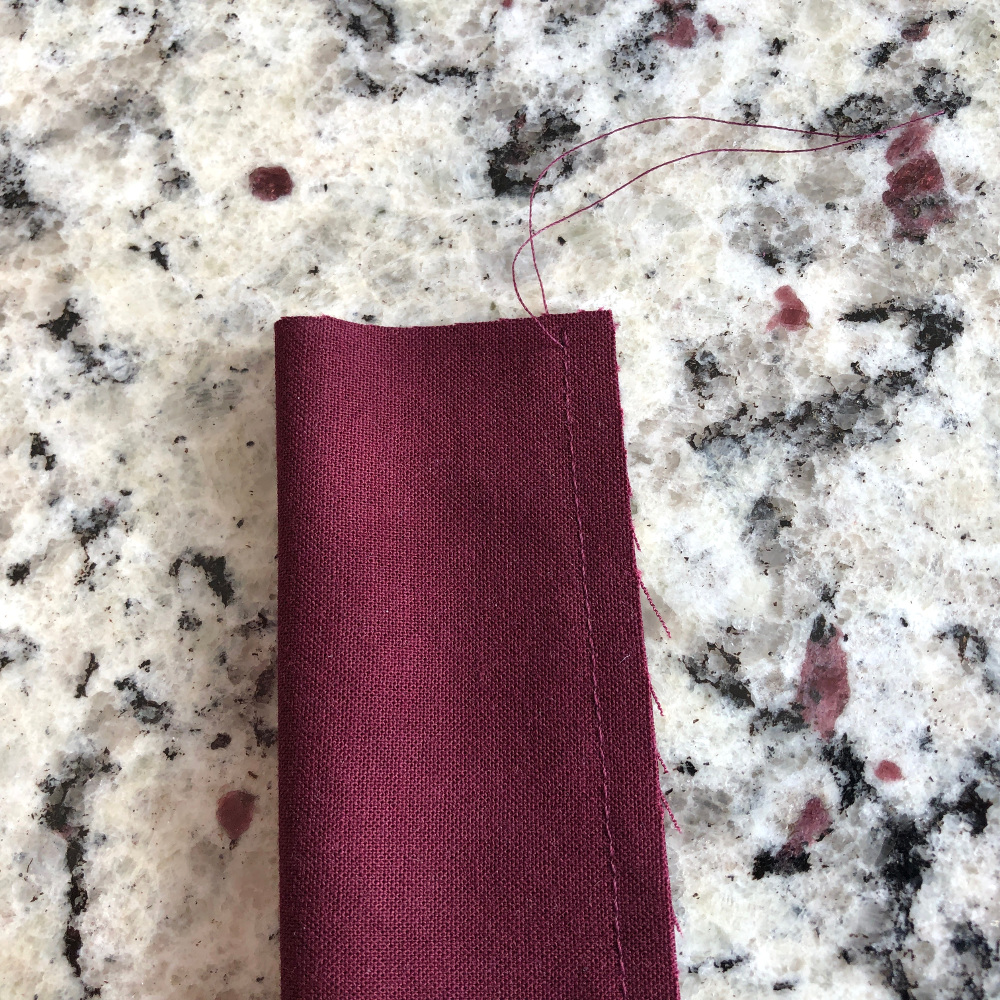
Make a fabric tube by folding your strip in half lengthwise and sewing along the long raw edge and the bottom end with a 1/4″ seam allowance. It’s not shown in the picture below, but flipping your tube will be easier if one end is closed.
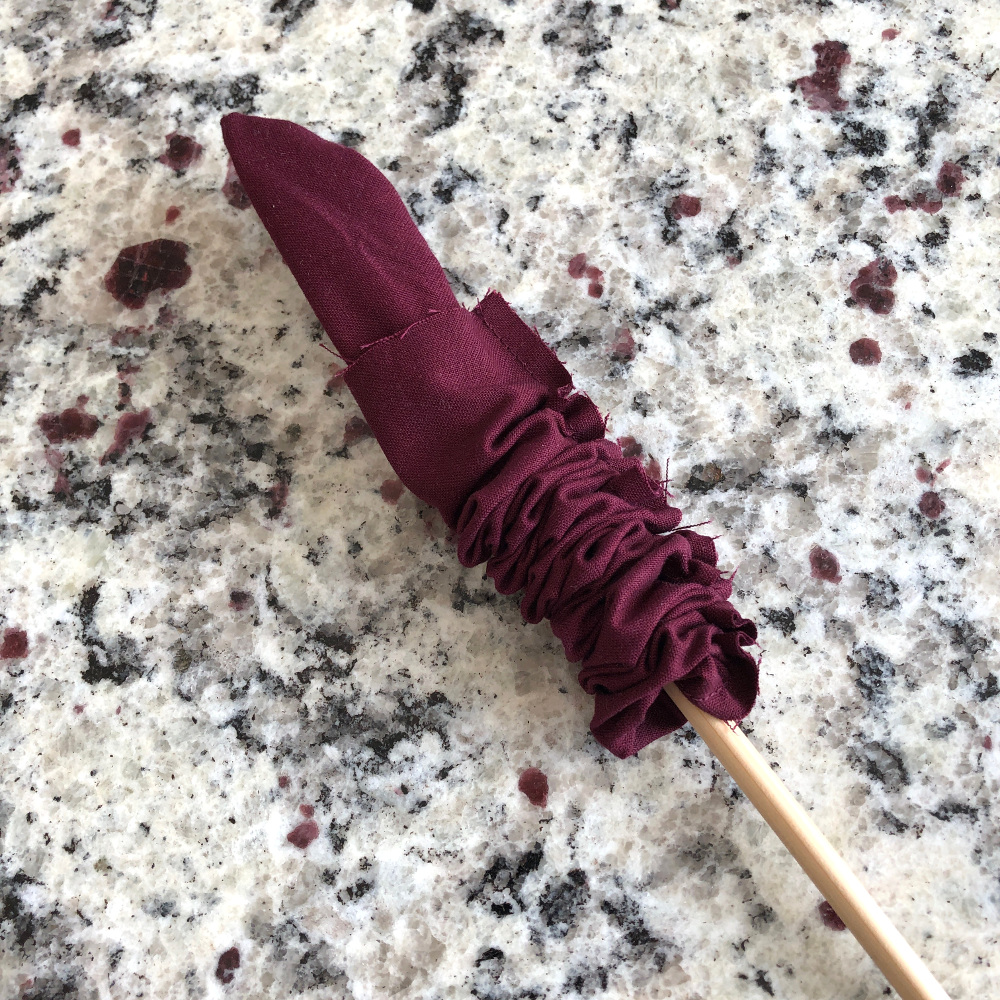
Flip your fabric tube with the help of your favourite tool, mine is a very fancy chopstick.
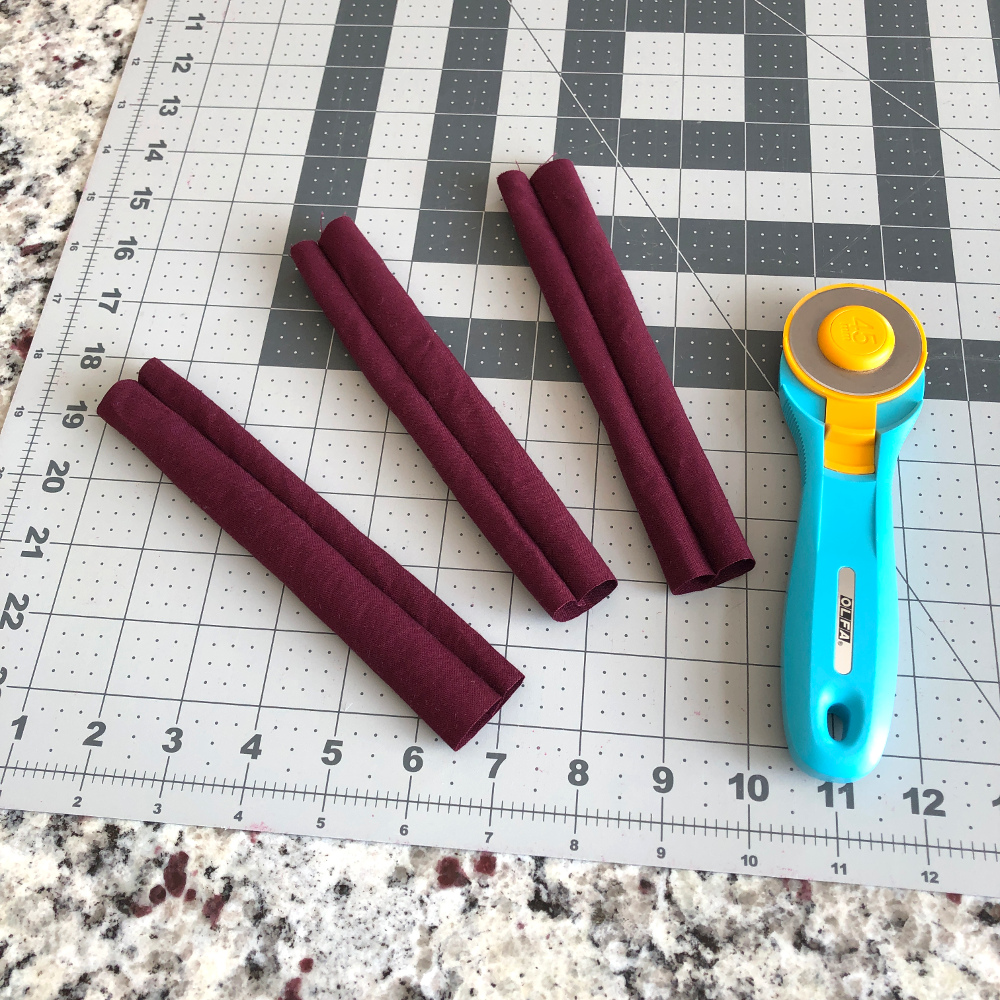
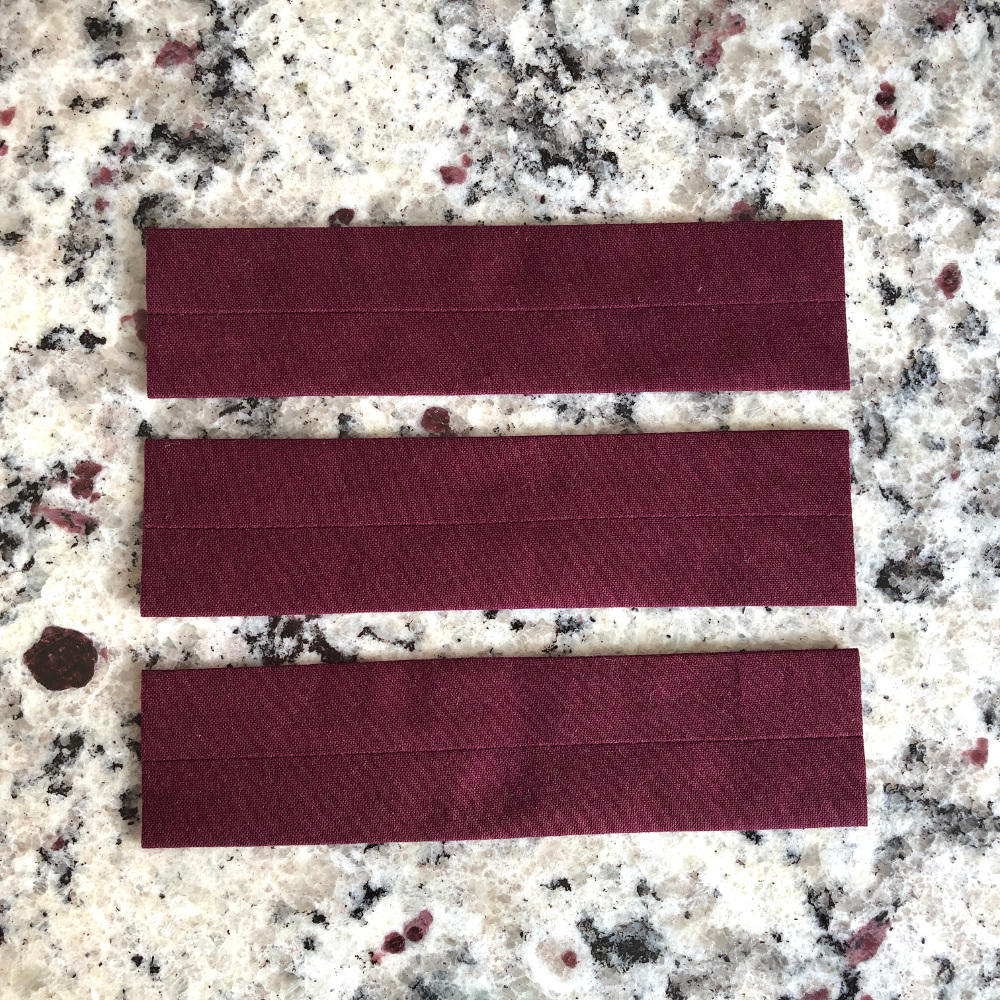
Trim the closed end off and sub-cut your remaining tube into 6″ pieces, according to the number of your loops,…
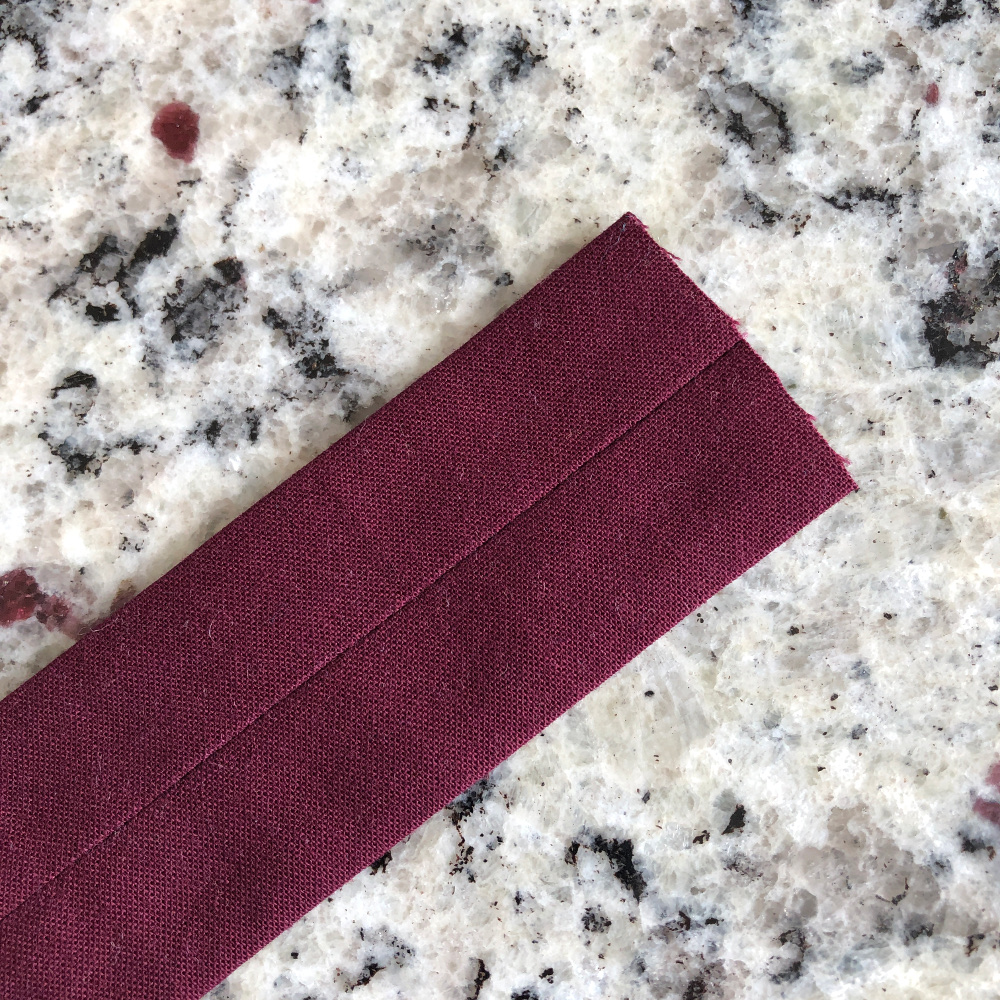
… and press the seams open, centred on your strips. I admit, this step is a bit tedious, but I find it gives the cleanest result and my index finger is just long enough to manage. If you prefer your seams on the side, that’s perfectly fine, too.
With the seam up, fold one end of your strip over 3/4″ and press with your iron.
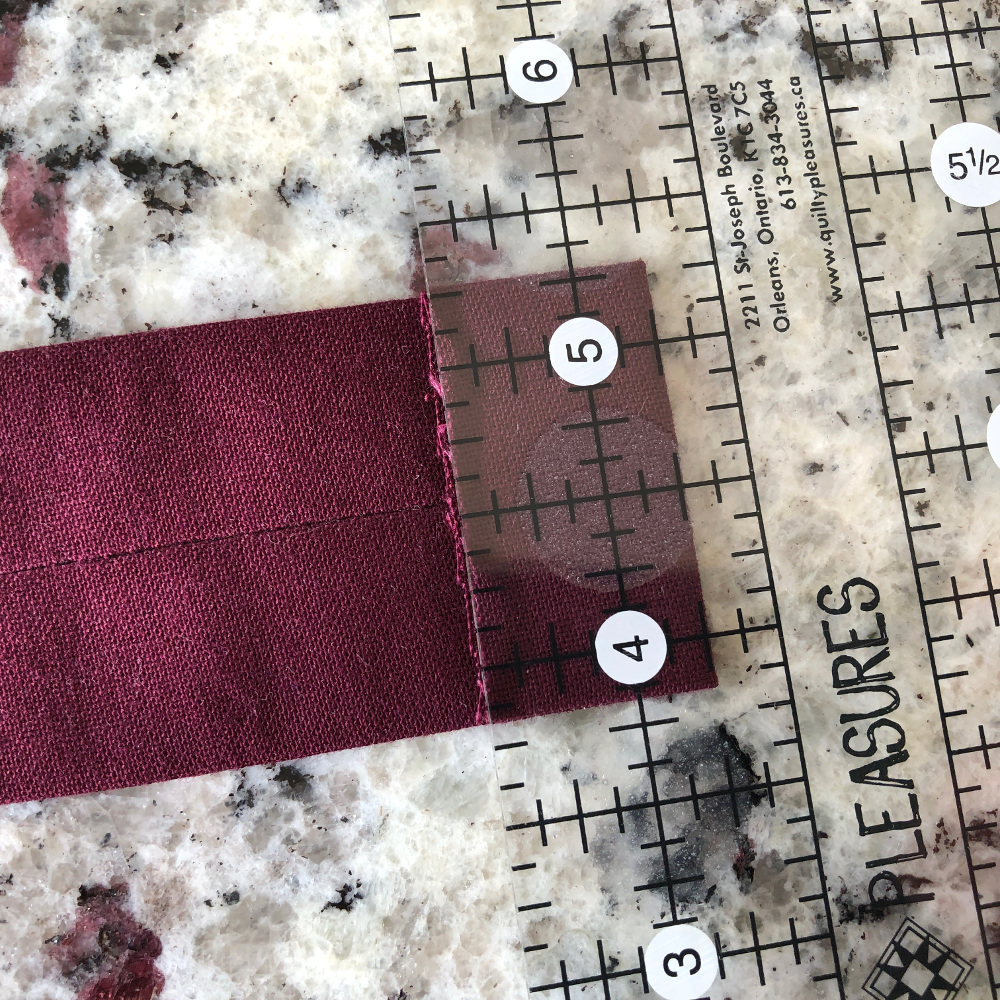
Open up and fold the long end up to the crease you just created.
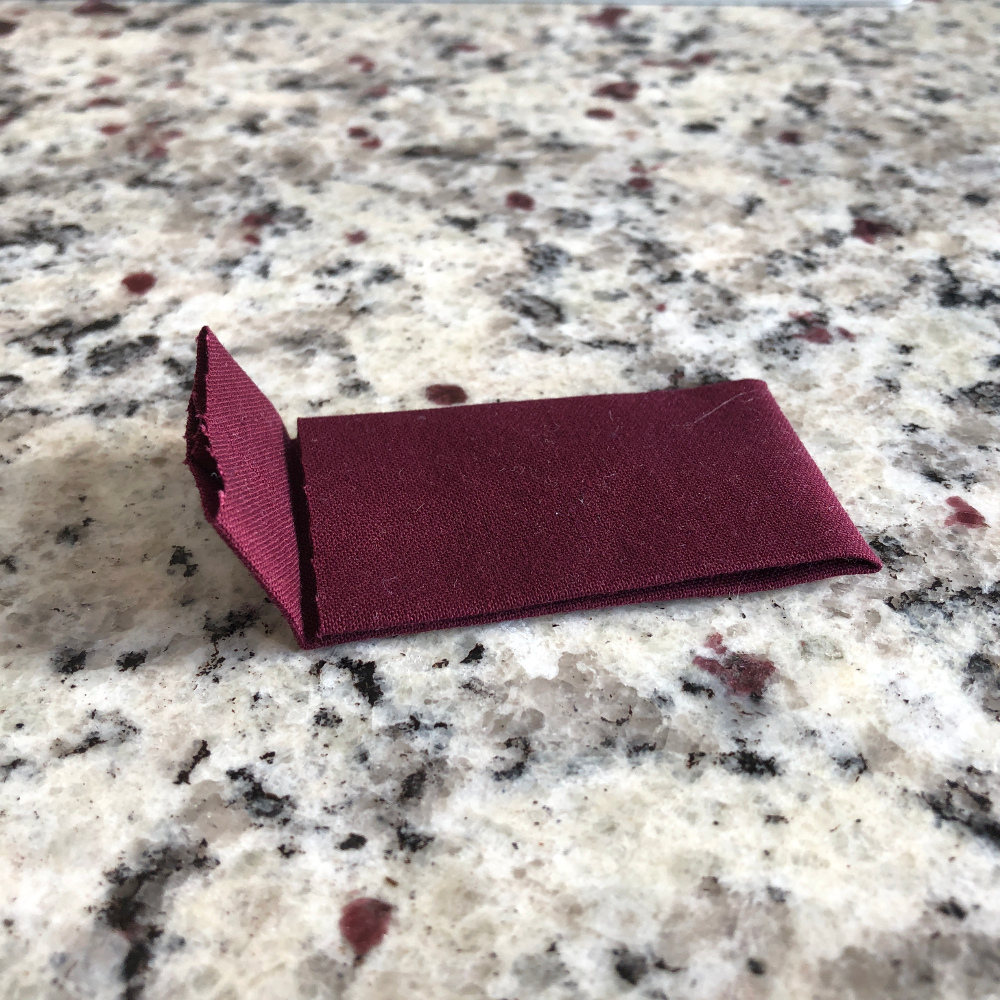
Tuck it in under the short end and secure it with a pin. Then sew all around the small flap, about 1/8″ from the edge (see dashed line in picture below).
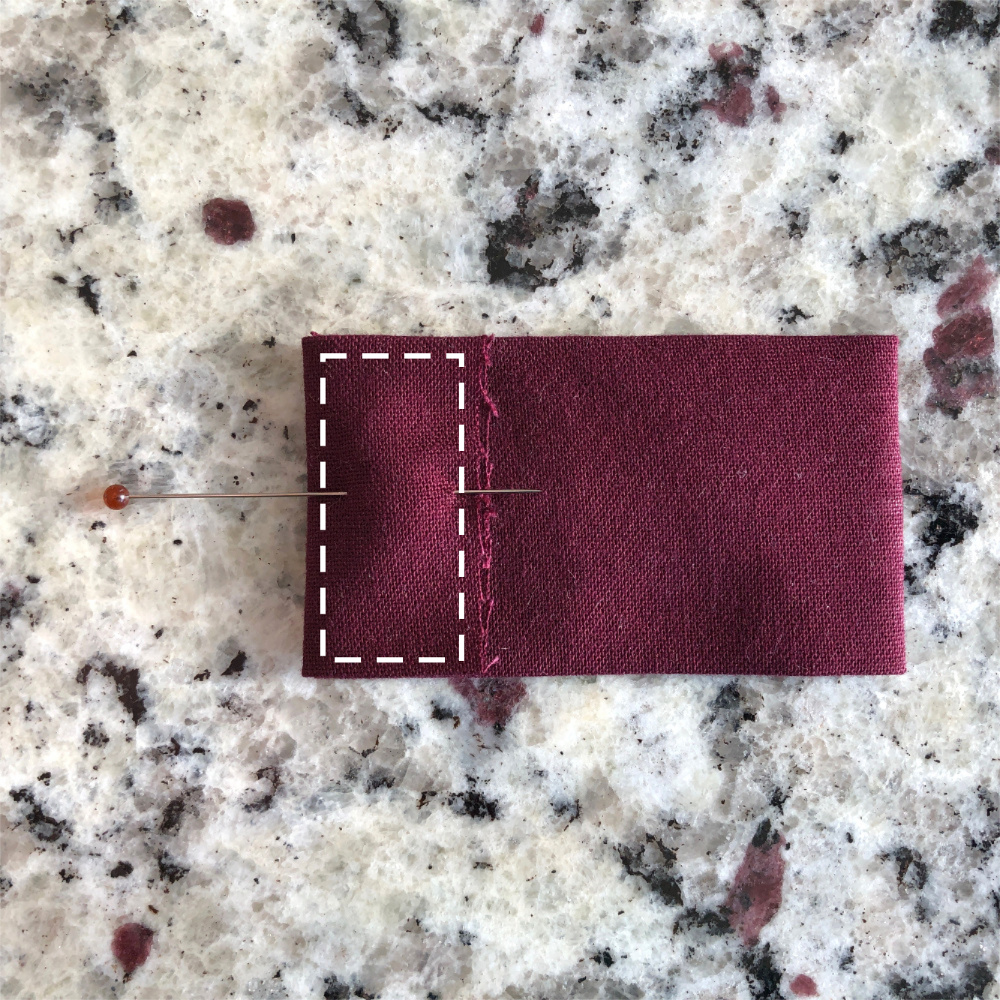
Tadah, your first loop is done! Repeat for the remaining loops.

Attaching the fabric loops
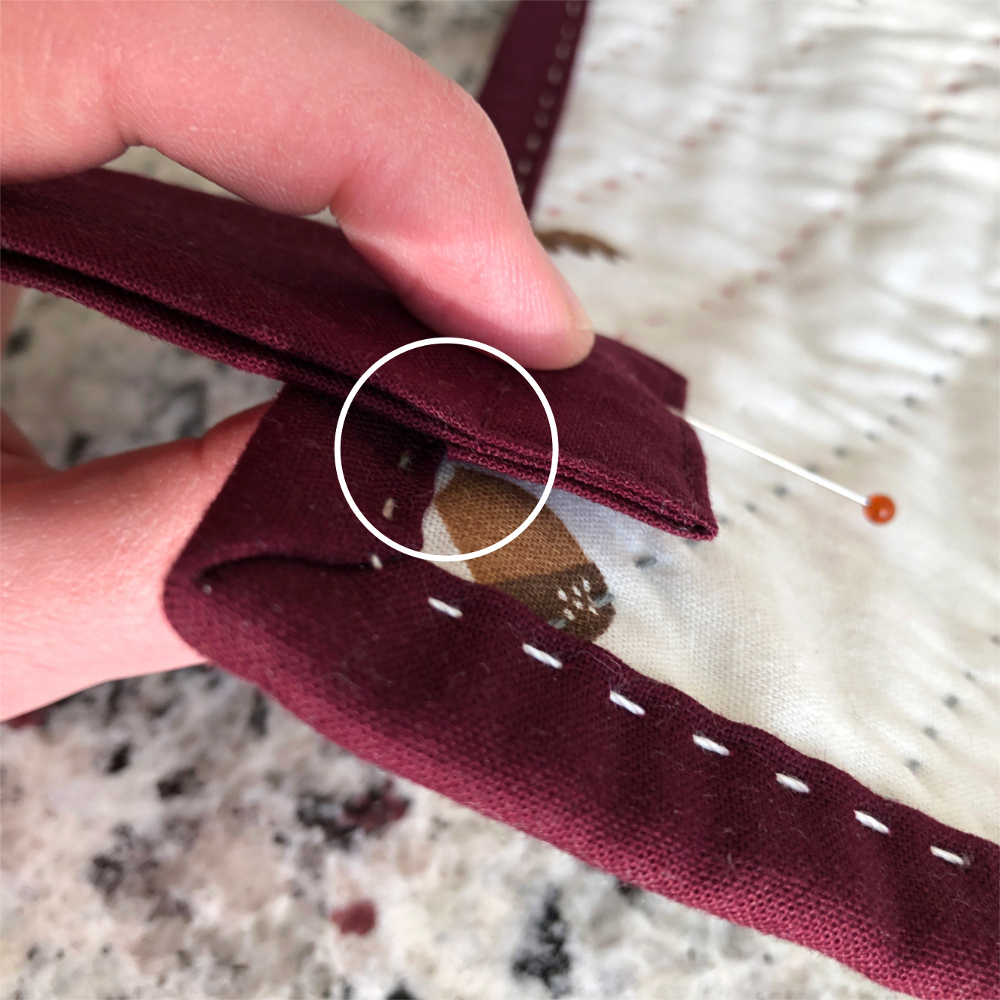
Determine where you want your first loop to go on your quilt (I space mine about 1″ from the side) and place it with the small flap against the back of your quilt. In order to line all your loops up nicely, butt the edge of the small flap against your binding (see circle in picture below). Secure the loop to your quilt with a pin or two, then hand-stitch all around with a whip or ladder stitch. Be careful not to go all the way through your quilt, so the stitches are not visible in the front!

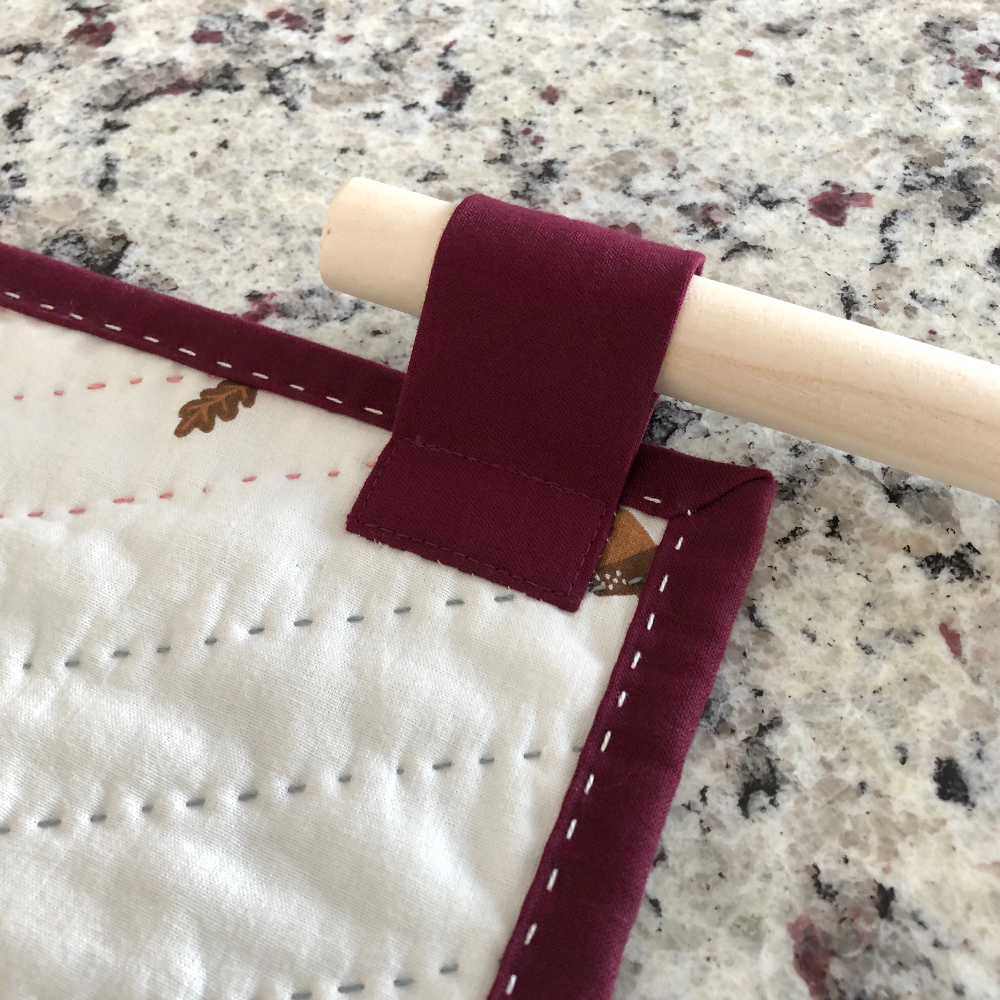
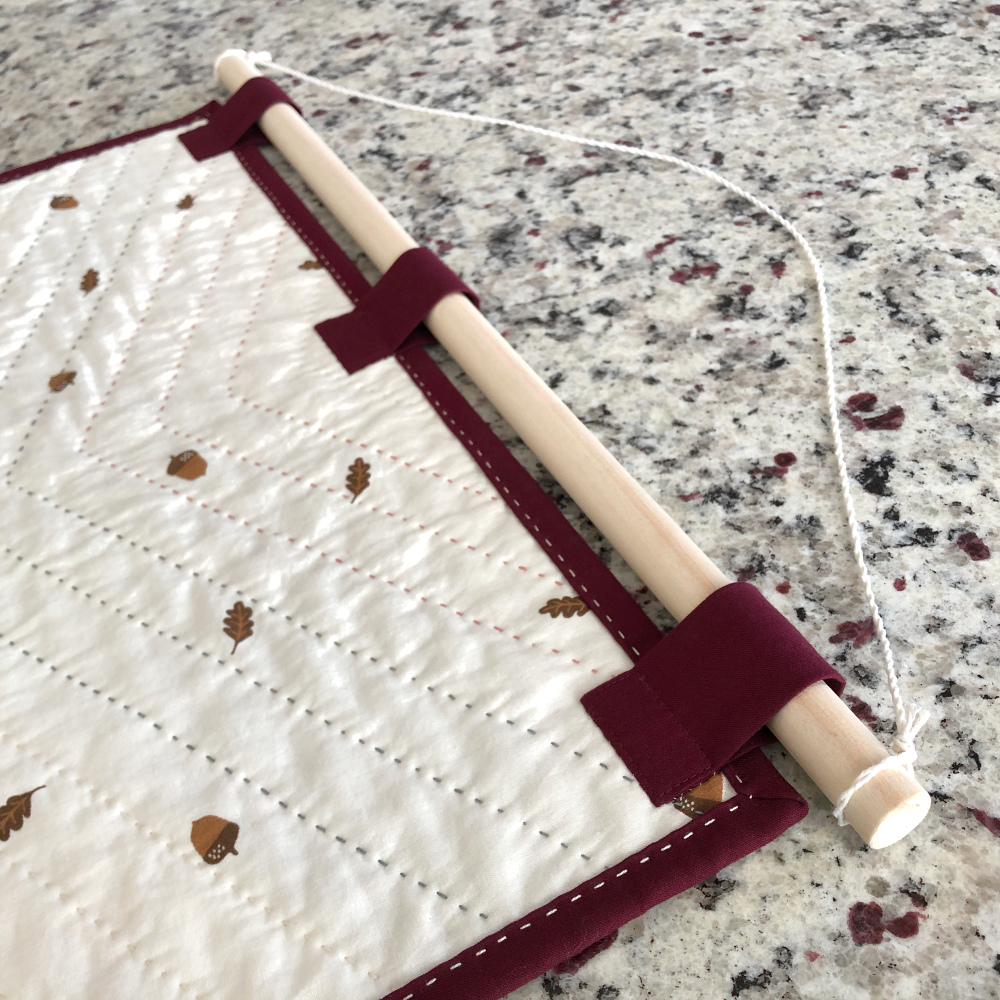
Repeat for the remaining loops and you’re almost done! Now all that’s left for you to do is to feed your dowel through the loops and tie your string to both ends.
Hang it up!
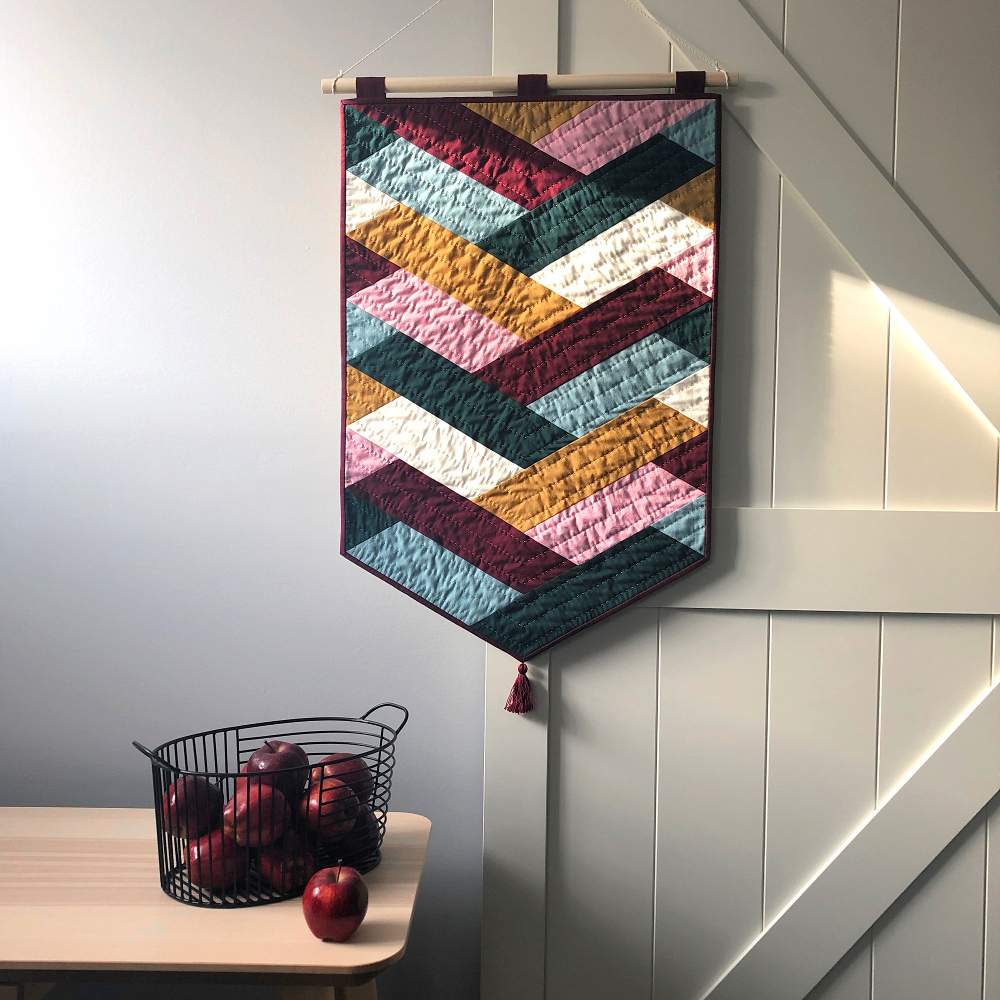
Pat yourself on your shoulder, find a nice spot to hang your finished wall hanging, stand back and enjoy!
I hope you enjoyed this tutorial! What’s your favourite method to turn a quilt into a wall hanging? Let me know in the comments!

I like to cover the dowel with some of fabric used in the hanging, string does not slip then.
Great idea, thanks for sharing, Peg!
How do you tie the string so that it doesn’t slide closed when the rod is hung up?. I seem to have a problem at this step. Thanks for your help in advance!
I try to make sure the loop is tight enough around the dowel to stay in position. On a recent wall hanging I actually carved a groove in the dowel with a small hand saw that the string firmly sits in. It all depends on the string, the length of the dowel and the weight of the quilt 🙂
Hello – I have sewn the tube on the sides and one end as directed in the instructions, but now cannot iron so the seam is in the middle instead of the side because it is sewn at one end. Did I miss something? Is there something missing in the directions? Thanks in advance for any assistance.
I only sew the tube closed on one end for easier flipping. After flipping, I trim the closed end off, then sub-cut the rest into 6″ pieces 🙂
Good luck!
Thank you.
Hi! I love the salmon/grey quilt pictured! Do you have a pattern link? I was looking for something to make for a small space and this is perfect! Enjoyed your tutorial as well 😊
Thank you!
I did not follow a pattern but sketched my own design on graph paper, then stitched it up. It’s just HSTs and a few background squares, more details can be found here:
https://applesandbeavers.com/a-starry-mini-quilt/
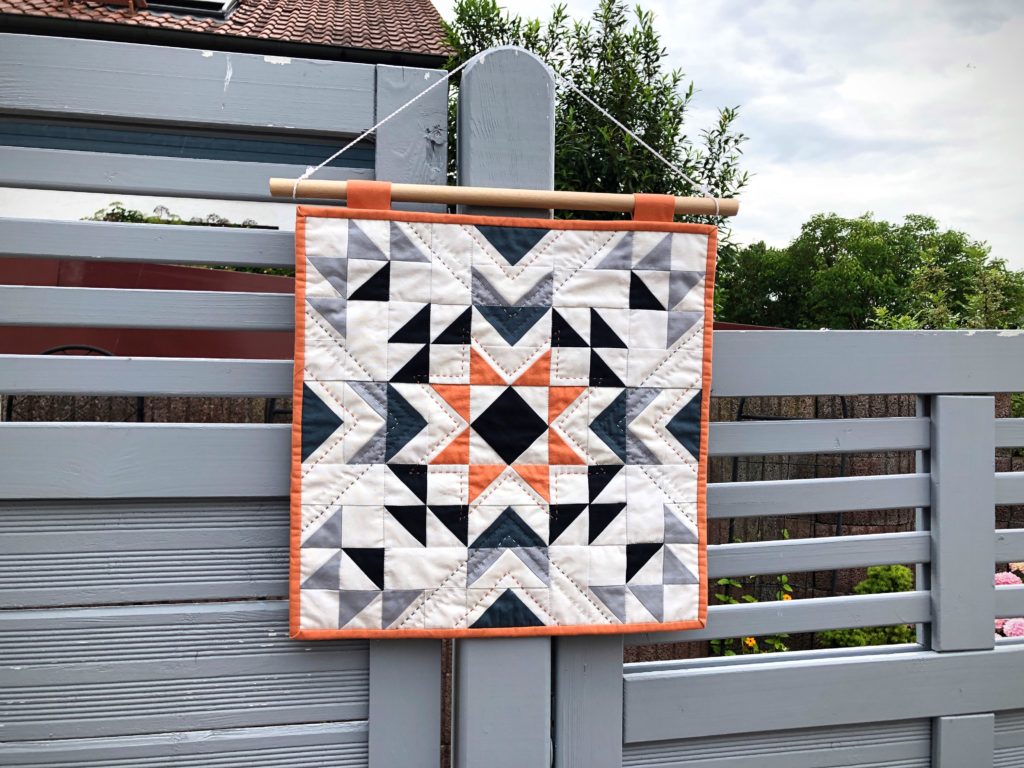
I love this idea! May I ask where you found the pattern for this lovely mini quilt?
Hi Bre,
Thank you! I’m guessing you mean the banner with the braided design? That is the “Strudel” pattern by Wife-Made and can be found here:
https://wife-made.com/?s=strudel+quilt+pattern
Such a great idea on how to display a mini quilt! We are re-decorating and I am hoping to hang up some small quilts I made. This is exactly what I was looking for -thanks!!
Oh, I’m so glad to hear! <3 Happy re-decorating!
this is really pretty! Will try this for some of my planned wallhangings. Great job!
Oh, I’m so glad to hear! Thank you!
I love this rustic tab top quilt hanging idea. And the pretty tassel at the bottom! I’m fond of jute for a more rustic look. Thanks for sharing! 🙂
Oh, I’m so glad to hear! Thank you!