My Rocking Robots quilt pattern released last week (you can get your copy here: PDF or printed booklet). Today I would like to share some ideas on how you can customize your robots’ screens including a simple embroidery tutorial.
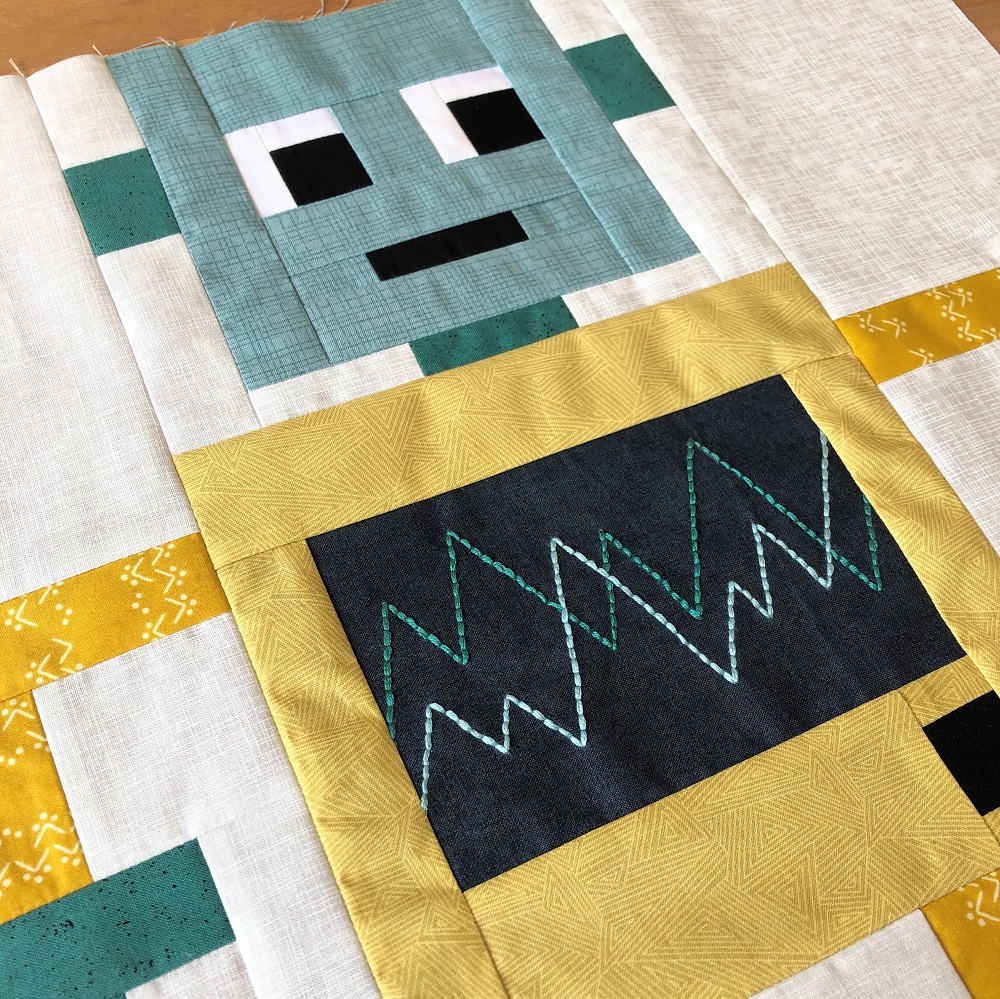
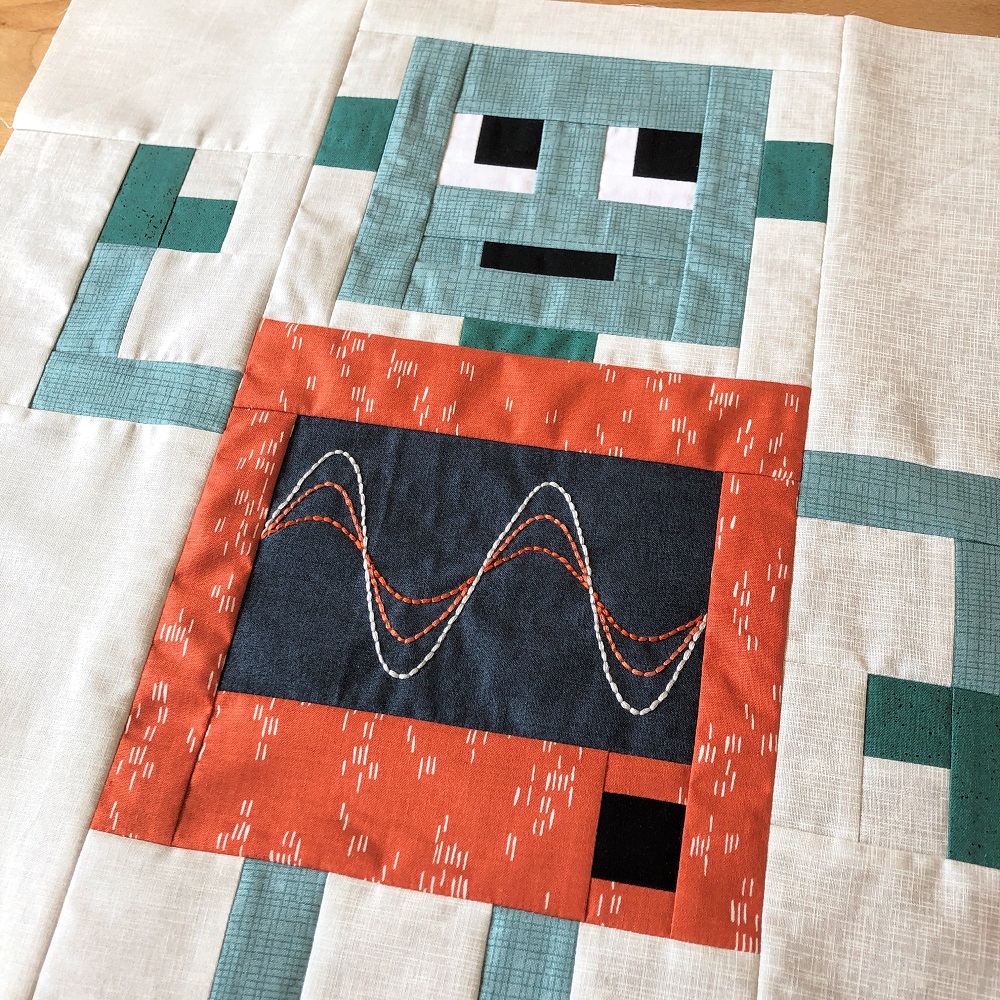
The Rocking Robots pattern includes two exemplary curve templates which you can use to decorate your robots’ screens (irregular zig zag lines as shown in the photo above and a simple sinusoid curve, see photo below). If you are looking for more inspiration check out the following PDF file which includes some additional templates and examples:
| Rocking Robots screen embroidery templates: |
In today’s blog post I’d like to show you a few different ways on how you can use these templates and ideas to embellish your own Rocking Robots quilt. At the end, you’ll find a tutorial on how to create a custom embroidery design using a basic back stitch.
What to decorate your robots’ screens with
Firstly, let’s browse for some ideas what you can use to be showcased on your robots’ screens:
- Use the templates included in the pattern and the PDF file linked above.
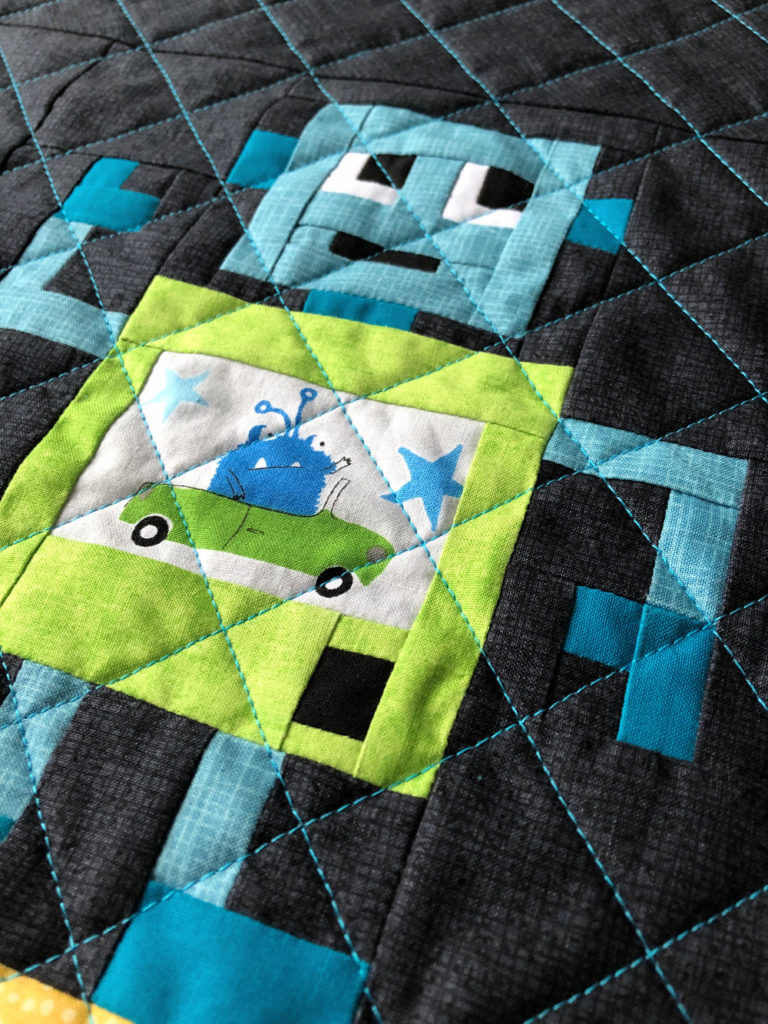
- Fussy-cut details from your favourite printed fabrics (see photo below).
- Make a little appliqué collage.
- Document your little one’s birth details.
- Find an inspirational quote and a pretty font.
- Use an embroidery pattern that fits into the 4″ x 6″ screen dimensions (there are countless great patterns available on Etsy).
- Write or draw your own designs.
- Explore your sewing machine’s collection of decorative stitches.
- Showcase your little one’s artwork (see example in the tutorial below).
- Use fabric paint to create hand and foot prints of your little one.
And really, these are just some ideas I came up with, I’m sure you’ll have more. Feel free to share with me if you’d like them to be added to the list!
Techniques
There are many ways how the ideas listed above can be brought to life on your piece of fabric. Since I’m partial to hand embroidery, this is what I’m focussing on today. But of course, you could also use machine embroidery, fabric markers or paint. Just be creative and have fun!
How to transfer your design to your fabric
Whether you are applying your designs onto your fabric using permanent markers or fabric paint or choosing to hand embroider, chances are you’re starting out with a draft on paper. Once you have chosen your designs for your four little robots, you might be wondering how to transfer them to your fabric. Here are a few options to choose from – depending on your designs and whether you’re using light or dark fabrics some might work better than others.
Trace the contours
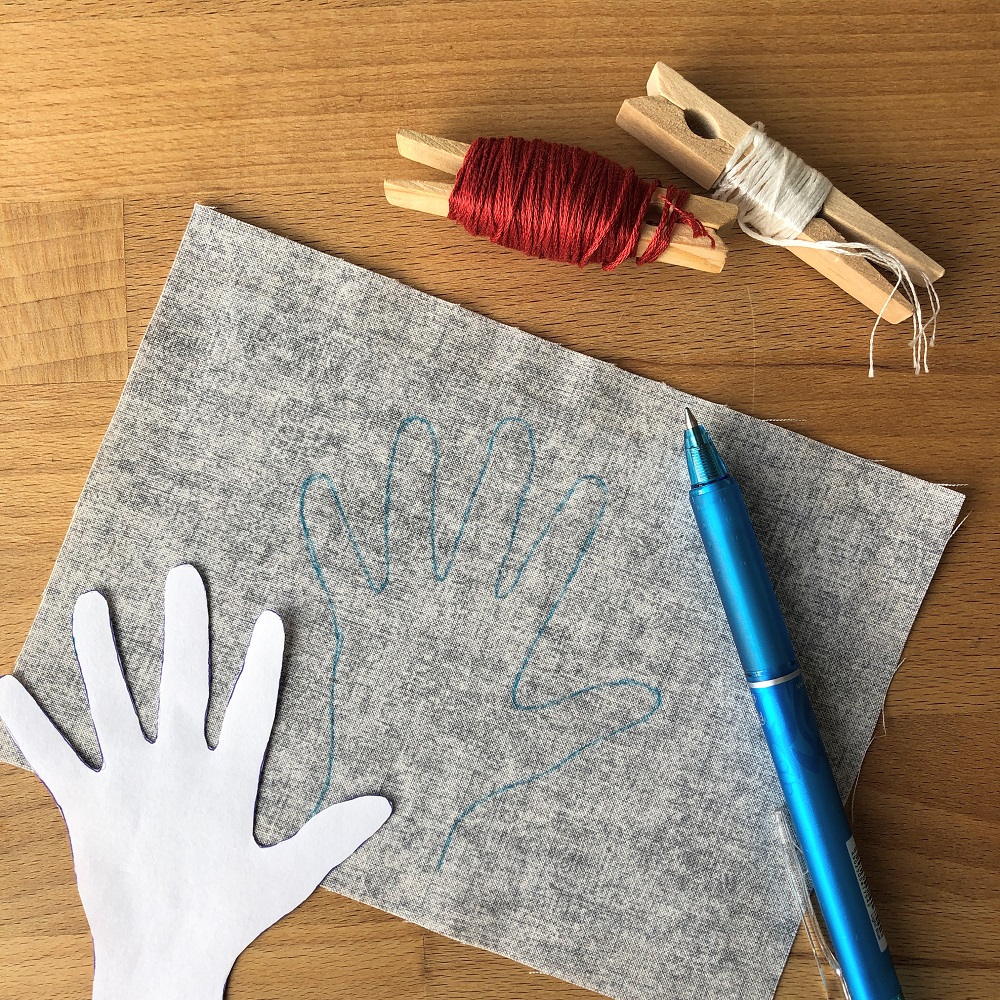
If your chosen design has a simple contour, cut it out and trace around it with a temporary marker. This technique works well for tracing your little one’s hands, for example.
Use a light source
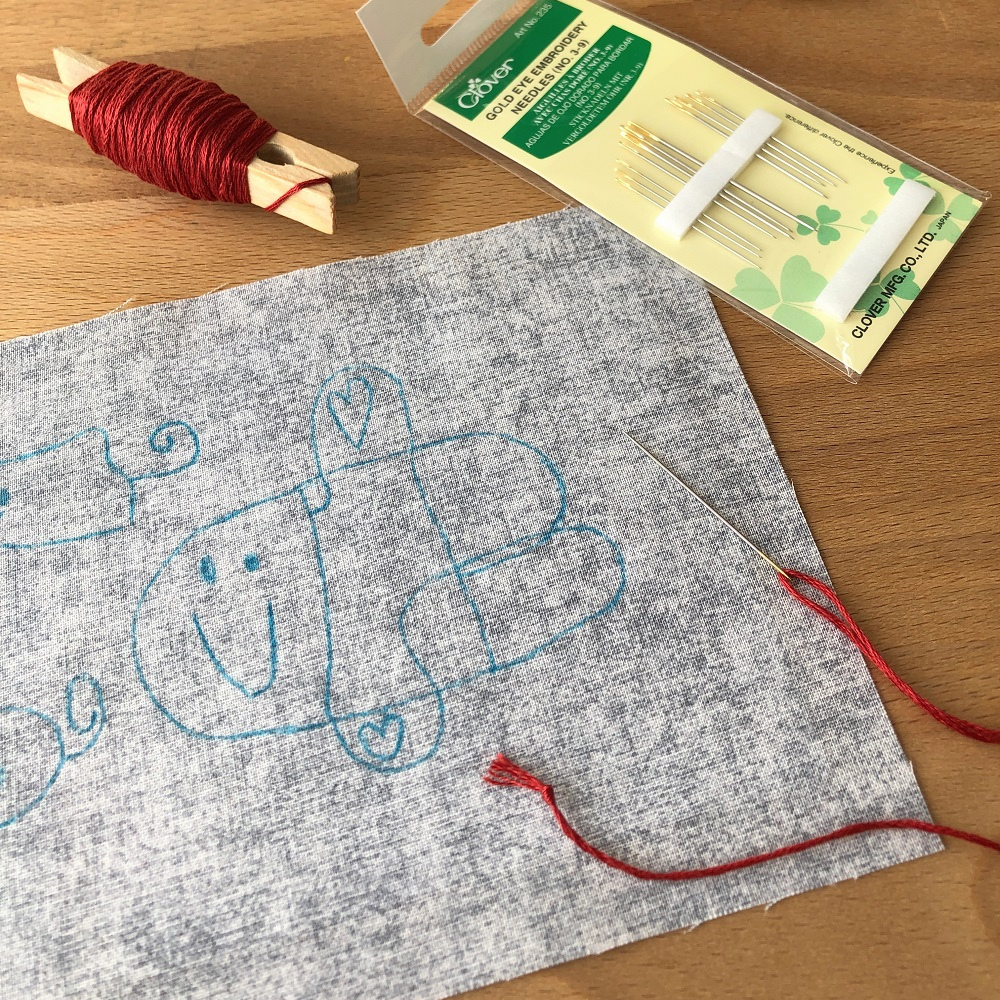
If your screen fabric is light enough, you can use a lightbox or simply your window to trace the lines from your template. I used this approach to transfer one of my son’s drawings to a piece of light grey fabric.
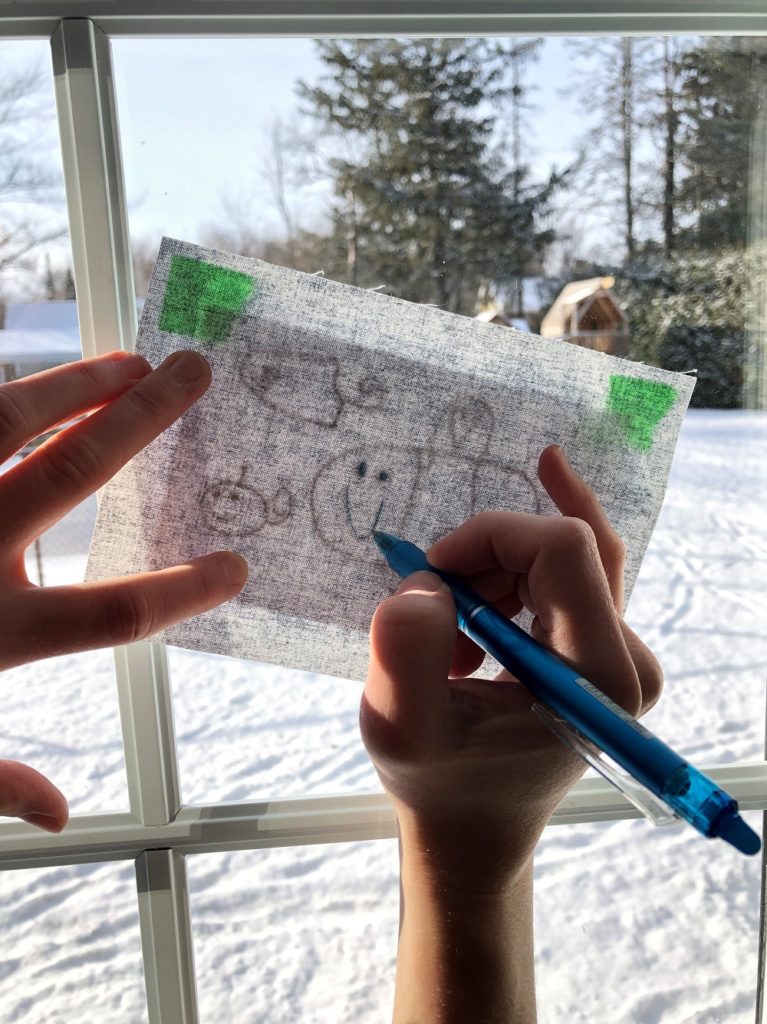
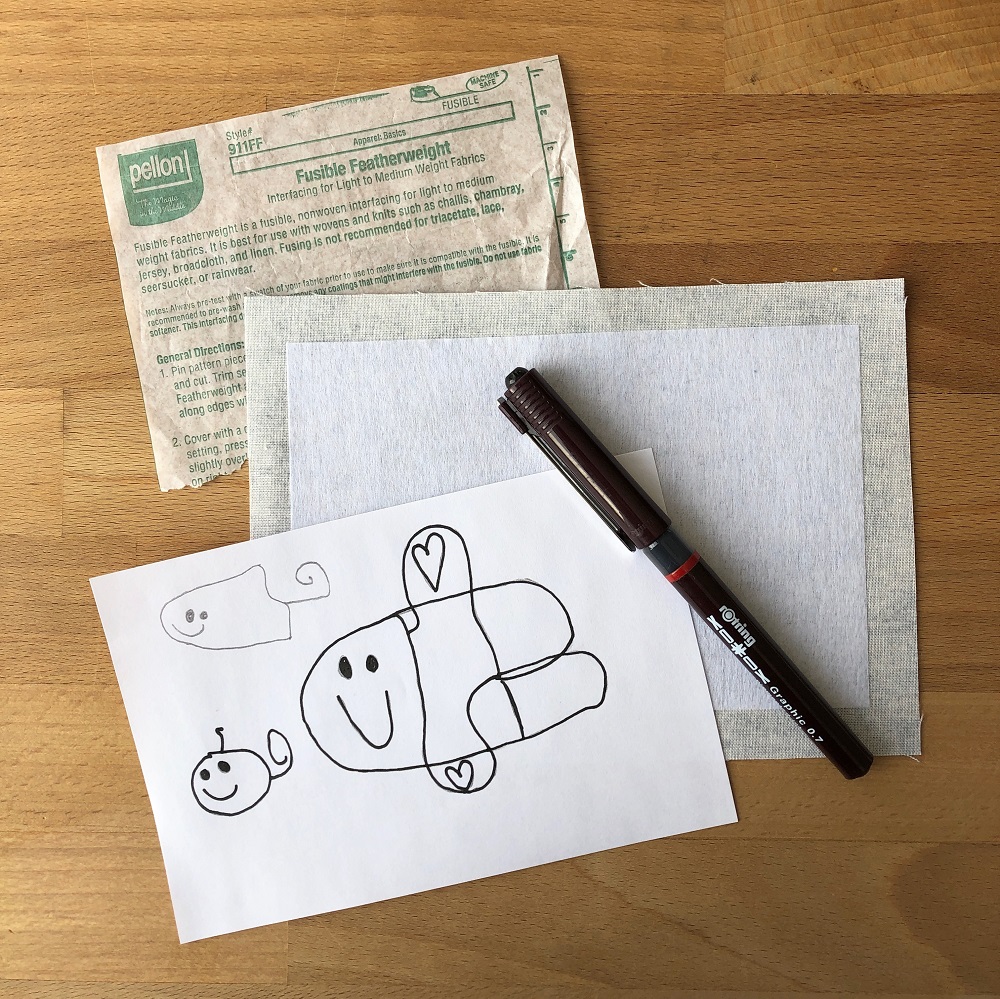
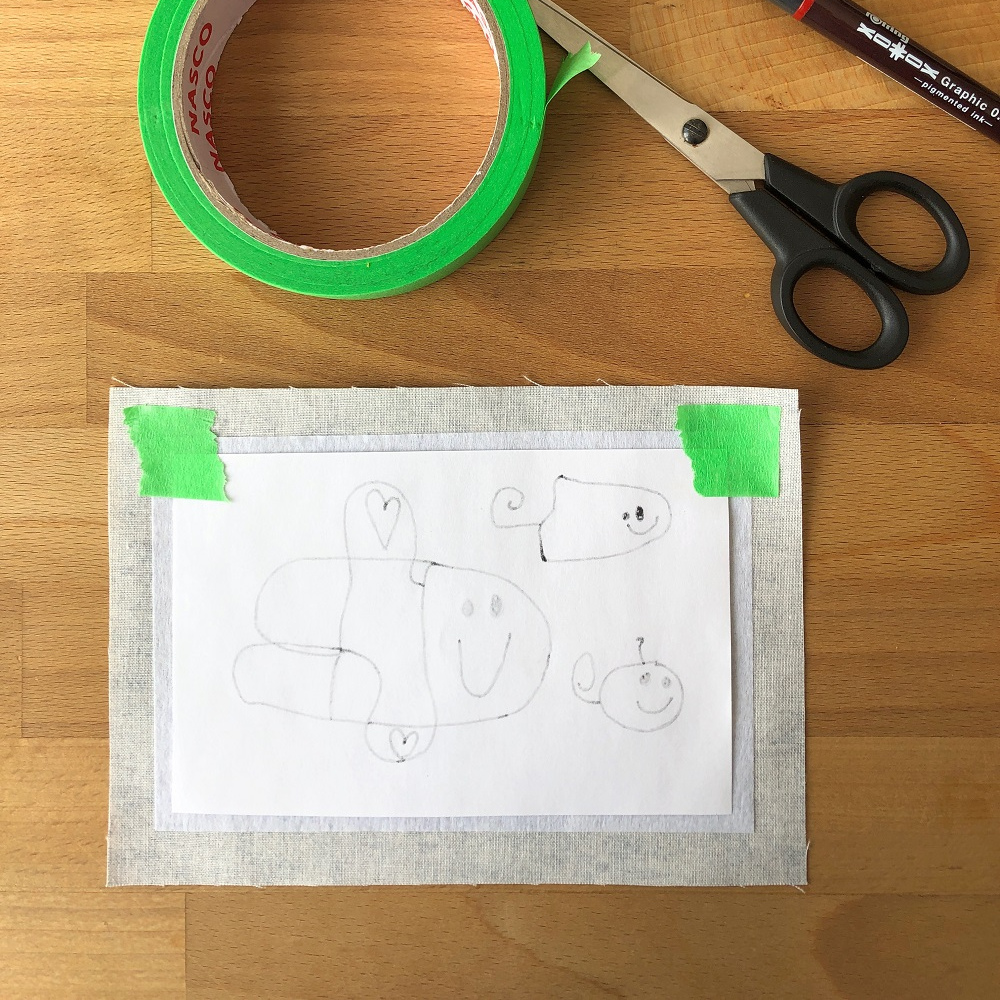
If your little artist used a pencil like mine did, you may want to intensify the lines with a black marker. Then simply pin or stick the artwork to the back of your (stabilized) fabric and trace through.
Free hand
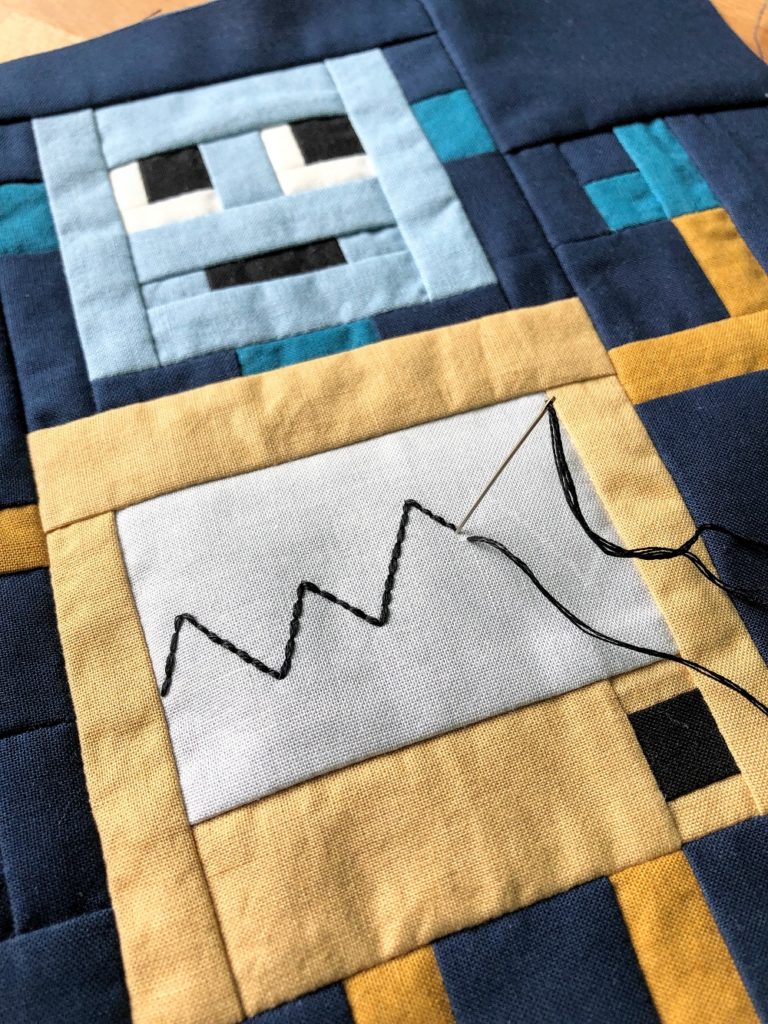
And of course, if you are confident enough to trace your lines free hand, go for it! This is a great option if your designs are simple or if you want to use your own handwriting on your robots’ screen displays. In the example below, I drew an irregular zig zag line with a white chalk pencil. The lines look faint in the photo, but they were easy enough to see while stitching along with black floss.
Other options
If you have some experience with embroidery, you may know about tracing paper, peel and stick stabilizers and other options. I haven’t tried these yet myself, so will leave it at just mentioning them here.
Embroidery tutorial: How to create stunning designs with a simple back stitch
I really cannot say that I embroider a lot, but when I do, a basic back stitch is by far my most frequent choice. I just find it so versatile because it can be used for any sort of text and so many other line-based designs. Other stitches might seem fancier, but I find a neat back stitch can look really stunning on its own.
Accessories and preparations
Here are some notions you’ll need and a few things I would recommend to prepare your screen fabrics for being embroidered:
- Oversize your F pieces.
I like to cut my F pieces 1/2″ larger than required (5″ x 7″). That allows for some wiggle room for your edges to fray etc. After completing the embroidery I trim the pieces down to 4 1/2″ x 6 1/2″ as stated in the pattern, then assemble the robots’ body sections. - Stabilize your F piece to prevent stretch and distortion.
There are a number of options available. I like to stabilize my fabric from behind with a fusible featherweight interfacing. I like using Pellon 911F as I find it adds the right amount of stability without turning the fabric too stiff. - Consider using an embroidery hoop to keep your fabric taught.
(Maybe one day I’ll get the hang of it, but so far I’ve mostly worked without.) - Temporary markers:
Find a marker that shows up well on your screen fabric. My favourite choice for dark fabrics is a white chalk pencil, for lighter fabrics I mostly use heat-erasable Frixion pens. - Embroidery floss and needles:
Chose floss of contrasting colours to make sure your designs show clearly on your robots’ screens and use sharp embroidery needles. I am not too picky about the size of my needles – as long as I can fit my floss through the eyelet, I’m good. I believe the needle I used for this project was a No. 4.
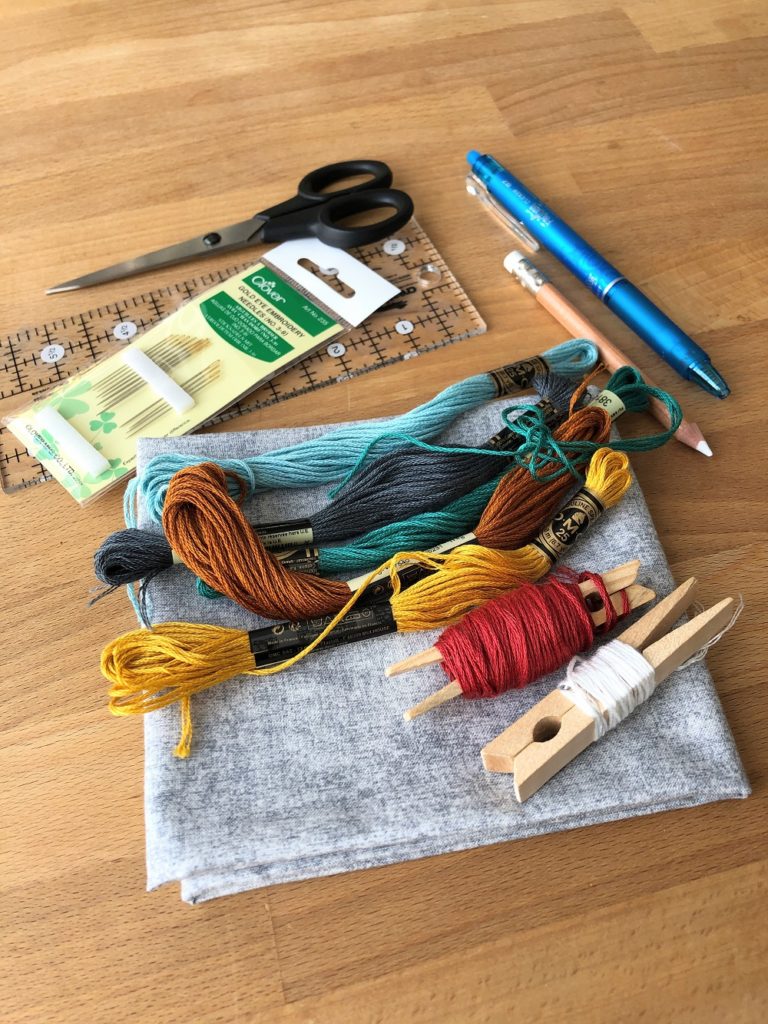
I do not often use all six strands of my embroidery floss, but I find for the scale of the 4″ x 6″ robot screens and a relatively simple embroidery design, it gives a perfectly chunky result. So this is what I used for all the shown examples.
How to back stitch
And now, let’s finally get stitching:
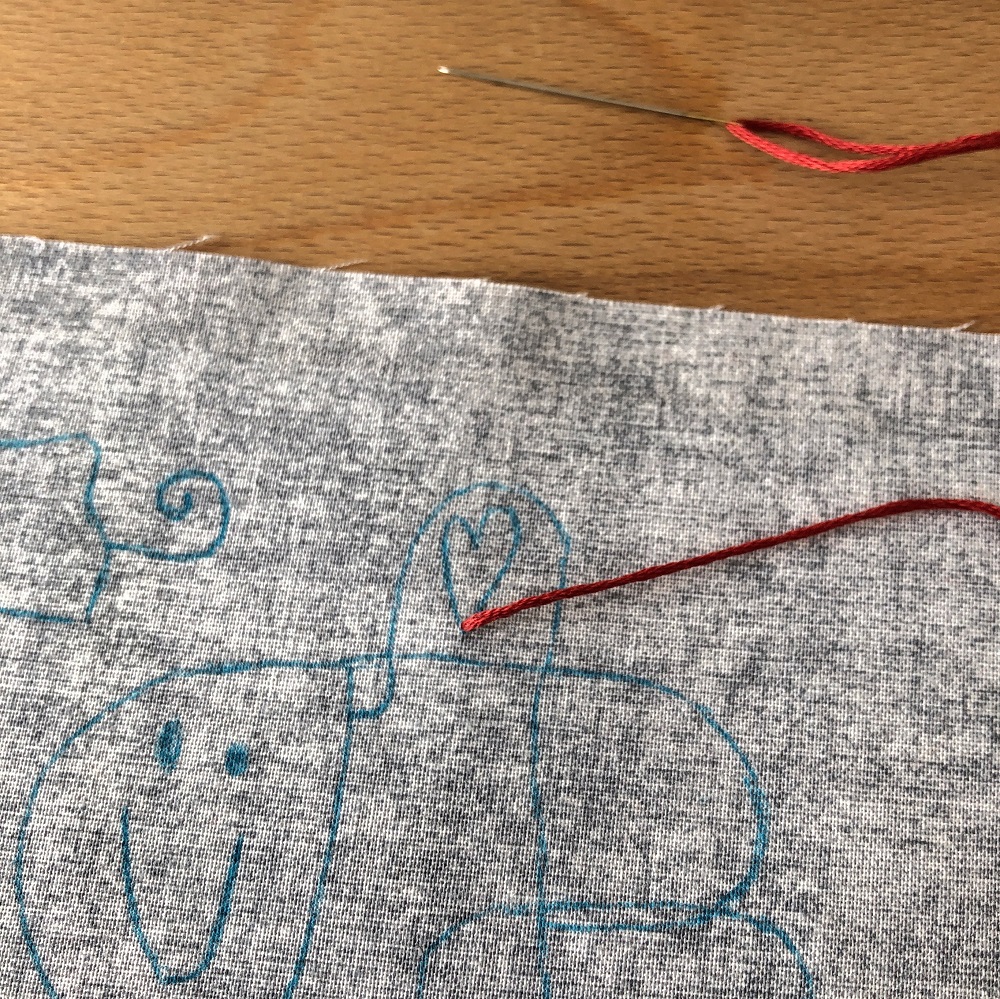
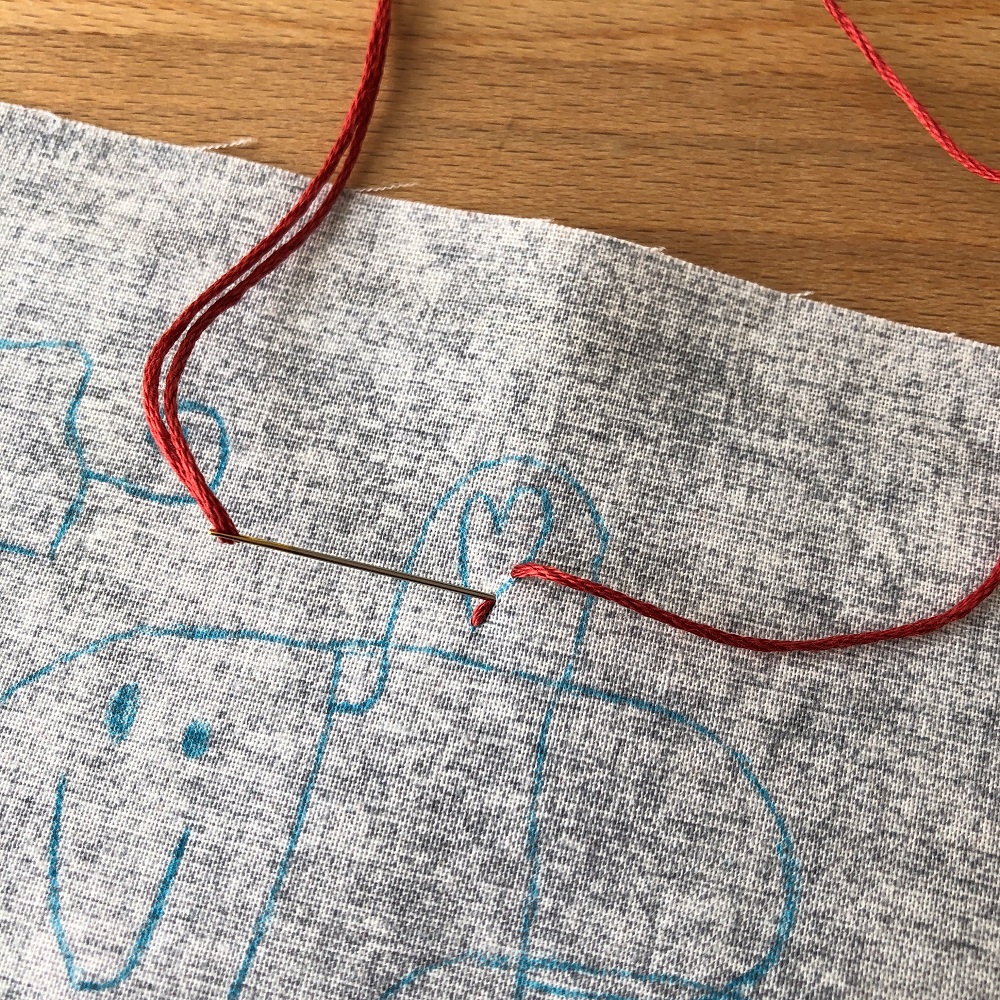
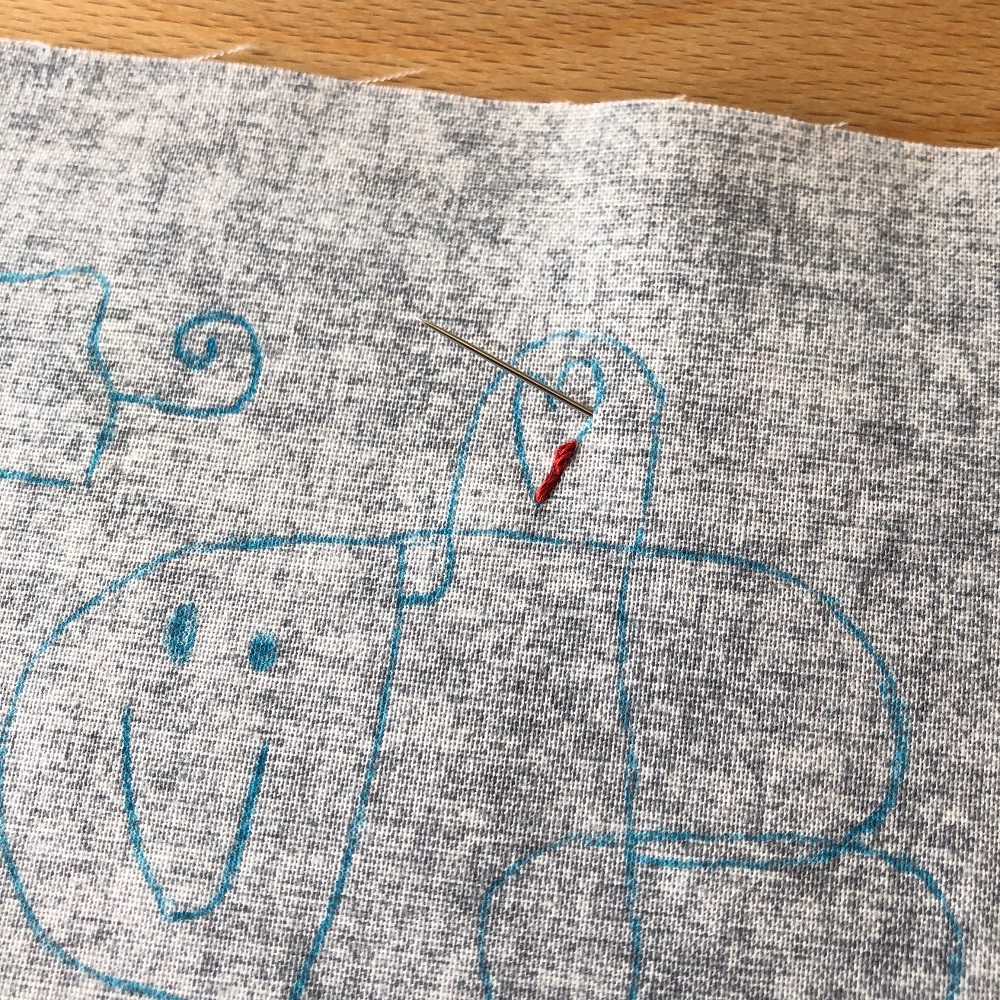
Tie a double knot to the end of your longer tail, bring your needle to the back of your screen fabric and and bring your floss up where you want to start your embroidery design. In my example, I’m starting at the bottom tip of the little heart in that little fish’s back fin.
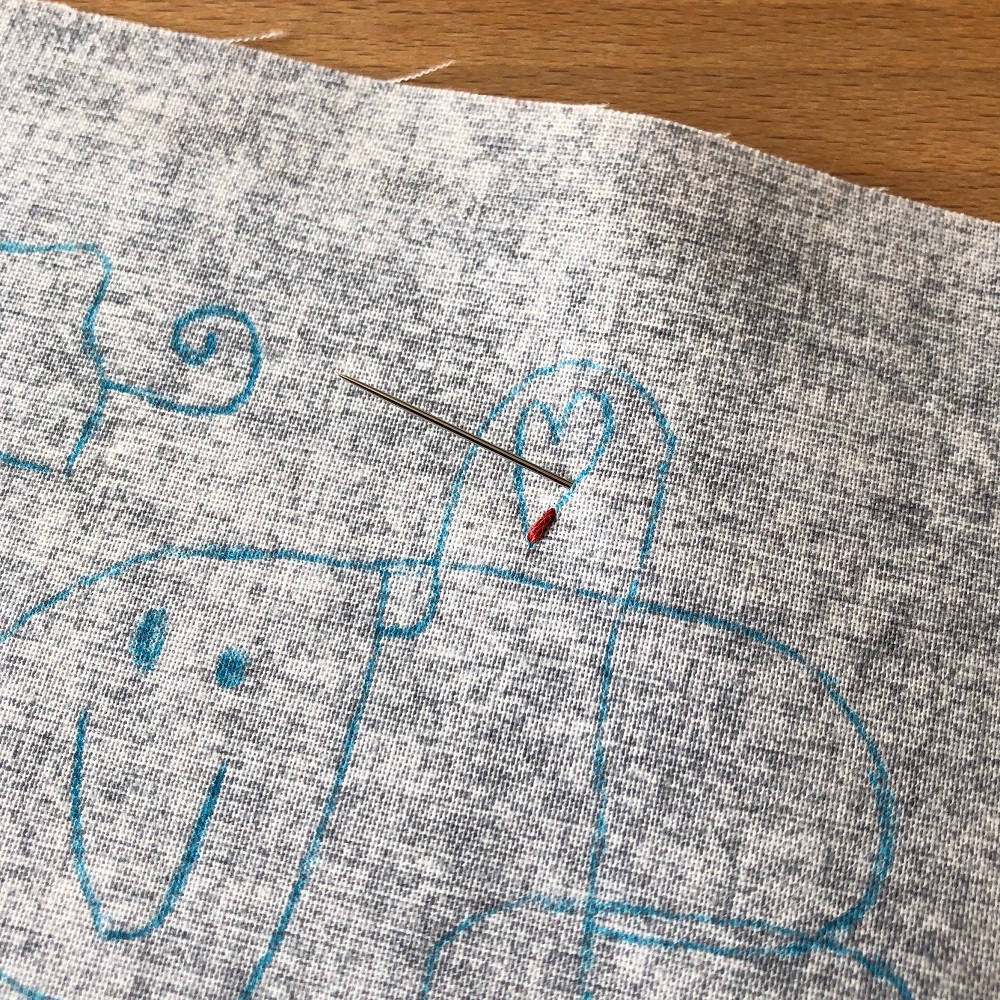
Make your first stitch on your drawn line, bring your needle to the back of your fabric and back to the front one stitch length away. For your next stitch, go back through the fabric where your previous stitch ended.
Once again, bring your needle up on the drawn line, one stitch length away from your last stitch. Then stitch back through the end of your previous stitch.
Repeat until you reach the end of your drawn line.
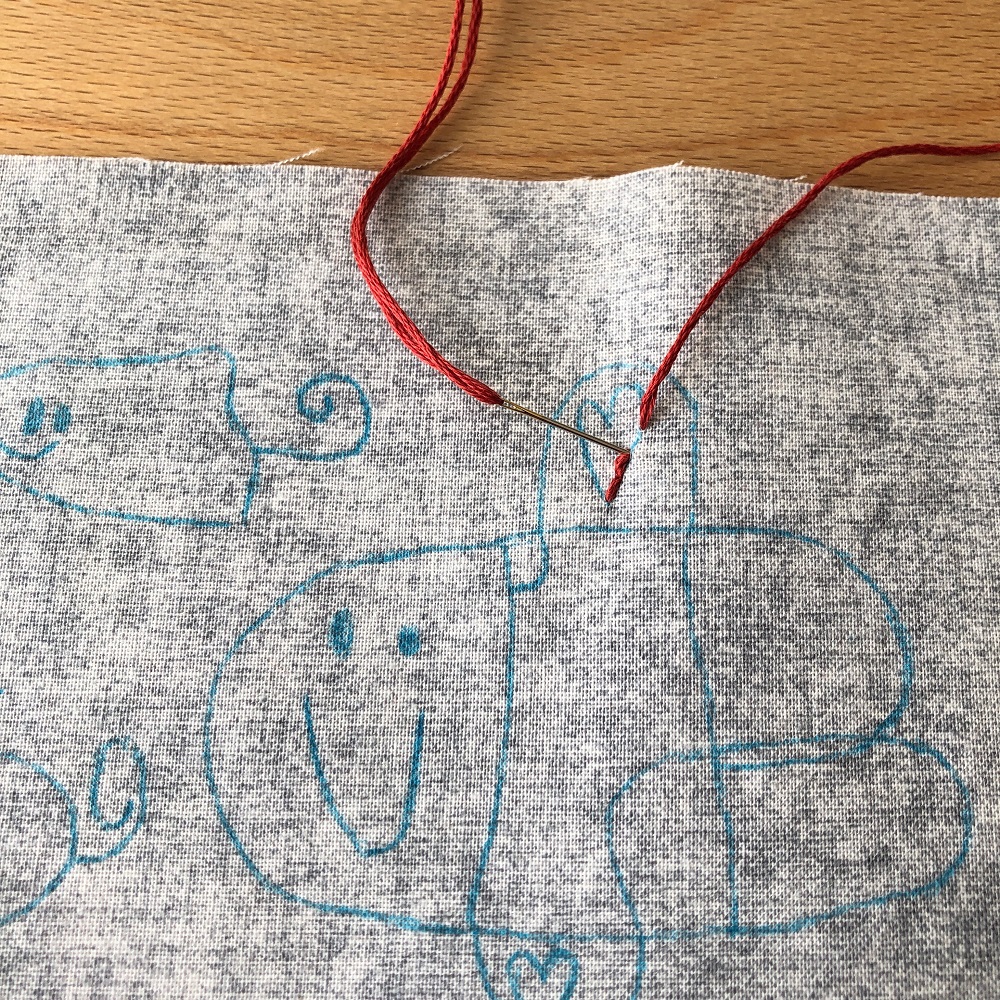
Once you have completed all the stitches for one colour (or your thread becomes to short to continue), bring your thread to the back of your project and tie it off.*
(* I am aware that knots are controversial among embroiderers. I use them all the time when hand quilting and have never found them to be evil in my embroidery projects either, but feel free to finish your thread ends differently if you prefer. And please don’t judge me! 😉)
Take your next strand of floss and embroider along until your design is complete.
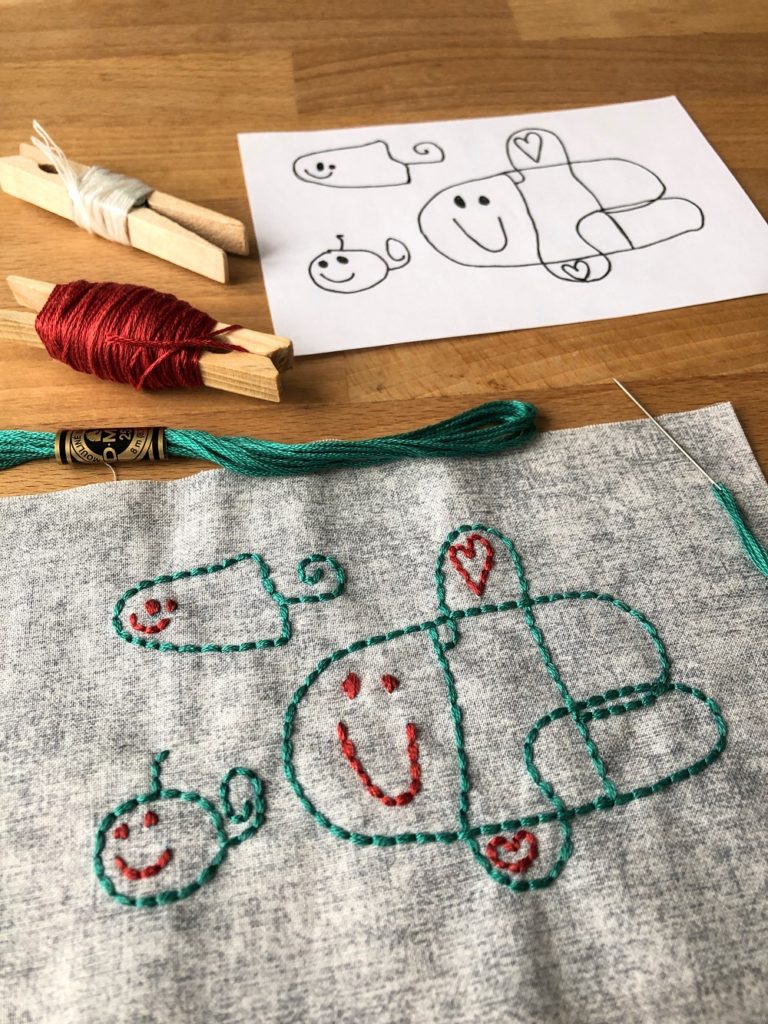
Then, make three more robot screens! 😉 You can use a variety of styles and ideas, just to use the opportunity for trying out different things.
Once all your screens are decorated, trim your pieces down to 4 1/2″ x 6 1/2″ and assemble your robot blocks as described in the Rocking Robots pattern.
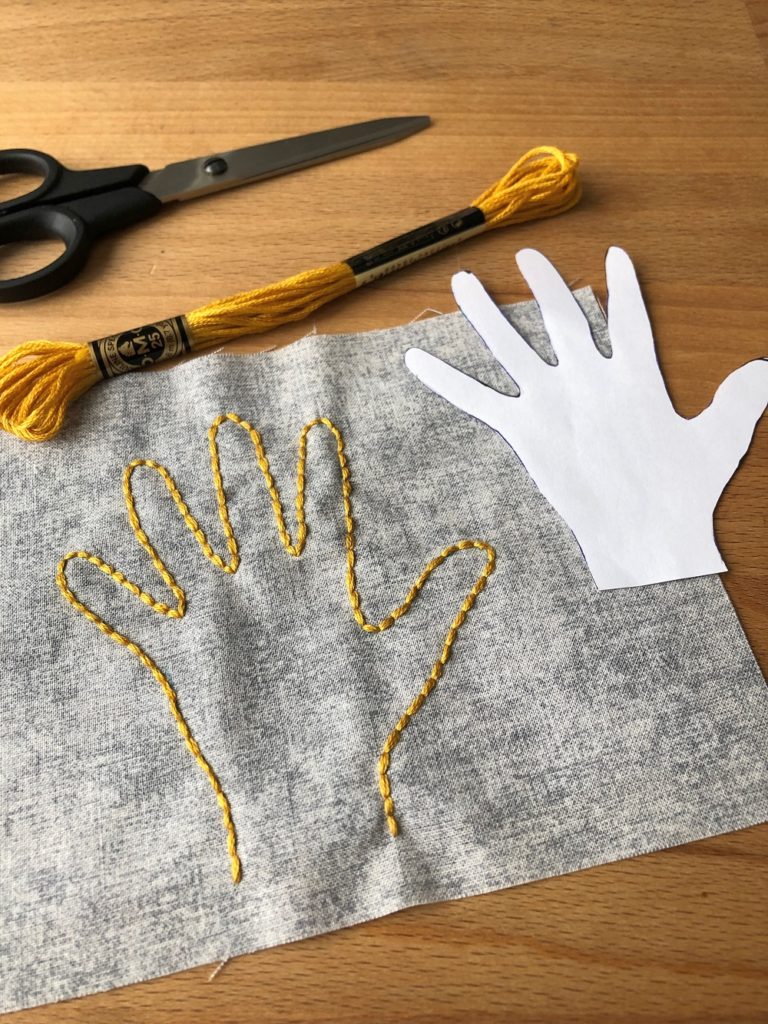
I hope you enjoyed this embroidery tutorial and feel confident to decorate your own little robots!
I would love to see your versions, so please share your projects on social media using the hashtags #RockingRobotsQuilt and/or #ApplesAndBeaversPatterns! Happy stitching!
