This was going to be the last of my samples for the River Rocks quilt pattern release.
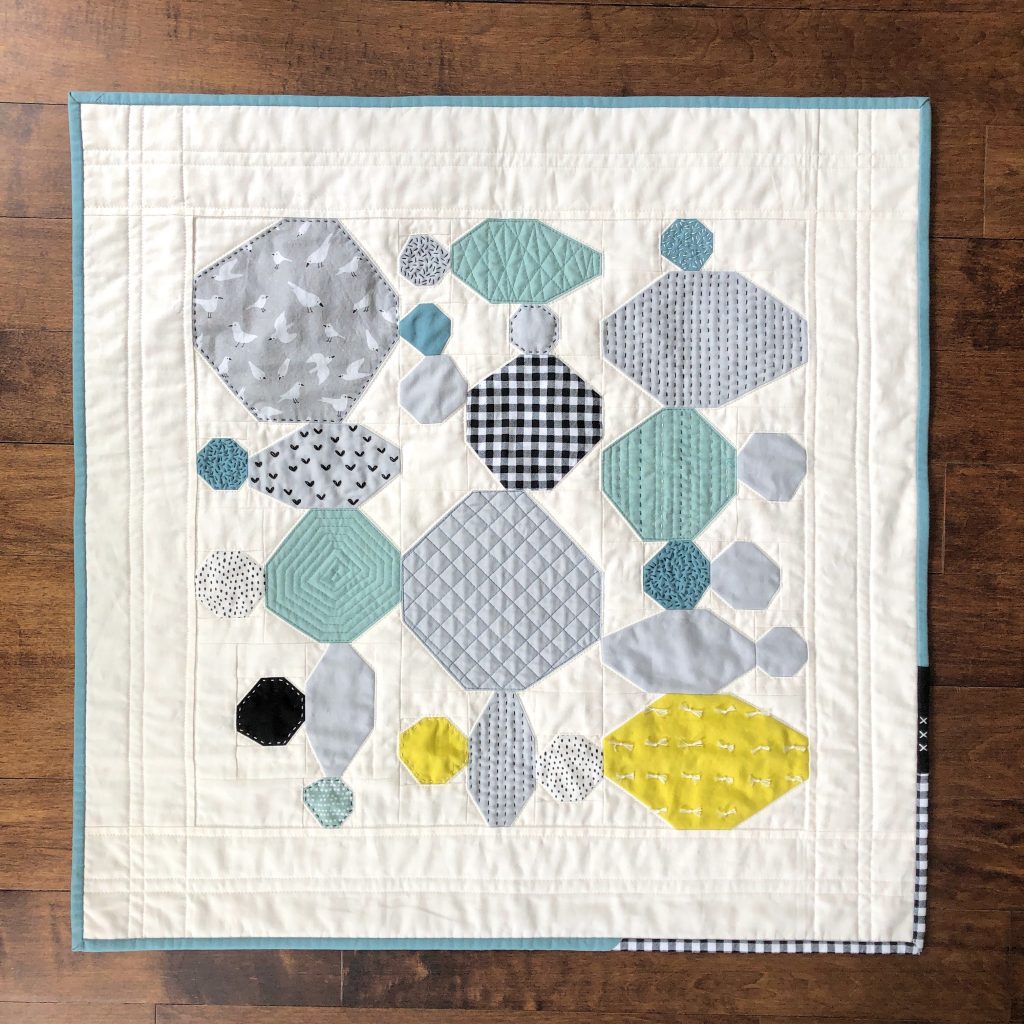
My brain told me I should make the large throw, the third of three sizes included in the pattern and not yet covered by any of my previous samples. So far so good – except my heart really wanted to go back to the beginnings of this pattern journey and make something spontaneous and improvisational again. And a much more suitable size to handle this idea amidst quarantine and our current move was clearly a mini. Alright, brain gave in.
I found some teal, yellow and grey scraps and added some black and white accents. Then I made a quick sketch to determine the dimensions and the layout.
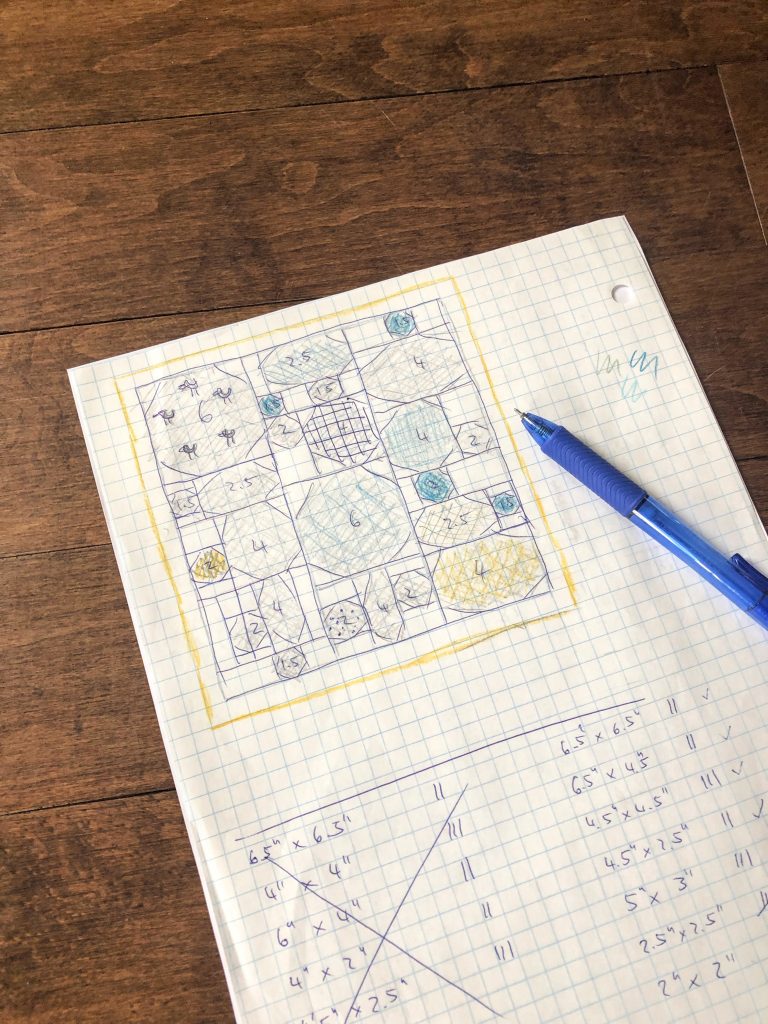
I scaled the width of the columns down to 6.5″ (the River Rocks pattern says 9.5″) and unless you love working with really tiny pieces, I would not recommend following my example – stick to the pattern! The smallest rocks were only 2″ and looked like stamps.
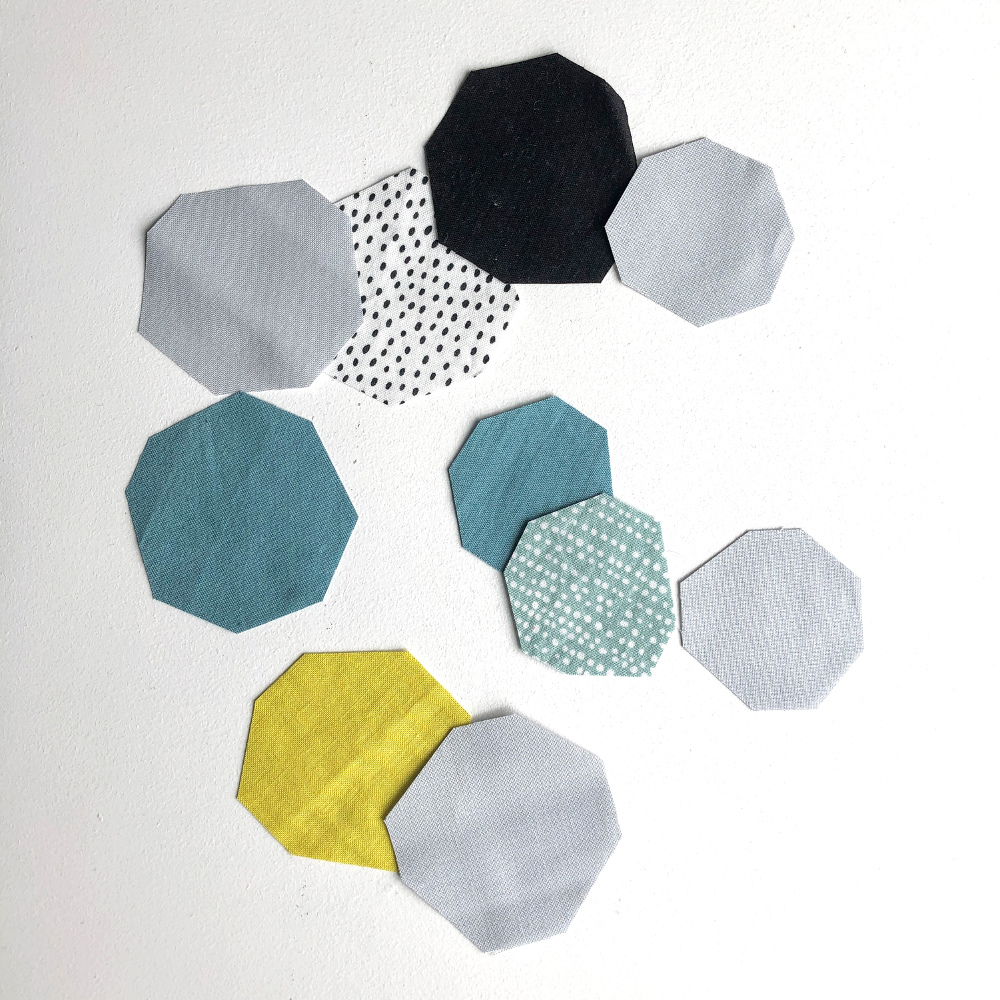
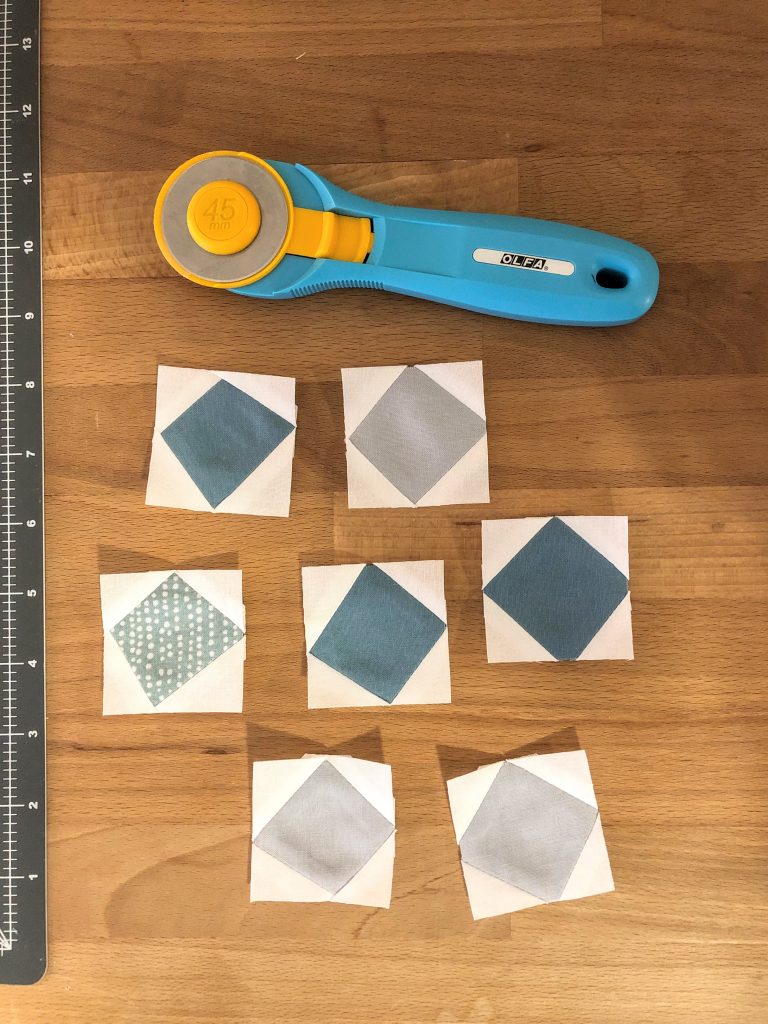
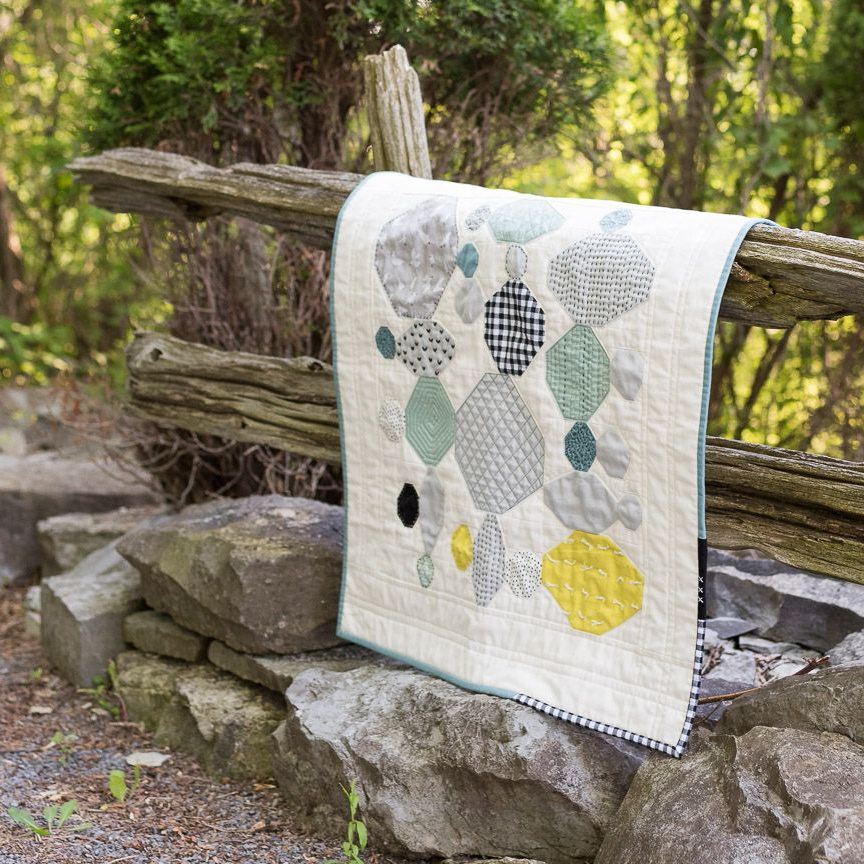
But it was definitely worth the pain, as the quilt top turned out so cute! Look at those birds!
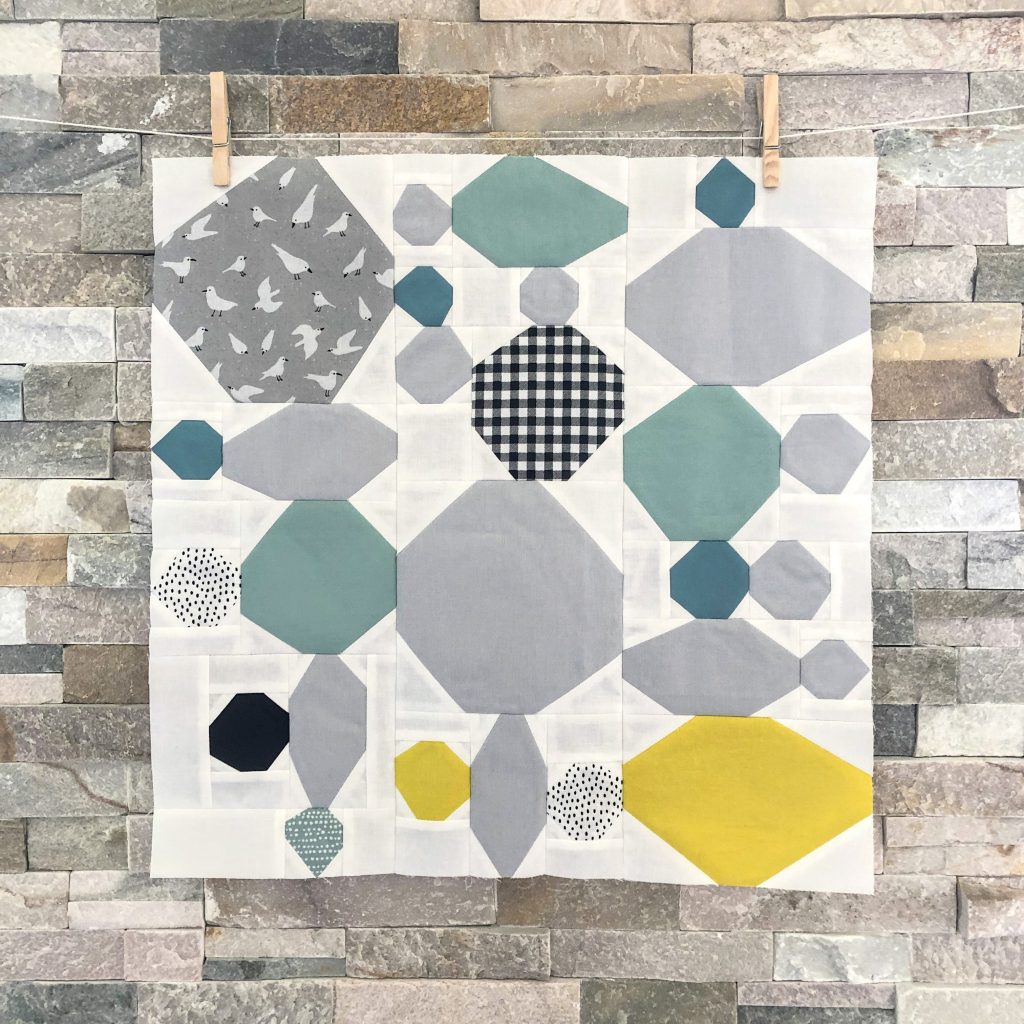
At first I wasn’t quite sure how I wanted to quilt it. I only had this vague idea that I wanted to quilt each rock differently and also wanted to do at least the majority by hand.
I started with a few ties…
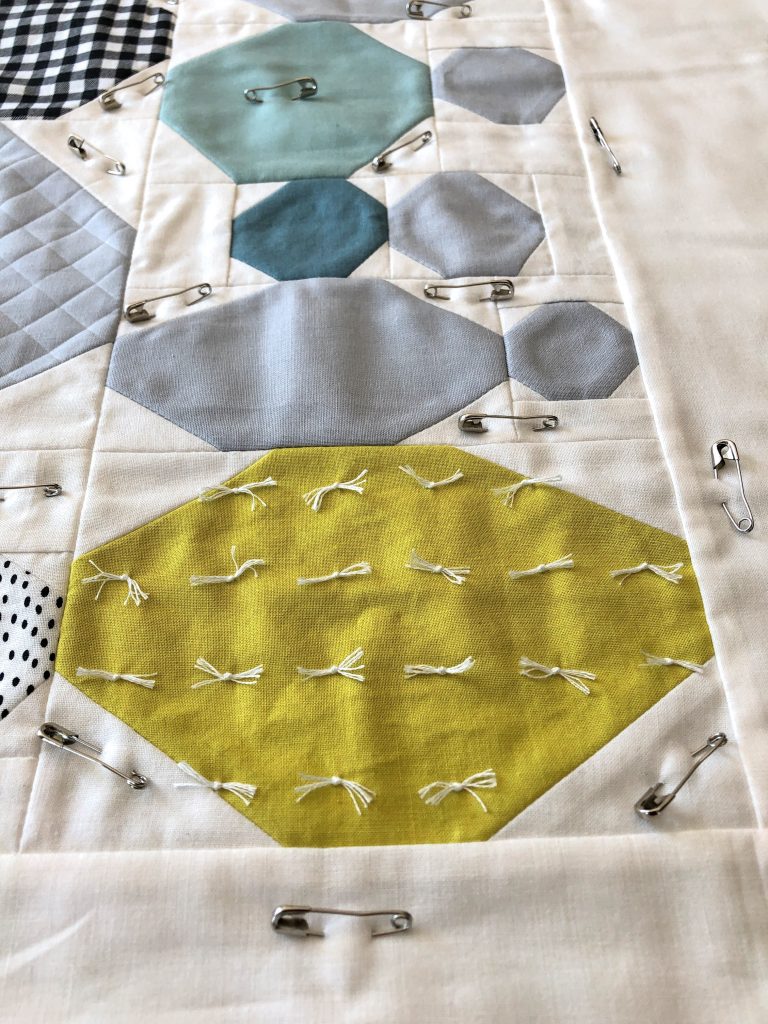
… then added some sprinkles.
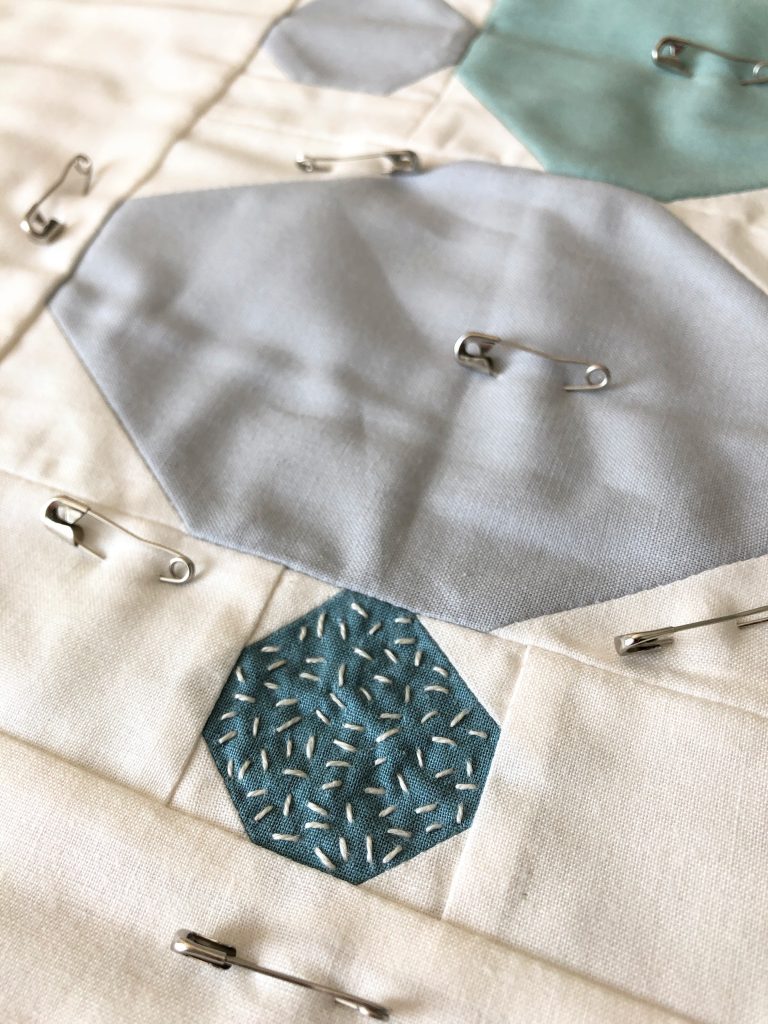
After a few rocks were done, I outlined all of them with my machine. This was not a step I had planned to do and I’m still not sure where the inspiration came from, but I find it makes the whole quilt look so much more tidy and crisp!
Time to finish the rocks. I simply outlined some of them with big hand-stitches…
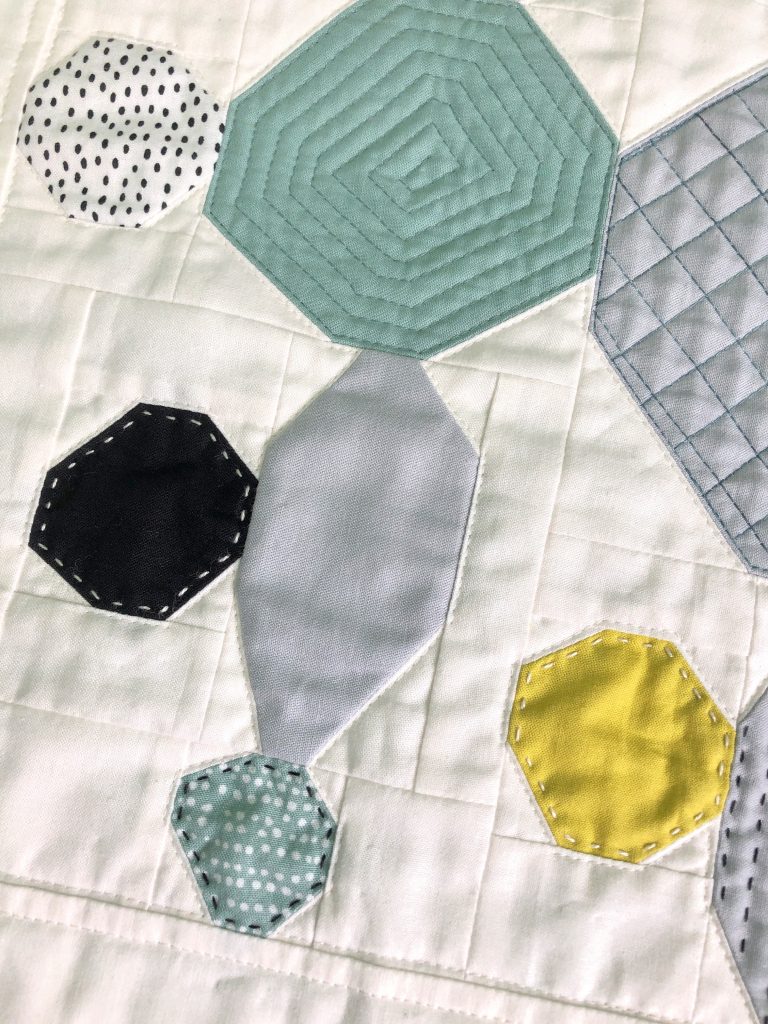
… machine quilted some others and also went for a mix in some cases.
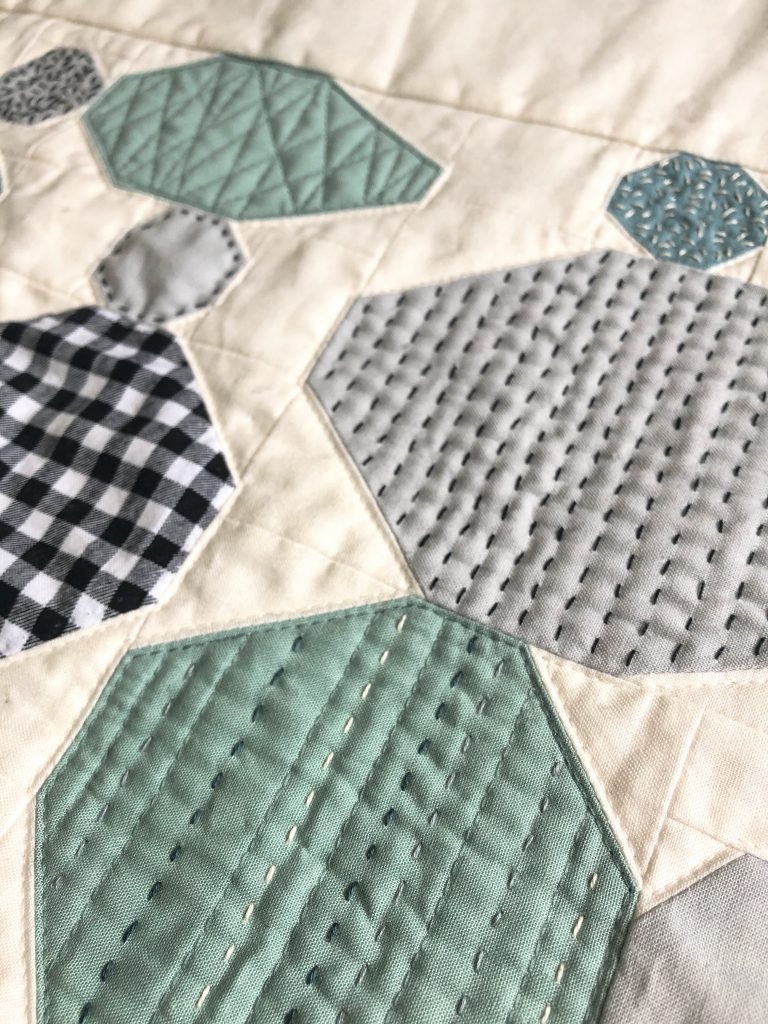
The last rock got some little hearts stitched on. Just because.
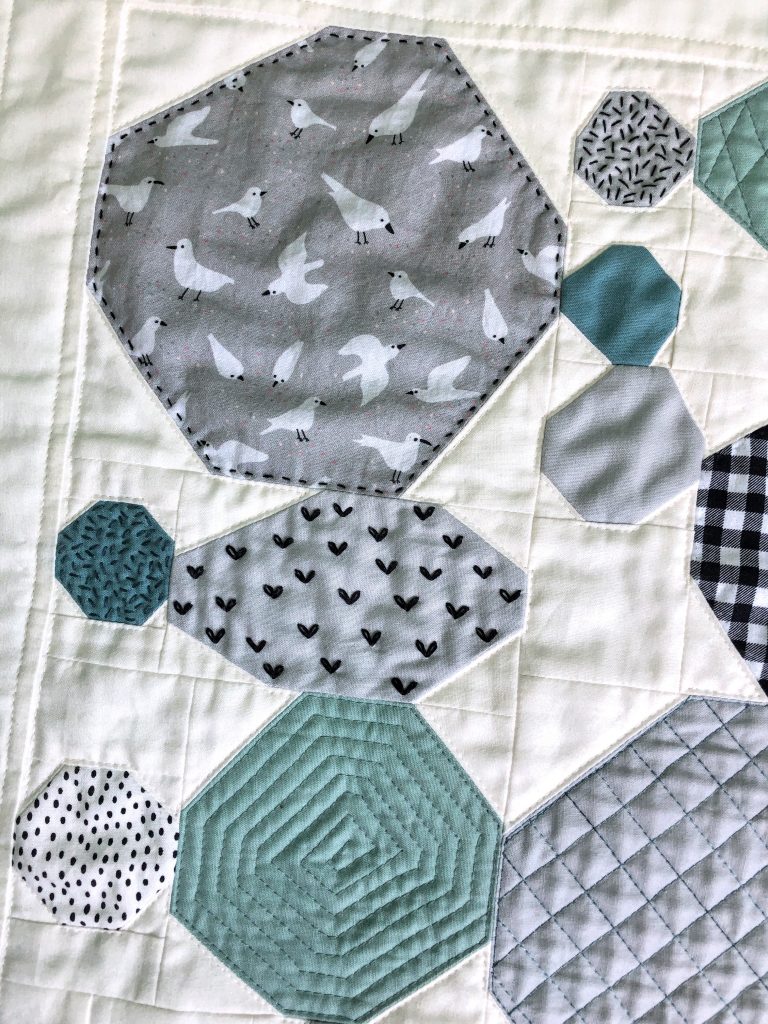
Then it was time to bind and I also added some fun details here.
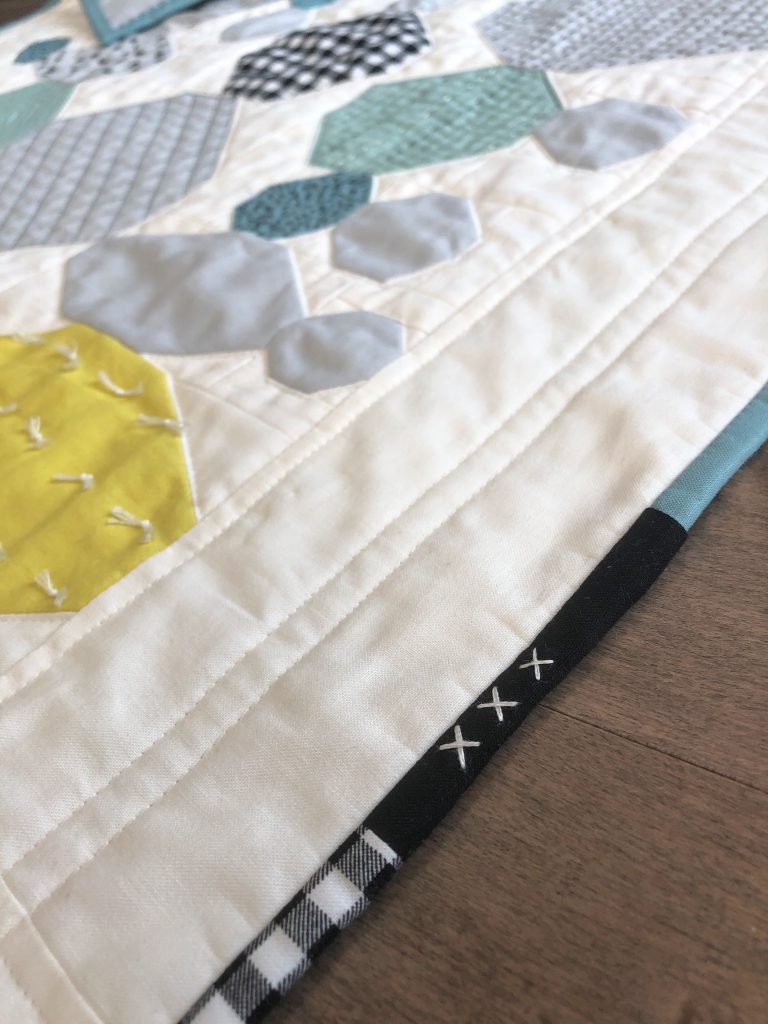
And tah-dah! All finished!
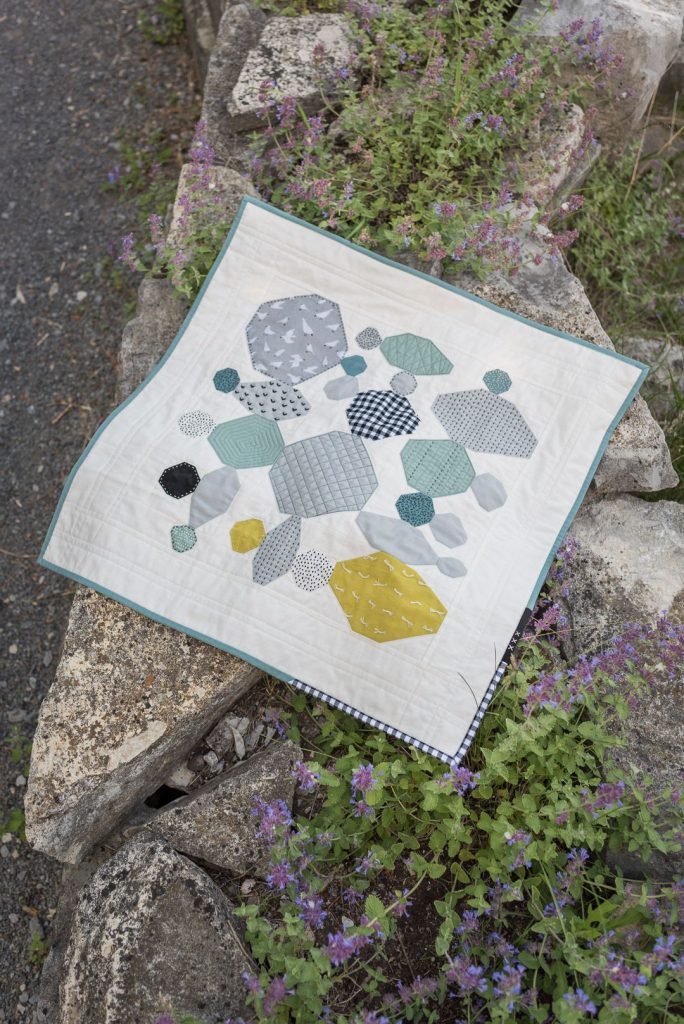
Below is my favourite picture from the photo shoot with my lovely and talented friend Sue.
And in case you were wondering: it’s a mini quilt, yes, but I can almost fit behind it! 🙂
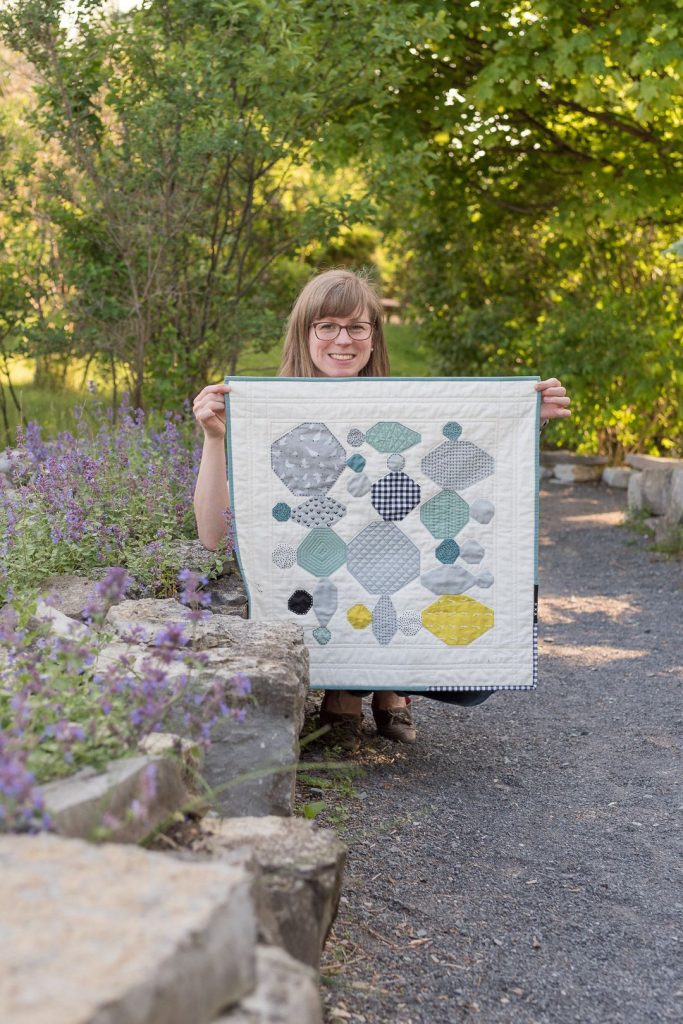
My favourite aspect of this little quilt is how it reflects my current quarantine state of mind. With even less sewing time at hand than usual, I want to be sure to really enjoy every moment that I get. And not only did the rock-by-rock approach break the whole quilt making process down into easily digestible portions, it even made the project portable – at least for the hand quilting part – and a good part of it got done on my kitchen island, amidst all our daily family buzzing. And then I love that this quilt is an experimental piece. I am not claiming that anything I did was crazy revolutionary, but I really enjoyed exploring some new to me quilting techniques, some of which I’ll definitely use again in the future.
In order to remind myself to stay curious and keep trying new things I’ll hang up this mini in my new sewing space (also just because I find it so darn pretty). We’re still in the process of moving though, so pictures will have to wait a bit. But at least the quilt is ready, all I need is a stick to slide into the sleeves and a nail in the wall! 🙂
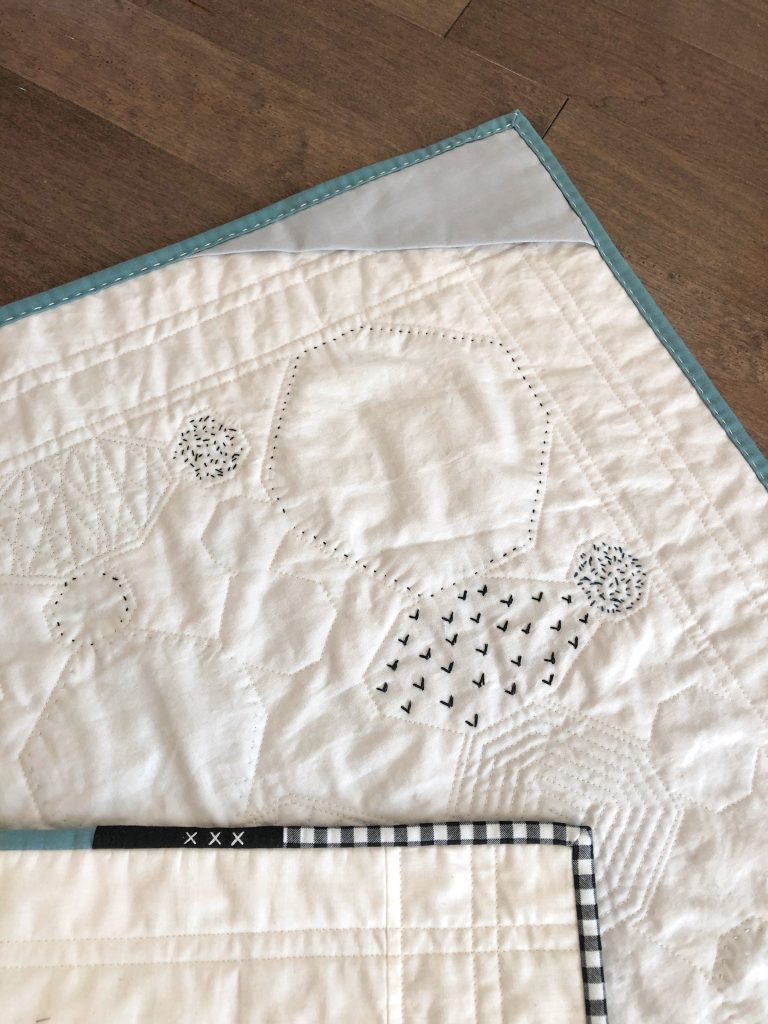
Maybe I’ll even hang it backwards – I kinda like the look!
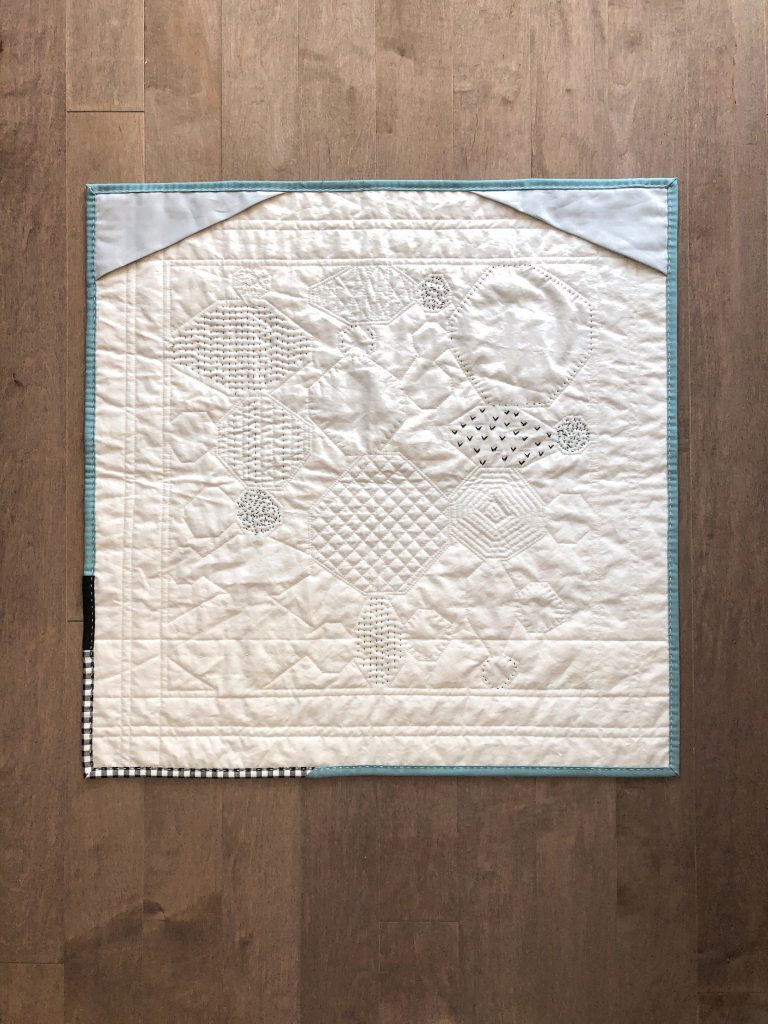
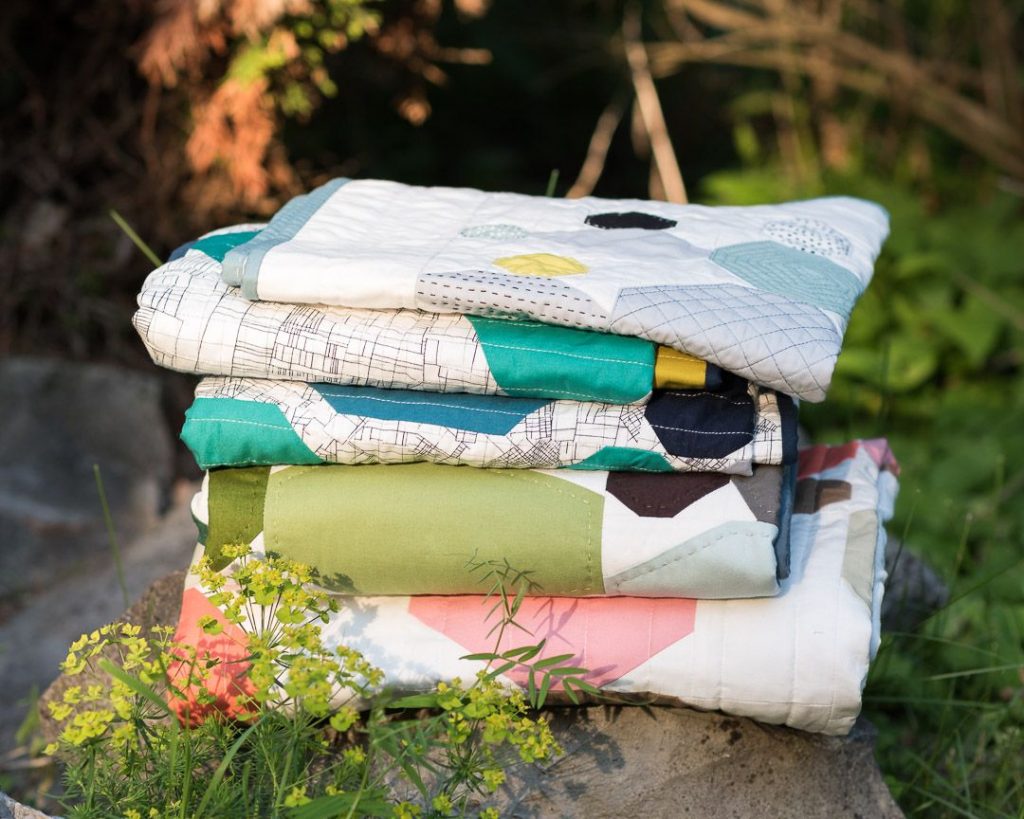
I hope this series of four quilts showed you the versatility of the River Rocks pattern! It truly is a very personal and heartfelt pattern – I was quite nervous to release it into the wild but now I can’t wait to see YOUR creations! Hope you’ll have lots of fun with it!


Hi. I love this pattern. I bought the pattern a month or so ago. Then over the weekend I saw the mini blog post. I’ve decided that’s what I want to do. Can I ask what the dimensions of this piece is? This is beautiful.
Thanks, Kim!
For this piece I decided to shrink the width of the columns from 9“ (as in the pattern) to 6“. So I resized all the blocks to about 2/3 of the original dimensions with some adjustments to achieve 18“ high stacks. With a 4“ border, the finished quilt is about 26“ by 26“. I hope that helps!