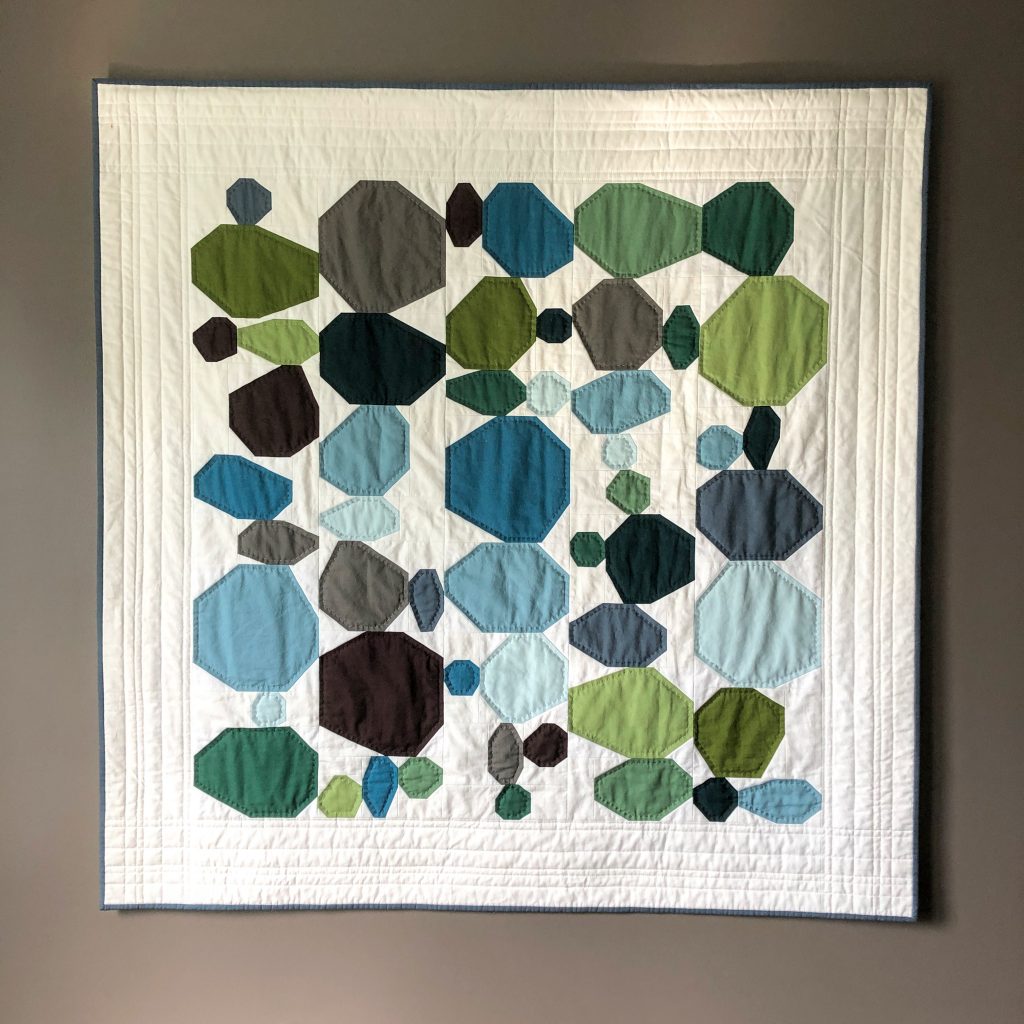
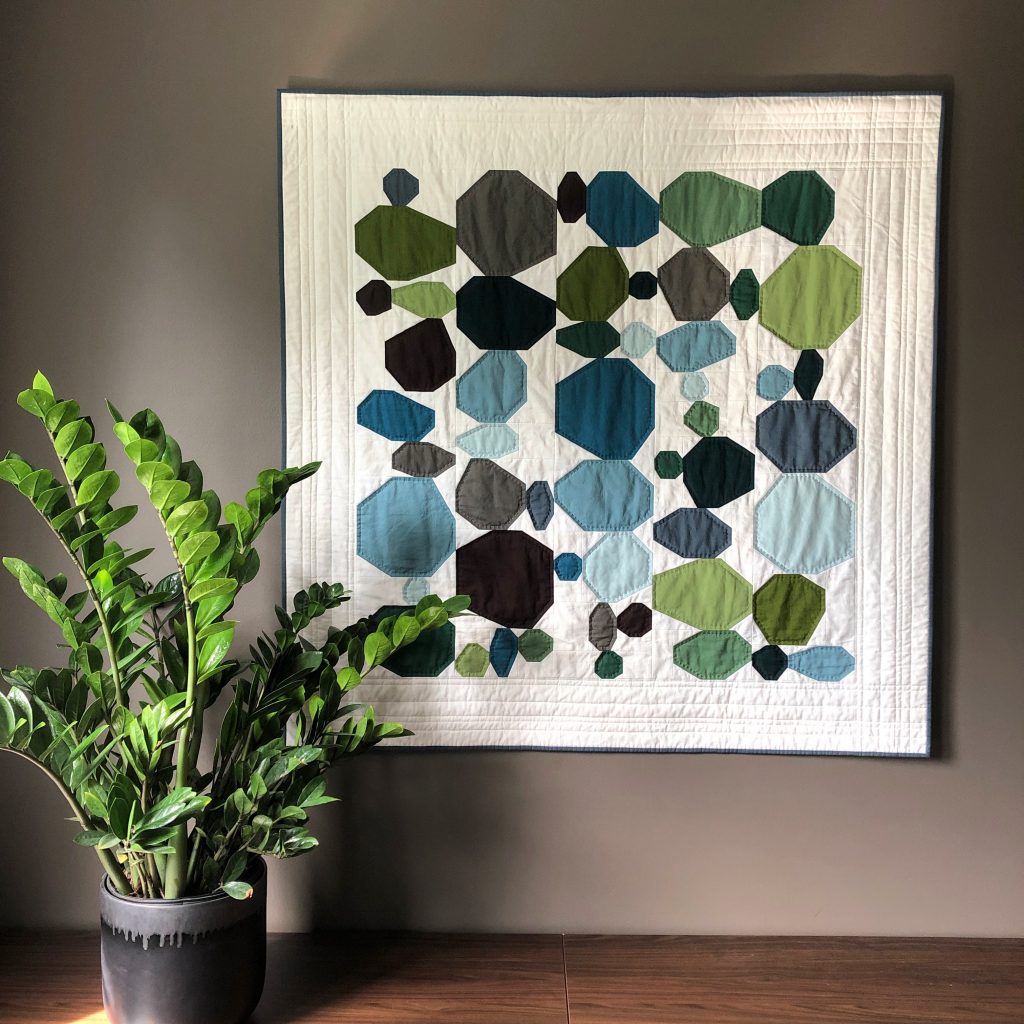
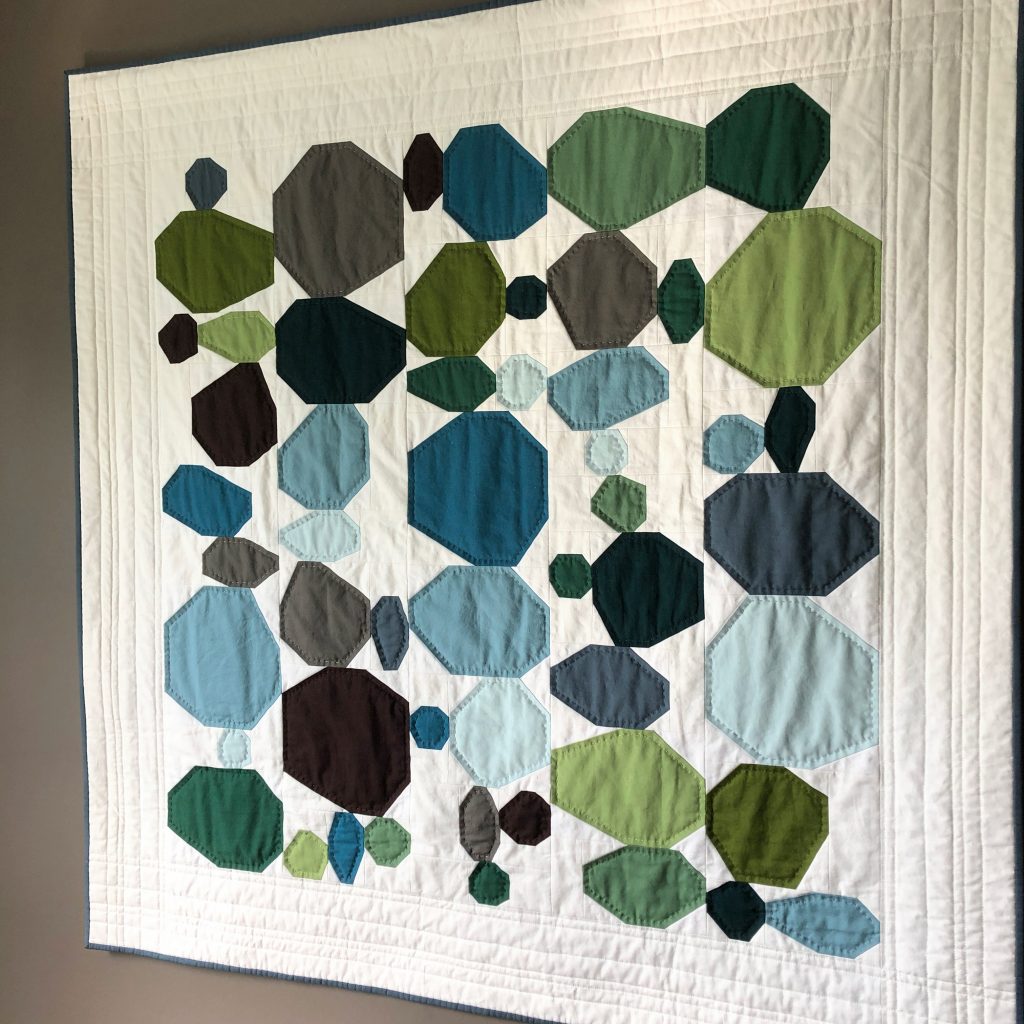
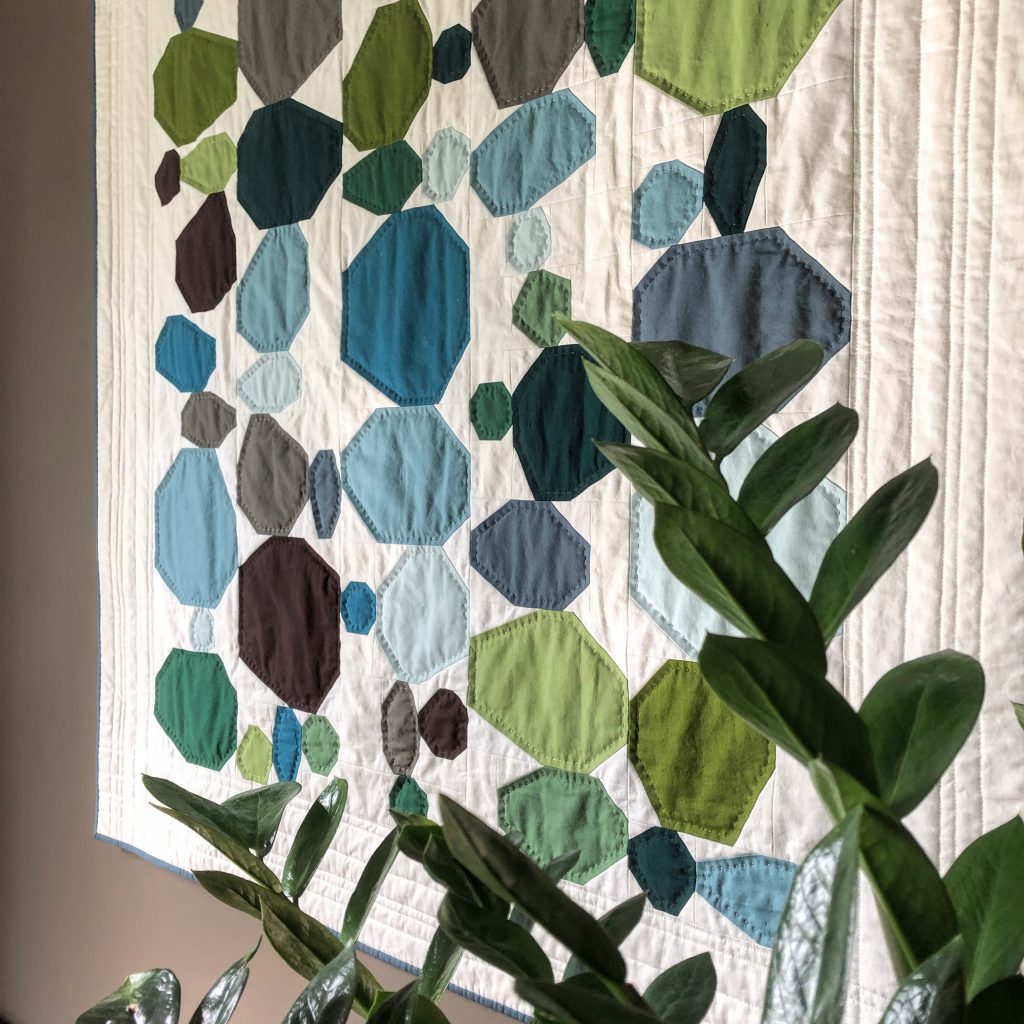
This is the very first River Rocks quilt I made.
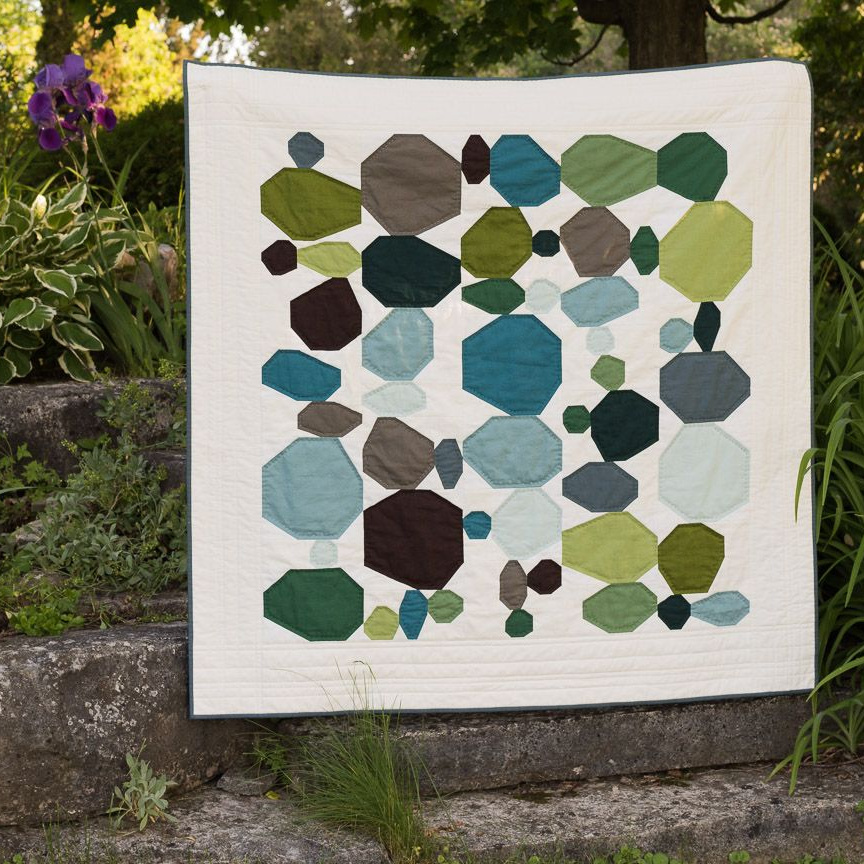
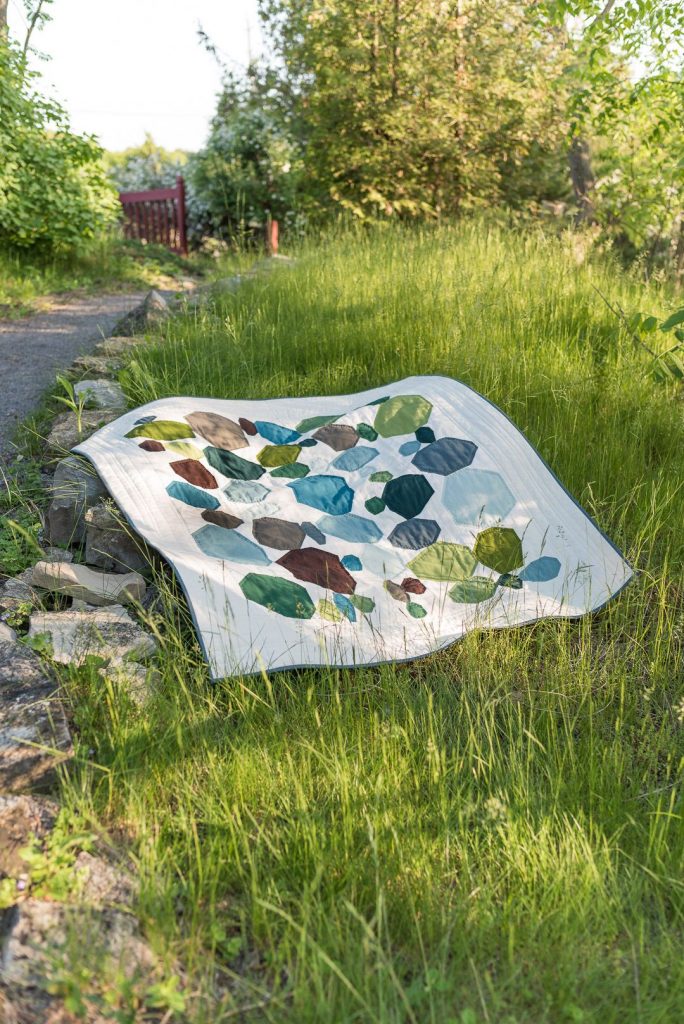
Sometime last fall I felt inspired to try some improvisational piecing. I don’t quite remember where the idea with the rocks came from – I think I just wanted to do something completely different than traditional piecing and also didn’t feel like sewing randomly shaped scraps together. The one thing I do remember is that I wanted to achieve a somewhat organic look. And while I’m no stranger to curves I wanted to see where I could get with just straight lines. So somehow I ended up with these wonky snowballs…
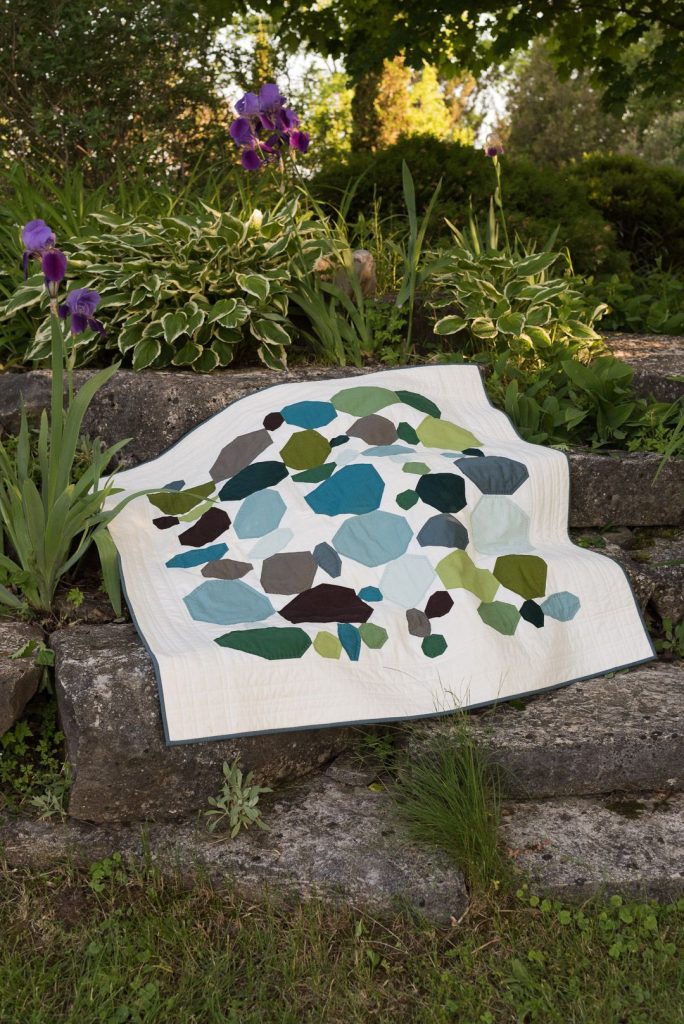
Because I wanted to make sure my rocks would fit nicely into a square array in the end, I planned some of their dimensions and the rough layout with the help of pen and graph paper. Then I cut and sewed them one by one, pulling all the sea glass hues I could find in my solids stash.
That’s also why I had originally considered calling the pattern “Sea Glass Pebbles”, but my husband Paul wouldn’t have any of it. The quilt reminded him of the days he spent river fishing with his uncle, so the name was going to be “River Rocks”. Period. And to prevent any second-guesses, a quilt label was made.
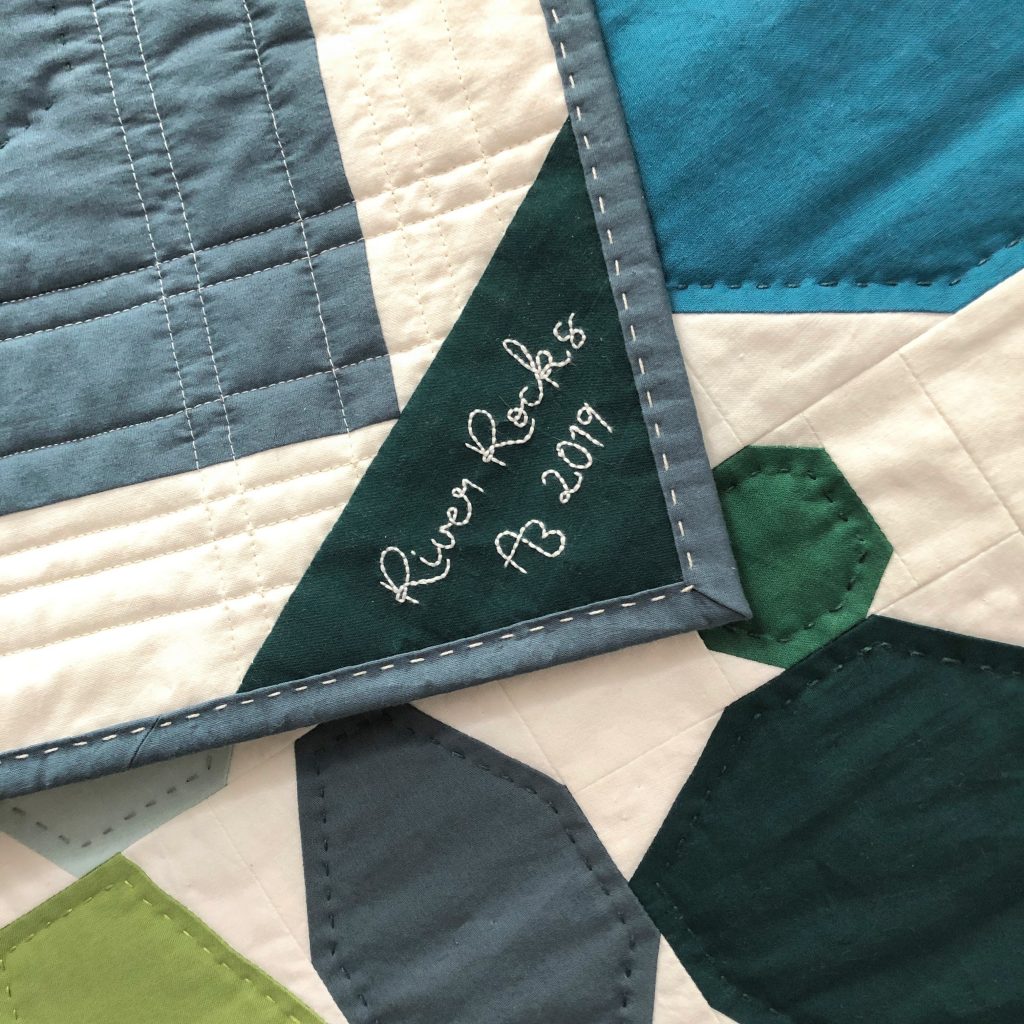
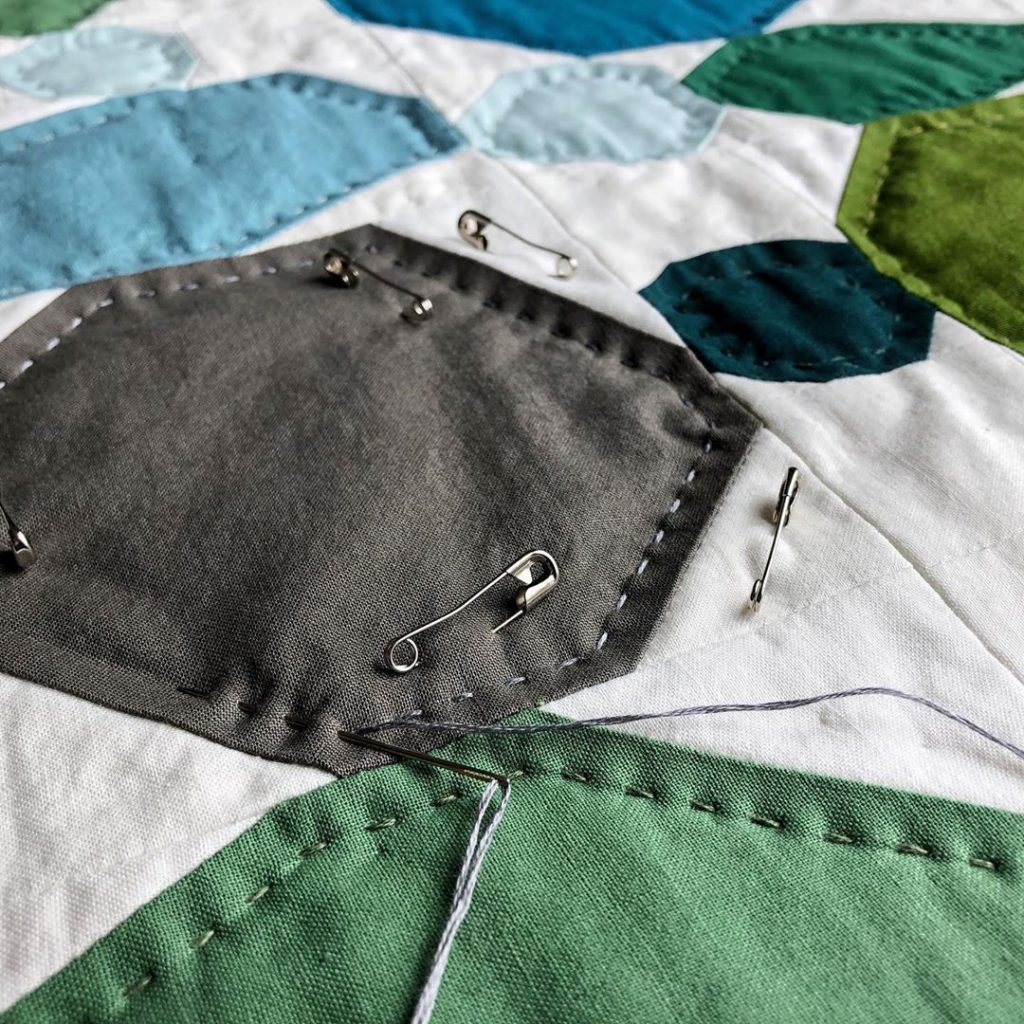
For the quilting I outlined each rock with big hand stitches in coordinating colours. and added some simple straight lines along the borders.
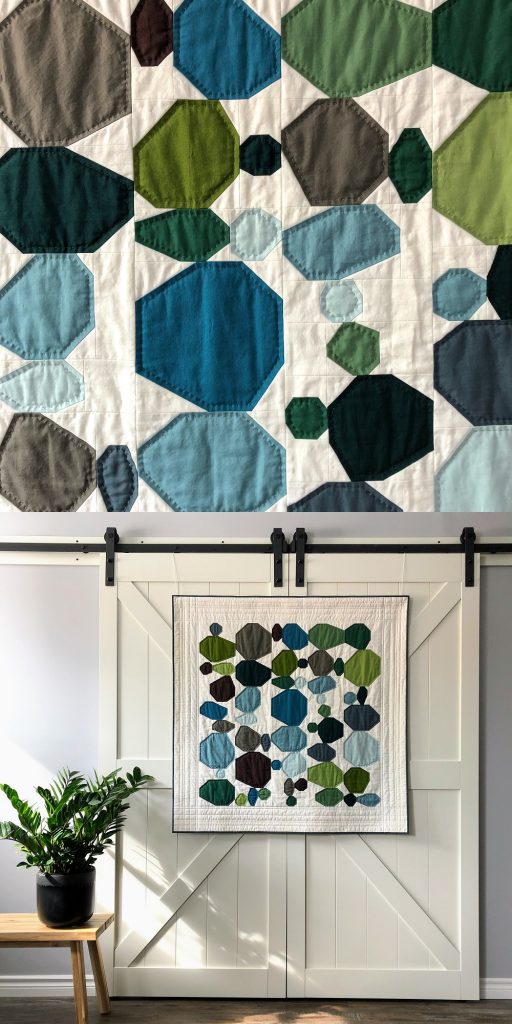
And I could not be happier with how it turned out!
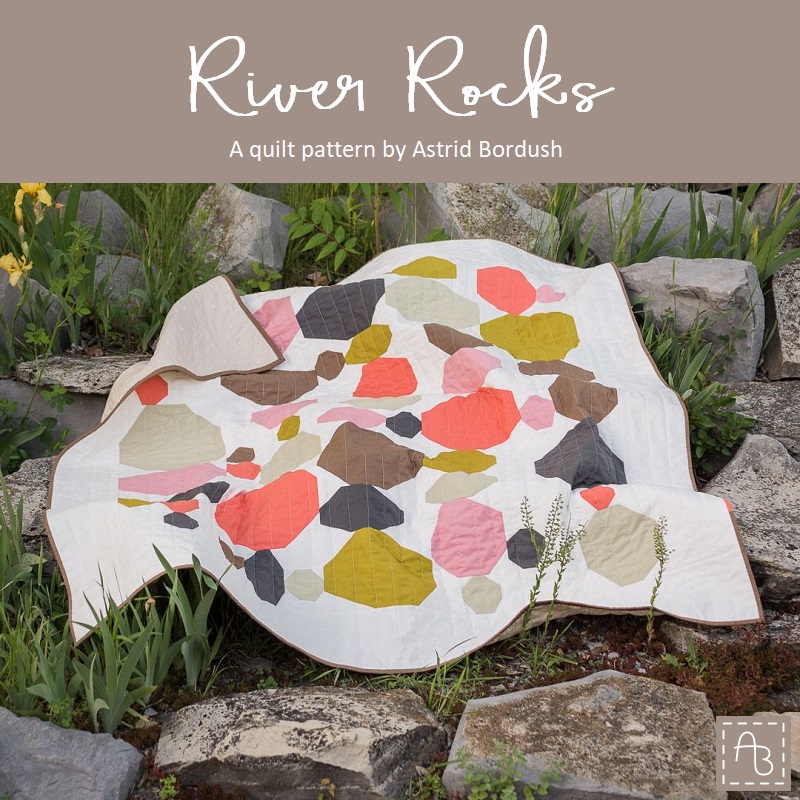
Since I made this quilt before I started writing patterns, I didn’t spend any time thinking about how to potentially ever turn it into a pattern. But after the amazing feedback from you guys I knew I had to! And then I learned that putting what I thought was a somewhat straight forward process into words and pictures understandable for everyone easily transforms a one page note into a 10+ pages pattern. I tried to simplify the process by reducing the number of different rocks from eleven to seven without changing the character of the quilt, and making it fat quarter, yardage and scrap friendly. I also scaled the width of the columns from an unusual 7″ to a much more common 9″ (which also makes the smallest rocks a little bigger and easier to work with). I may have needed a few iterations to make it all work, but with the help of my amazing testers I did it! And the pattern went live today, woohoo! You can get your copy here.
I hope you’ll like the combination of randomly shaped rocks, organized in neat rows as much as I do! I find it is a really fun process which is structured enough to provide you with some guidance if you don’t feel quite comfortable with true improv quilting, yet leaving lots of room to customize the design and make each quilt one of a kind!
Happy sewing! 🙂

Hello Astrid –
I love your new pattern! I like your original version the best – the one with greens, blues and browns. Can you please share the background fabric as well as the solid colors you used?
Thanks very much
Susan Williams
Southampton MA
Hi Susan,
Thank you for your message and your compliments!
The background was from Fabricland’s organic baby line, “coconut milk” I believe is the name. It is quite similar to Kona Snow, maybe a tad darker and more yellowish. The solids I used for the rocks were all from my stash, I don’t even remember where most of them come from. The only one I know is the lighter teal which is Free Spirit Malachite (one of my all-time favourites). And I didn’t stick to the pattern suggesting to use 6 colours, but went with about 12, everything I could find in my stash that screamed “sea glass” 🙂