Do you remember boom boxes? Mixed tapes? Mhhh, good memories…! 🙂 I am an 80s baby and today I proudly present to you this fun quilt block – please meet Press Play!
A little background…
This project was partially inspired by some market research I’ve been doing over the last holiday break. A big majority of my customers and followers on Instagram have been expressing that they prefer quilt patterns for larger quilts. And looking back, most of my 2021 releases were crib sizes… oops!
So I may have spent a hot minute thinking about options on how to upgrade some of them into larger quilts. I did the same with my Dragon Dreams pattern last year and that upsize tutorial was so wonderfully well received, thanks guys!
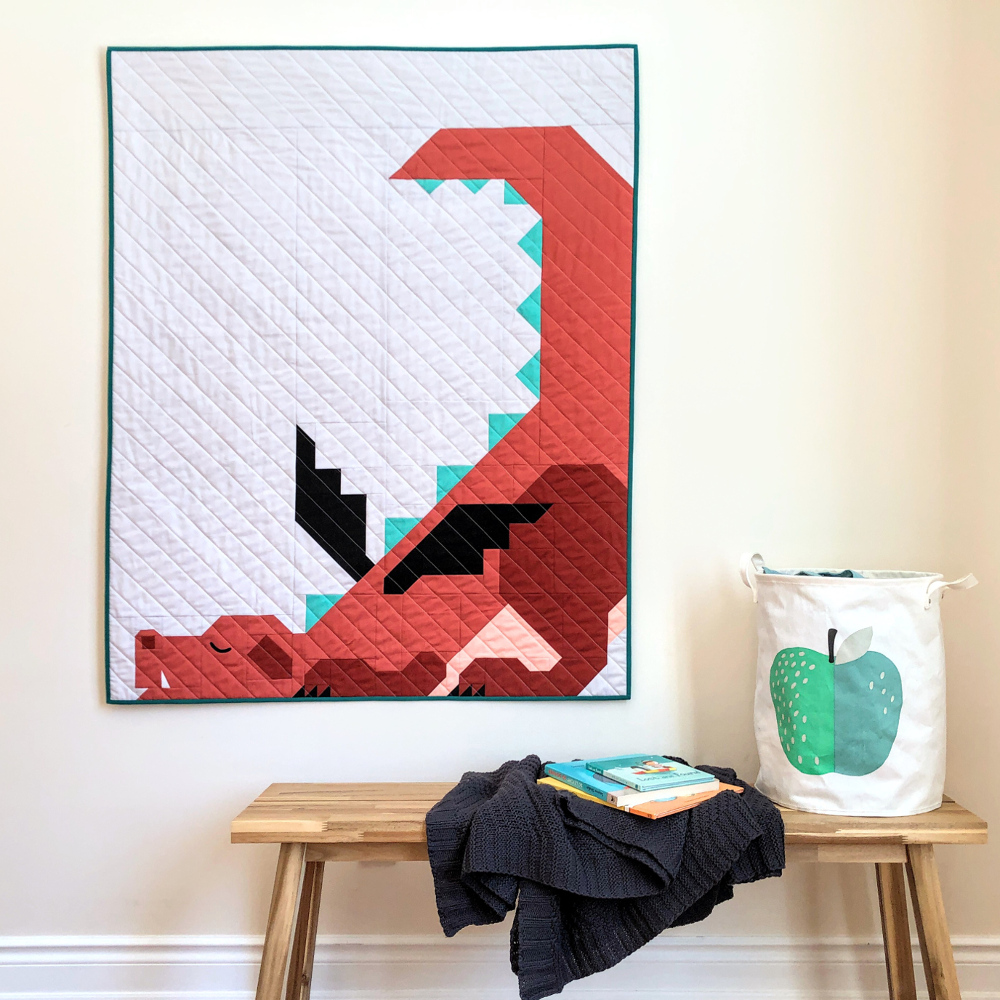
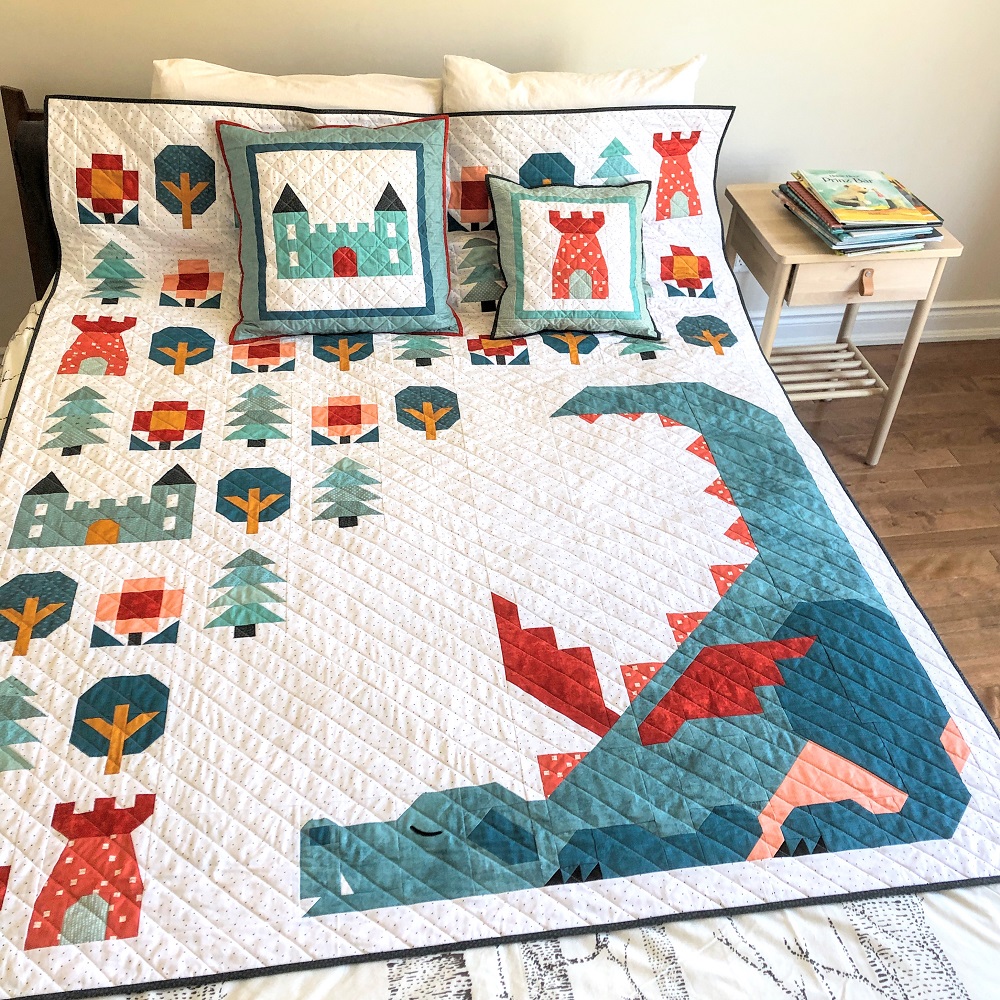
But back to our sweet little boom box block! If you’re curious about how this block can be used as an addition to an existing pattern of mine to turn it into a bigger quilt, be sure to read this post to the end!
Project ideas
Let me share some ideas what projects my Press Play quilt block pattern can be used for.
Single boom box quilt block
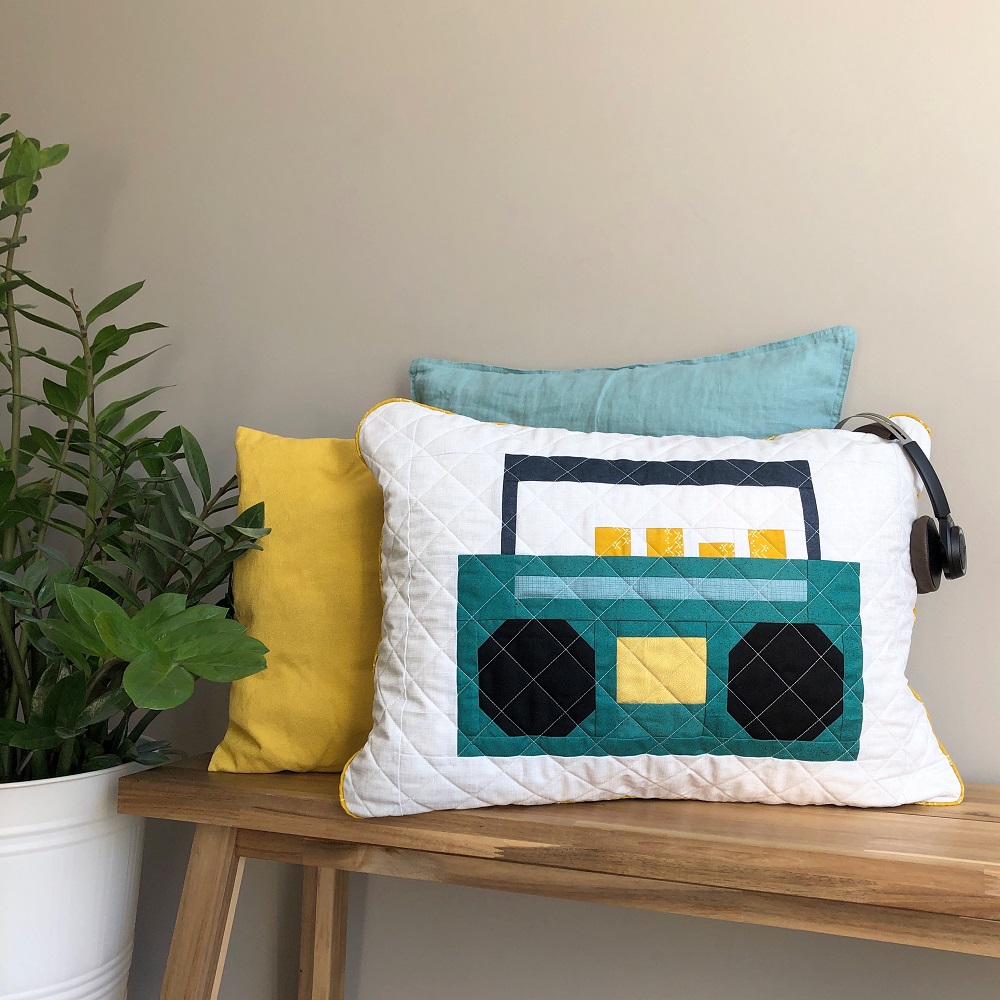
Probably the most obvious option is to choose a project that uses a single Press Play block. Finishing at 18″ x 18″ it is great for mini quilts, pillows covers, tote bags and more. For the pillow shown on the pattern cover I wanted a generous rectangular size, so I simply added two 3 1/2″ x 18 1/2″ background strips to each side of the quilt block. And I find the rounded corners and contrasting piping perfectly highlight the 80s vibe, don’t you think?! 😎
Larger boom box quilts
But you don’t have to stop at one boom box. Make four… or nine… or twelve! The fun little army of boom boxes below would make a throw of 54 1/2″ x 62″.
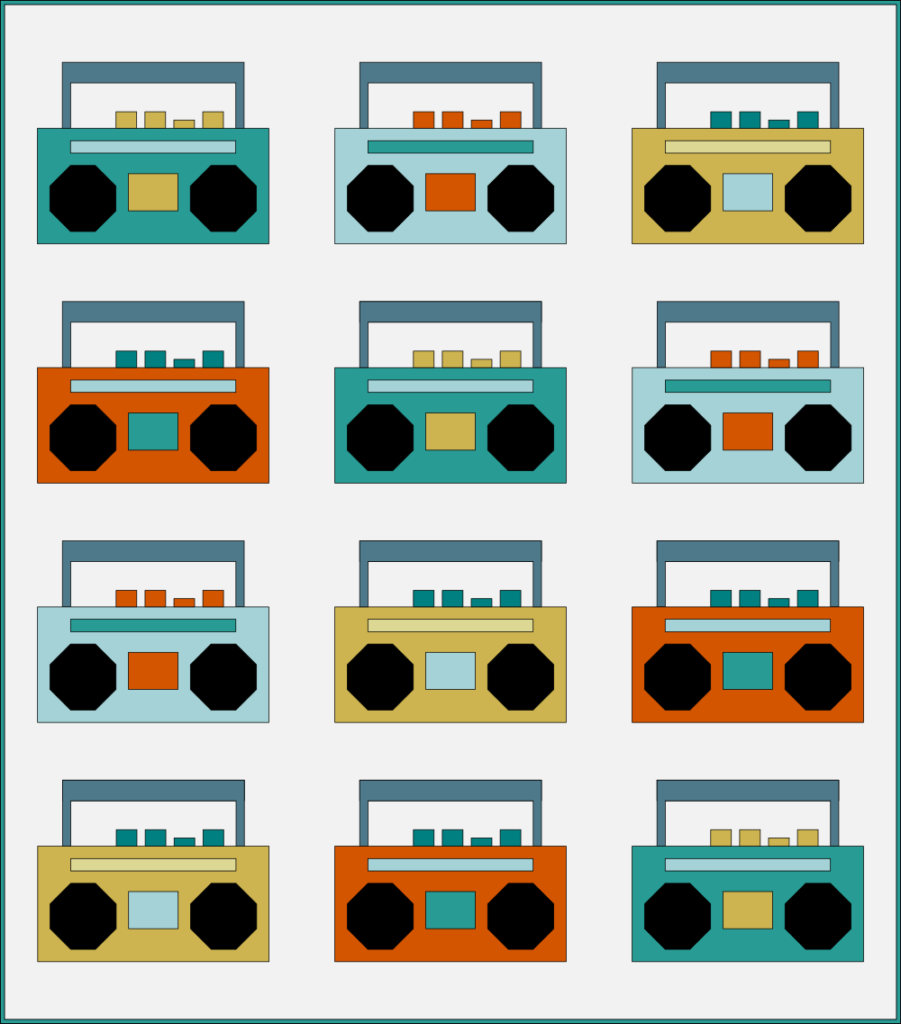
In order to space the boom boxes more evenly across the quilt top, I suggest placing only one V piece between two adjacent blocks (instead of having a V piece at the top and bottom of each boom box block as stated in the pattern).
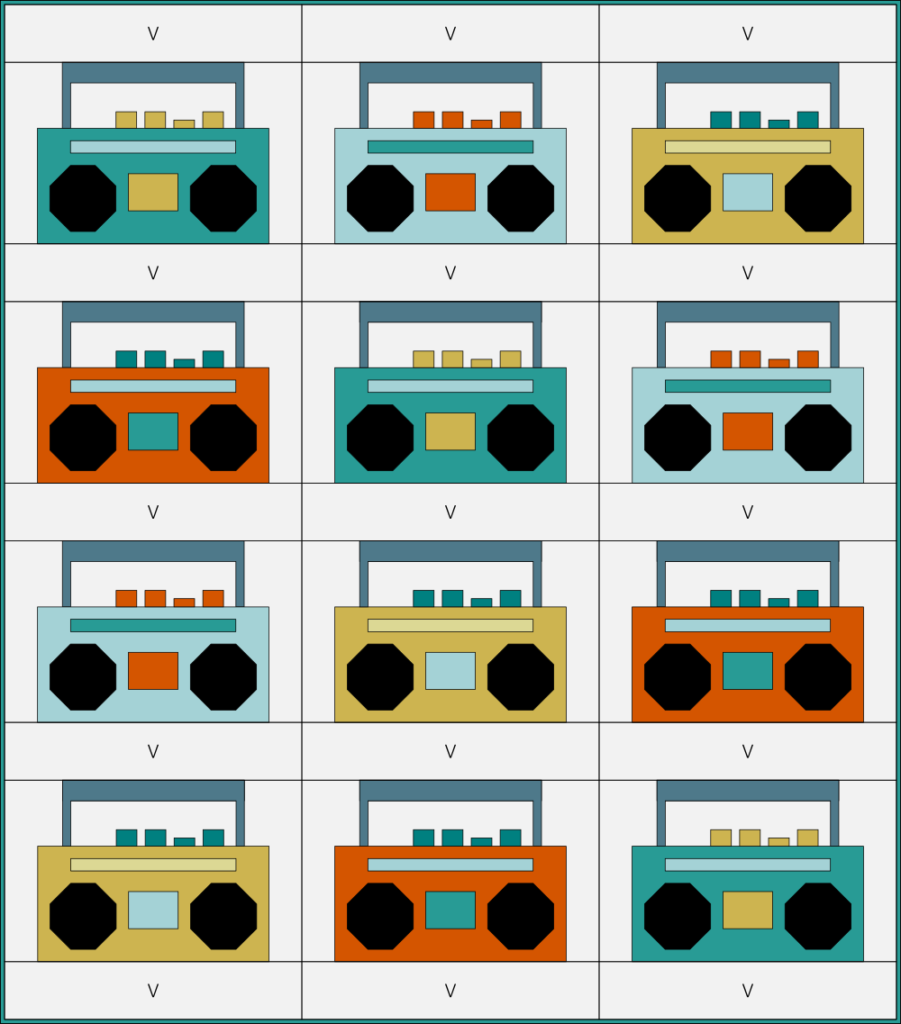
If you would like to make this throw using 4 coordinating main colours for the boom boxes, here is what you’ll need:
| Colours | Quantity |
| 4 main coulors | 1/2 yd each |
| Speakers | 1/2 yd |
| Background | 2 1/4 yd |
If you are using scraps, you’ll need 1 F8 of the main colour for each block.
Or you can make a larger version of Rocking Robots.
Double up all your fabric quantities, make two of each robot block and a bonus boom box block! Then, arrange your blocks as shown in the mock-up below and let your robots have the dance party of their lives!
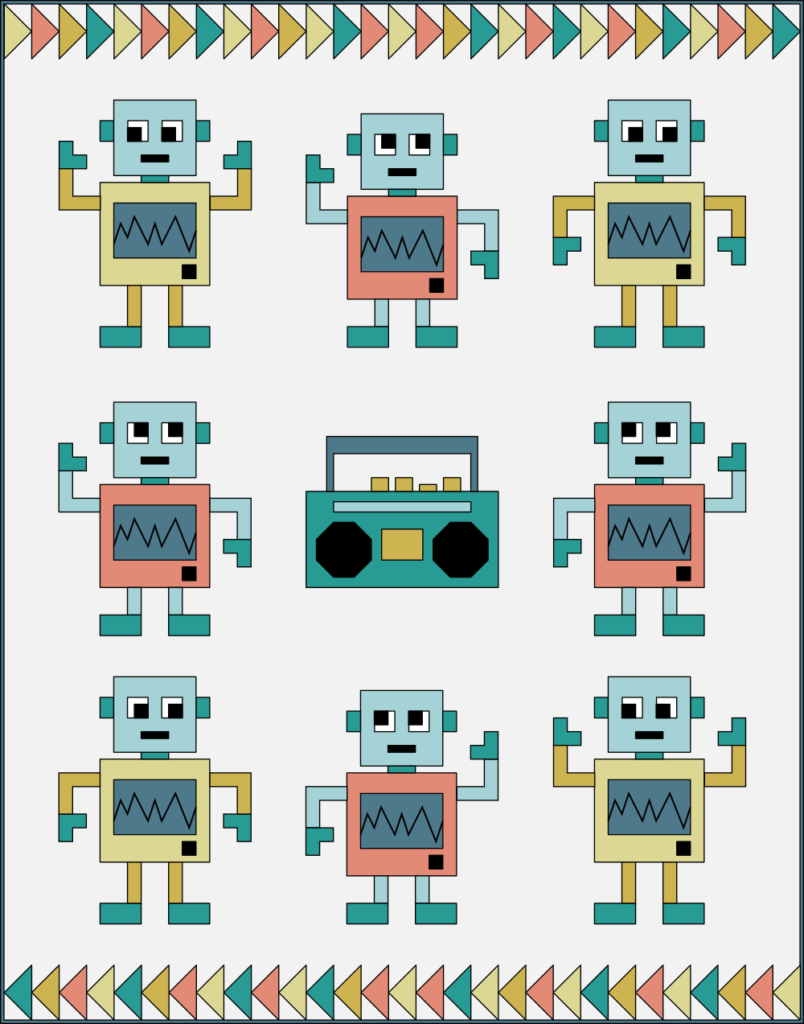
If you keep the width of the sashing and border strips as stated in the Rocking Robots pattern and just make the top and bottom flying geese panels a bit longer (29 flying geese units instead of 20 per panel), your resulting quilt dimensions are 58 1/2″ x 74 1/2″). Perfect for an older kid who has outgrown his or her toddler bed!
But of course, you could also combine your boom box block with any other music or party themed quilt block!
Can’t wait to see what you come up with! I’d love to see your creations – please share your projects on social media using the hashtag #PressPlayQuilt!

How do I figure how much fabric I need for the background and each color for the squares to make a twin sized quilt? and how much for the backing and binding? I want to make the boom box quilt.
If you’d like to make a quilt with 12 blocks as shown, you’ll need about 1/2 yd of each of the 4 boom box colours and the speakers, about 12″ for the handles, and 2 1/4 yd for the background.