Need a little help with the foundation paper pieced (FPP) blocks of the Paper Tulips pattern? No problem, I’ve got you! Even if you are new to FPP, you’ll see there’s nothing to sweat about!
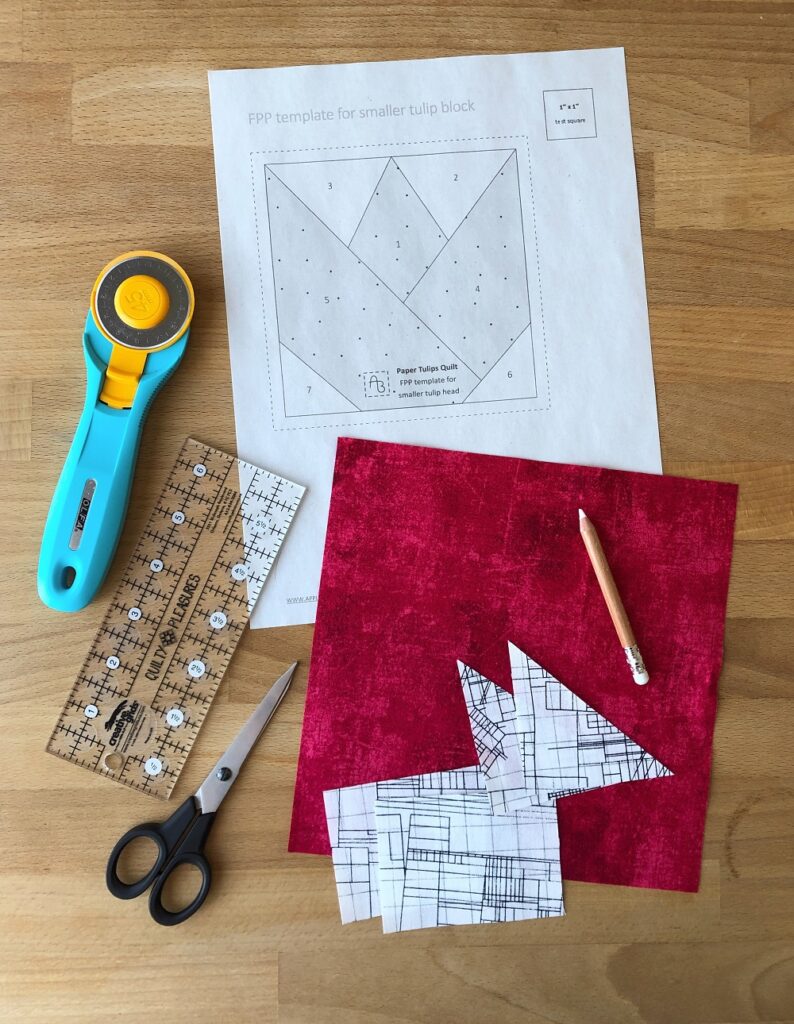
These are the steps for each tulip head unit:
(Please note: the photos show the smaller tulip head size included in the Paper Tulips pattern, but the process is identical for the larger size.)
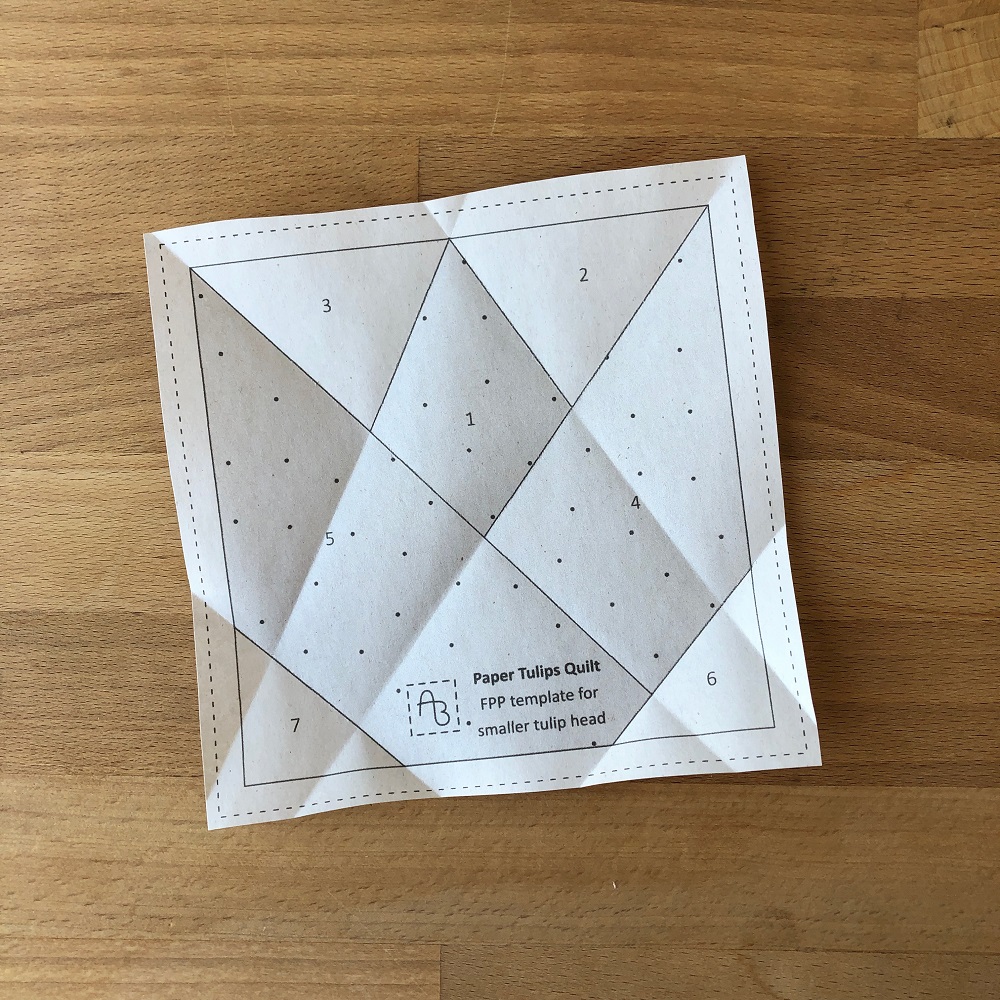
- Rough cut your FPP template around the dashed contours and pre-fold along all sewing lines.
(You’ll be trimming your block along the dashed contours once it’s all pieced, so a rough cut around your FPP paper section is sufficient at this point.)
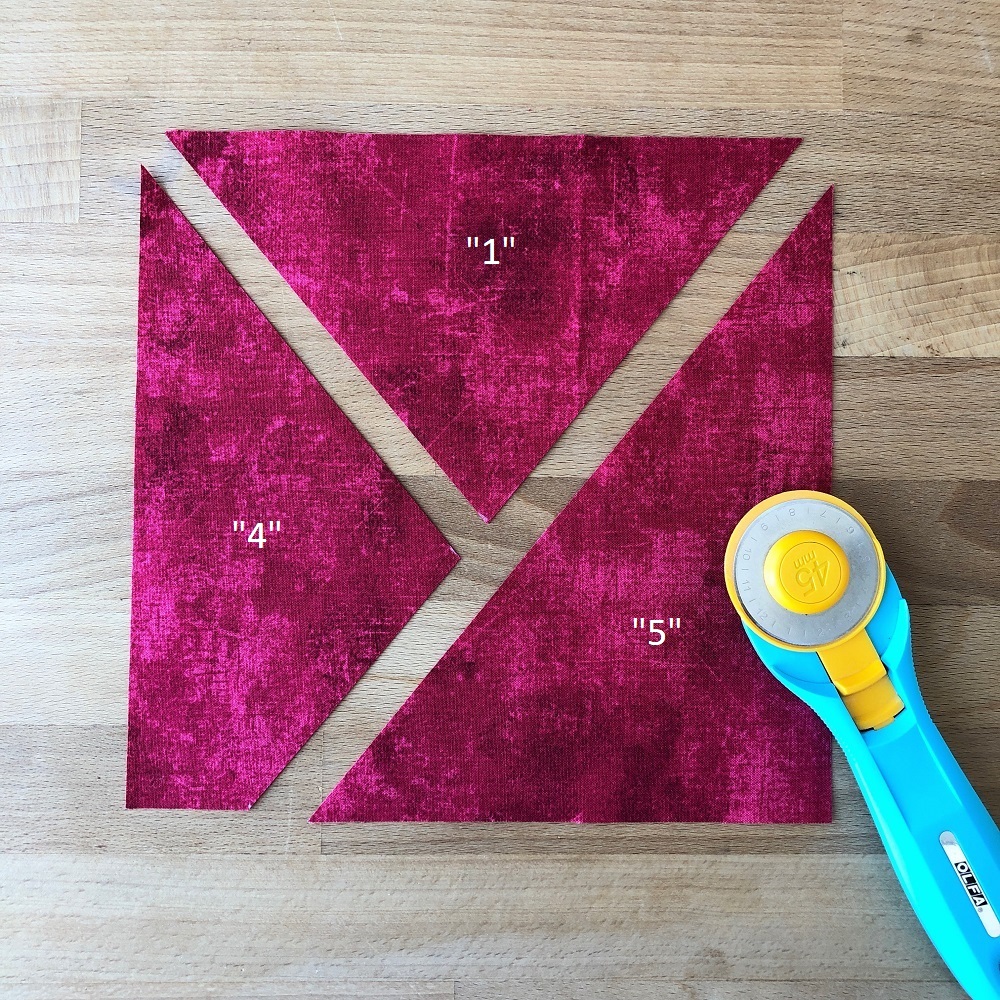
- Pre-cut your tulip head pieces according to the suggestion in Fig. 9 of the Paper Tulips pattern, and identify your pieces marked as “1”, “4” and “5”.
- Pre-cut your background pieces according to the tip on p. 8 of the printed booklet / p. 9 of the pdf version.
- Centre section “1” of your template on the back of your “1” piece ( “1” piece faces right side down). Pin or glue in place.
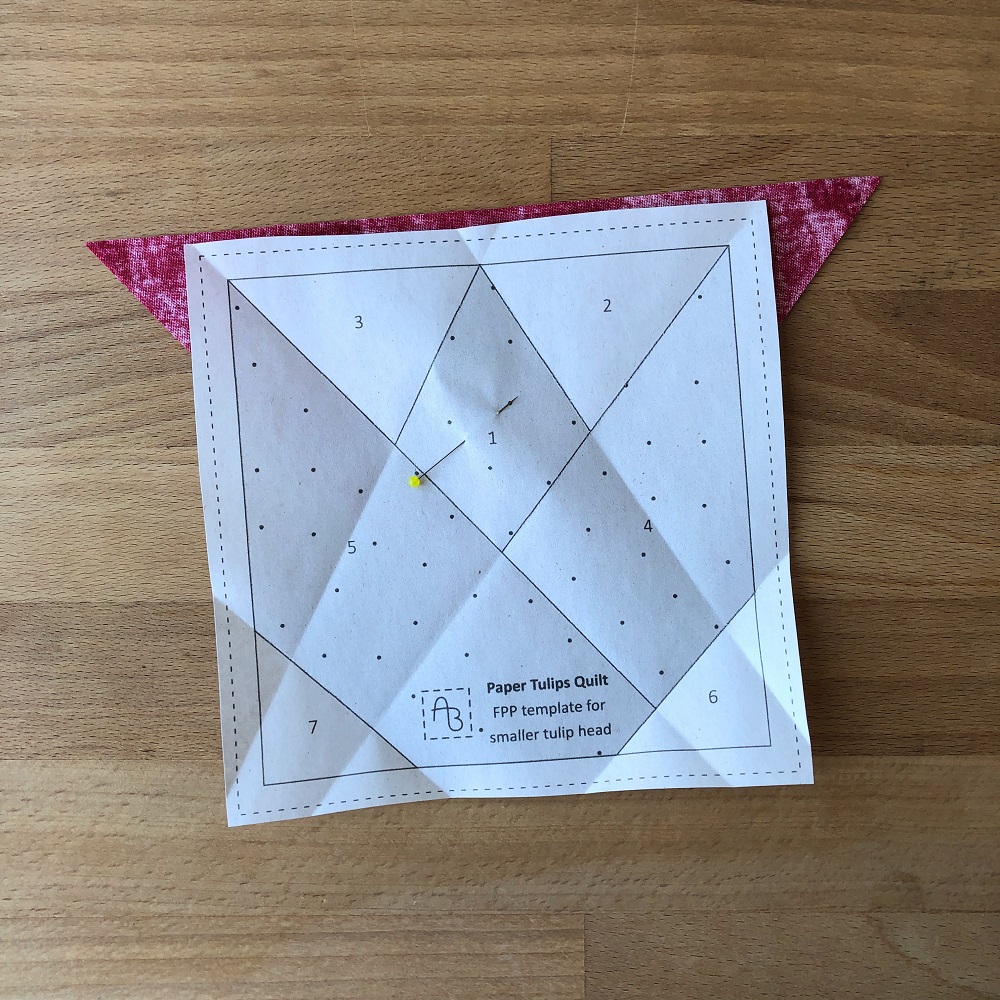
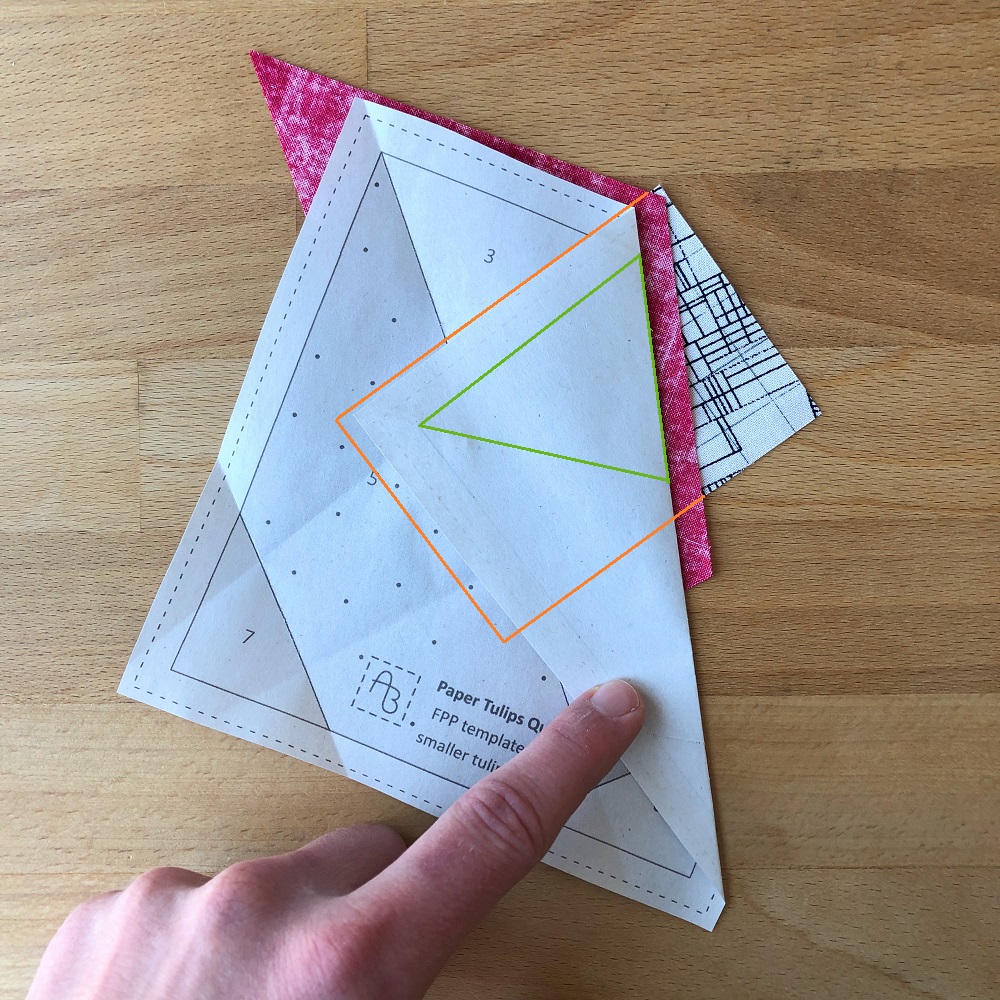
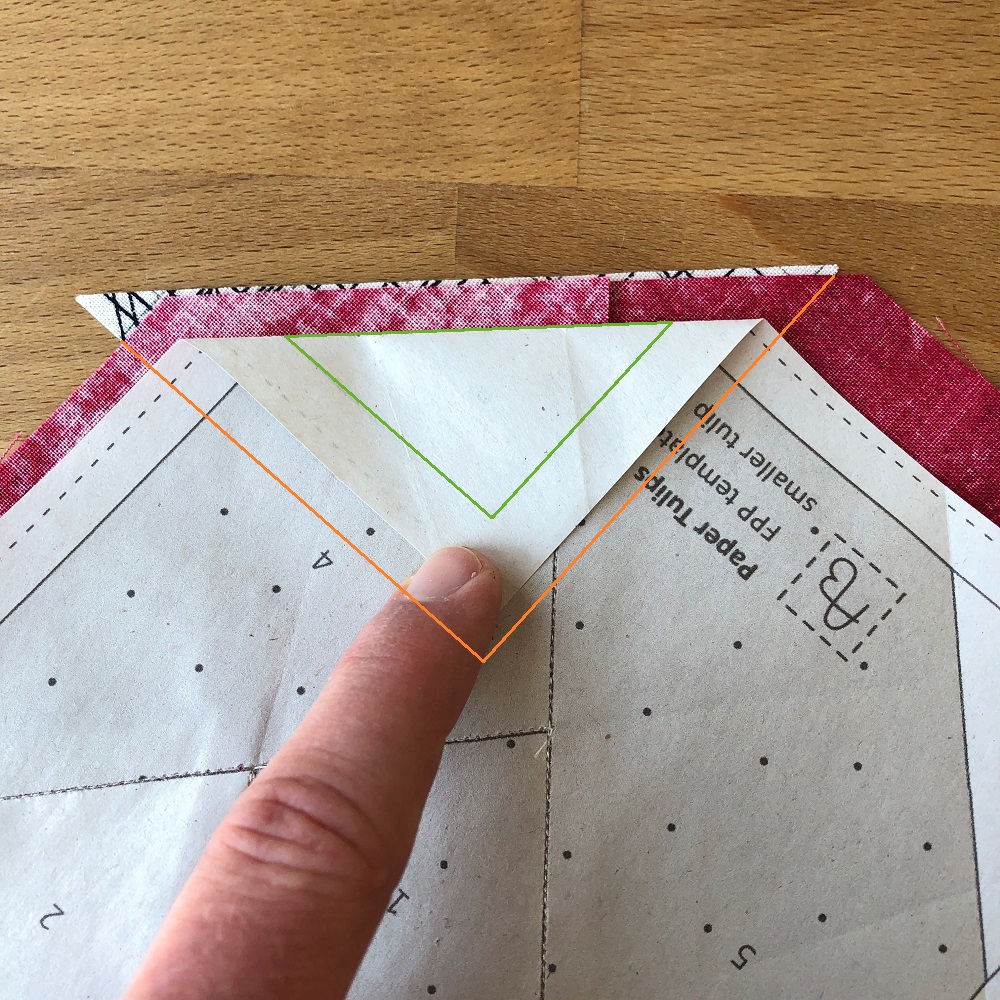
- Fold section “2” (green triangle) up and position the template (with “1” piece attached) on your first “2” piece (the orange rectangle represents the outlines of the “2” piece underneath). Be sure to leave some margin on all three sides of section “2″, so that section “2” is centred within your “2” piece.
(Please note: For better visibility it can be helpful to trim your “1” piece 1/4″ from the line between sections “1” and “2” prior to this step, as seen in the photo below.)
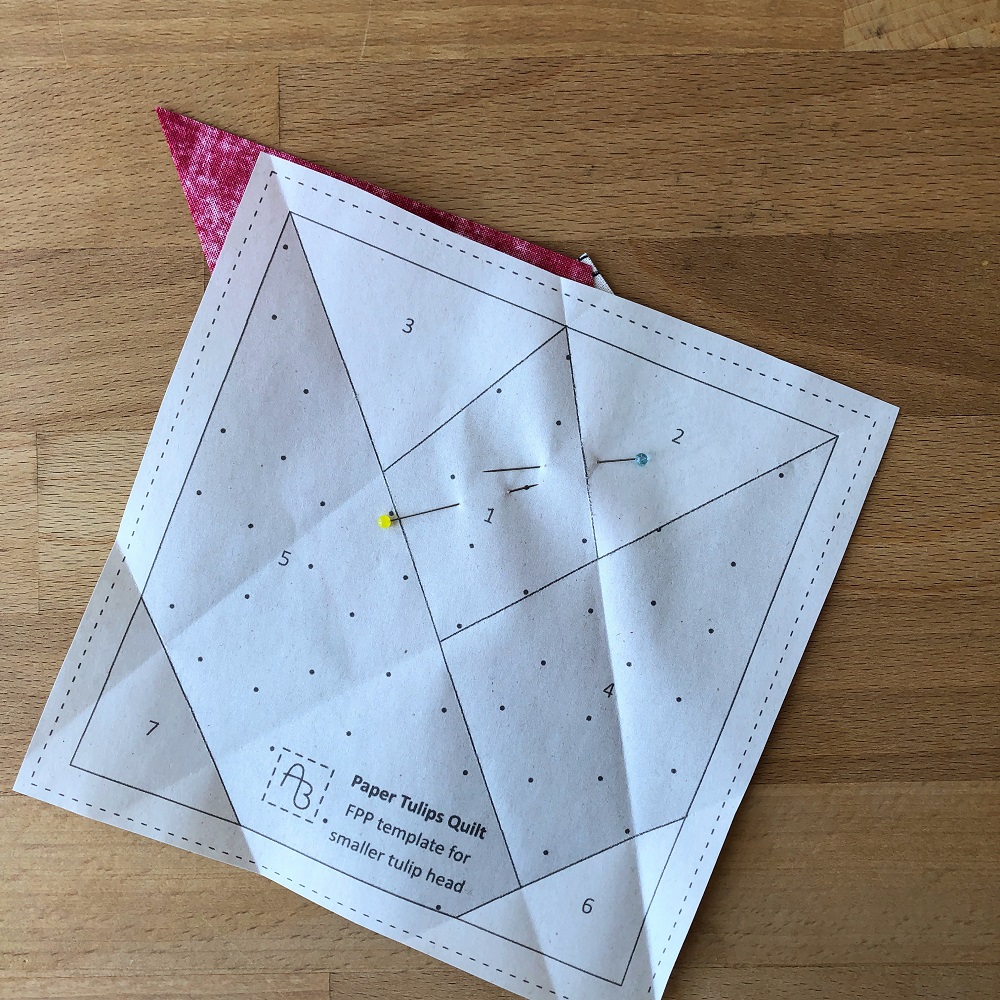
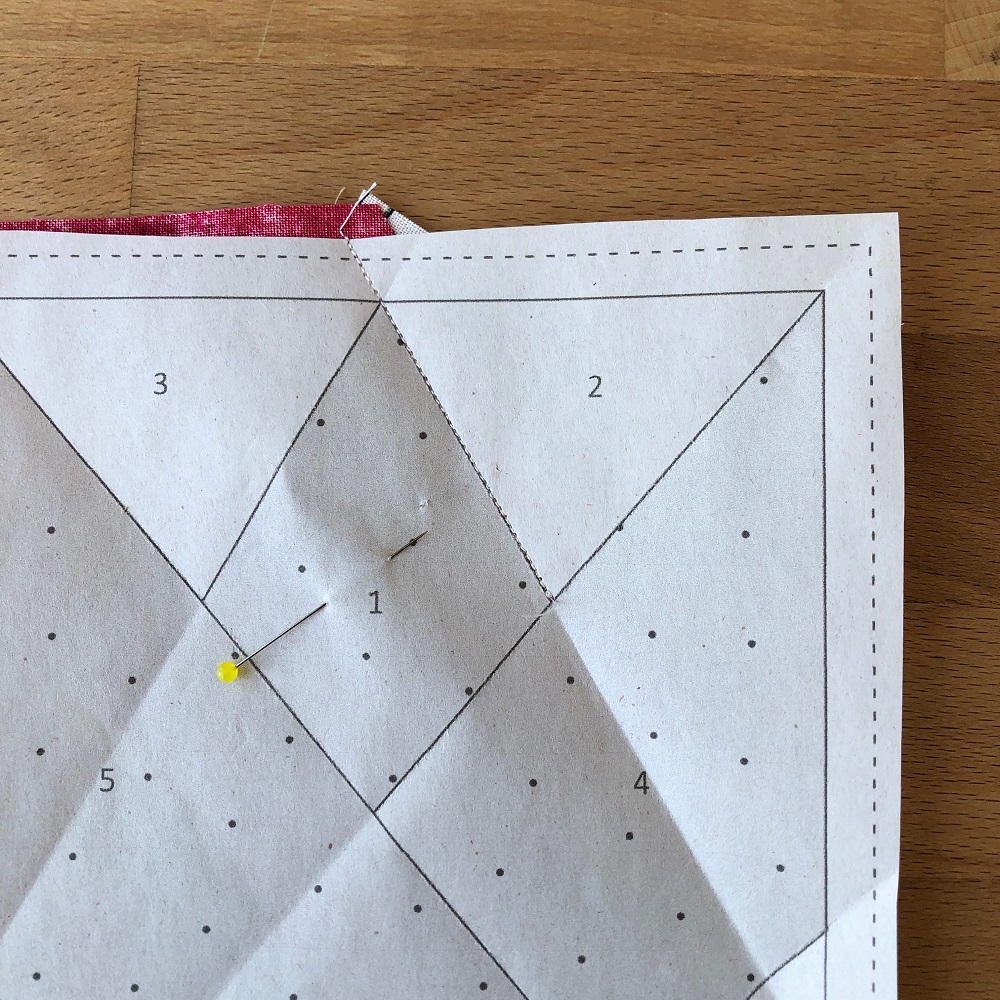
- Fold section “2” back down, secure your fabrics with pins (first photo below) and sew on the line between sections “1” and “2”. For extra stability, back-stitch at the start and end of your seam and sew into the seam allowance of your template (second photo below).
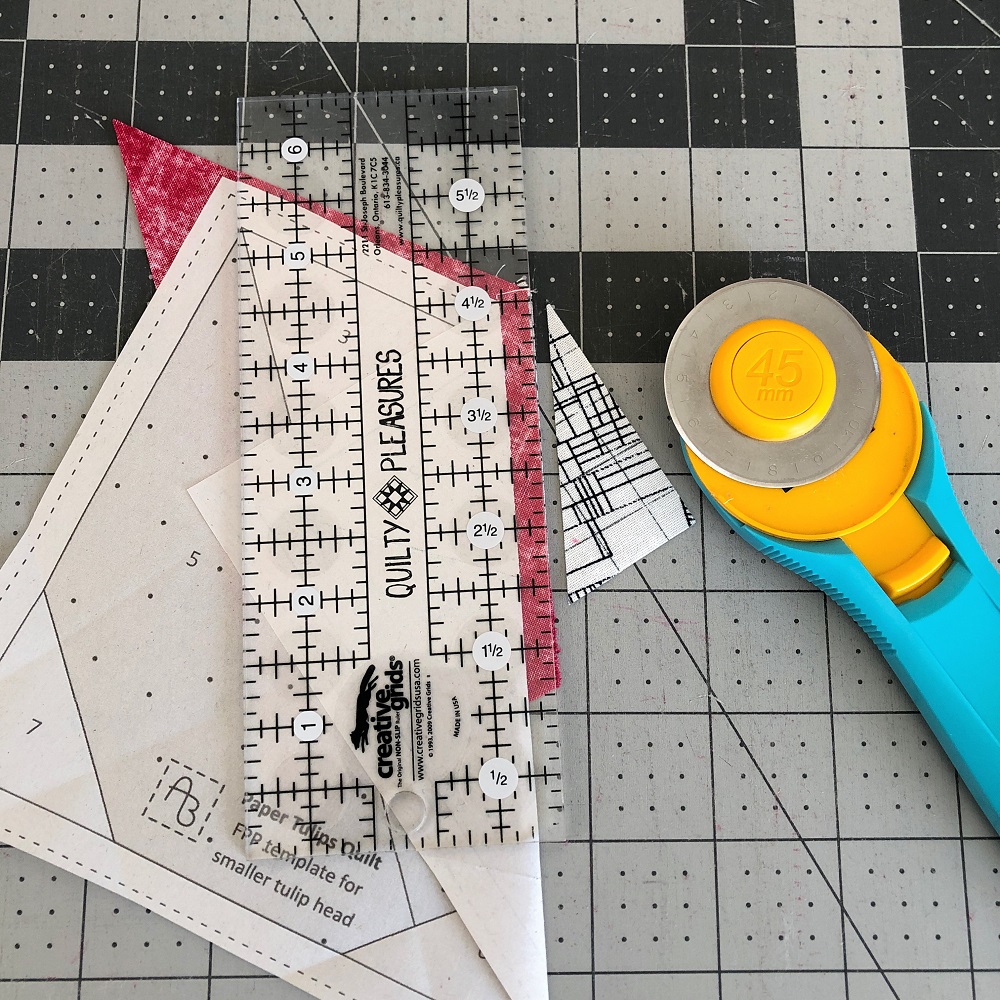
- Fold section “2” up once again and trim your excess at 1/4″ from the seam.
- Gently open up your fabrics and press.
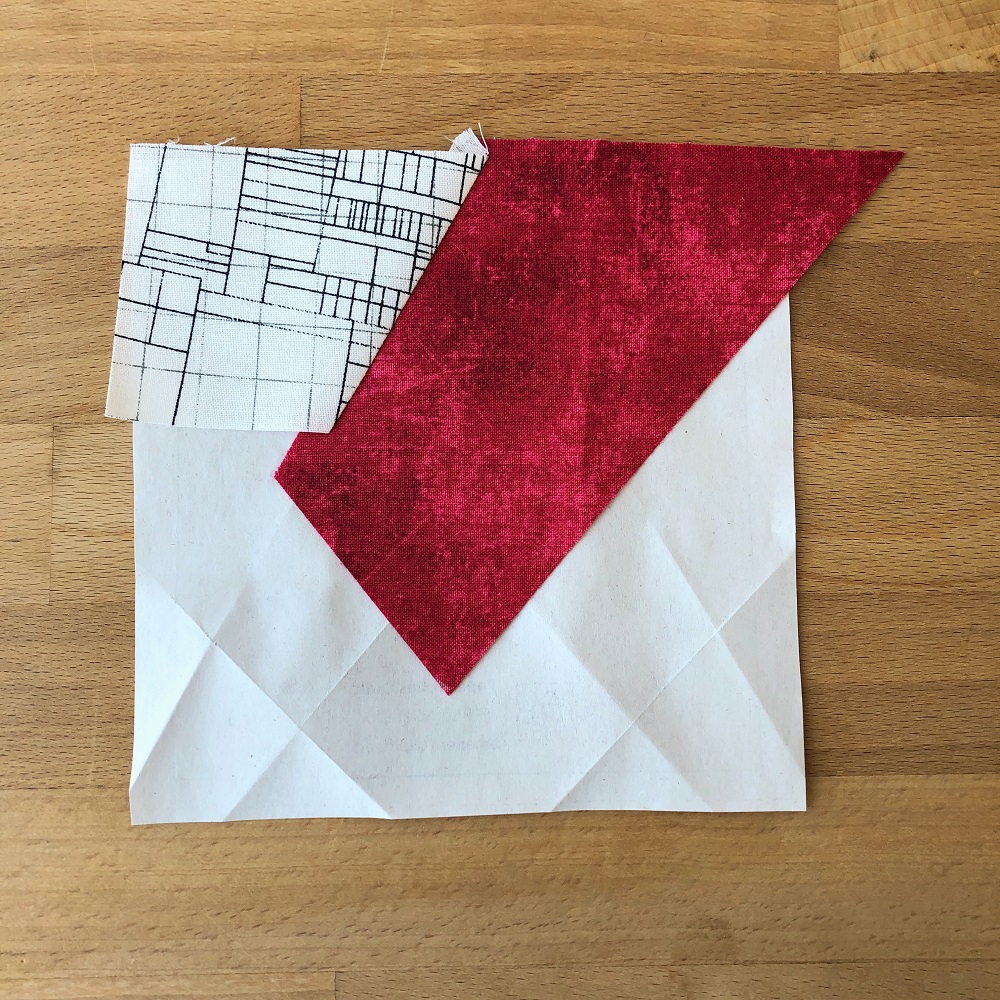
- Repeat the same process with section “3” and your “3” piece, sewing on the line between sections “1” and “3”.
(Again, trimming your “1” piece at 1/4″ from the line between sections “1” and “3” might help with visibility and accurate positioning.)
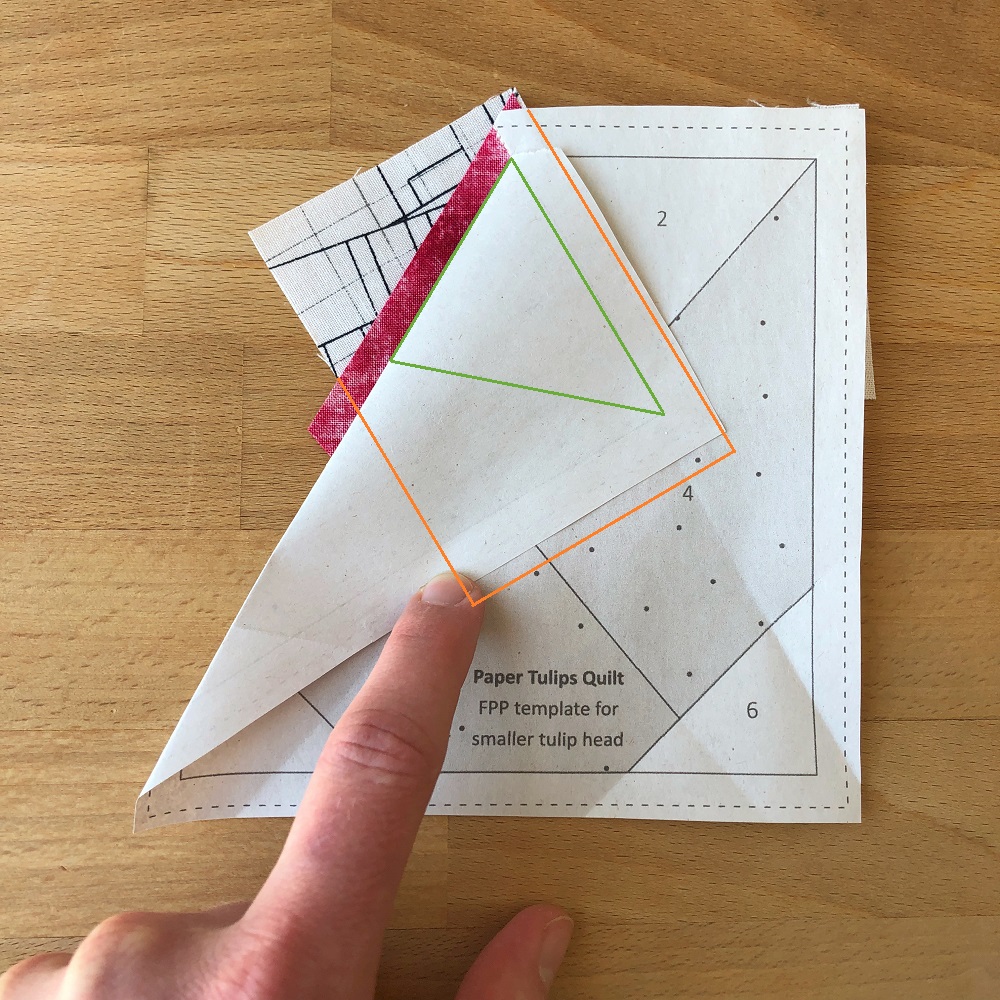
- Trim your “3” piece at 1/4″ from the seam and press your “3” piece to the side.
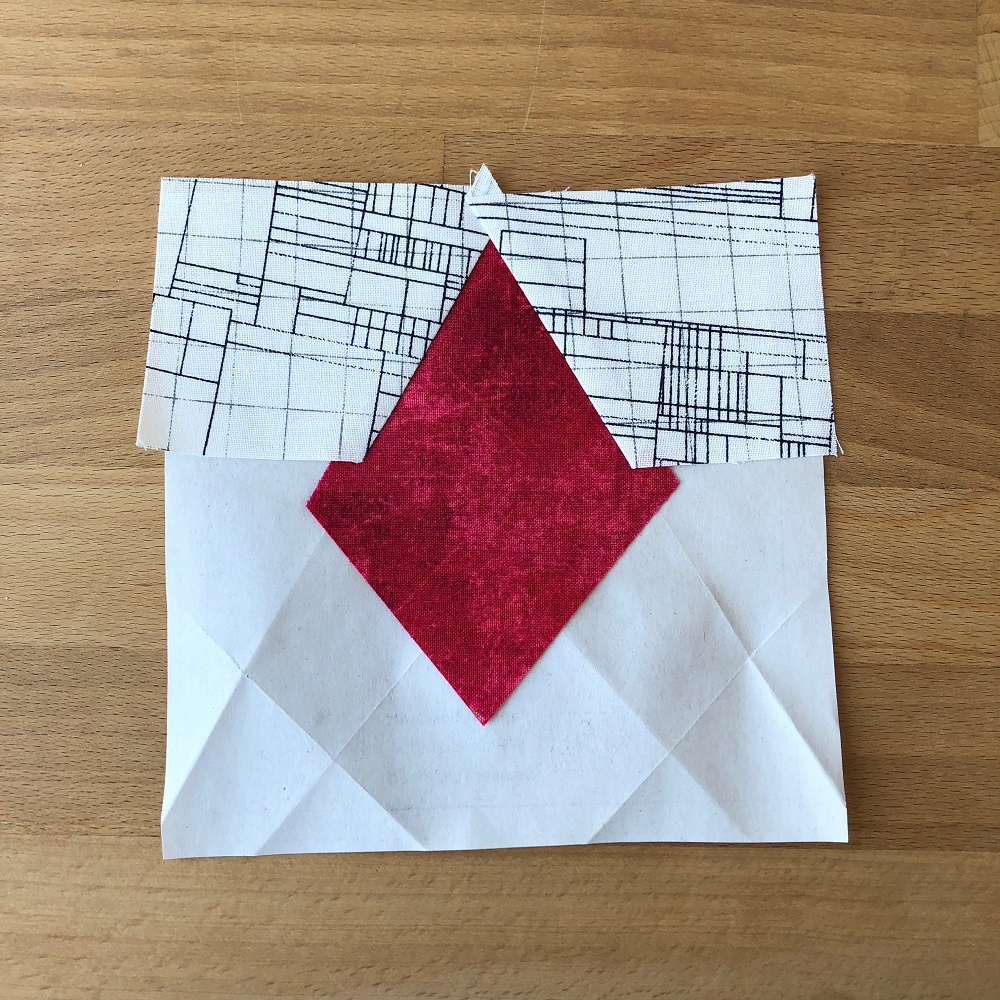
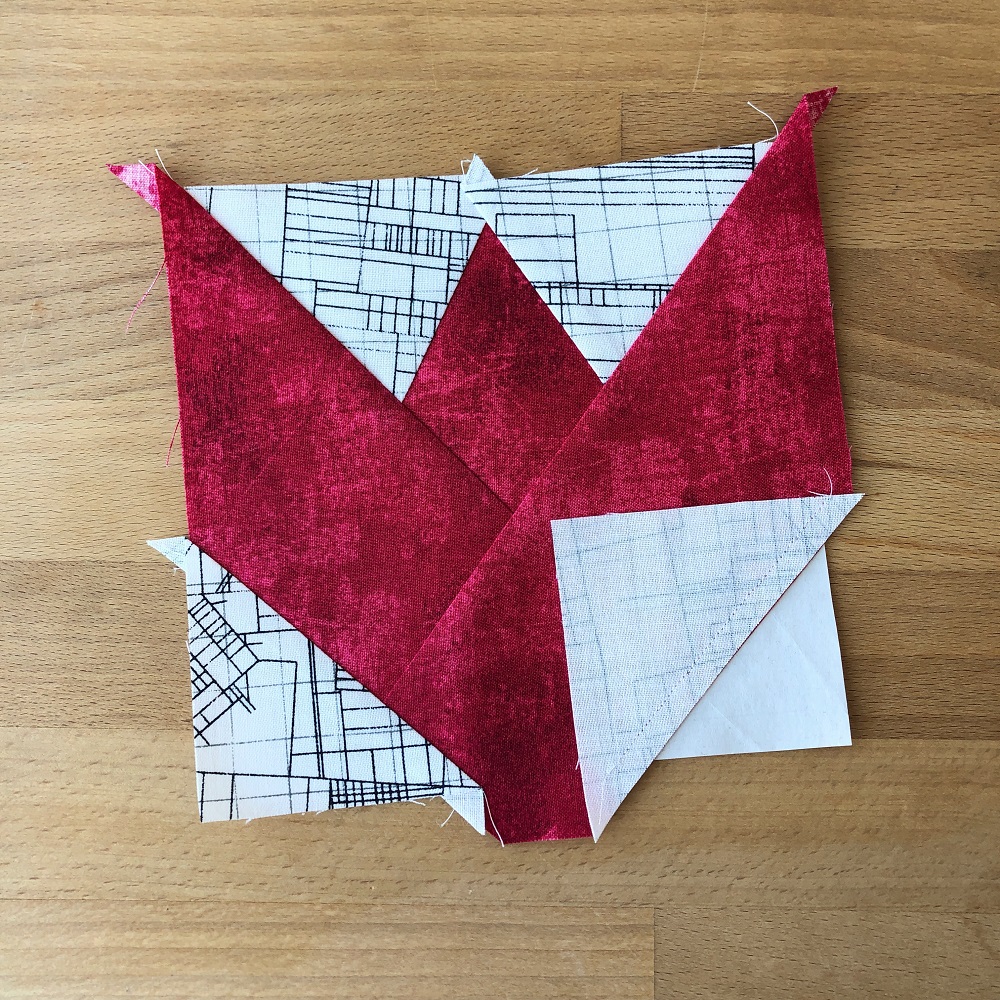
- Using your “4” and “5” pieces, sew sections “4” and “5” according to the same principle. The first photo below shows how to centre section “4” (green outlines) on your “4” piece (orange outlines). The second photo shows how your unit should look like after sections “4” and “5” have been added and both pieces have been trimmed and pressed.
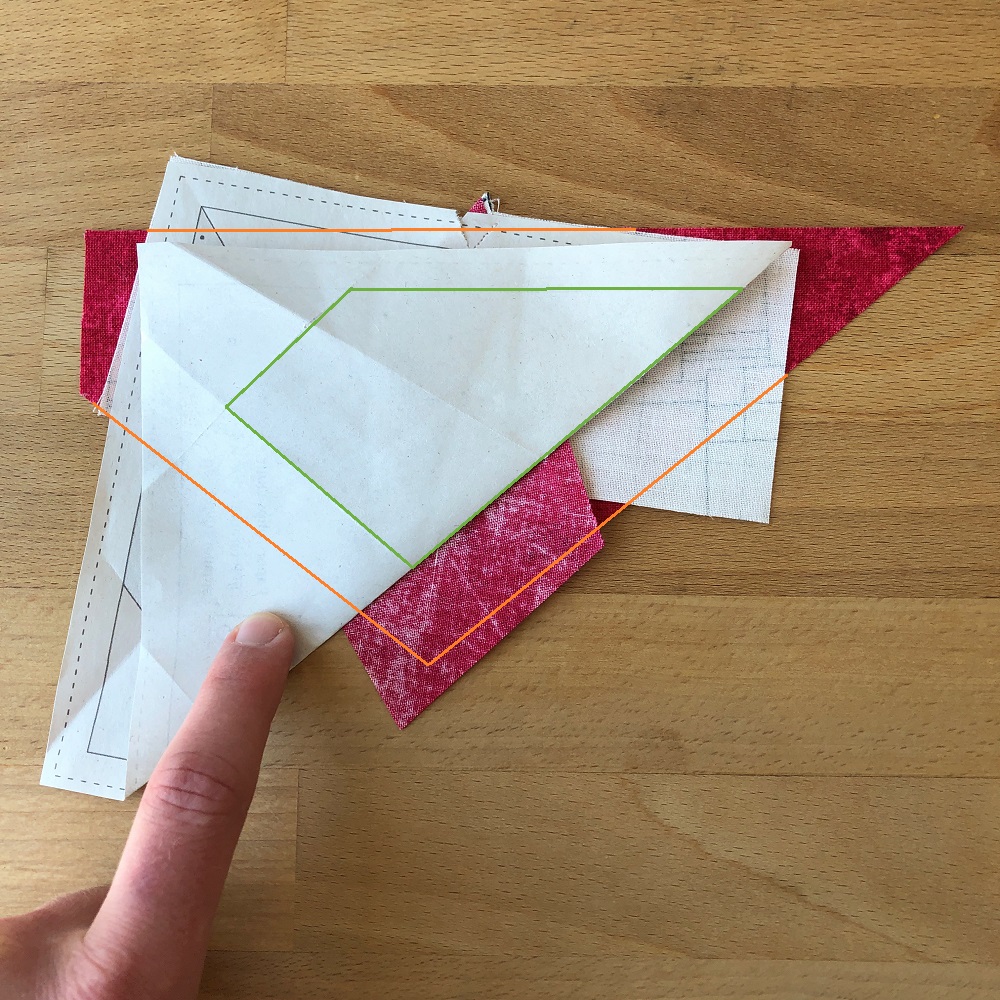
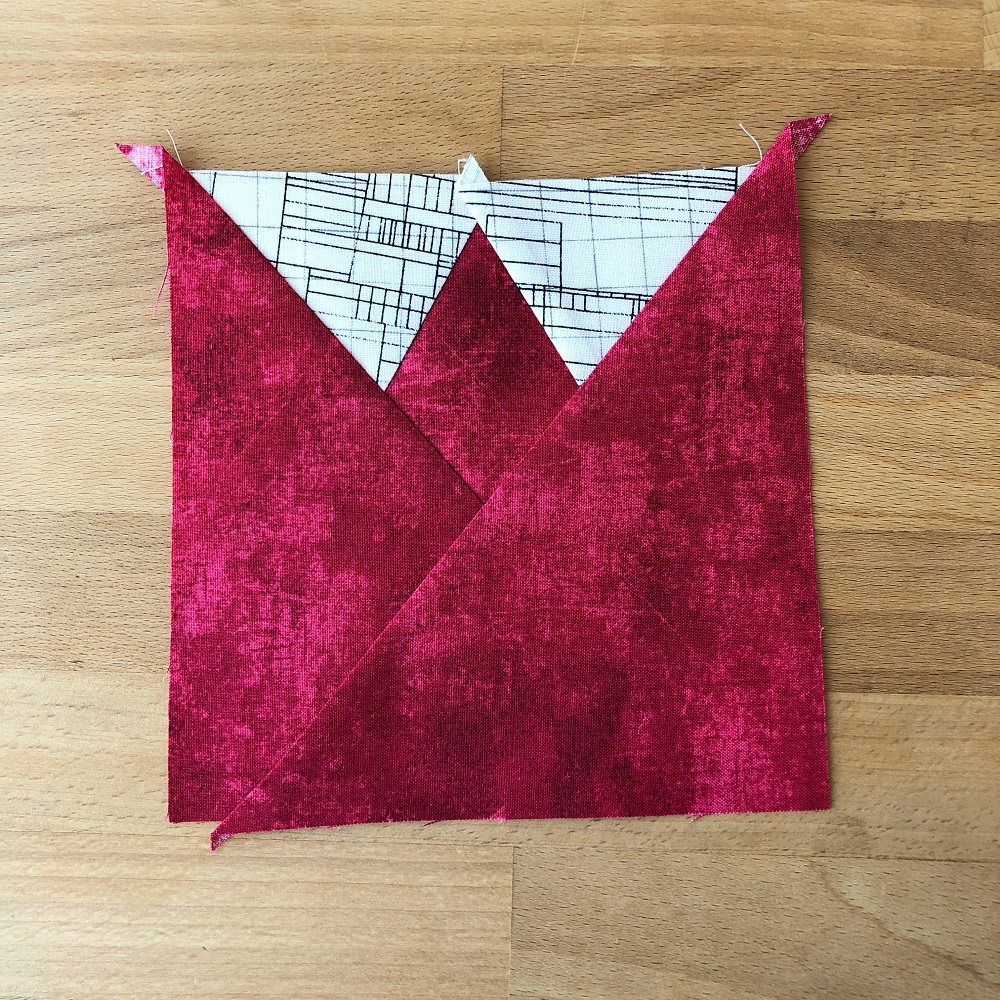
- Fold up section “6” and trim your unit 1/4″ from the fold. Then, line up your edge with the diagonal edge of your “6” piece. Section “6” (green outlines) should be centred within your “6” piece (orange outlines), Sew, trim and press. Repeat for section “7” and your “7” piece (see second photo).
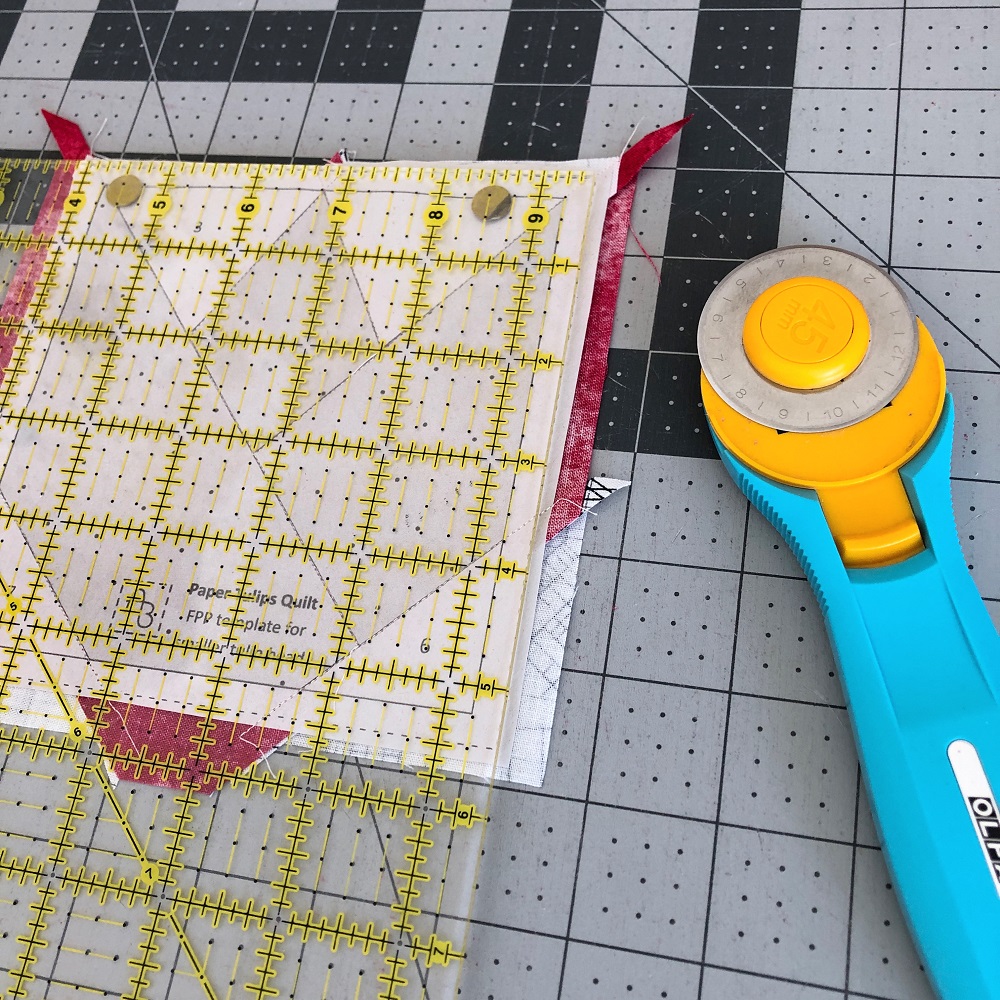
- Trim along the dashed contours of your FPP template and carefully remove the paper.
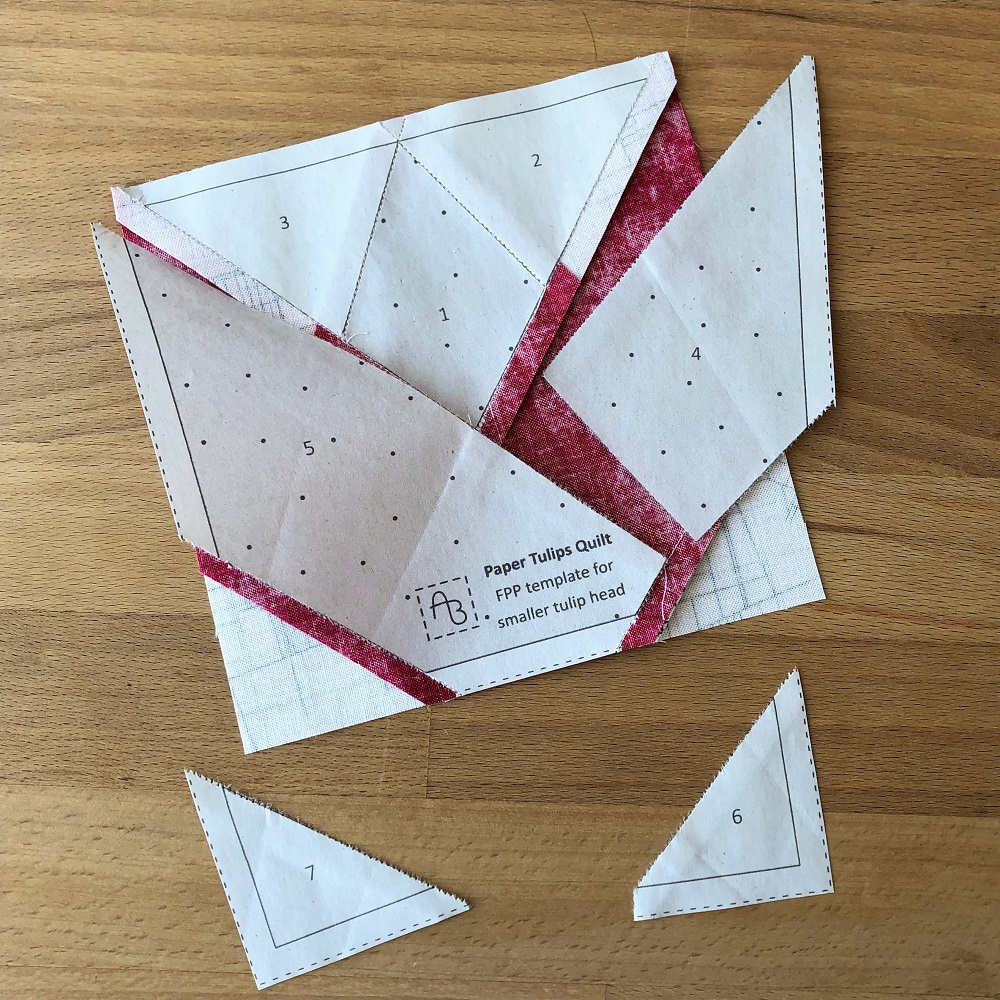
And that’s it – you should be holding a beautiful, completed tulip head unit in your hands.
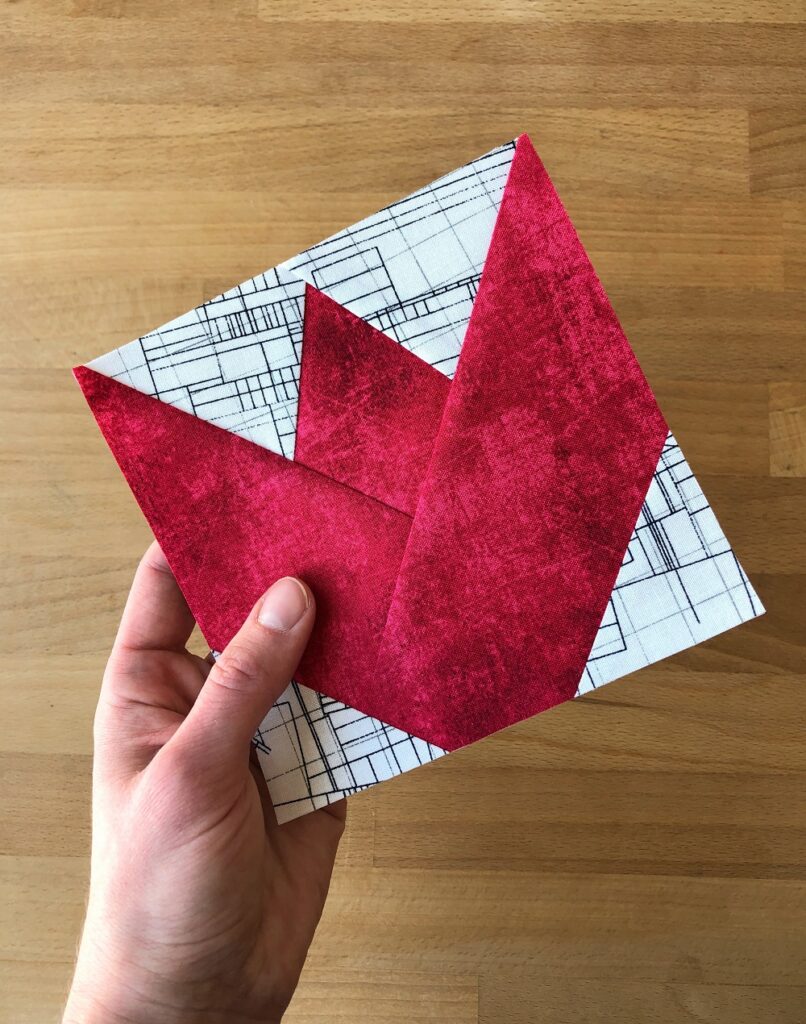
Repeat the same process for the remaining tulip head units required for the quilt size you’re making. Then, add a stem unit to each tulip head unit as described in the Paper Tulips pattern to complete your tulip blocks and assemble your quilt top.
Happy sewing!

