I looove experimenting with fabric and thread. Period.
But… I am also a bit of a perfectionist with a very limited time budget for quilting. Choosing small projects like quilted cushion covers and wall hangings has really helped me not to overthink my choices. Mini quilts are perfect to simply dive into new quilty adventures, exploring new designs and techniques. Stepping outside of your typical comfort zone for colours etc. can be hard enough sometimes, not having to commit to a “whole” quilt makes many decisions easier.
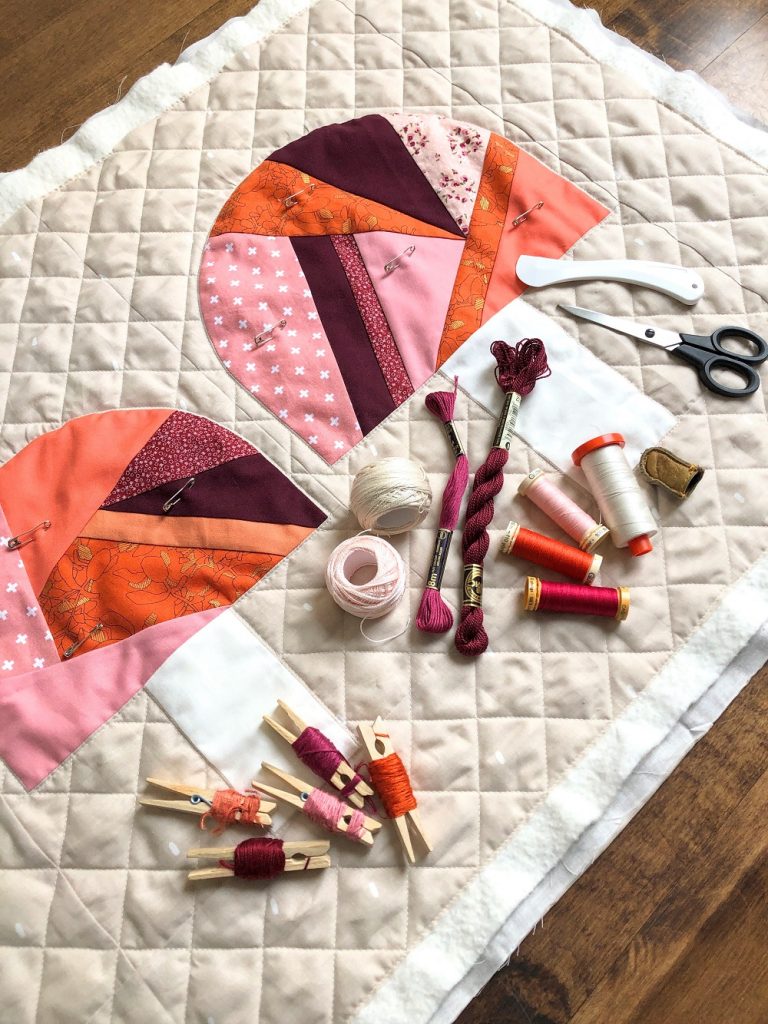
And lately, I have been obsessed with experimental stitching. In the same way as I enjoy an improvisational approach for my piecing, I love me some spontaneous quilting to finish my little beauties.
Today I’m going show you a few of the machine and hand quilting stitches I’ve been using recently. Most of them have already had an appearance in my River Rocks mini quilt this summer.
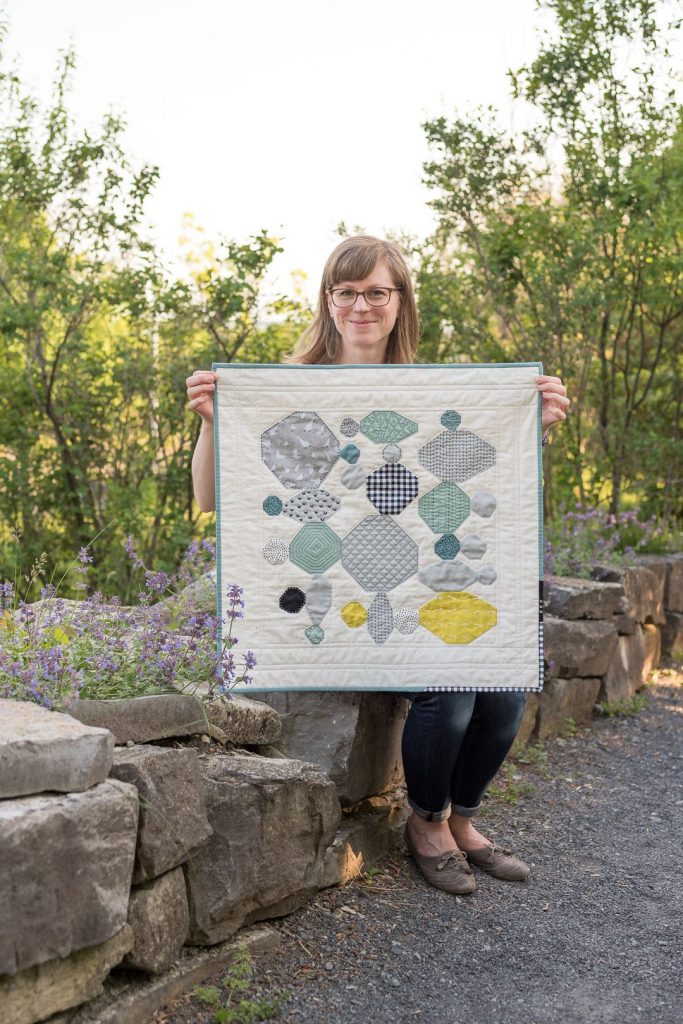
I did however not take too many progress pictures at the time. So my canvas today is one of the samples of my new Fungi Friends quilt pattern. It was originally published as a mini quilt pattern as the January 2021 feature of the Quilters Candy Membership. Now, six months later, an updated version of the pattern is available including six sizes from pillow cover to bed size quilt.
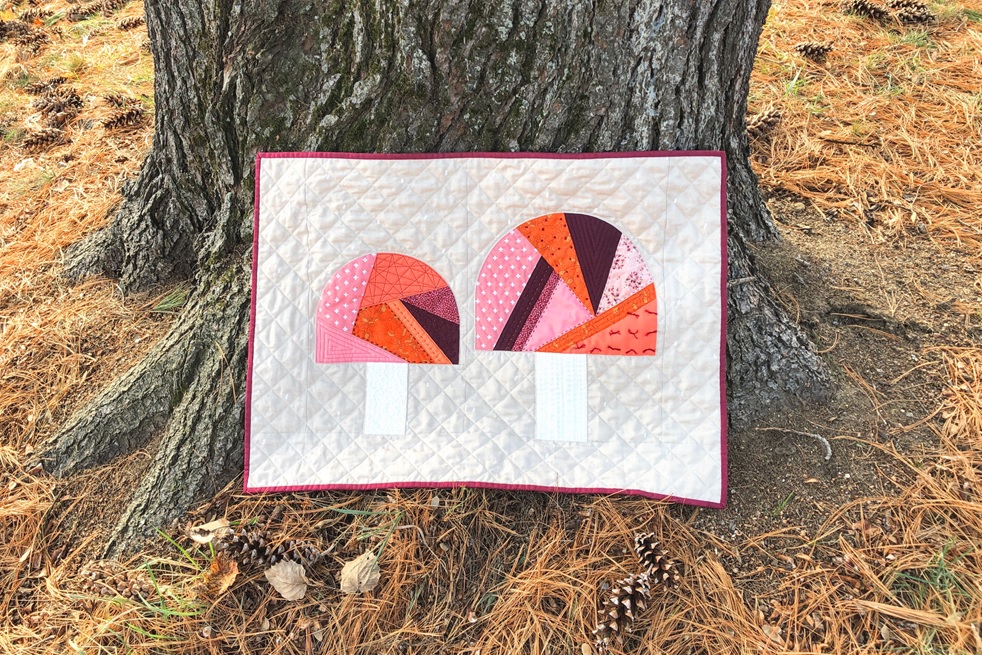
But of course, you can also use the shown stitches on any other quilt pattern! Whatever you’re using, let’s get back to the tutorial I promised!
Preparation
Choosing your threads
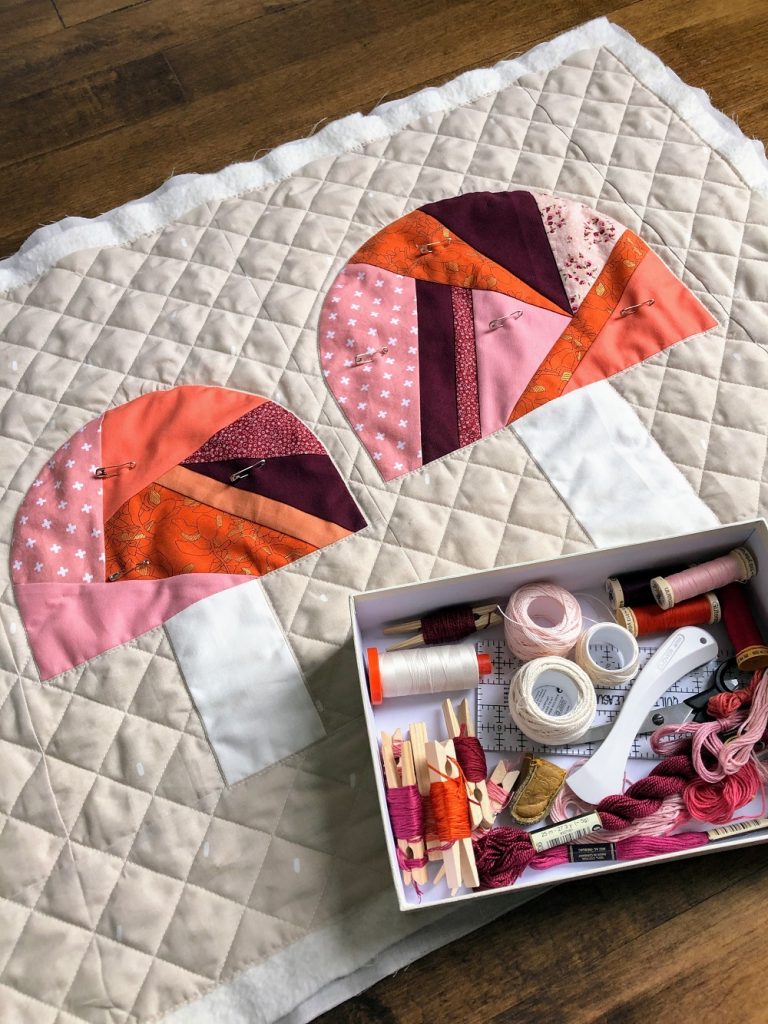
Usually, my first step of the quilting adventure is to go through all my threads, and throw all potential colour candidates into my project box. I like to mix different thread types and weights. And while I may not end up using every single one of them, I find the pre-selection makes things easier. Typically I use a mix of machine threads, size 8 pearl cotton and some embroidery floss. (Note: The strands of embroidery floss sometimes shift against each other while hand quilting, which can make the process a little more difficult. But I have inherited a decent collection from my grandmother and always find colours that are just perfect for my project. So of course I’m using it!)
That said box also holds my scissors, needles and marking tools. It makes it easy to travel between my sewing space, kitchen and living room, wherever I manage to sneak in a few stitches during the day when the kids are around. And when that precious moment comes to an abrupt end, it can quickly disappear onto a high shelf, out of reach for little monsters’ hands.
Quilting the background
Before I start quilting with all the fun colours though, I like to get done with the more boring part, the background. It allows me to anchor the quilt top down all around and to remove most of the basting pins as potential tangle hazards for the hand quilting later. If you are a spray baster, this might be less relevant. In a pattern without a distinct background like the one shown here, I would still do some edge to edge straight line machine quilting, typically in the ditch of my main seams, but of course that’s optional.
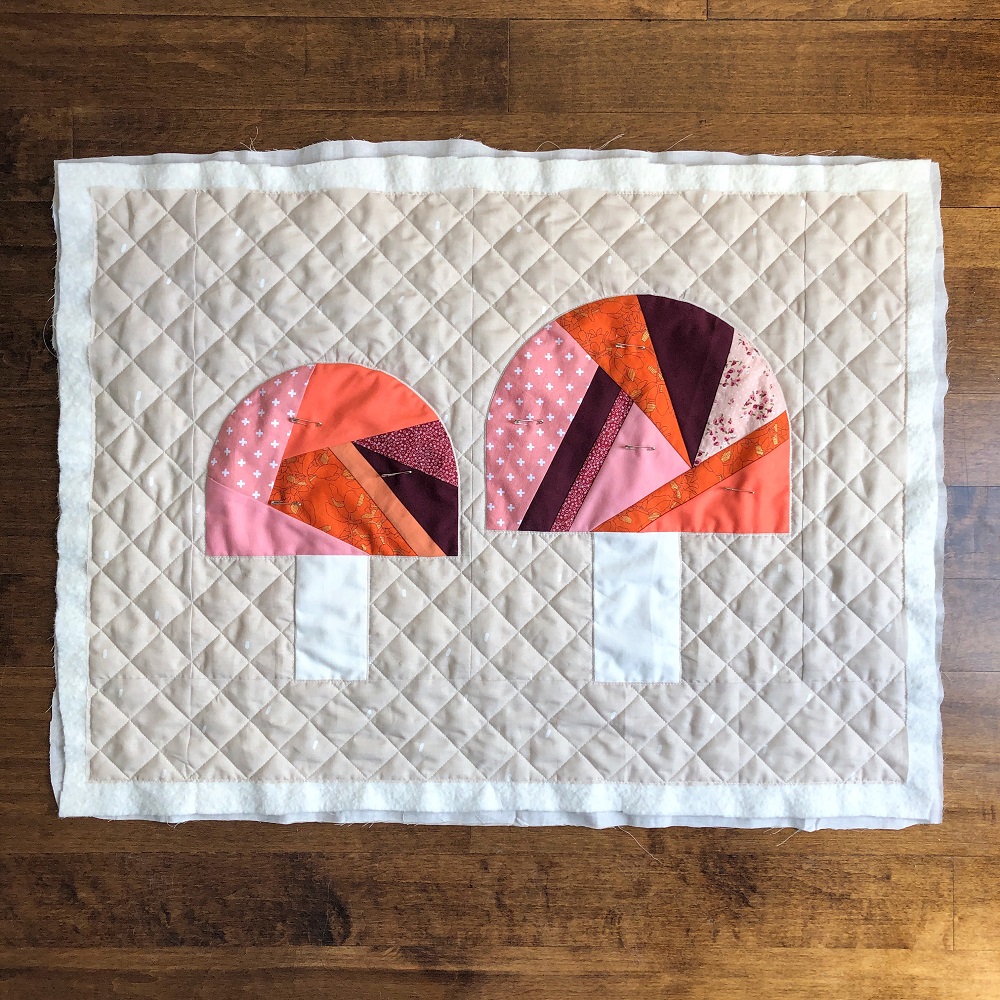
For this mini quilt, I marked a 1 1/2″ diagonal grid all around the mushrooms with my hera marker before pin basting it.
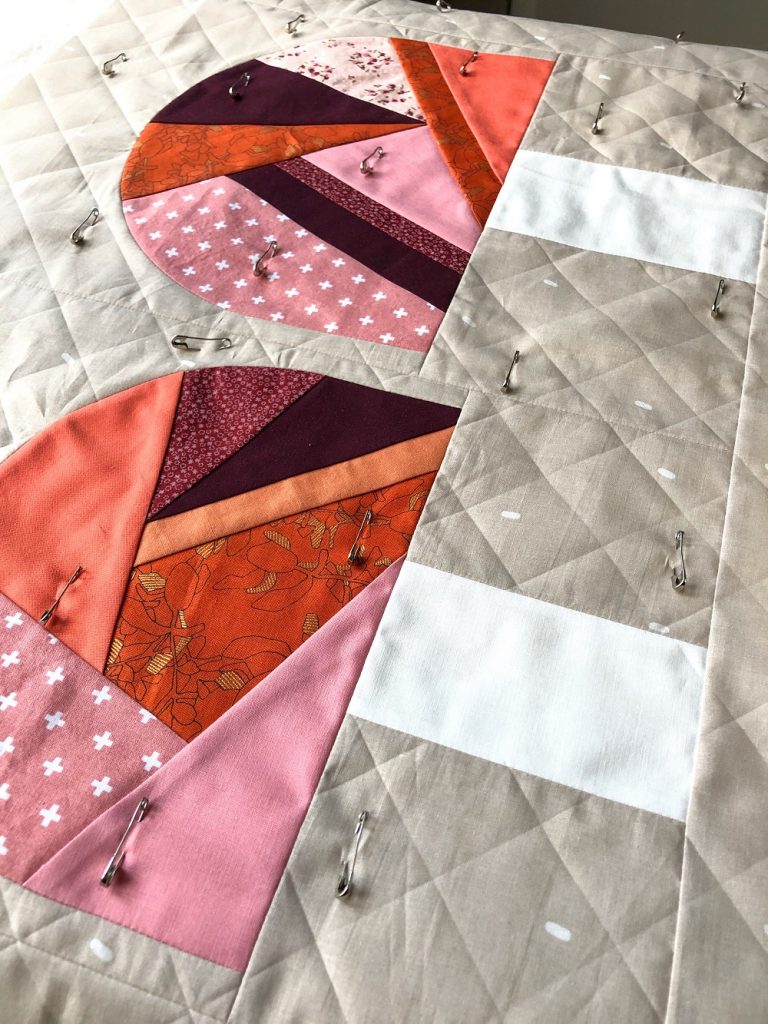
When I start the machine quilting I like to first outline the contours of my main shapes (here the mushrooms) at 1/8″ or just under. Then I use that seam and the outer edges of the quilt top to travel from the end of one straight line to the start of the next. Burying threads is tedious and with this method, I was able to quilt all the straight lines continuously. I only had to interrupt once to rewind my bobbin.
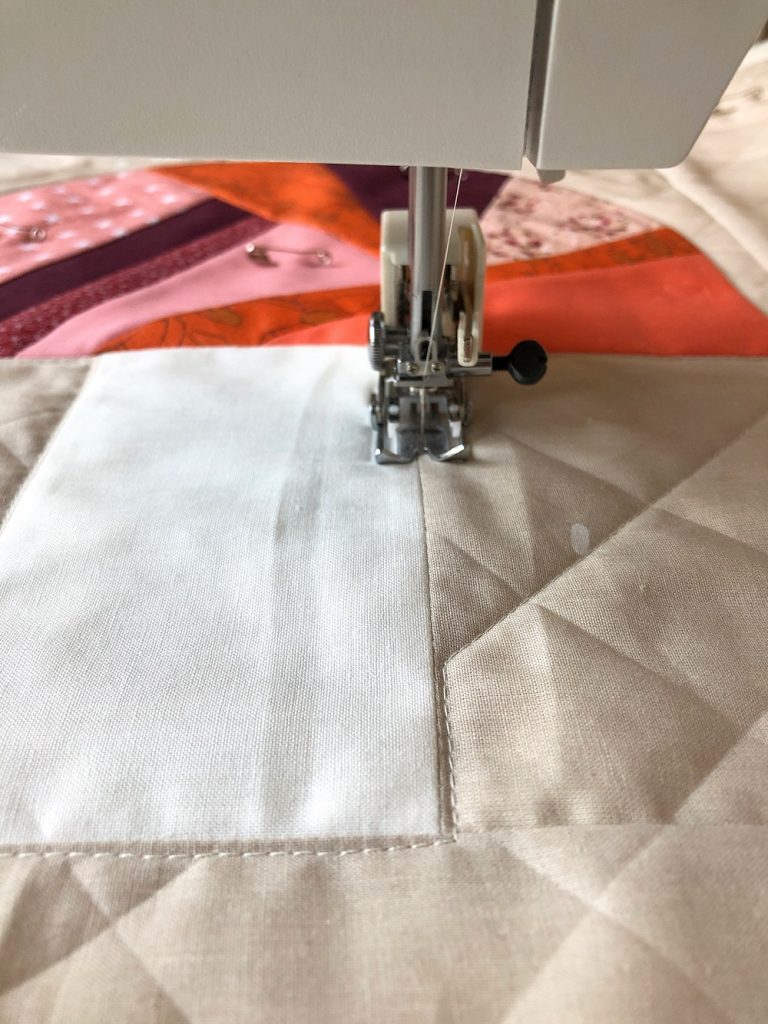
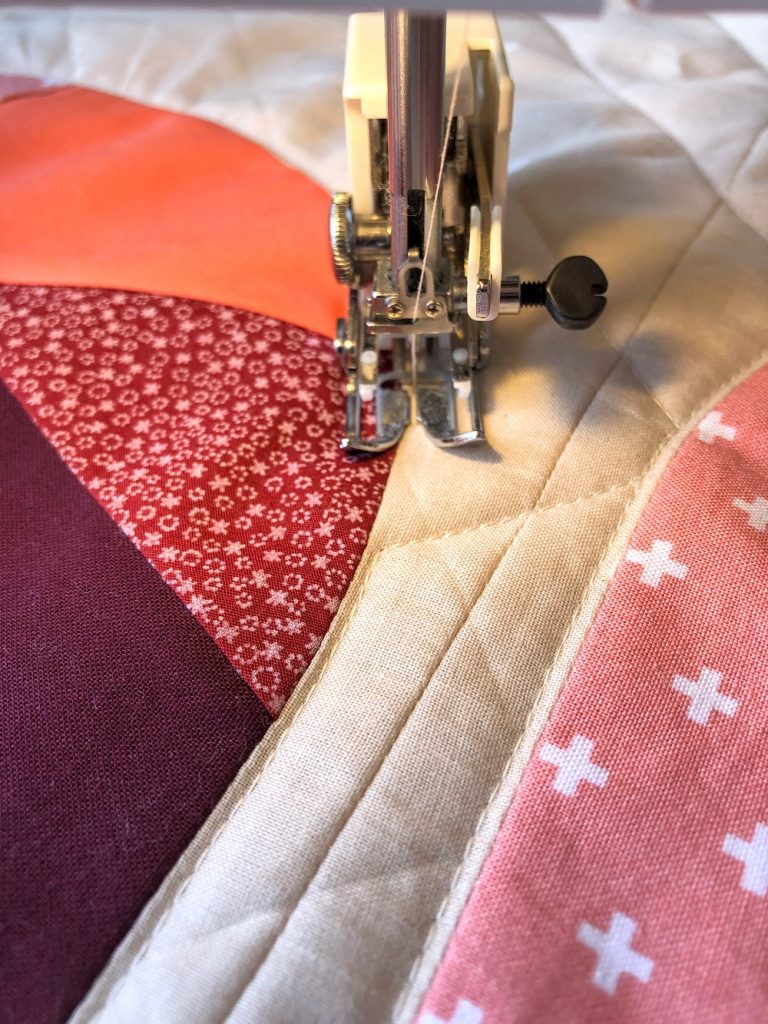
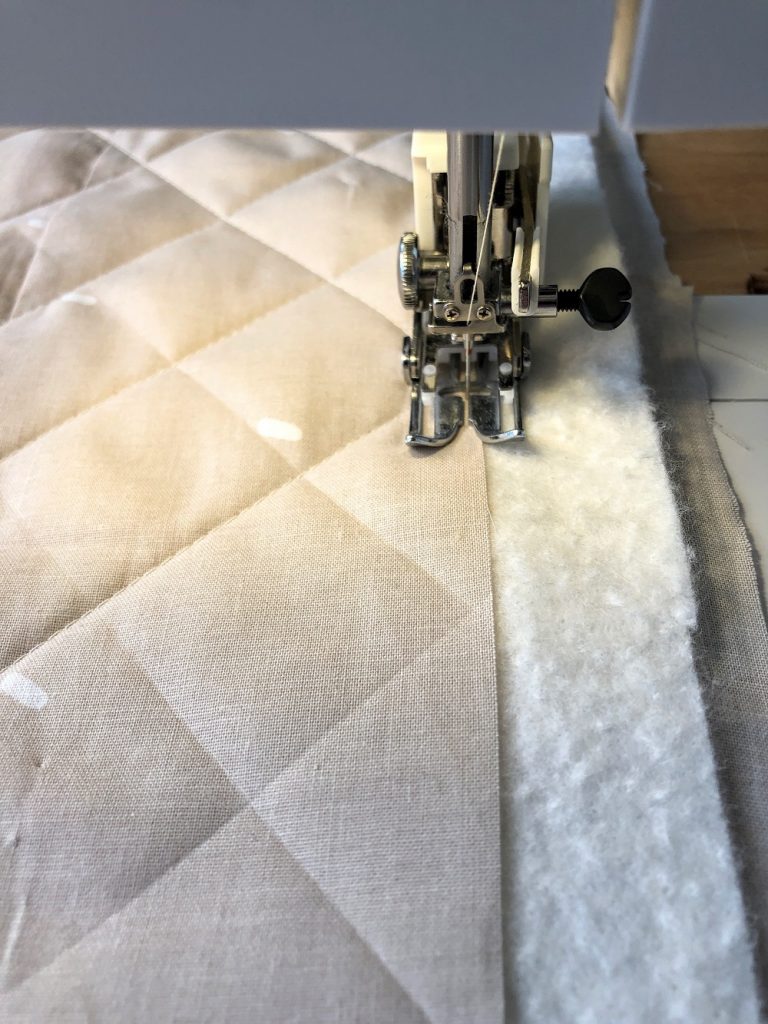
And tah-dah, background quilting done!
My favourite machine quilting stitches
When it is finally time to start quilting the coloured bits, I like to quilt in segments, and by that I mean that I am choosing a specific quilting stitch for a small area of my quilt. For my River Rocks mini quilt, each area was one of the rocks. For the present sample, I chose a different quilting stitch for each segment of the mushroom caps. (Note: This is the improv-pieced option of my Fungi Friends pattern, the original and my favourite version. But you you also could use the same approach for the other pattern options or any other quilt pattern.)
I typically start with a few machine stitches. They are faster, giving some rewarding success feelings right at the beginning, but also help hold everything in place, so more and more safety pins can be removed.
One of the easiest ways to add some machine quilting is to stitch along the contours of a few segments. I don’t usually try too hard to stitch in the ditch as I don’t aim to hide my stitches. Instead I stitch closer to 1/8″ from the edge, but that’s just personal preference.
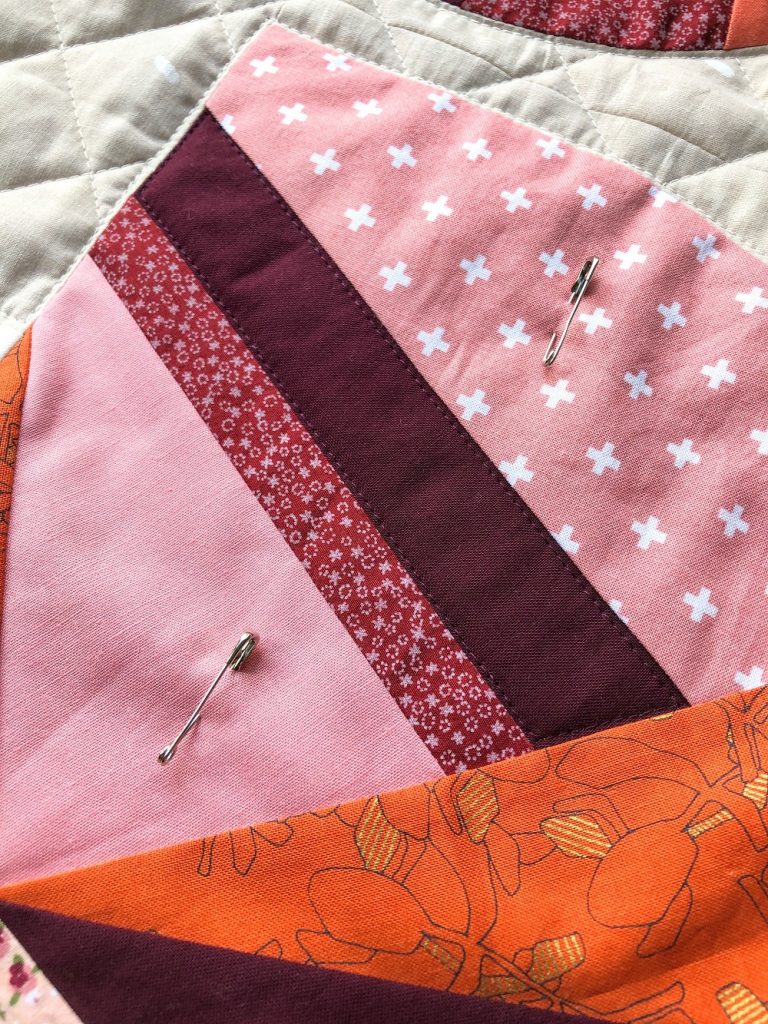
Or you can echo the contours of a segment to fill the whole area.
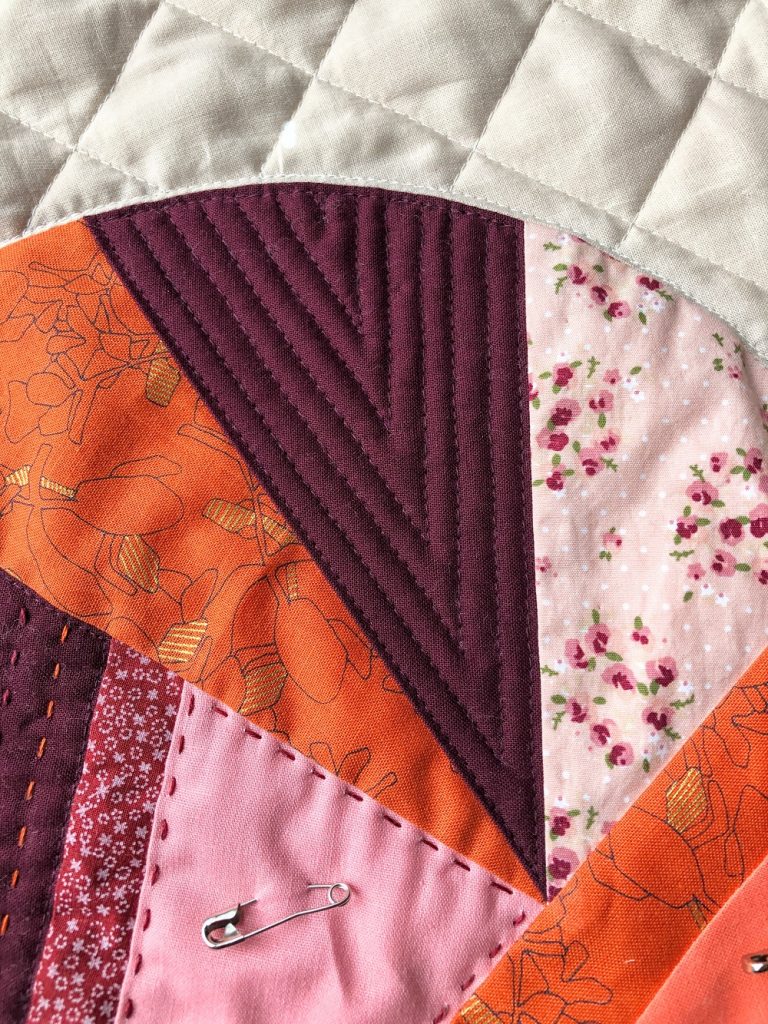
Spirals are also really cool!
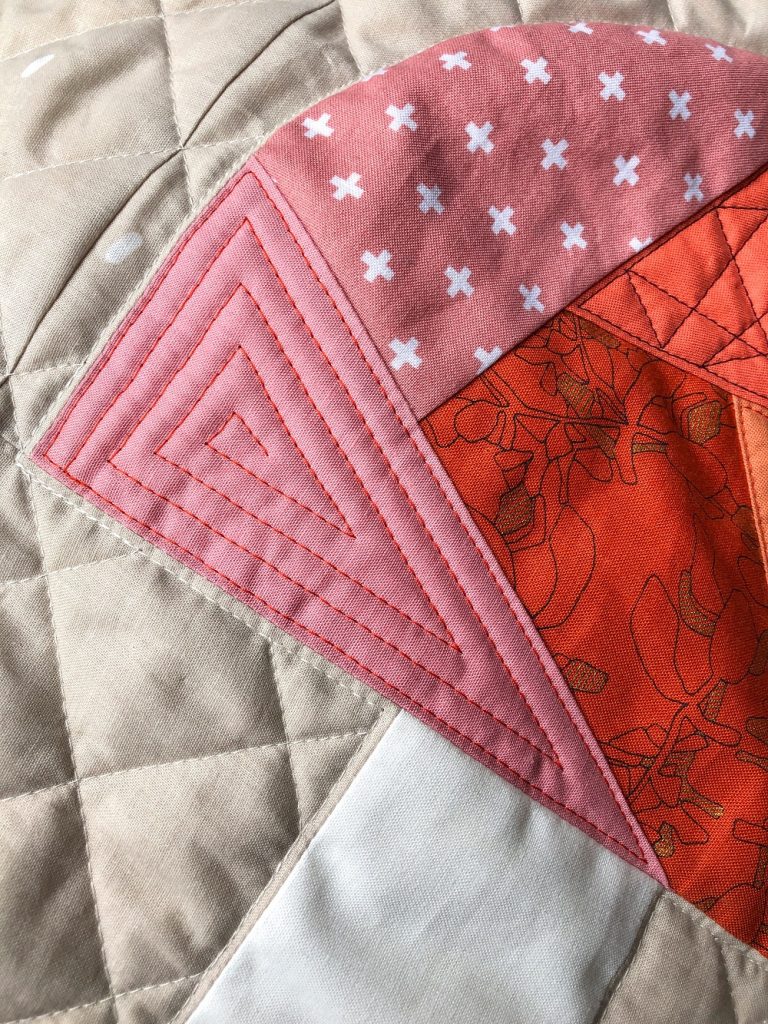
Or go for some fun random lines!
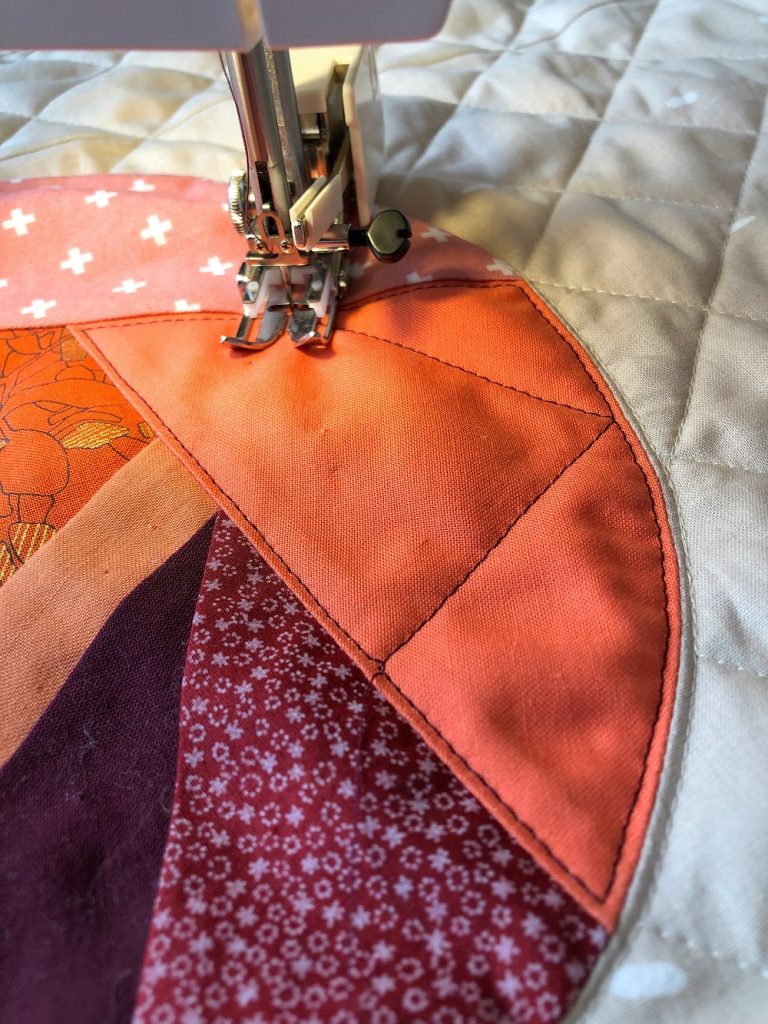
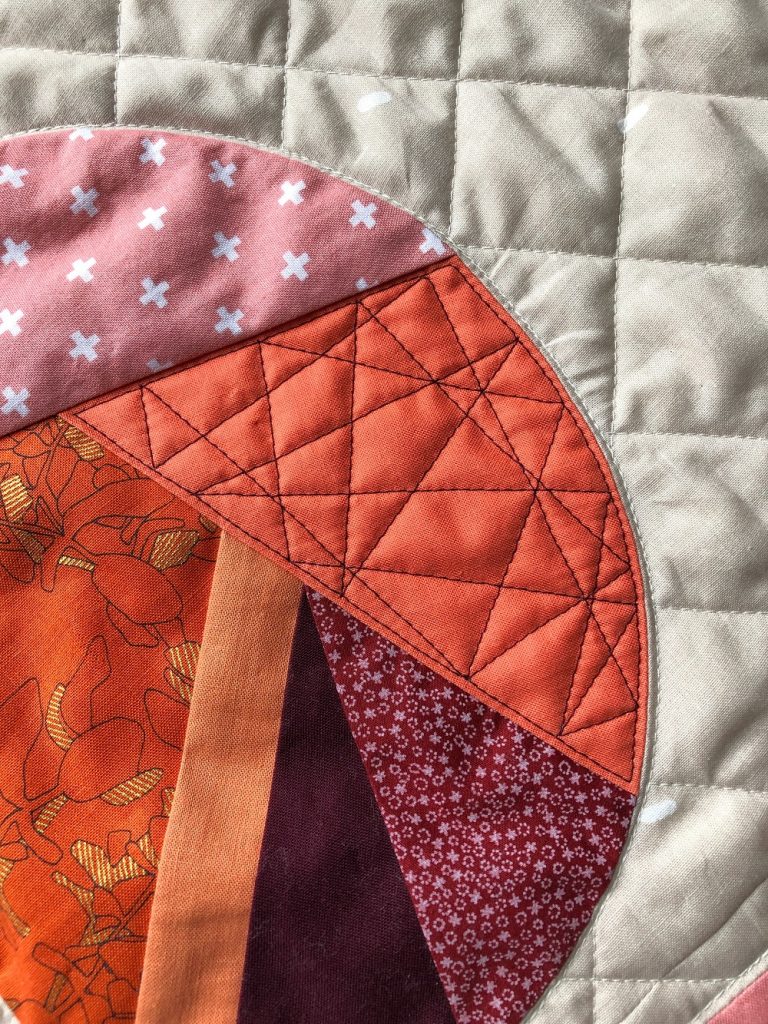
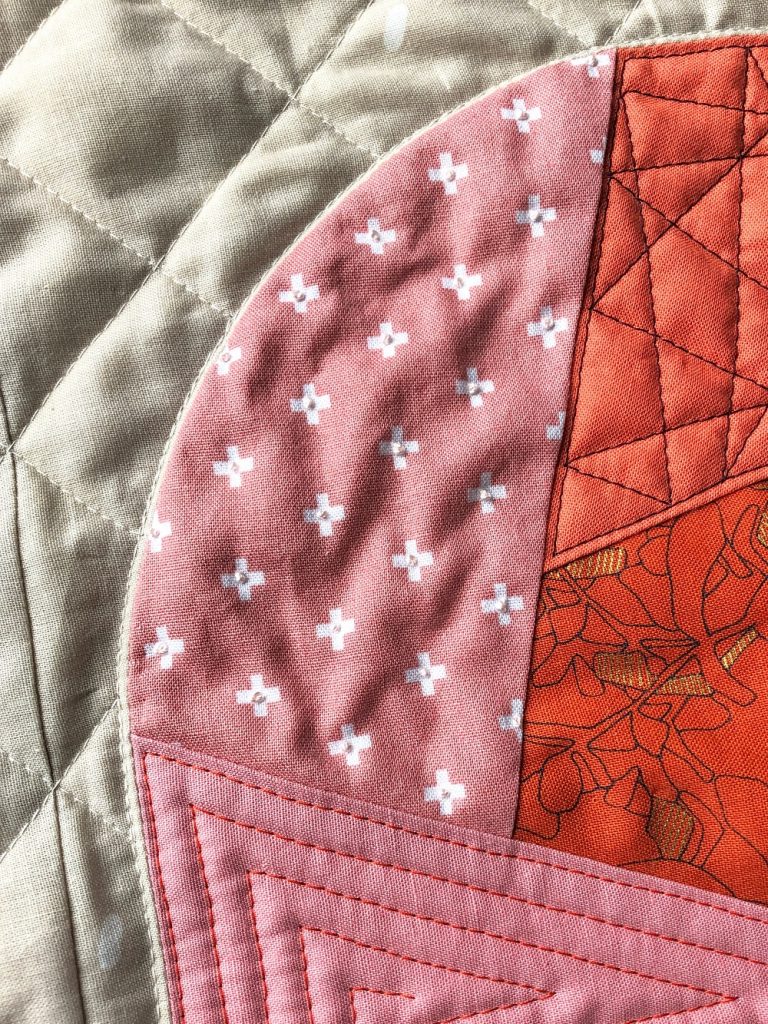
You can even use the print of your fabric as a guide like in the pink segment on the left in the picture below where I stitched parallel lines through the little plusses.
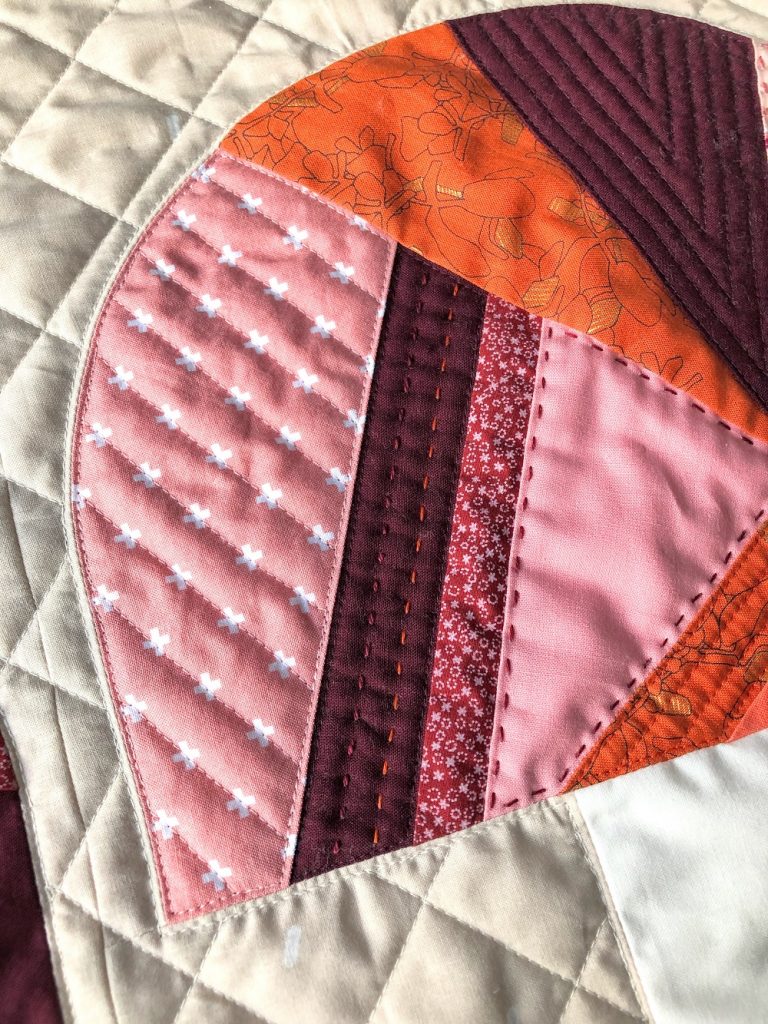
My favourite hand quilting stitches
While you could definitely quilt your whole mini with various machine stitches, I like to mix in some hand stitches. I just find the slower-paced process really relaxing and therapeutic and love the character and texture of those bigger and somewhat imperfect hand stitches.
Running stitches
Most of my hand quilting is based on simple running stitches. There are various more in-depth tutorials (for example by Suzy from Suzy Quilts), but here is a quick description:
I usually start by marking my lines with a hera marker. For this project I’ve only used straight lines, but you could also do curves.


The next step is to chose a thread. You can go for a matching or contrasting colour, both look great. I usually opt for a mix of both.
Tie a quilter’s knot into the end of your thread and insert your needle an inch or two away from where your line starts. Then travel between your quilt top and batting and exit your needle. Gently “pop” your knot through the first hole and carefully pull until it sits underneath the second hole.
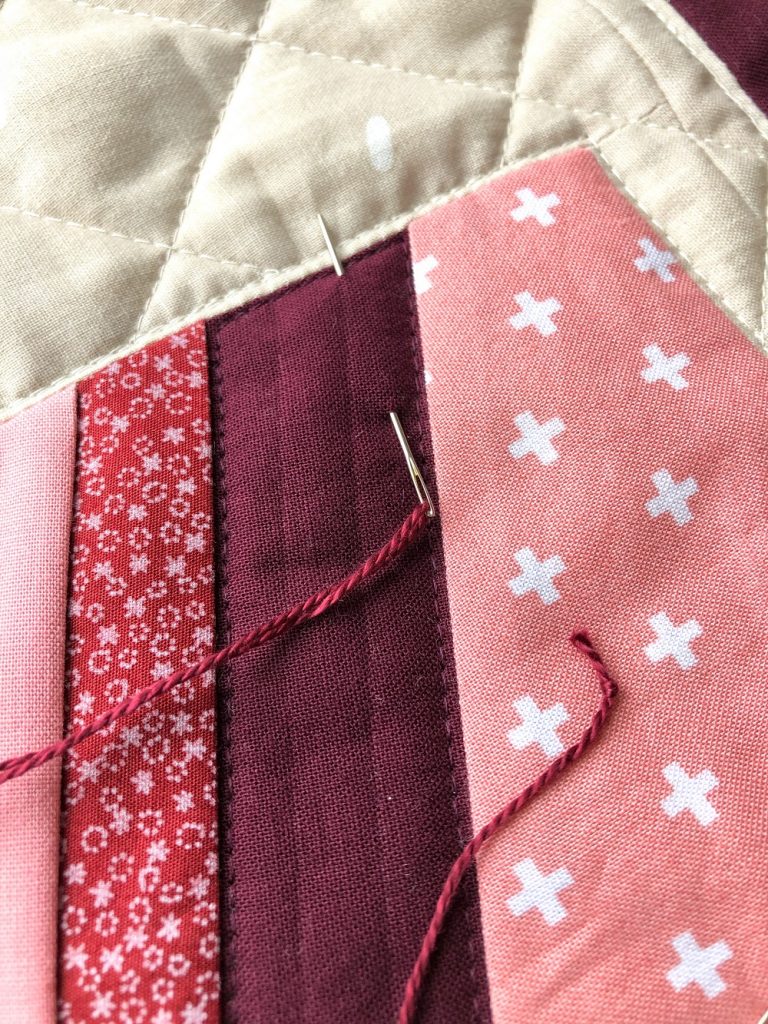
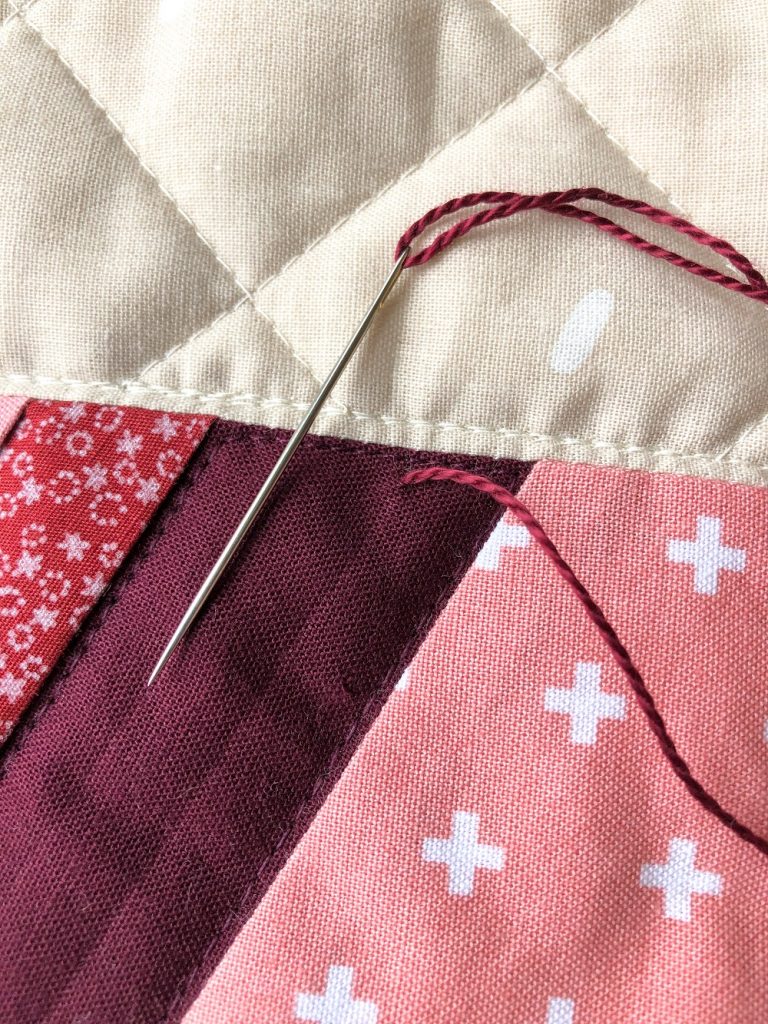
Follow your markings with a series of running stitches, making sure your needle goes through all the layers. You can do one stitch at a time or several, whatever works best for you. I usually do three. Instead of trying to achieve teeny tiny stitches (which can be quite frustrating), aim for even stitches!
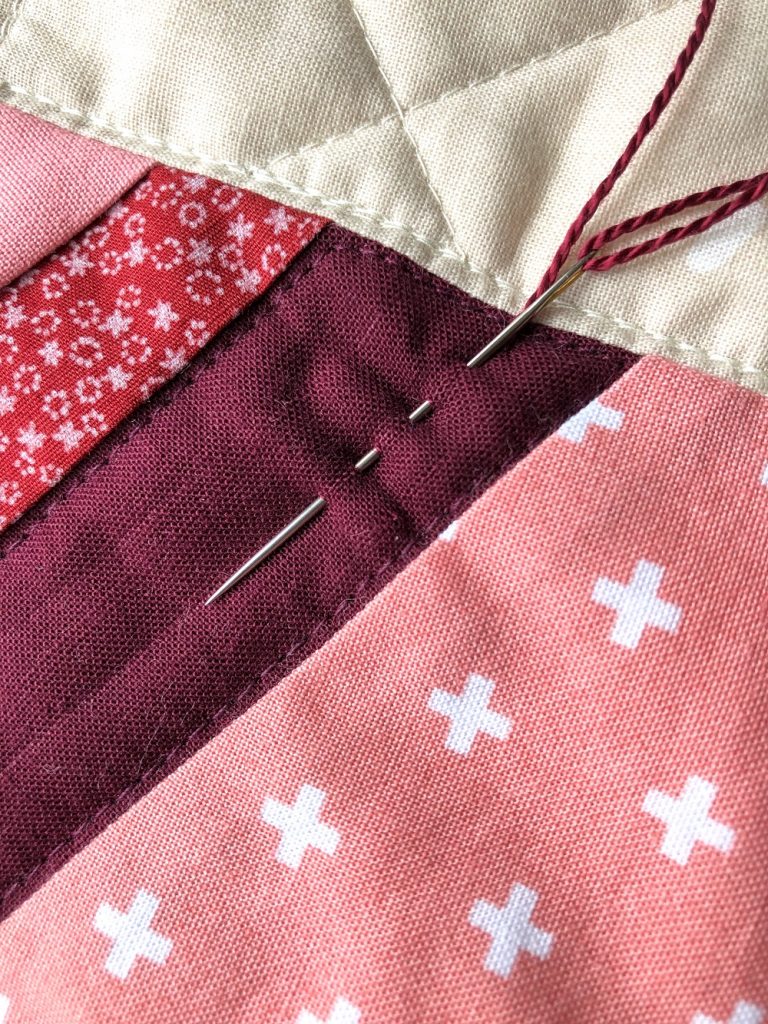
I use the same running stitch to stitch around a segment or to create parallel lines in different colours.
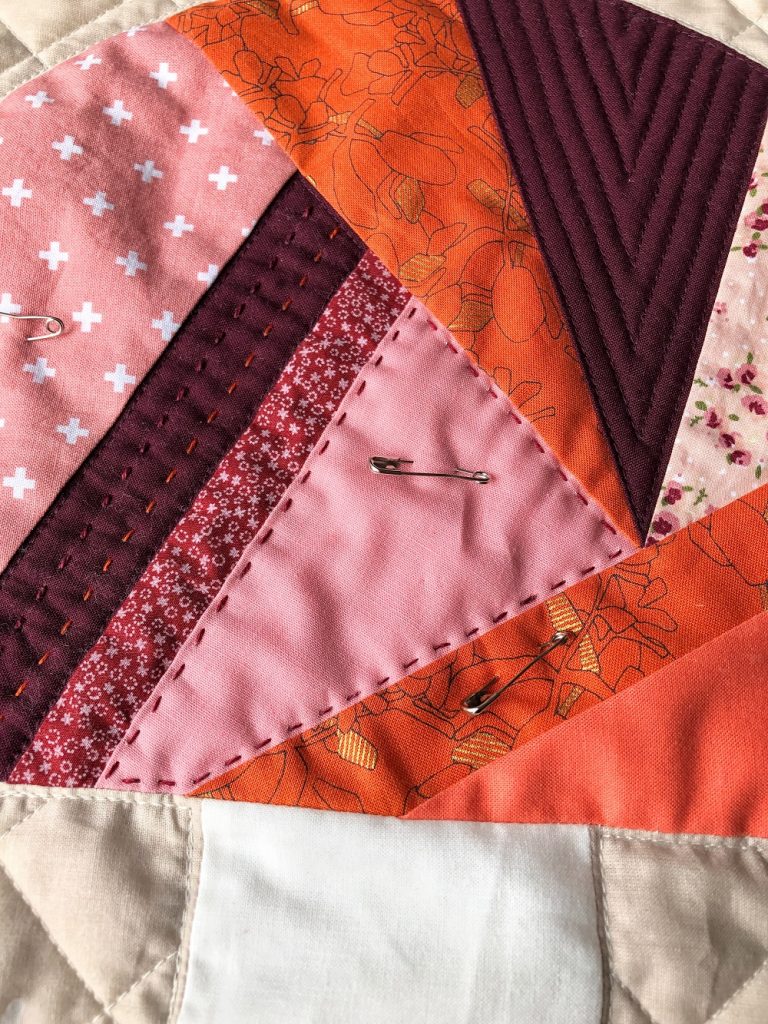
To finish a running stitch tie a quilter’s knot close to the surface of your quilt. Carefully re-insert your needle through the same hole, travel between your quilt layers and exit your needle an inch or two away. Gently “pop” your knot until it sits underneath the fabric, then clip your thread right over the fabric, so the end doesn’t stick out.
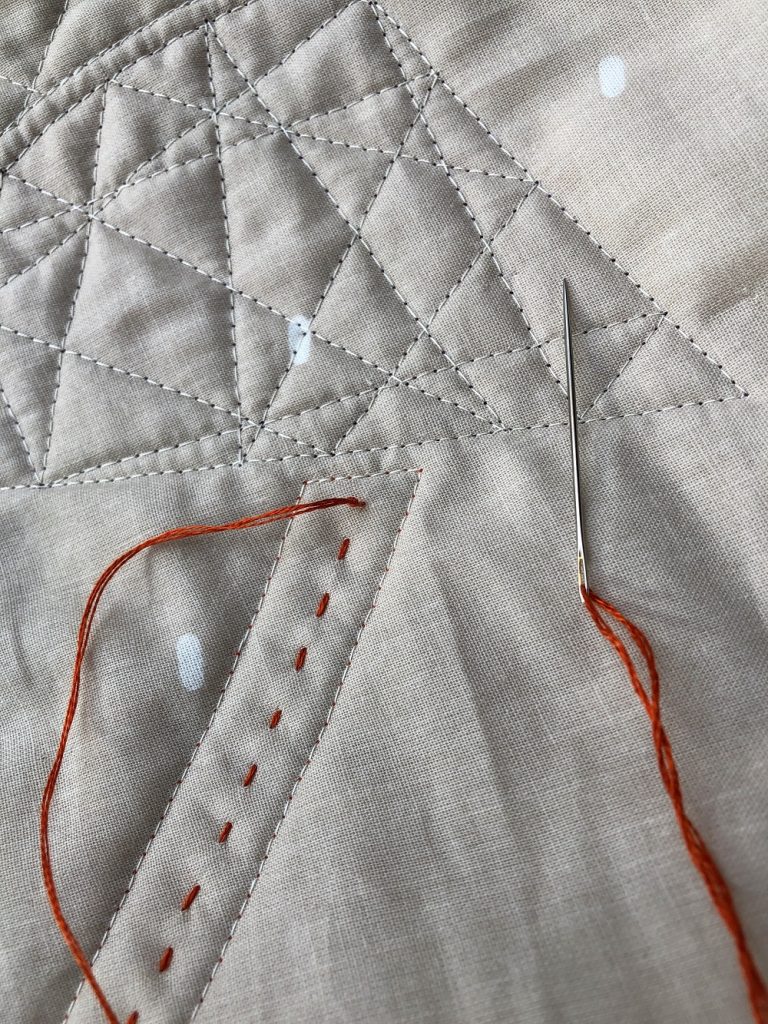
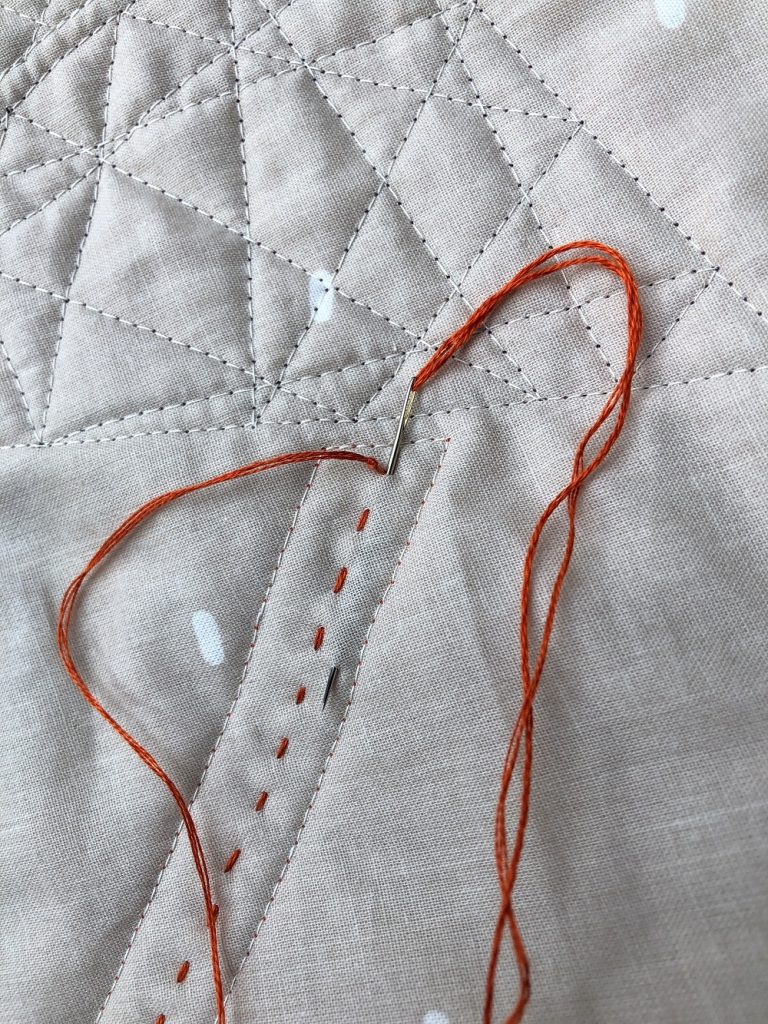
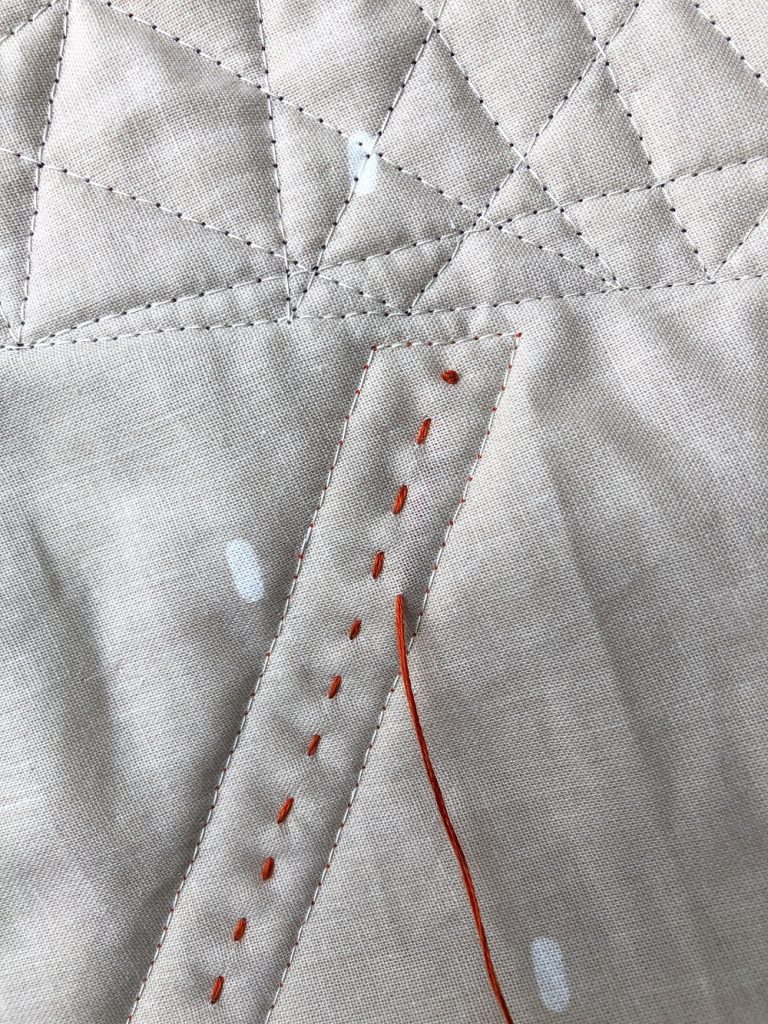
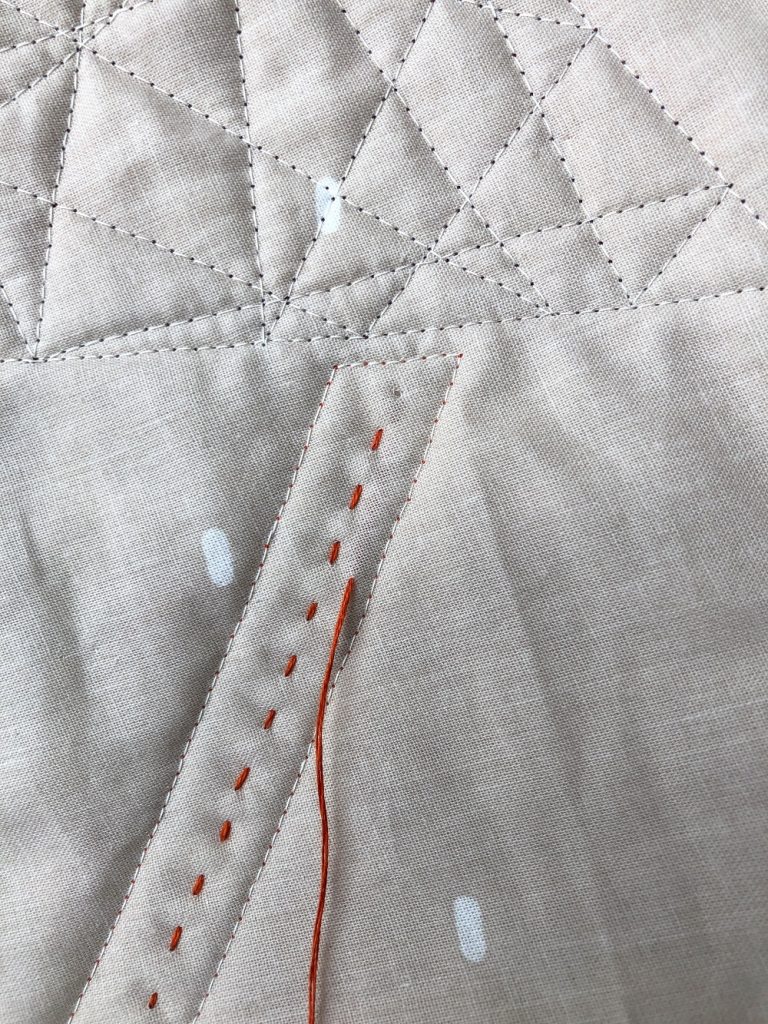
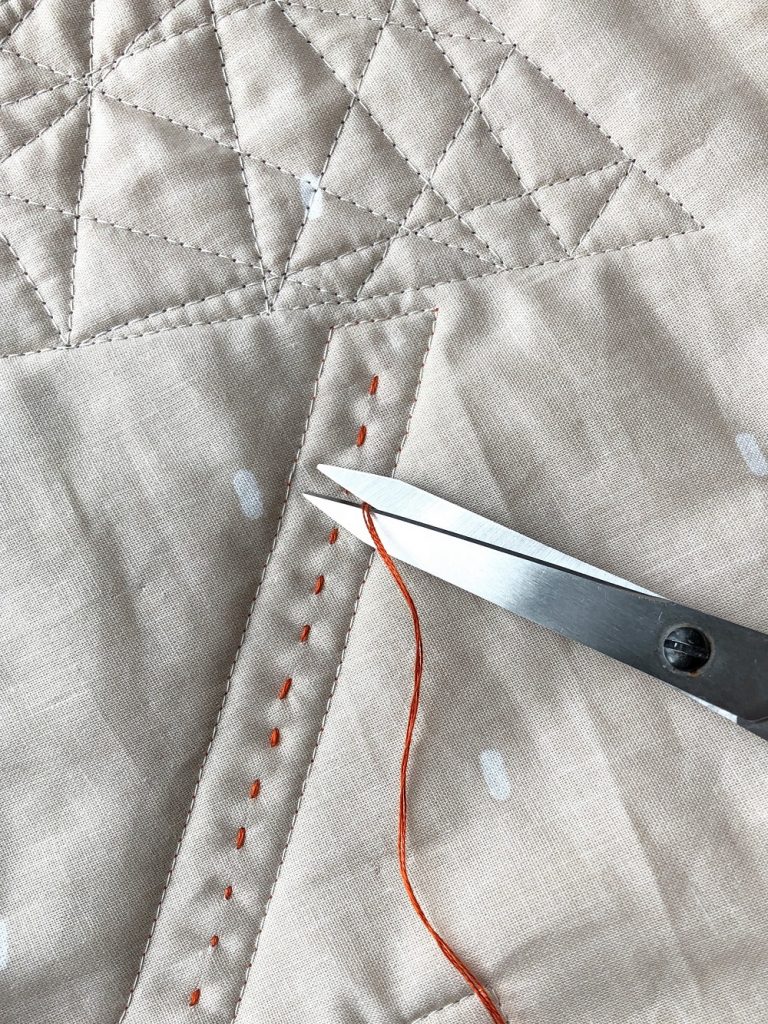
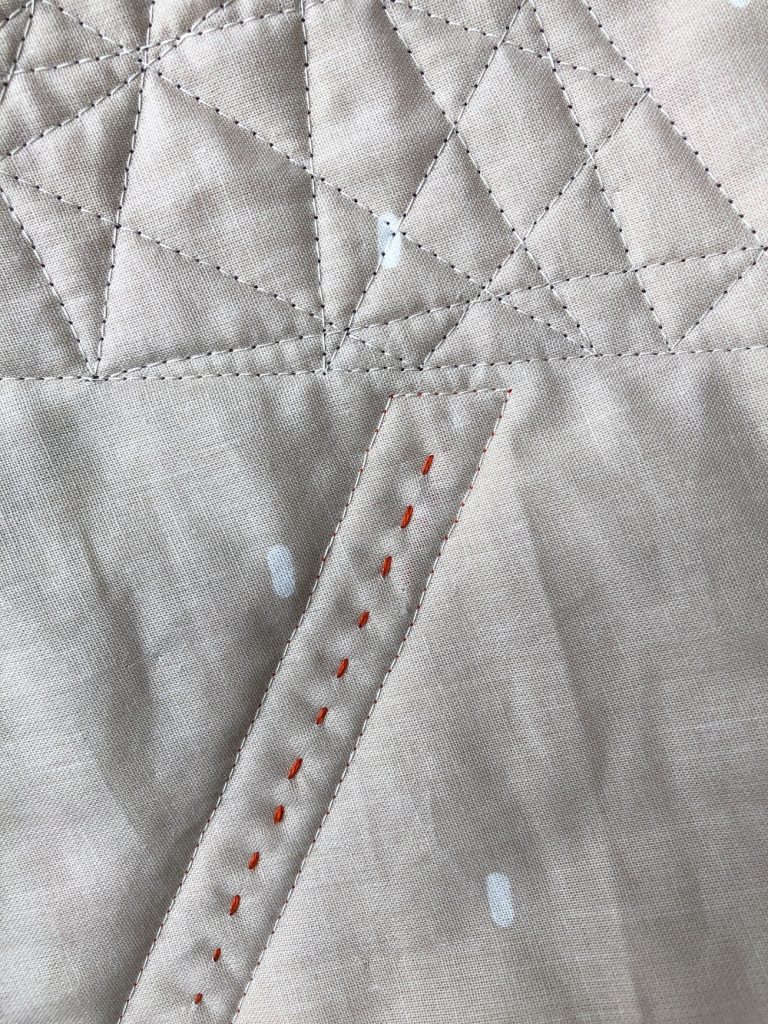
I usually try to finish my hand seams on the back side of my quilt, especially when working with darker threads on light fabrics, but that’s optional.
French knots
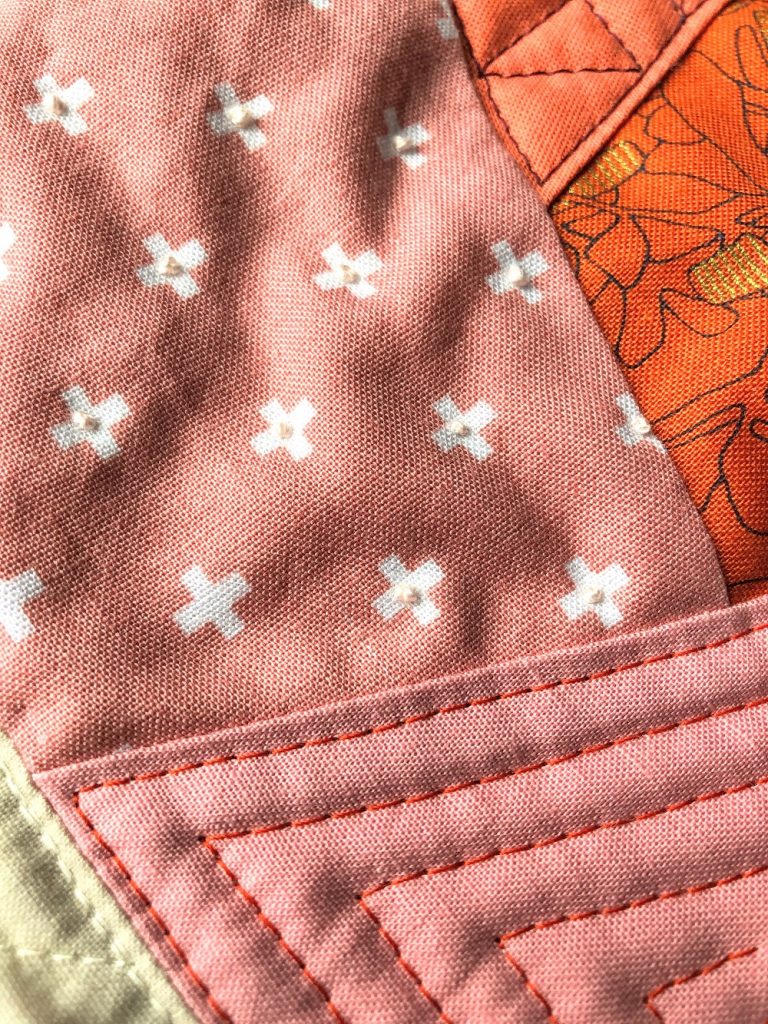
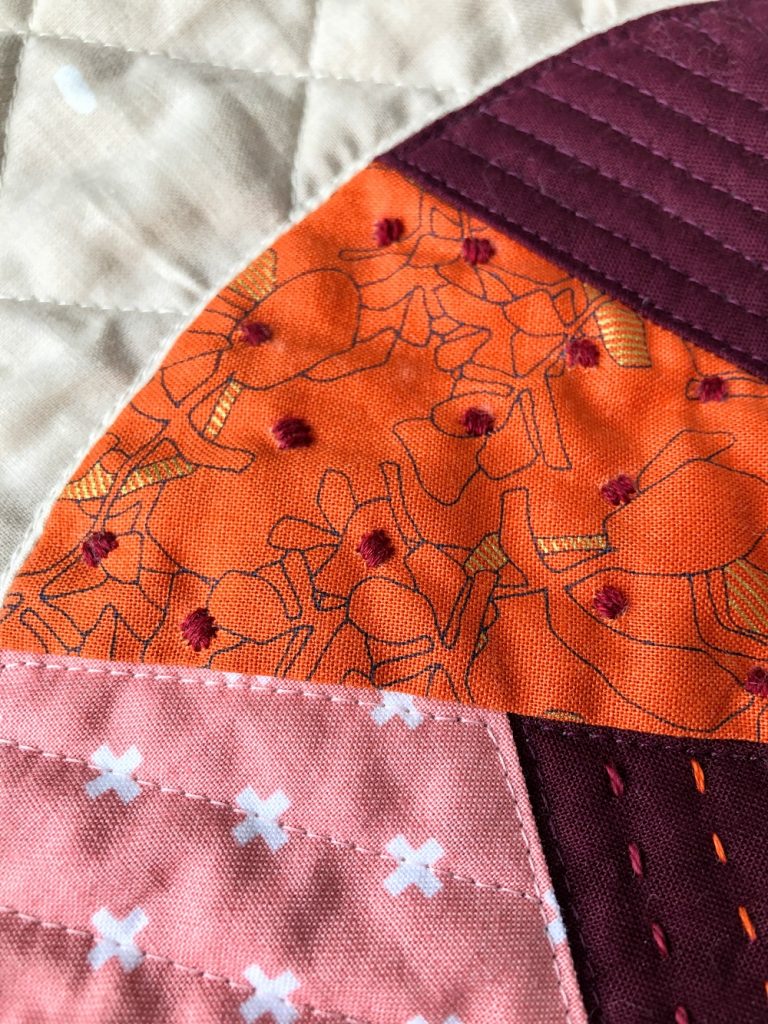
One new stitch I tried on this mini quilt are French knots. Well, I have done them before, but this time I firstly used them to accentuate one of the printed fabrics in my project. When I was looking at those white plusses reflecting on different options how to quilt this cap segment, it just crossed my mind “What if I just put a little fabric blob in the middle of each?” Duh, little flowers it is!
To make a French knot, bring the thread to the surface where you want to position your little knob. Wrap your thread around your needle twice like shown in the picture below.
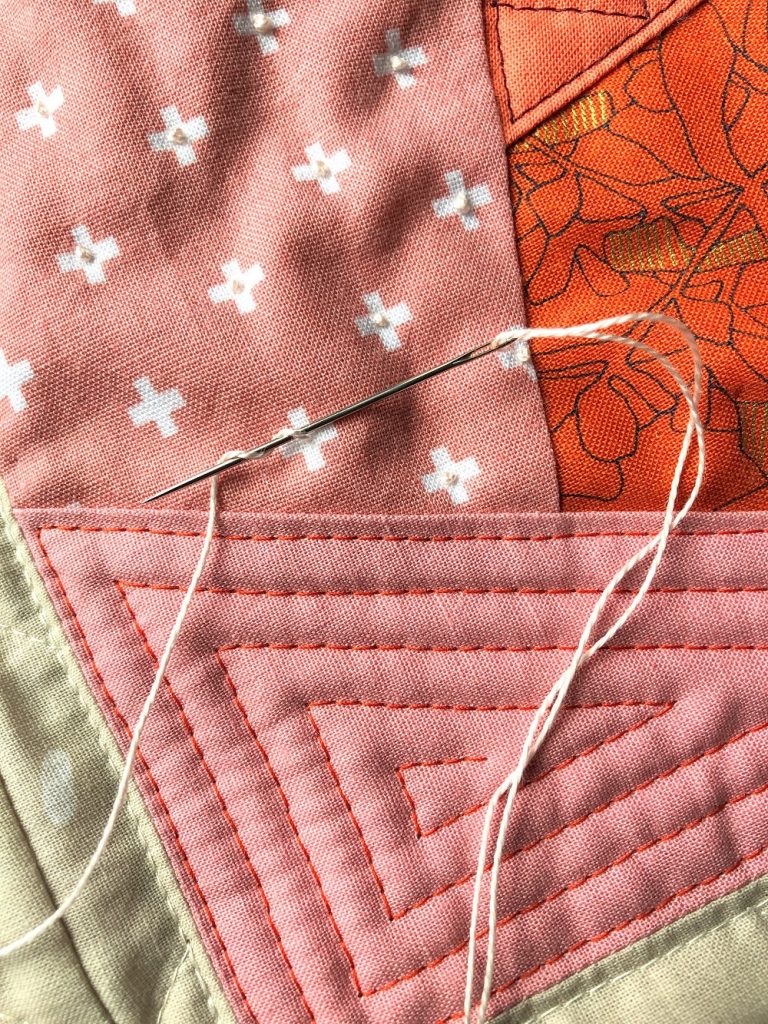
Then stitch back through all layers right beside the hole you came up through, keeping your fabric loops tight.
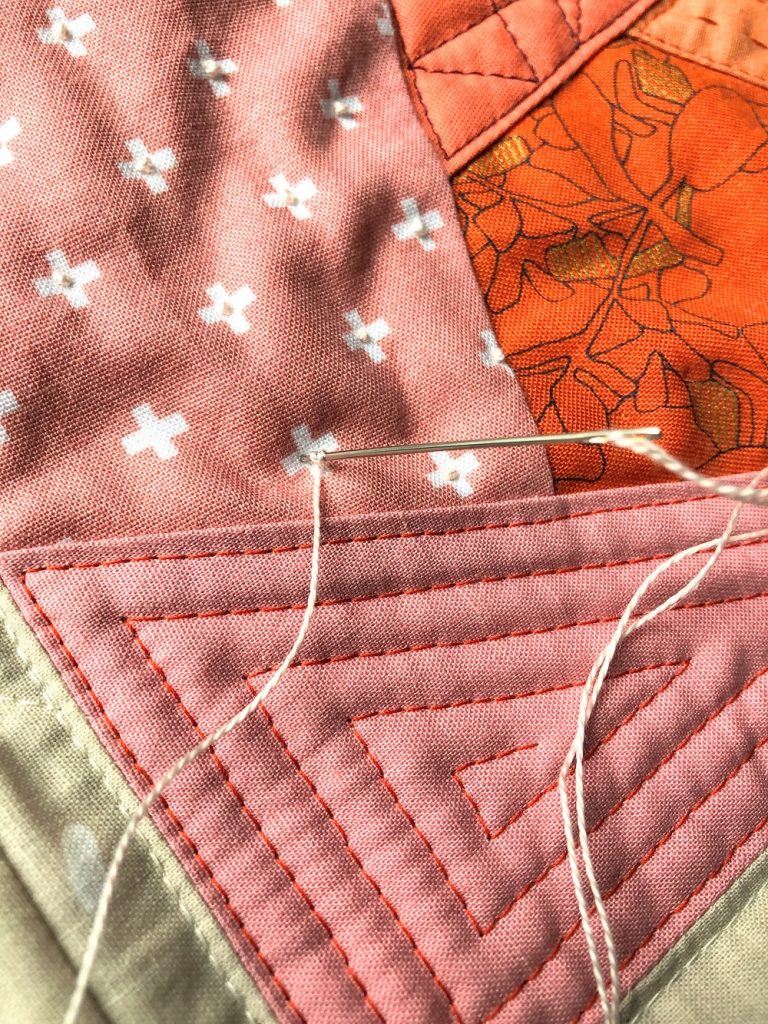
Carefully pull your thread through and voila, there’s your French knot! To get to your next position, insert your needle through the quilt backing, travel between the sandwich layers and bring your needle up through the quilt top as desired.
Ties
Another fun quilting detail are ties.
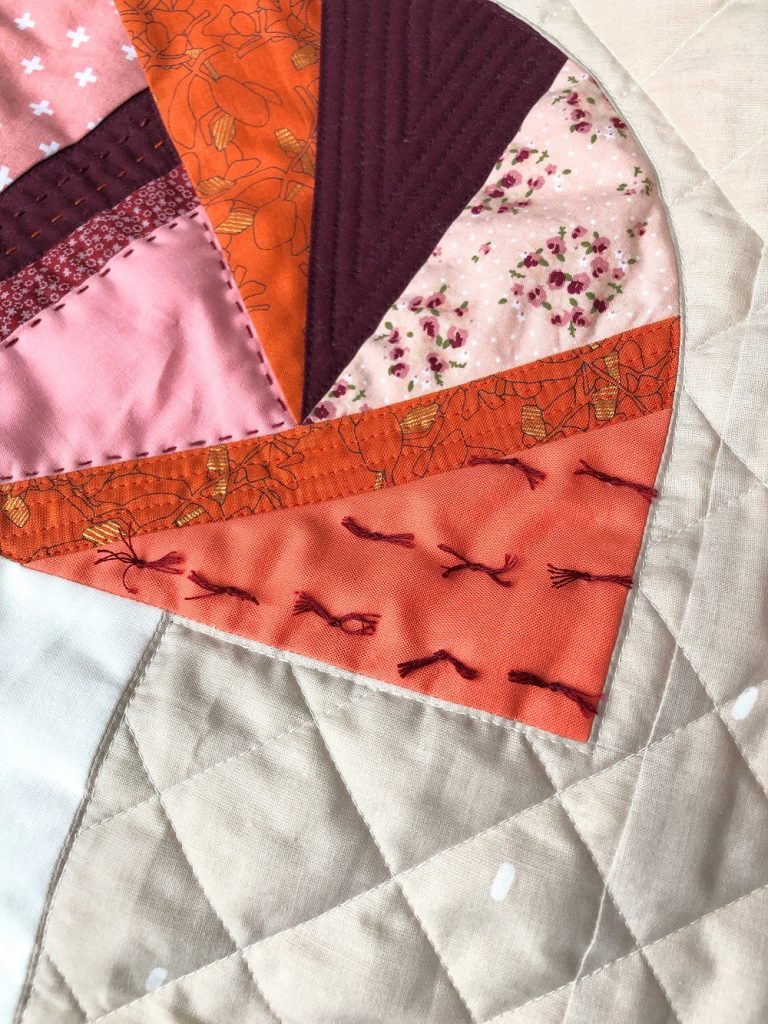
You can place them randomly or, like I did here, in a regular grid. I wanted my ties to be spaced 1″ apart from each other, so marked their positions with little dots. Then, working from right to left, I stitch through all quilt layers right beside the first dot and bring the thread back to the surface just left of it. I pull through until the end of the tail is about 3″ then trim the other end of the soon-to-be tie to the same length. Repeat with the next tie. Once one row is complete, I tie them all with a double knot, then trim the ends to about 1/2″. This approach works best for me in terms of speed and uniformity of the ties.


Sprinkles
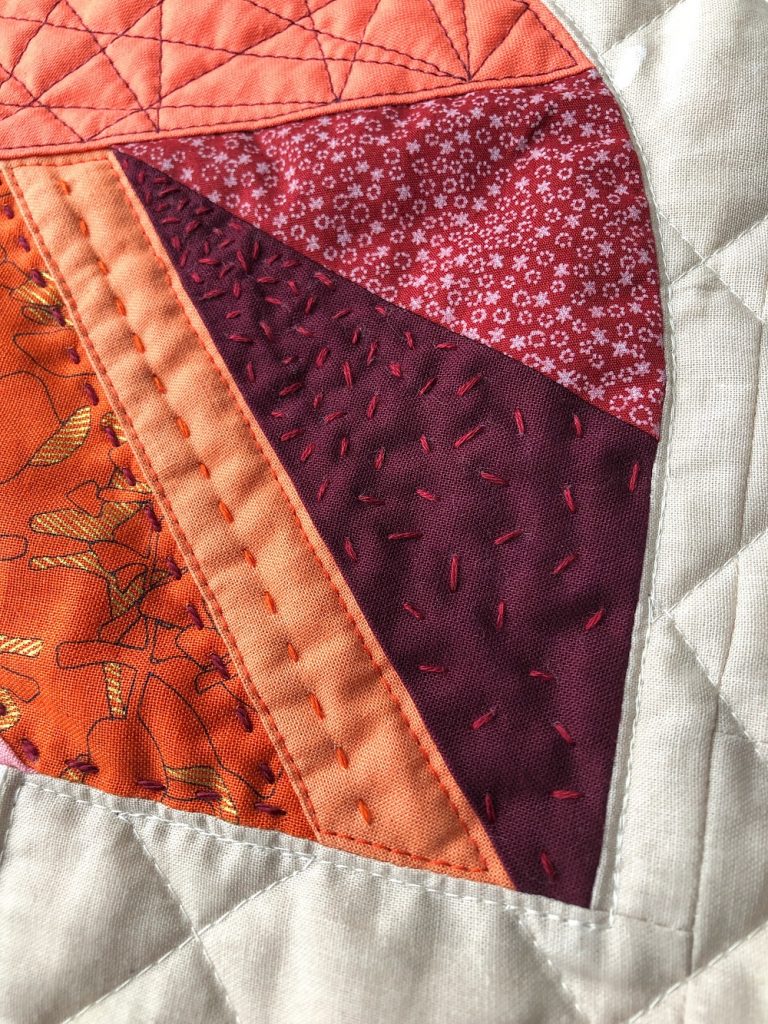
And then there is my favourite hand quilting stitch of all – SPRINKLES!
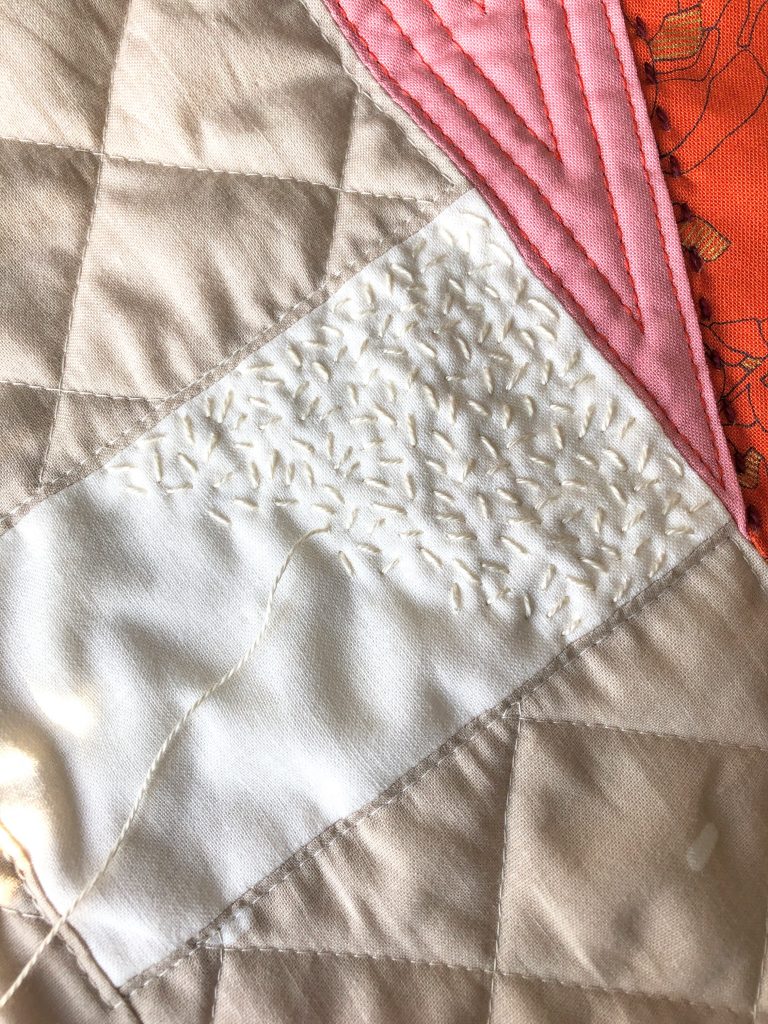
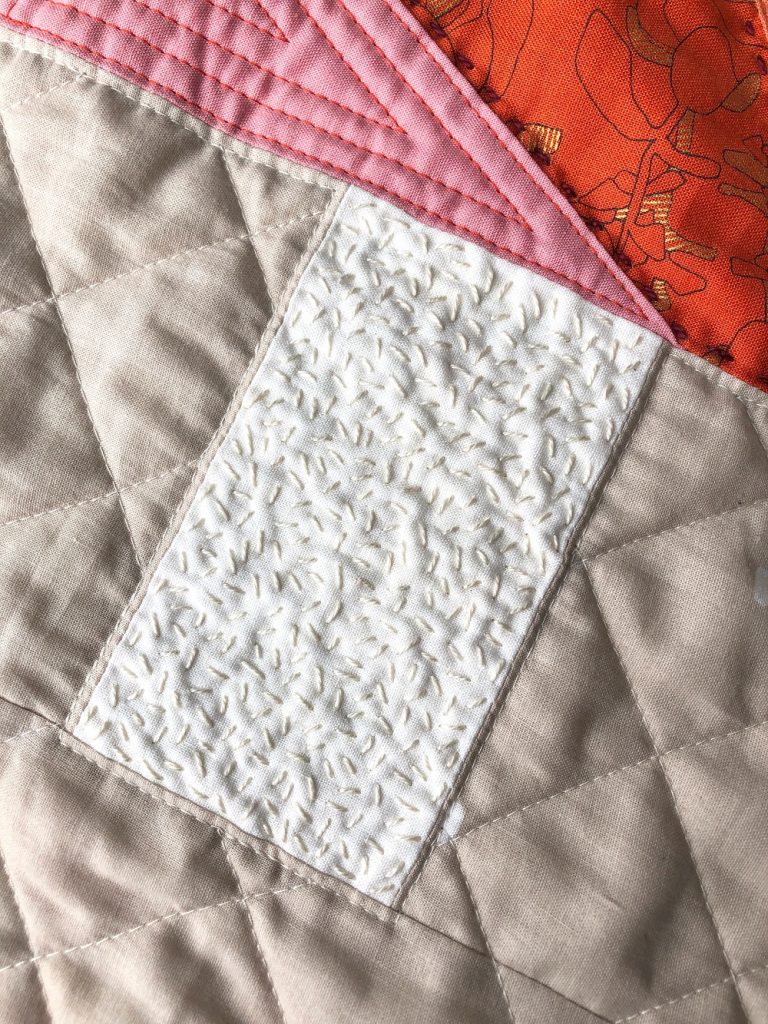
You can fill in a whole section evenly like shown above, or in a sort of gradient, with smaller and denser stitches on one side which transition into larger and more sparsely spaced stitches on the other side. Not only does this create an interesting visual effect, it also makes for a considerably faster option!
Other fun variations
But of course you can experiment with all kinds of different embroidered details. I covered one of my cap segments with burgundy dots. For these I stitched three parallel lines in one direction, then covered them by another set of three parallel stitches perpendicular to the first layer. The next time I might try little plusses or asterisks – or maybe even hearts. Or I might get inspired by the printed fabrics of my project and stitch around my favourite details. The possibilities are endless!
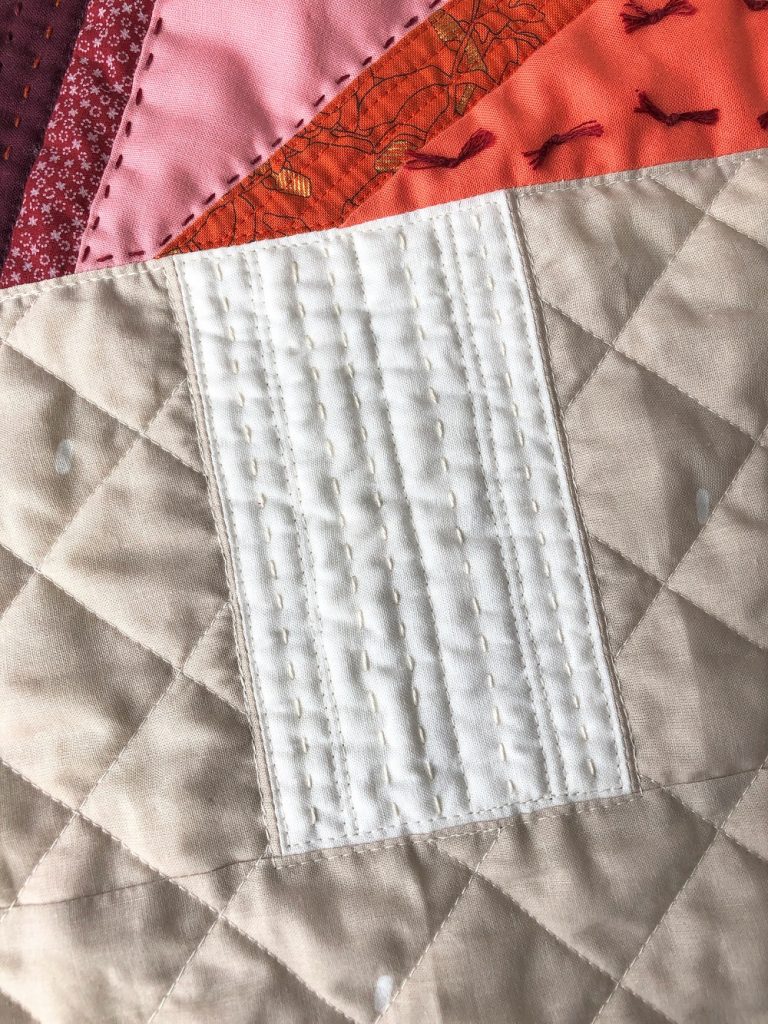
And of course you can mix and match all your stitches. In one of my mushroom stems for example, I opted for parallel lines, some by machine, some by hand.
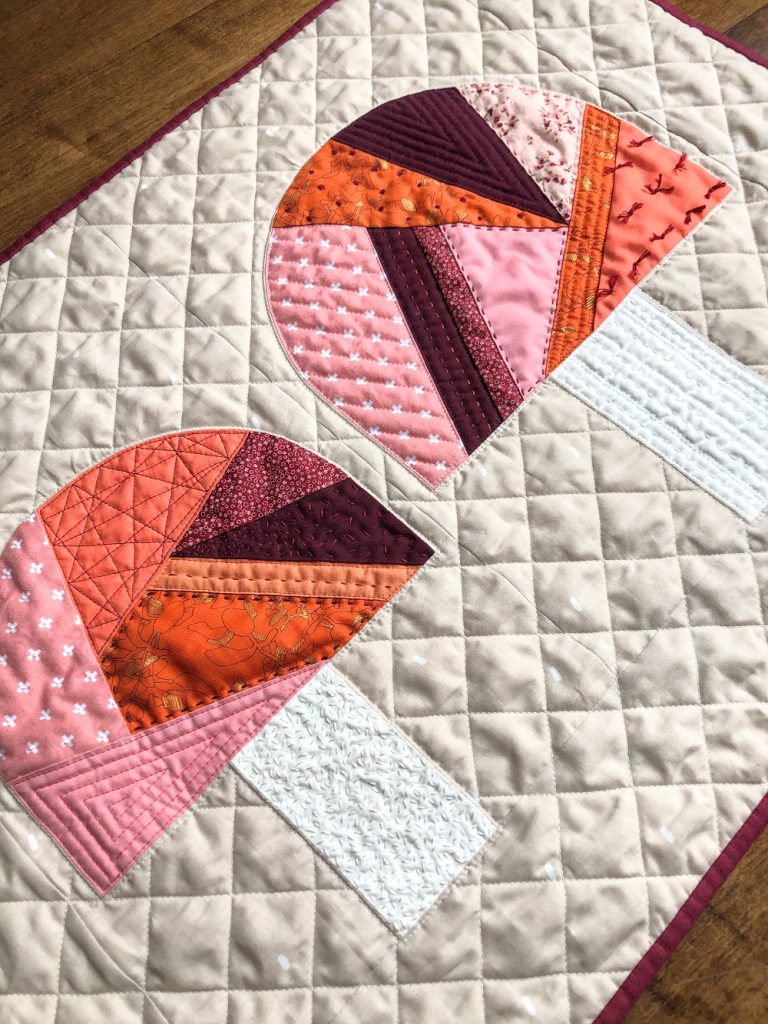
And here is my finished Fungi Friends mini quilt in all its beauty! I still can’t decide whether I want to gift it to a special person or hang it up in my own home. 😉
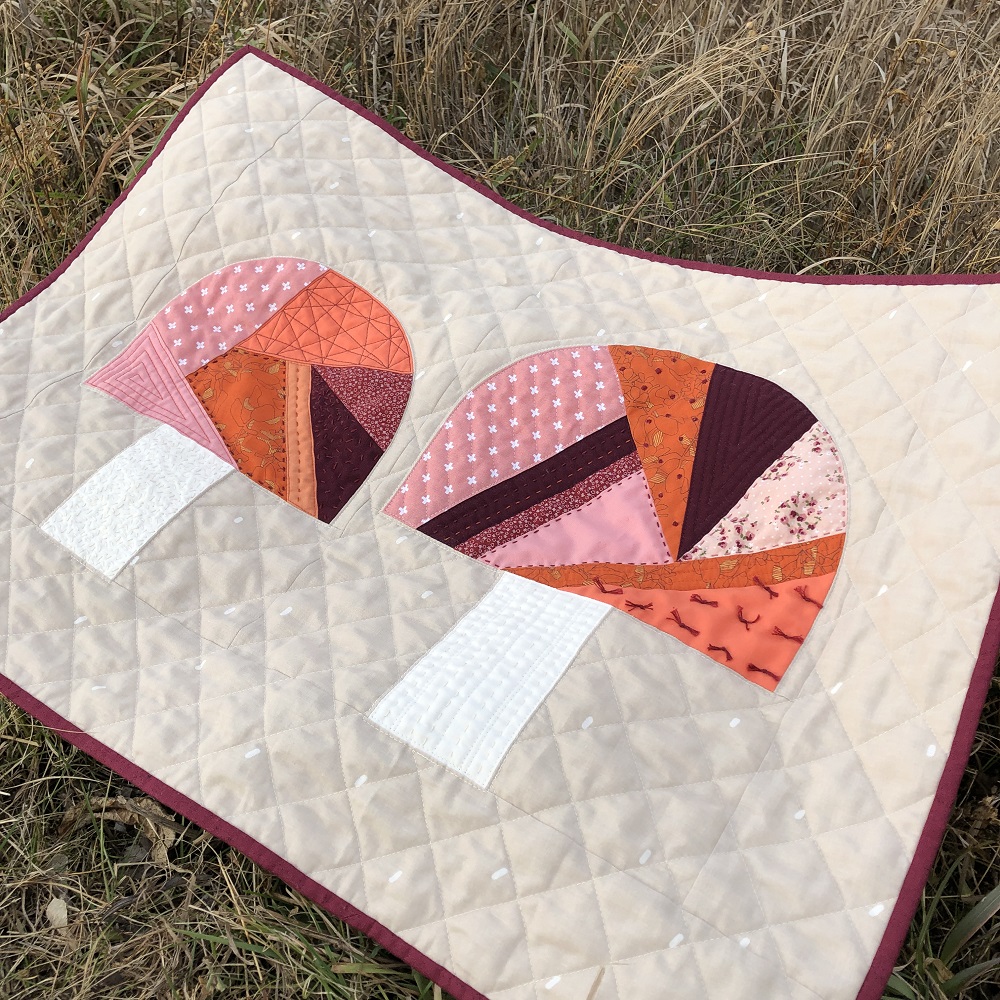
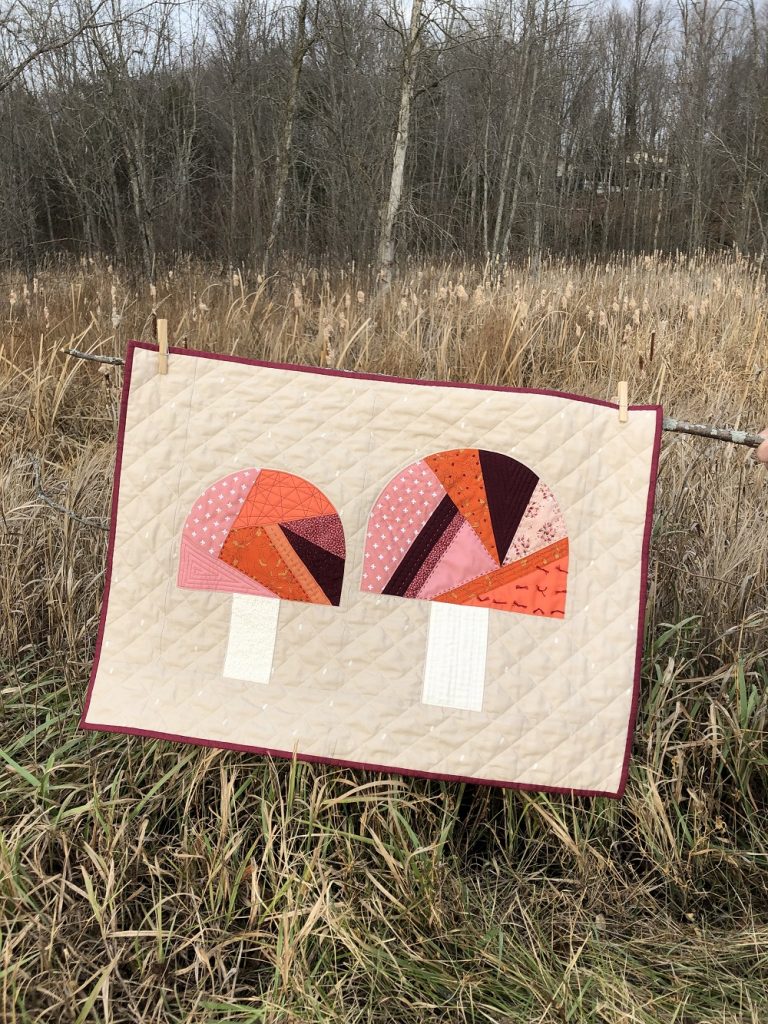
If you made it this far, you are more than ready for your own experimental quilting adventure! Thanks for reading and I hope you enjoyed this little stitching tutorial! These are only a few ideas to get you started. I’d love to hear and see what you come up with! Be sure to tell me your favourite machine and hand quilting stitches in the comments and to use the hashtag #FungiFriendsQuilt when posting pictures on social media!
Happy quilting!


So cute! I love mixing machine and hand stitching. I have a question about the French knots- do you tie each one off on the back, or do you keep going and the thread runs from one to the next on the back?
Hi! And thank you! 🙂
I asked myself the same question after the first knot was tied – and you really could do either. I chose to keep going and to travel between the sandwich layers to get from one knot to the next. If they were spaced out more, I’d probably tie them off individually.