The bedroom is finally ours again, yey! 🙂
Please don’t get me wrong, I really enjoyed sharing it with the little monster when he was a baby and found it so practical for nighttime feedings to have him right beside me in his co-sleeper. But when he started to constantly climb into my bed, I was more than ready for his transition to the kids room. While I remember this transition to be quite easy with the big monster at the time, it was a bit trickier this time around: TWO monsters, ONE room – problem! It took us a little while but somehow we figured out a way to make them both go to bed without waking each other up – at least most nights…
Anyways, the bedroom is ours again and while Paul and the big monster were visiting the grandparents for a week, I finally managed to finish the quilt for our bed. It seems like it took forever, but the timing made for a really nice surprise upon their return!
The first thing I knew when thinking about different design ideas for the quilt was that I wanted to somehow incorporate the leaves that I stitched onto our head board. Then I happened to find a light grey fabric with a beautiful leaves print that perfectly went together with its charcoal color. And finally, when browsing through Pinterest for more inspiration, I came across a quilt with twelve houses arranged in a square that I instantly loved. And since Paul really liked it too, that was a really easy decision. (I might be slightly obsessed with houses… I already have house-shaped display boxes in my crafts corner, then Paul made me this house shelf not too long ago and at some point I may also have suggested a house shape for the chalkboard in our kitchen…)
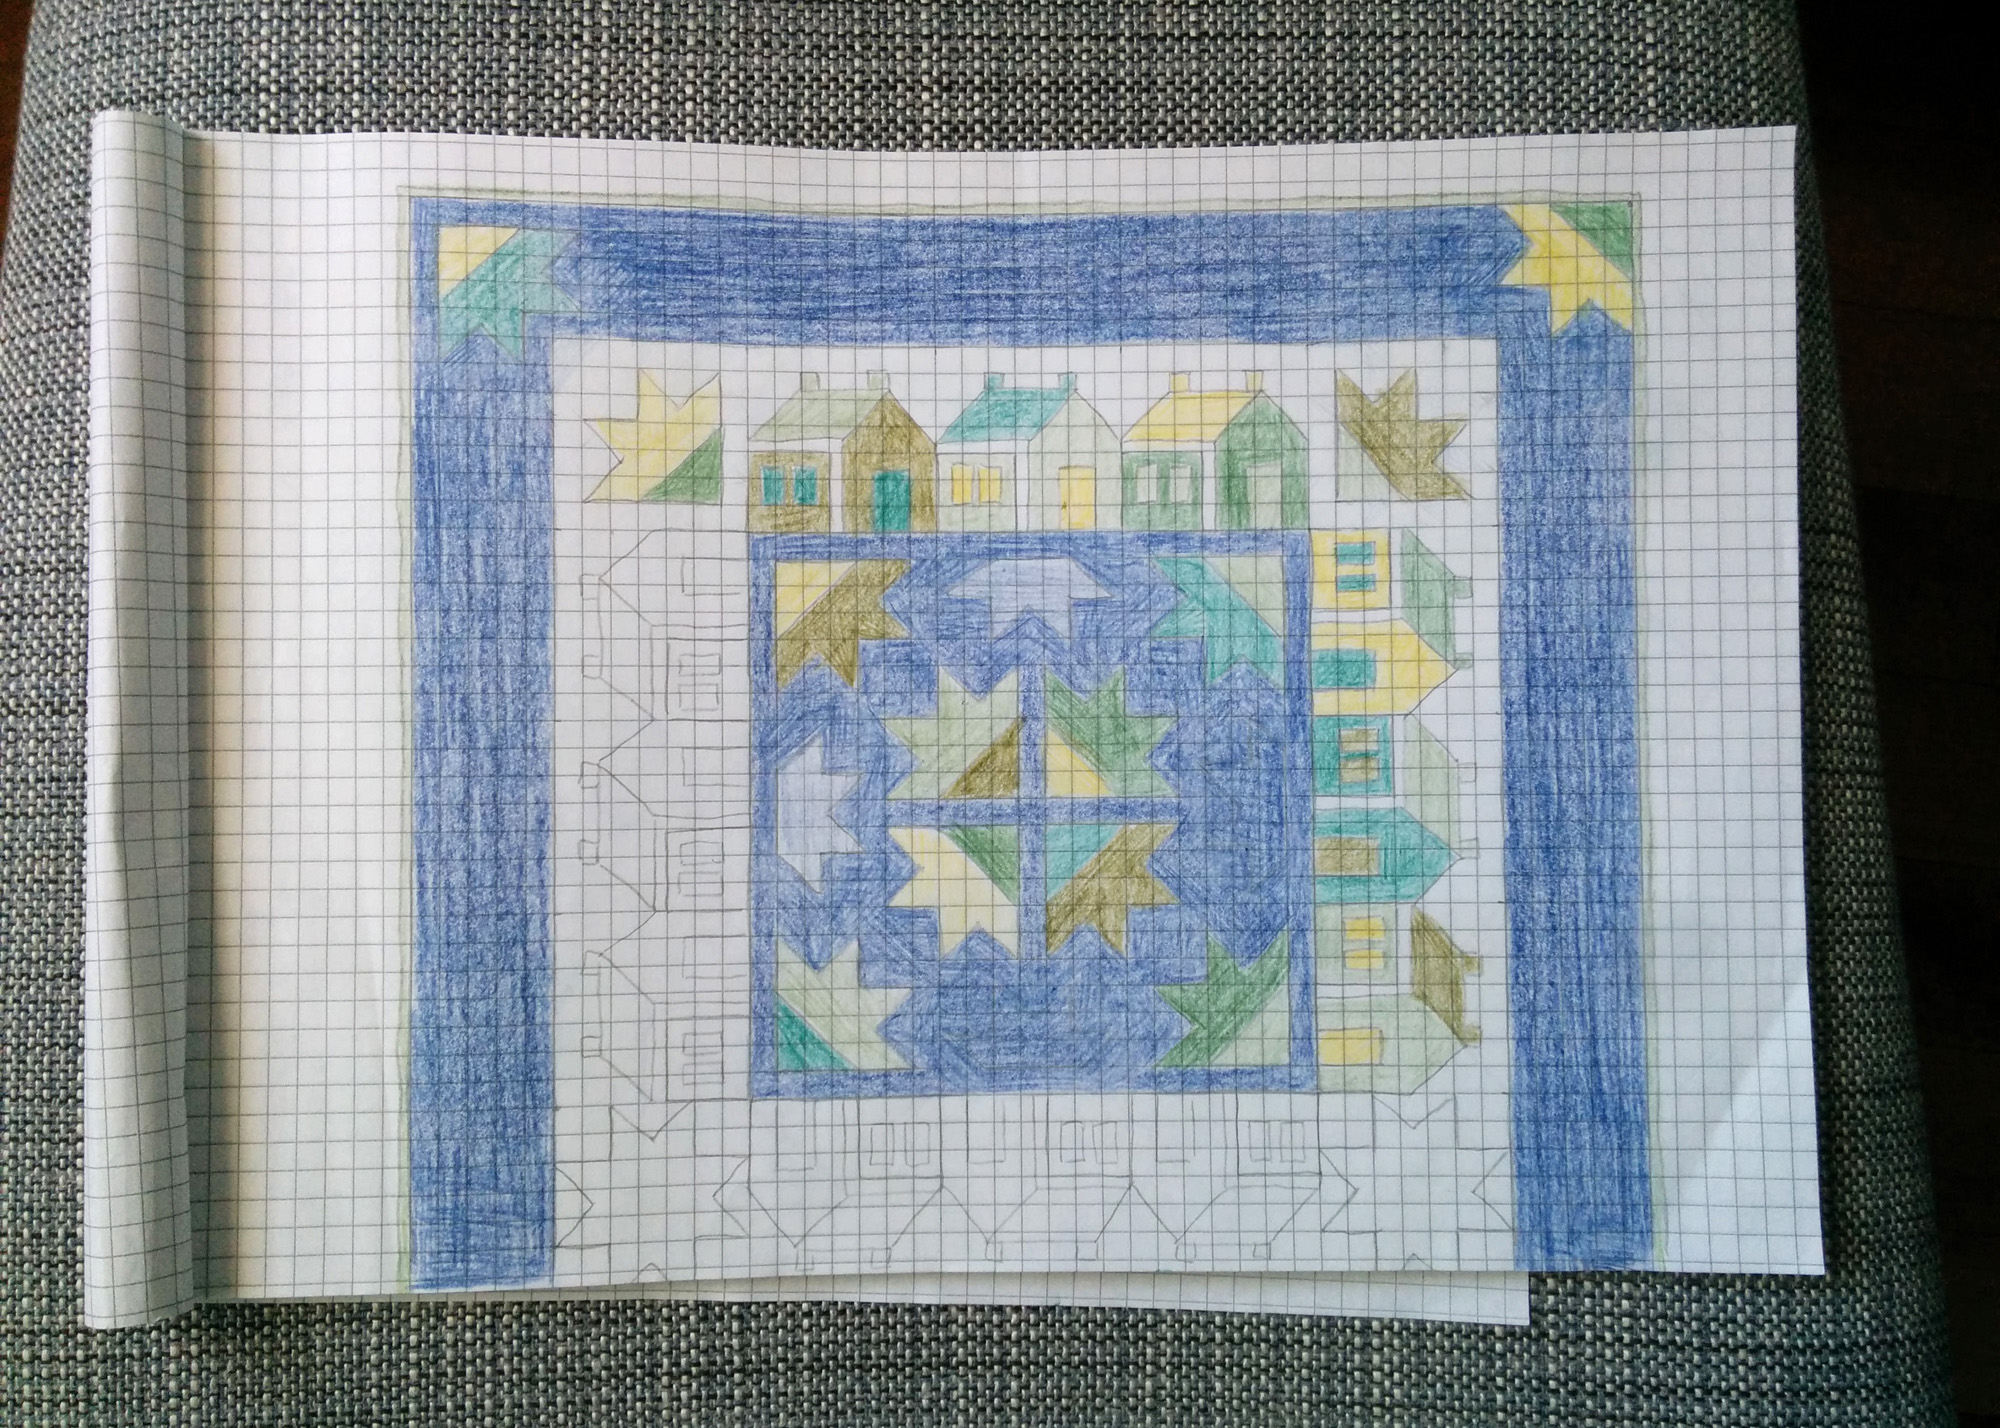
So I started with a sketch of the quilt and decided to fill the center and the corners of the quilt with arrow heads that I find look really nice with the houses. The colors that I used for the sketch are just due to the limited selection of pencil crayons that I have, not reflecting the color palette I really had in mind for the quilt…
Then I figured out all the pieces and their dimensions that I would need to “build” my little village.
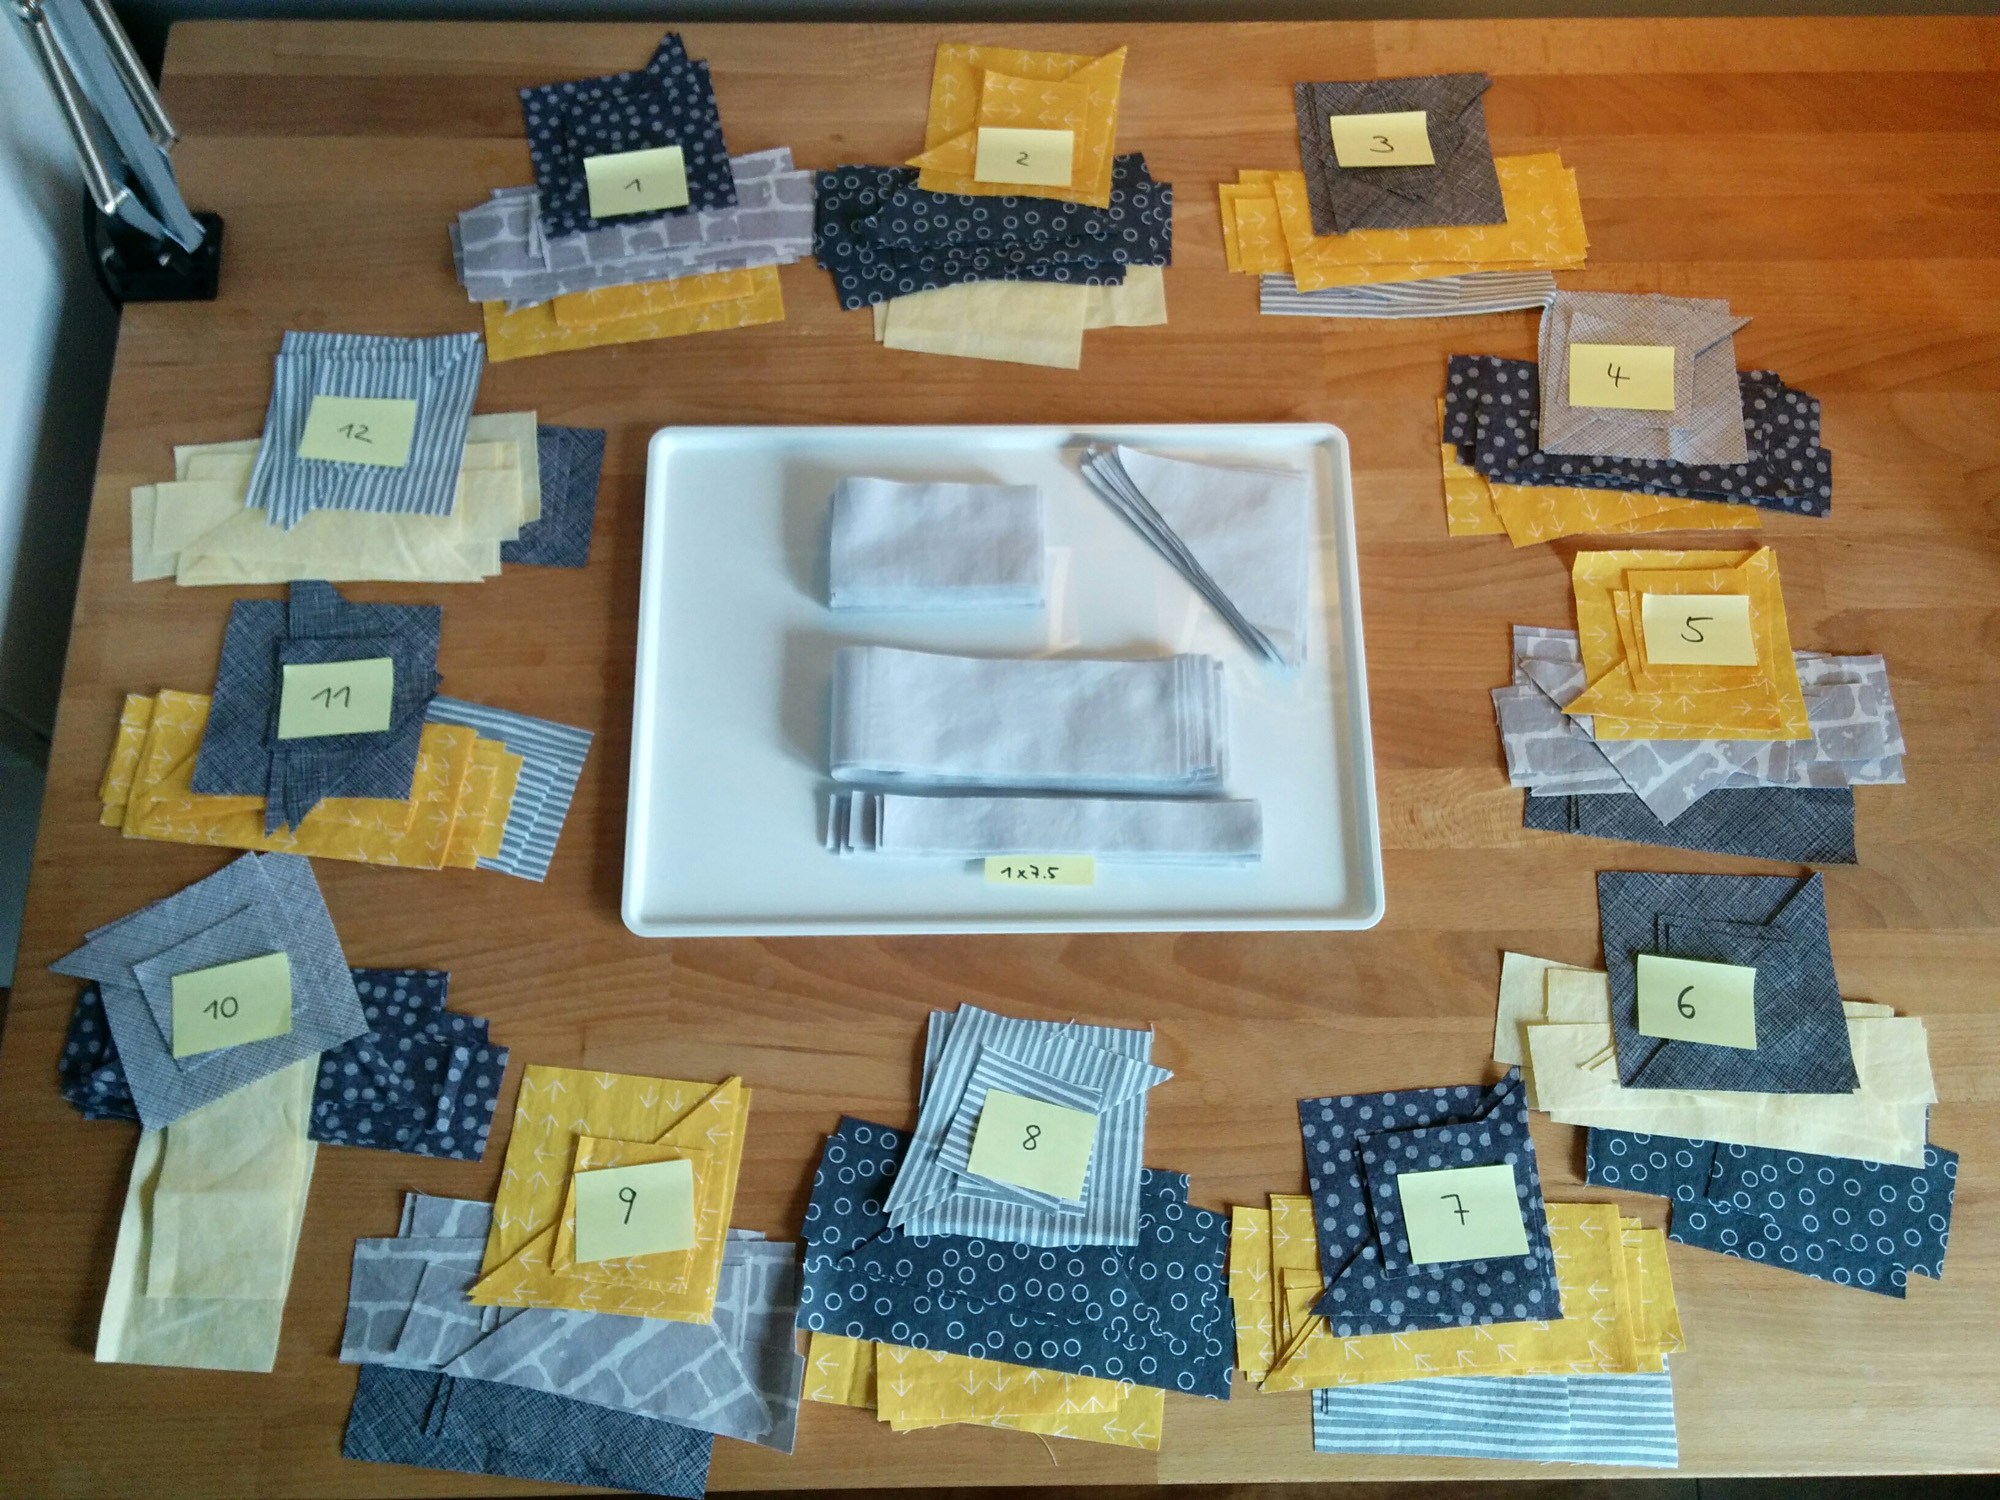
When it came to choosing fabrics I actually found one that featured a grey bricks print (what better coincidence could you imagine?!) and decided to also use some yellow for highlights. After cutting all the pieces I made a numbered stack for each house which included all the little squares and triangles for the walls, the door and windows and the roof.
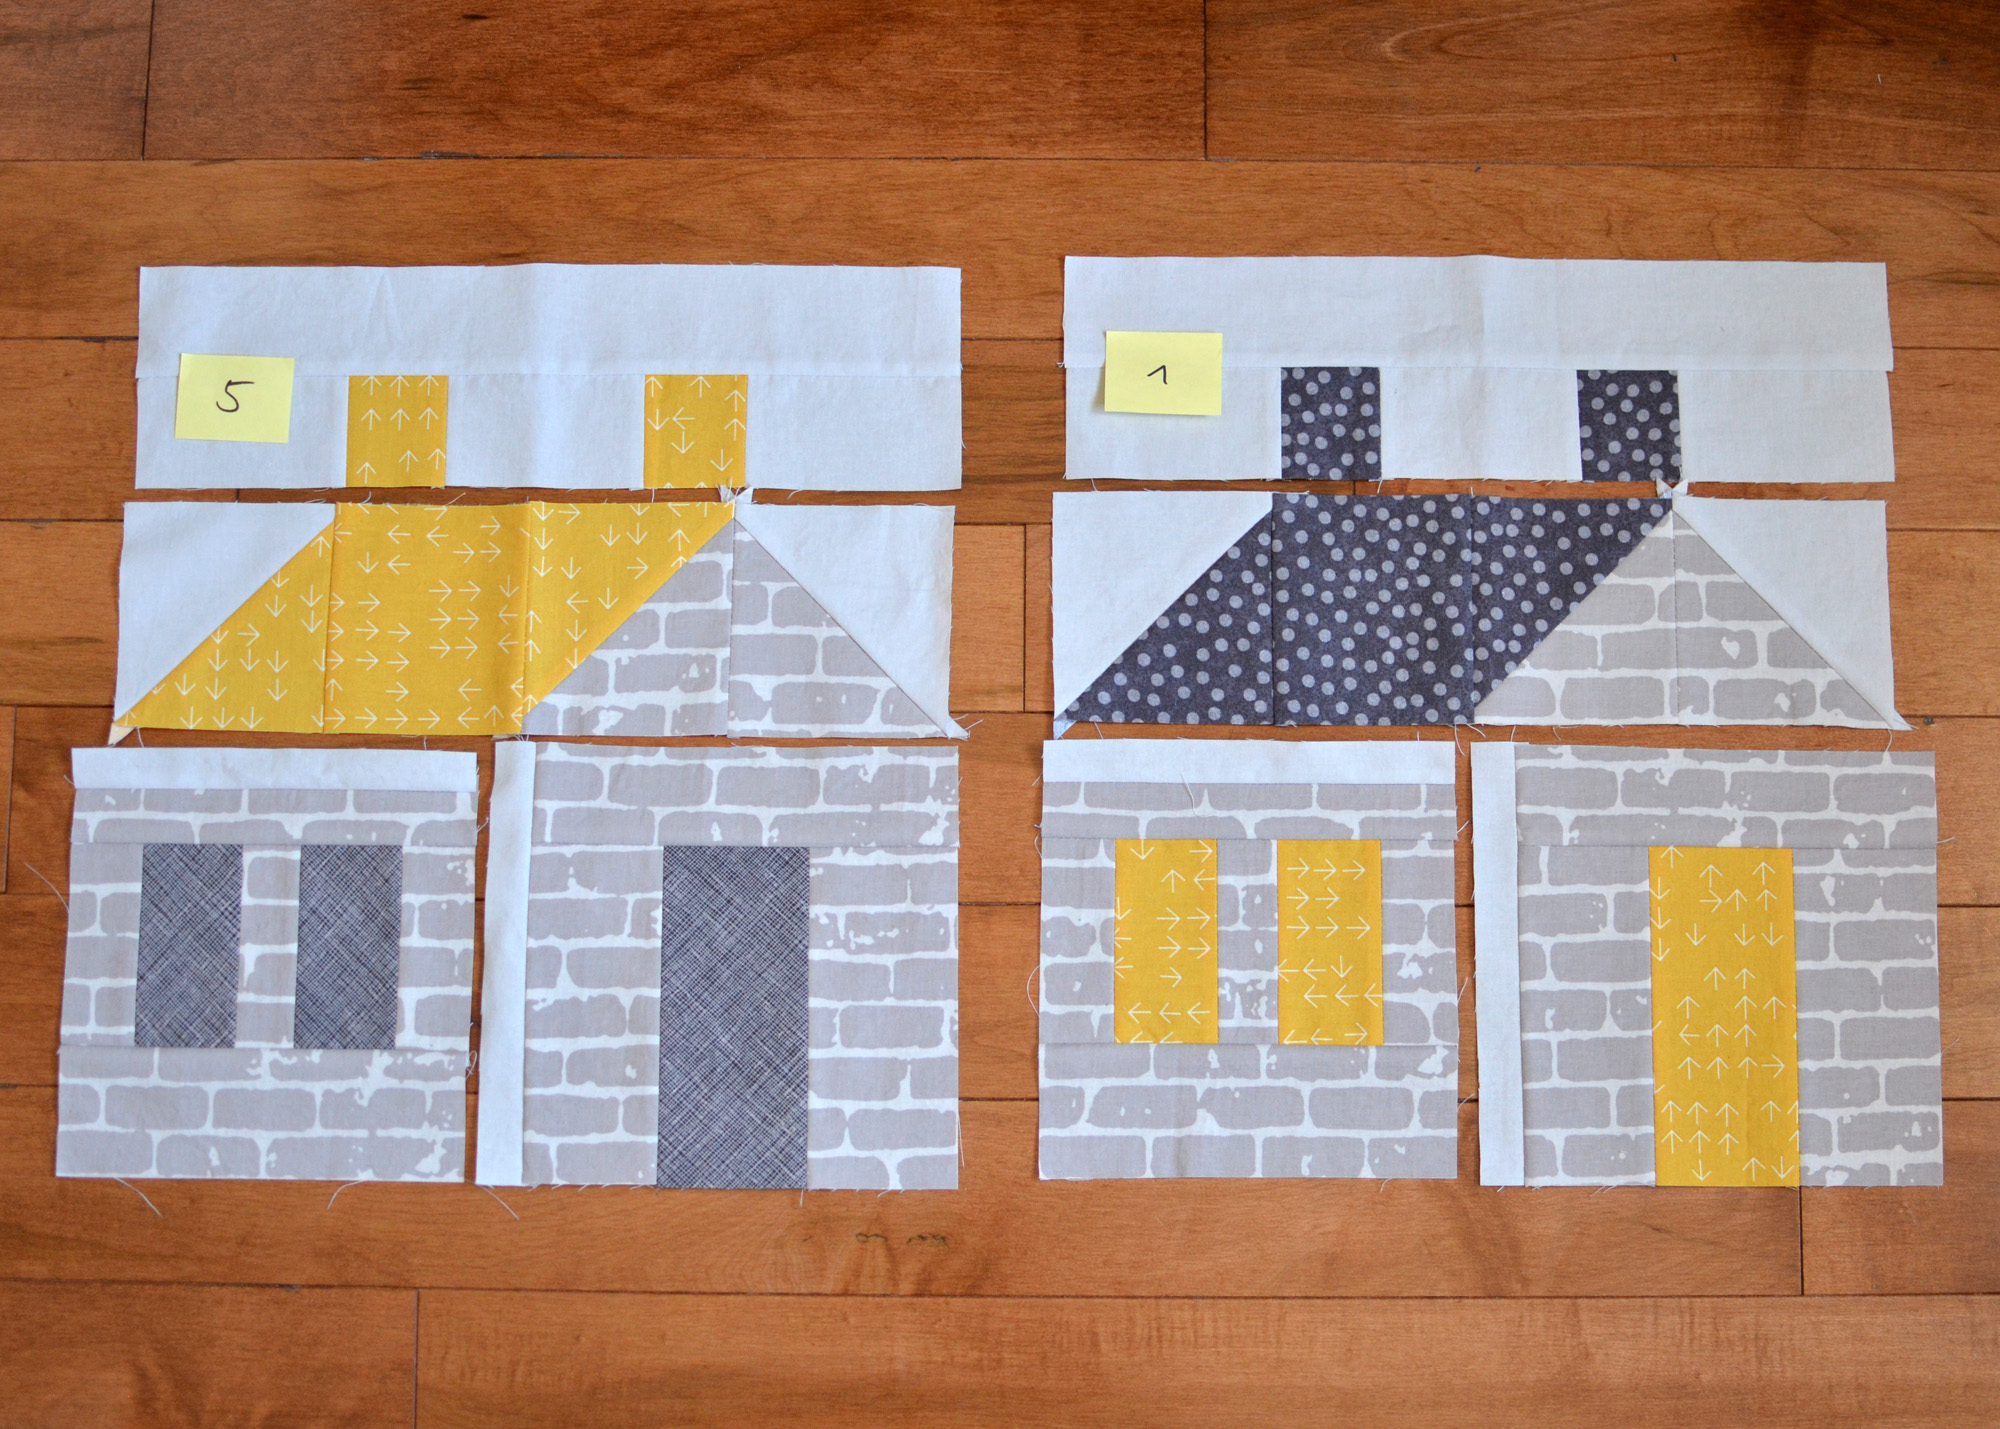
I started by sewing subsections of all the houses, then ironed them and put them together to make complete houses.
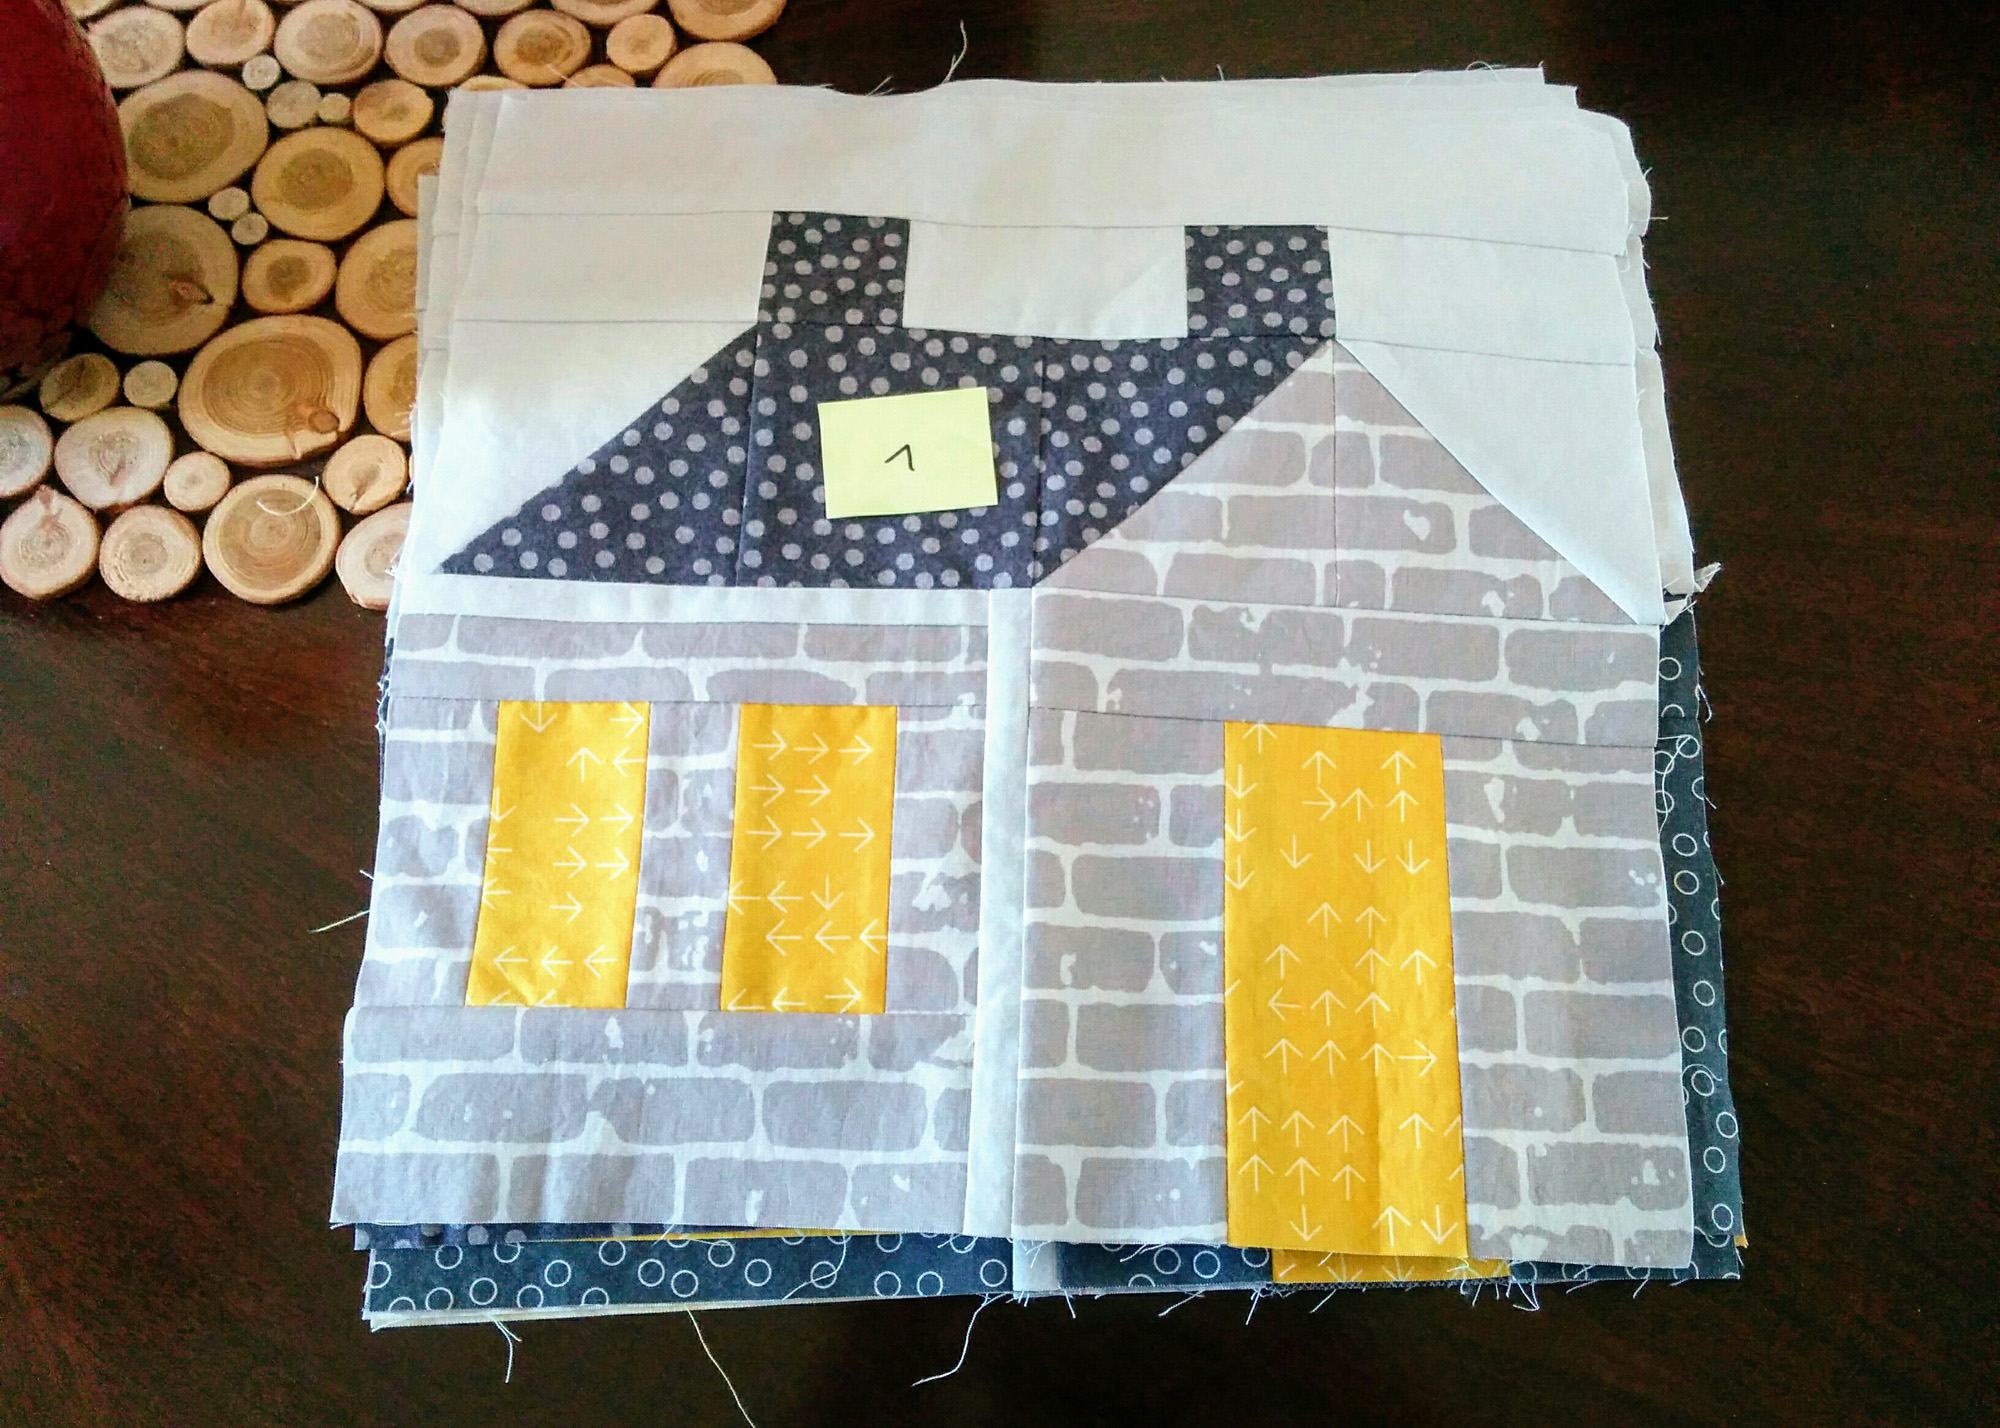
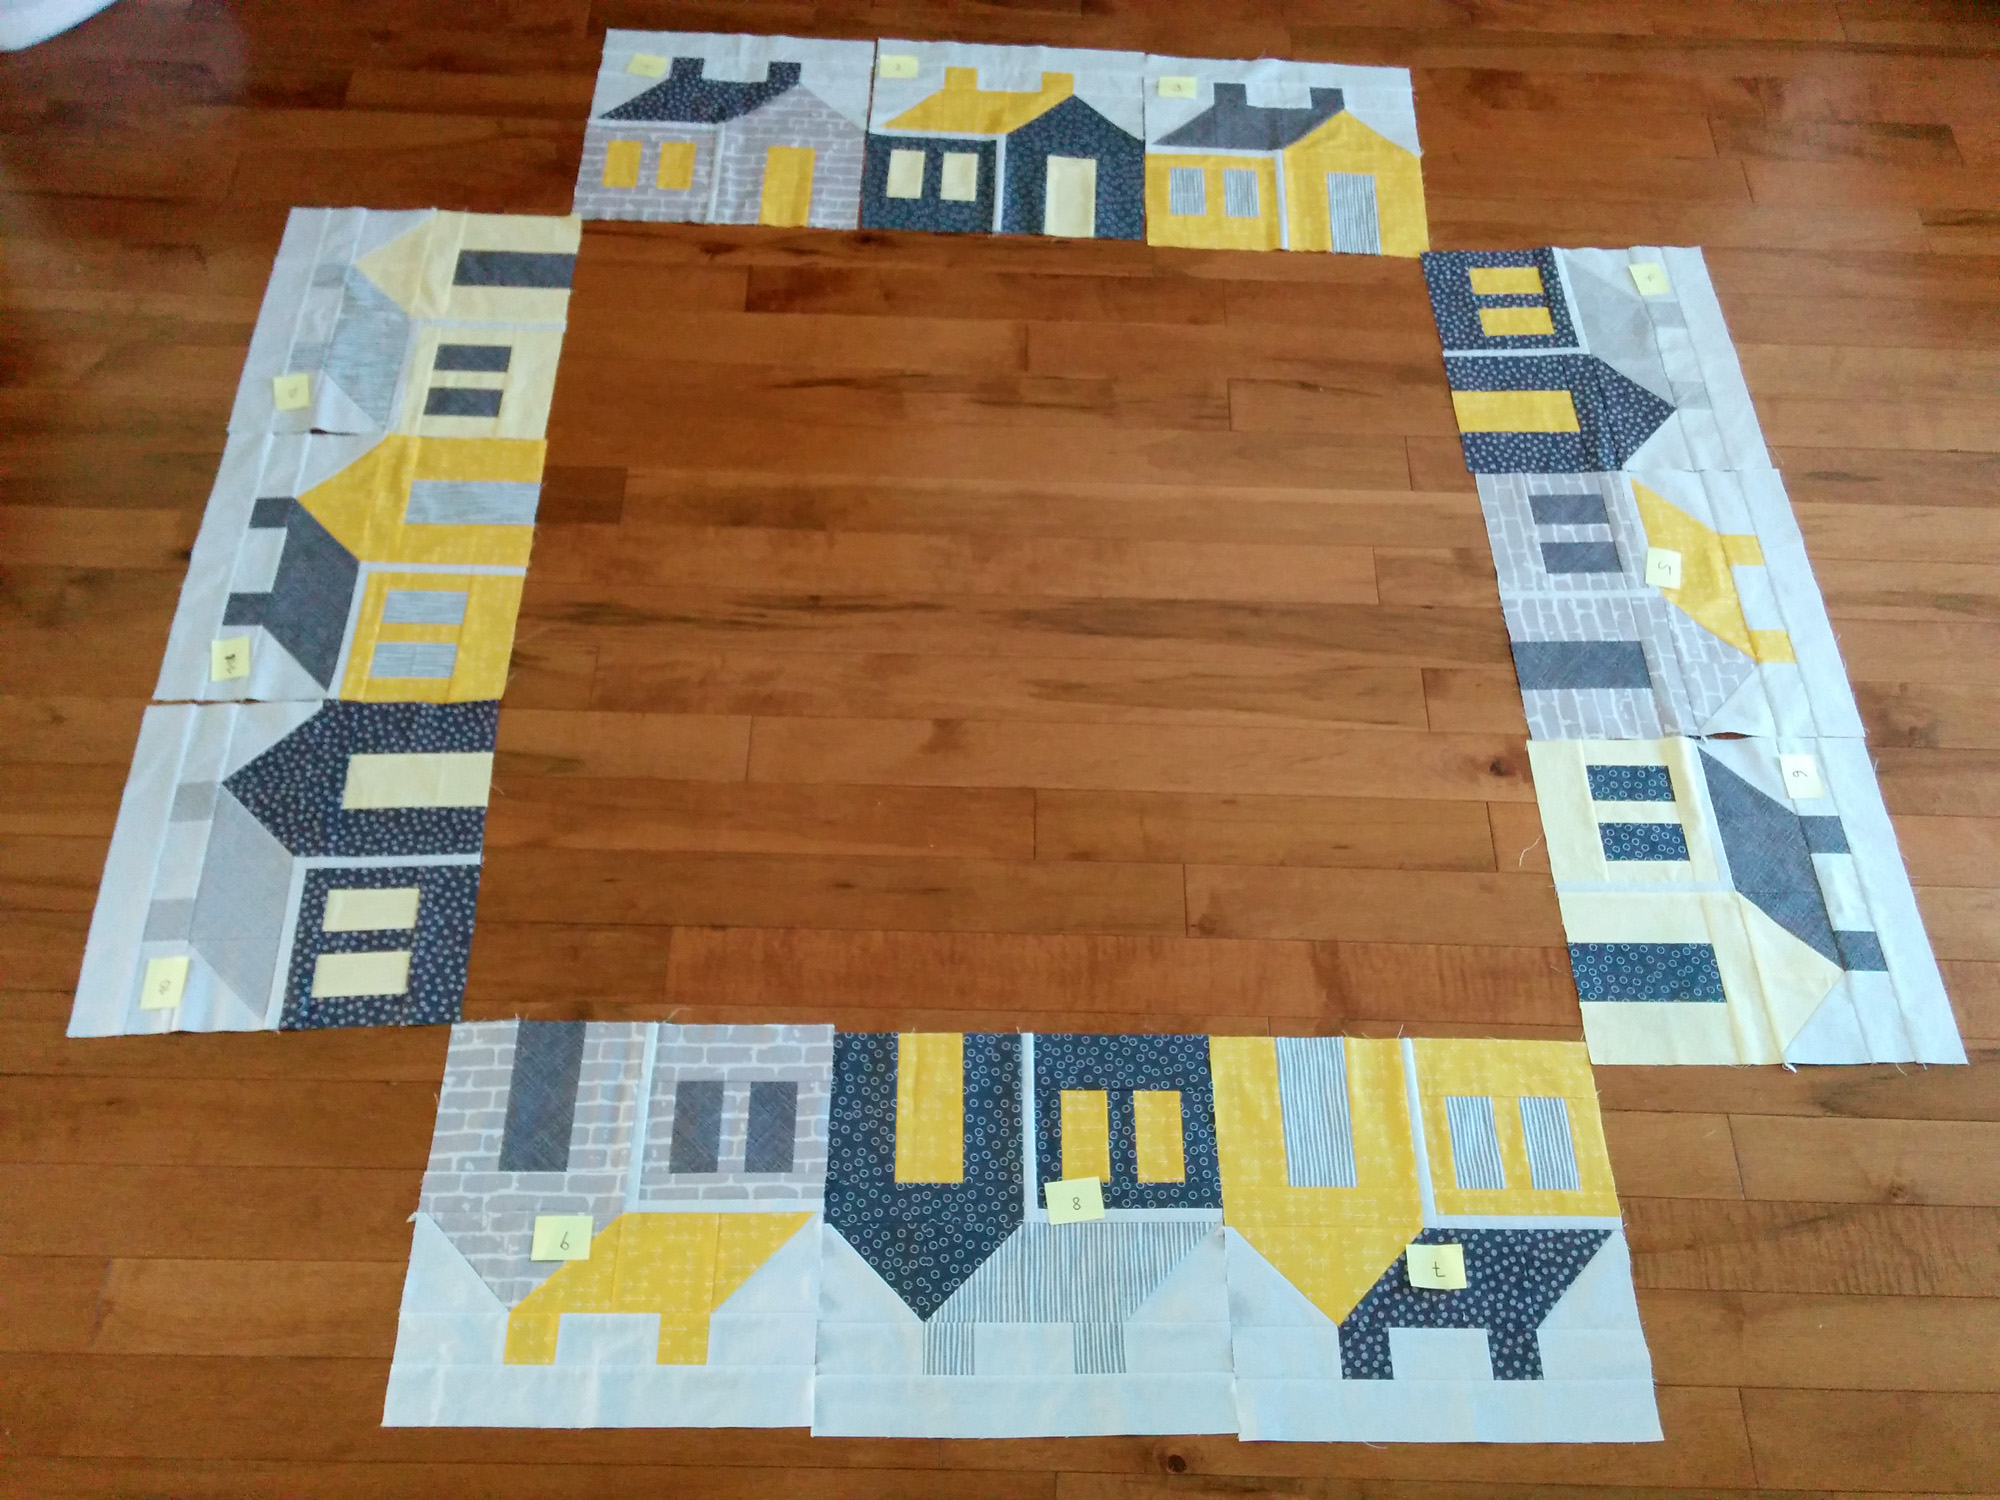
Here’s the whole pile of all twelve of them.
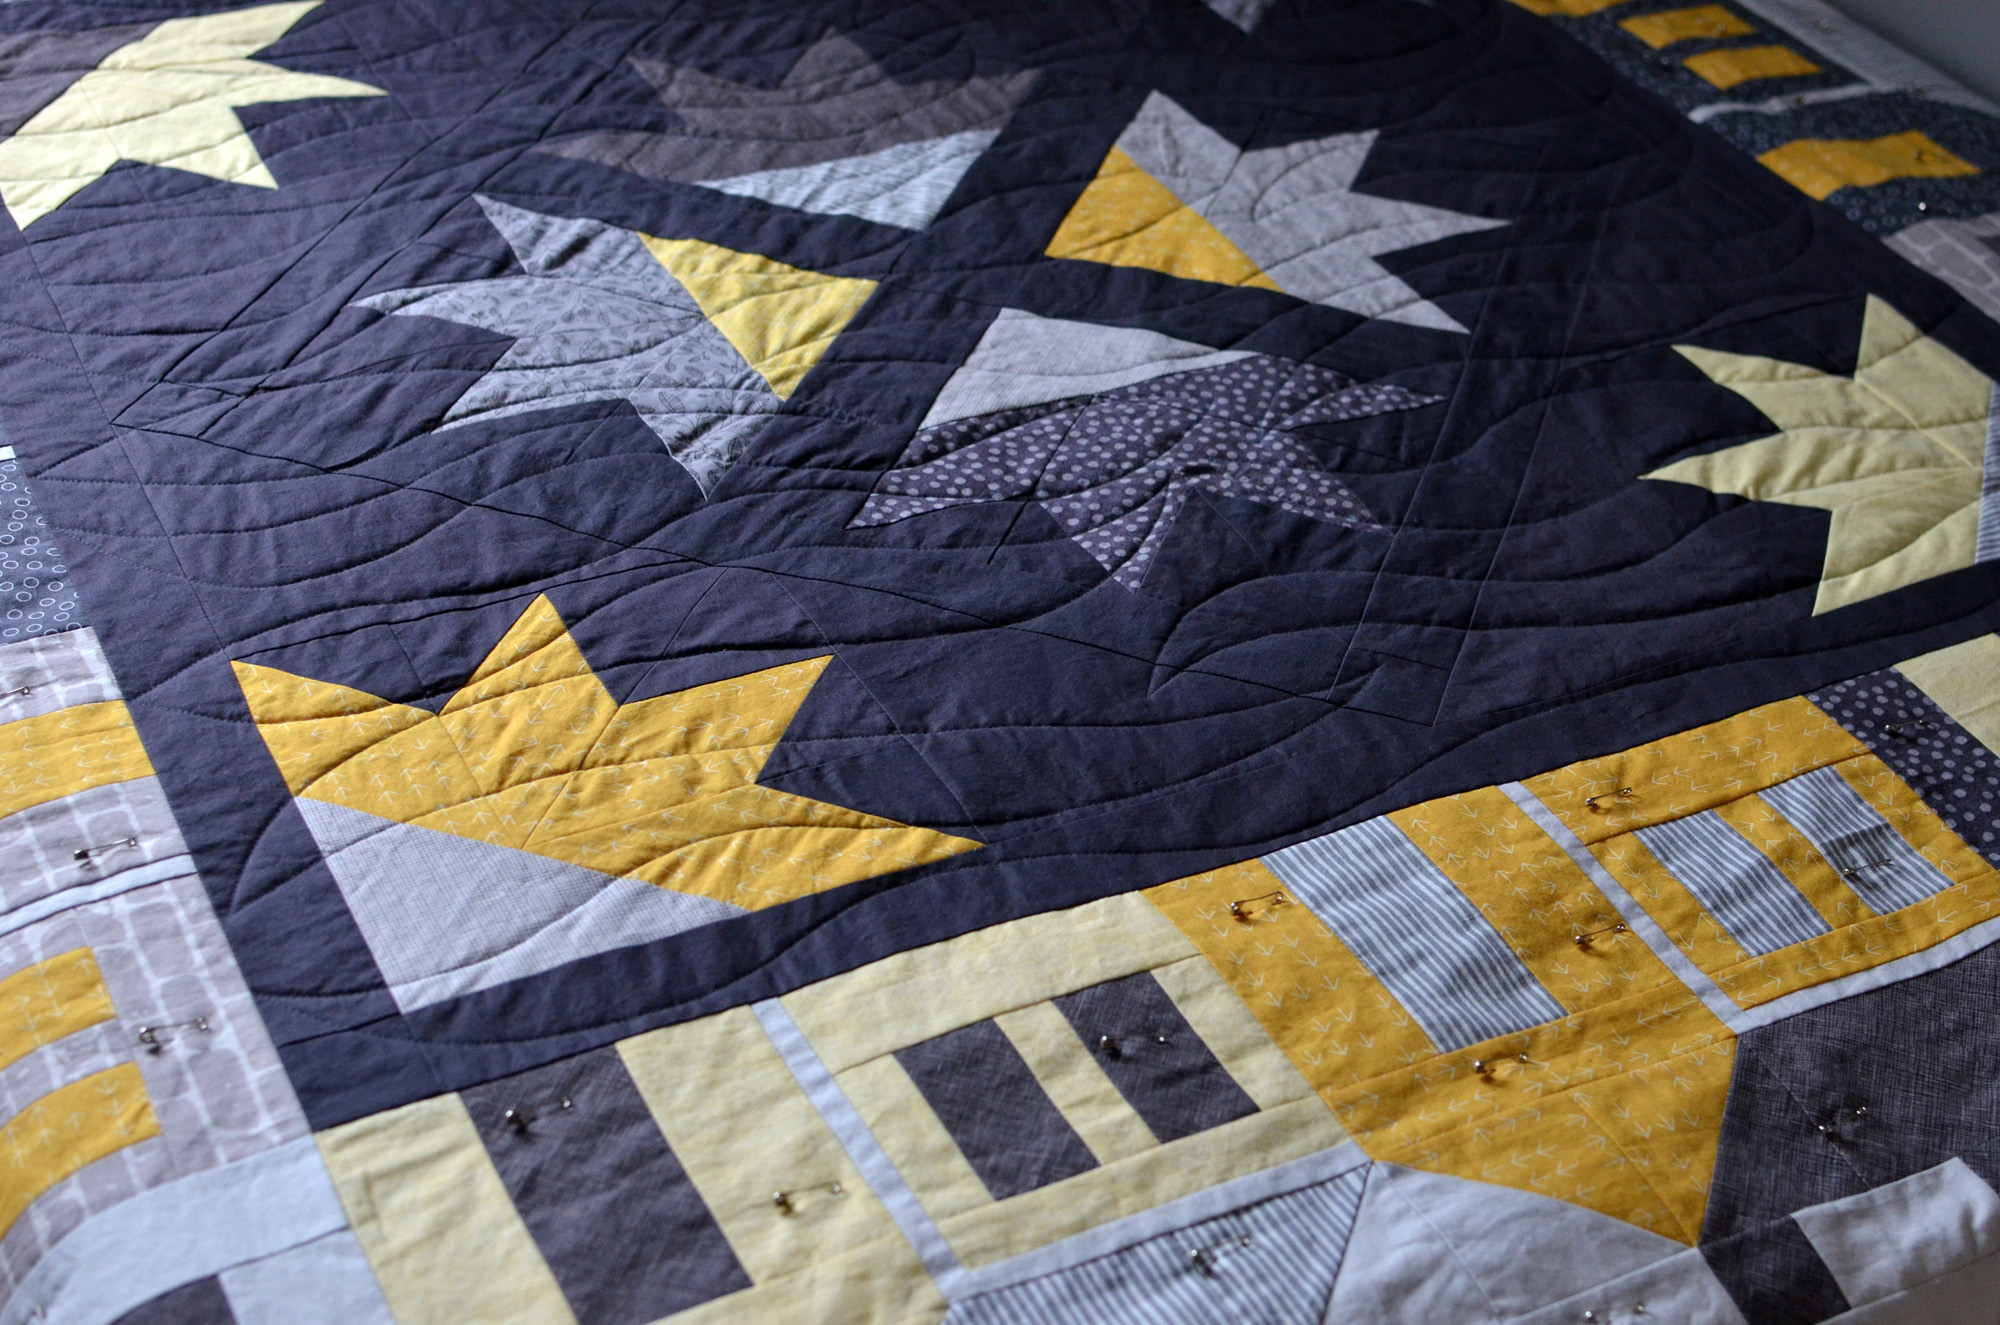
As a final design check I laid all the blocks out on the floor and after one or two changes, I was happy with the position of all the houses: all neighboring houses different, not too much yellow in one area of the quilt etc…
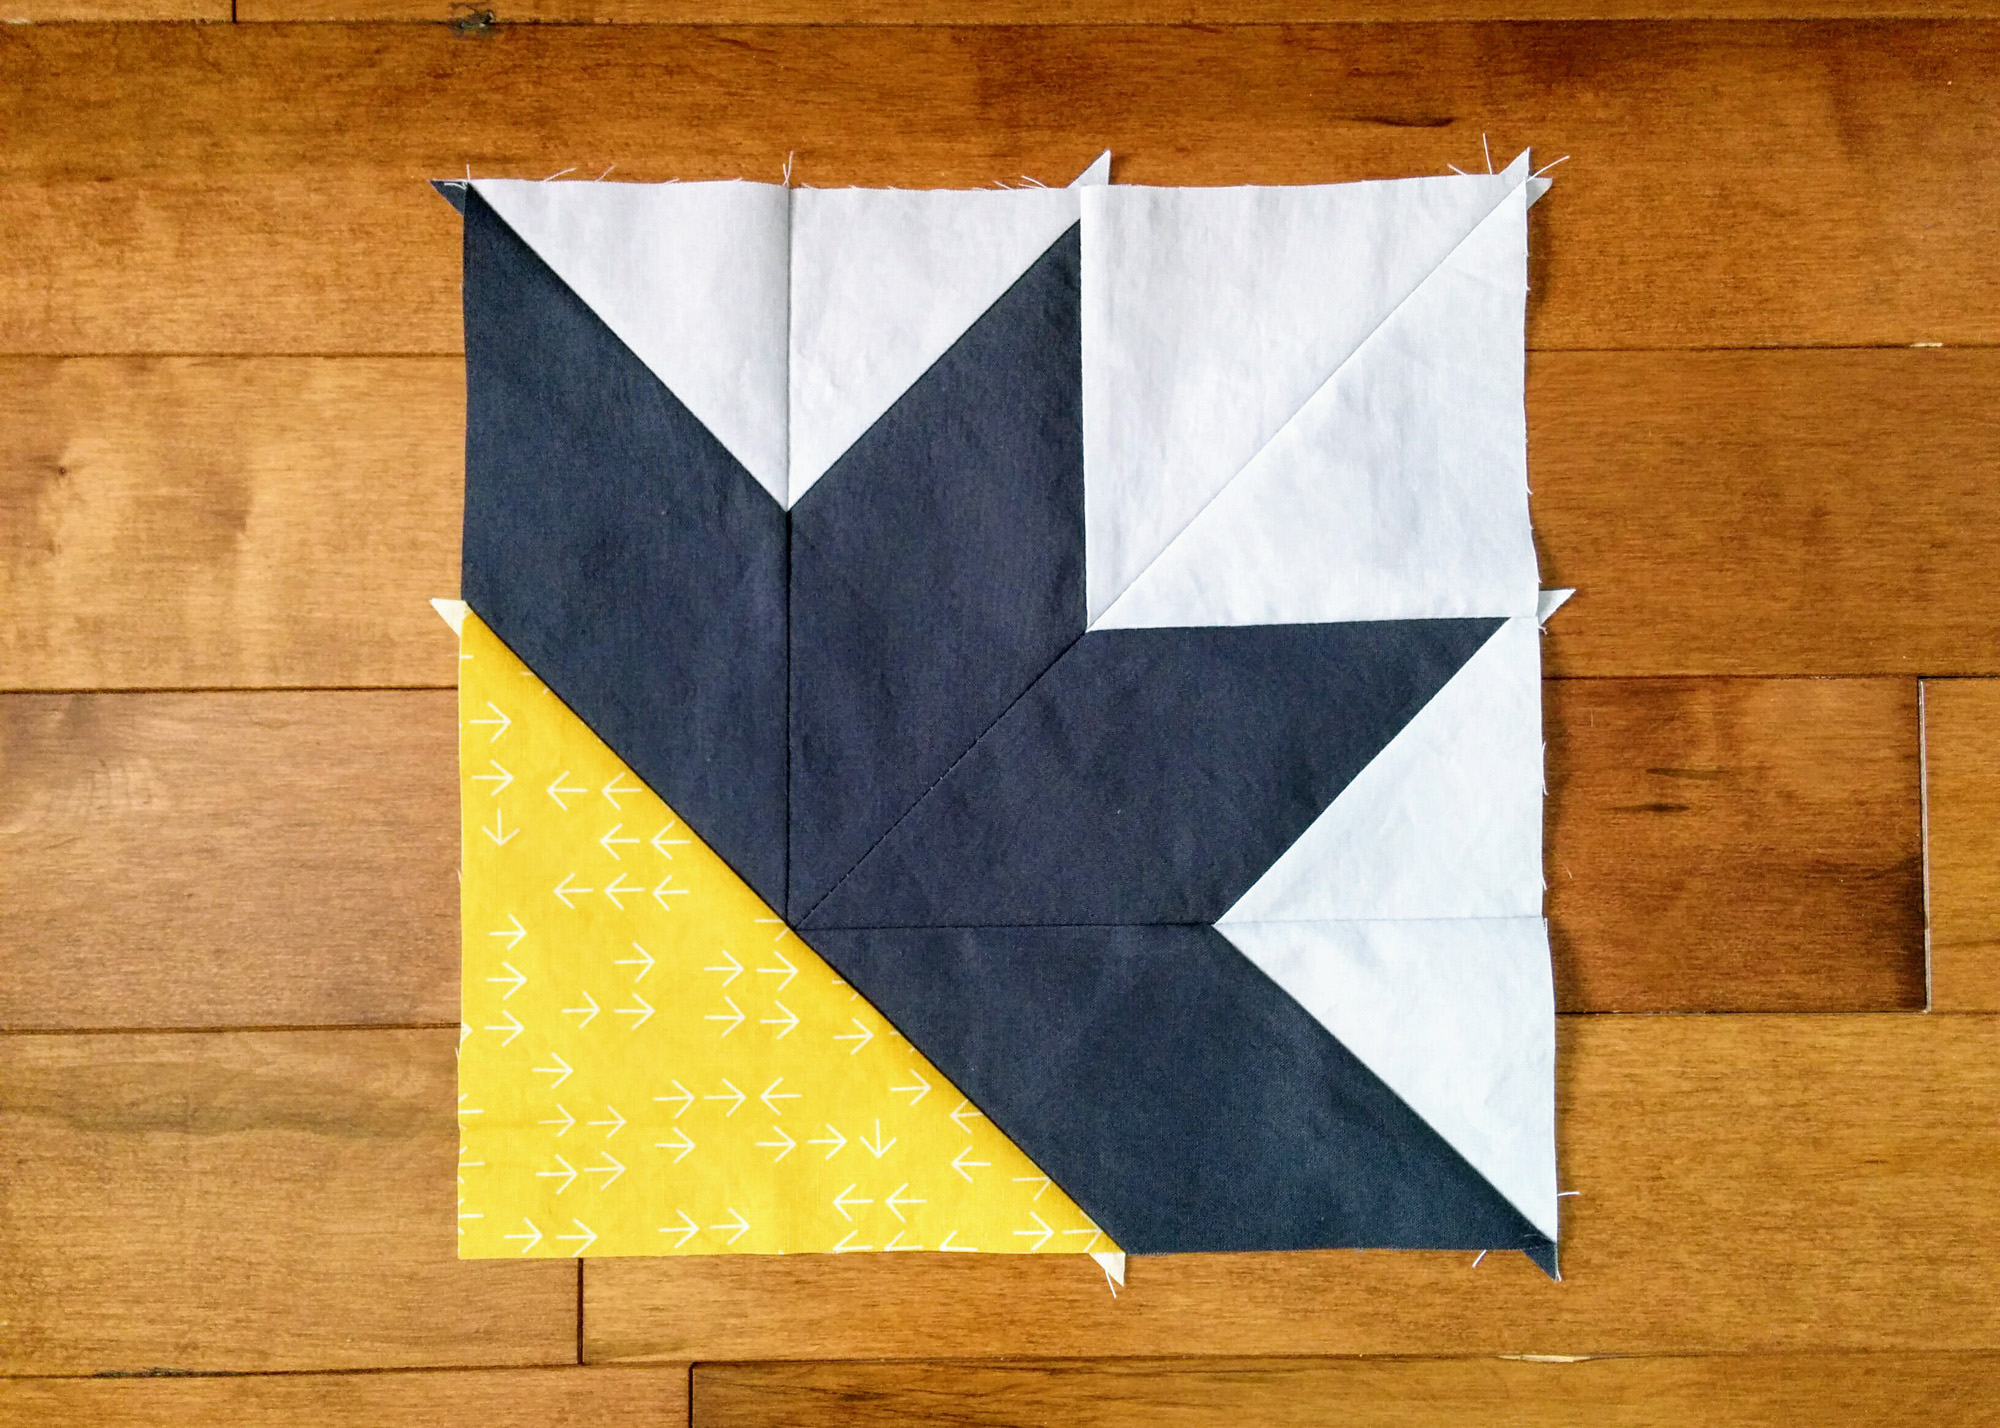
Next, I cut and assembled the pieces for all the arrow heads…
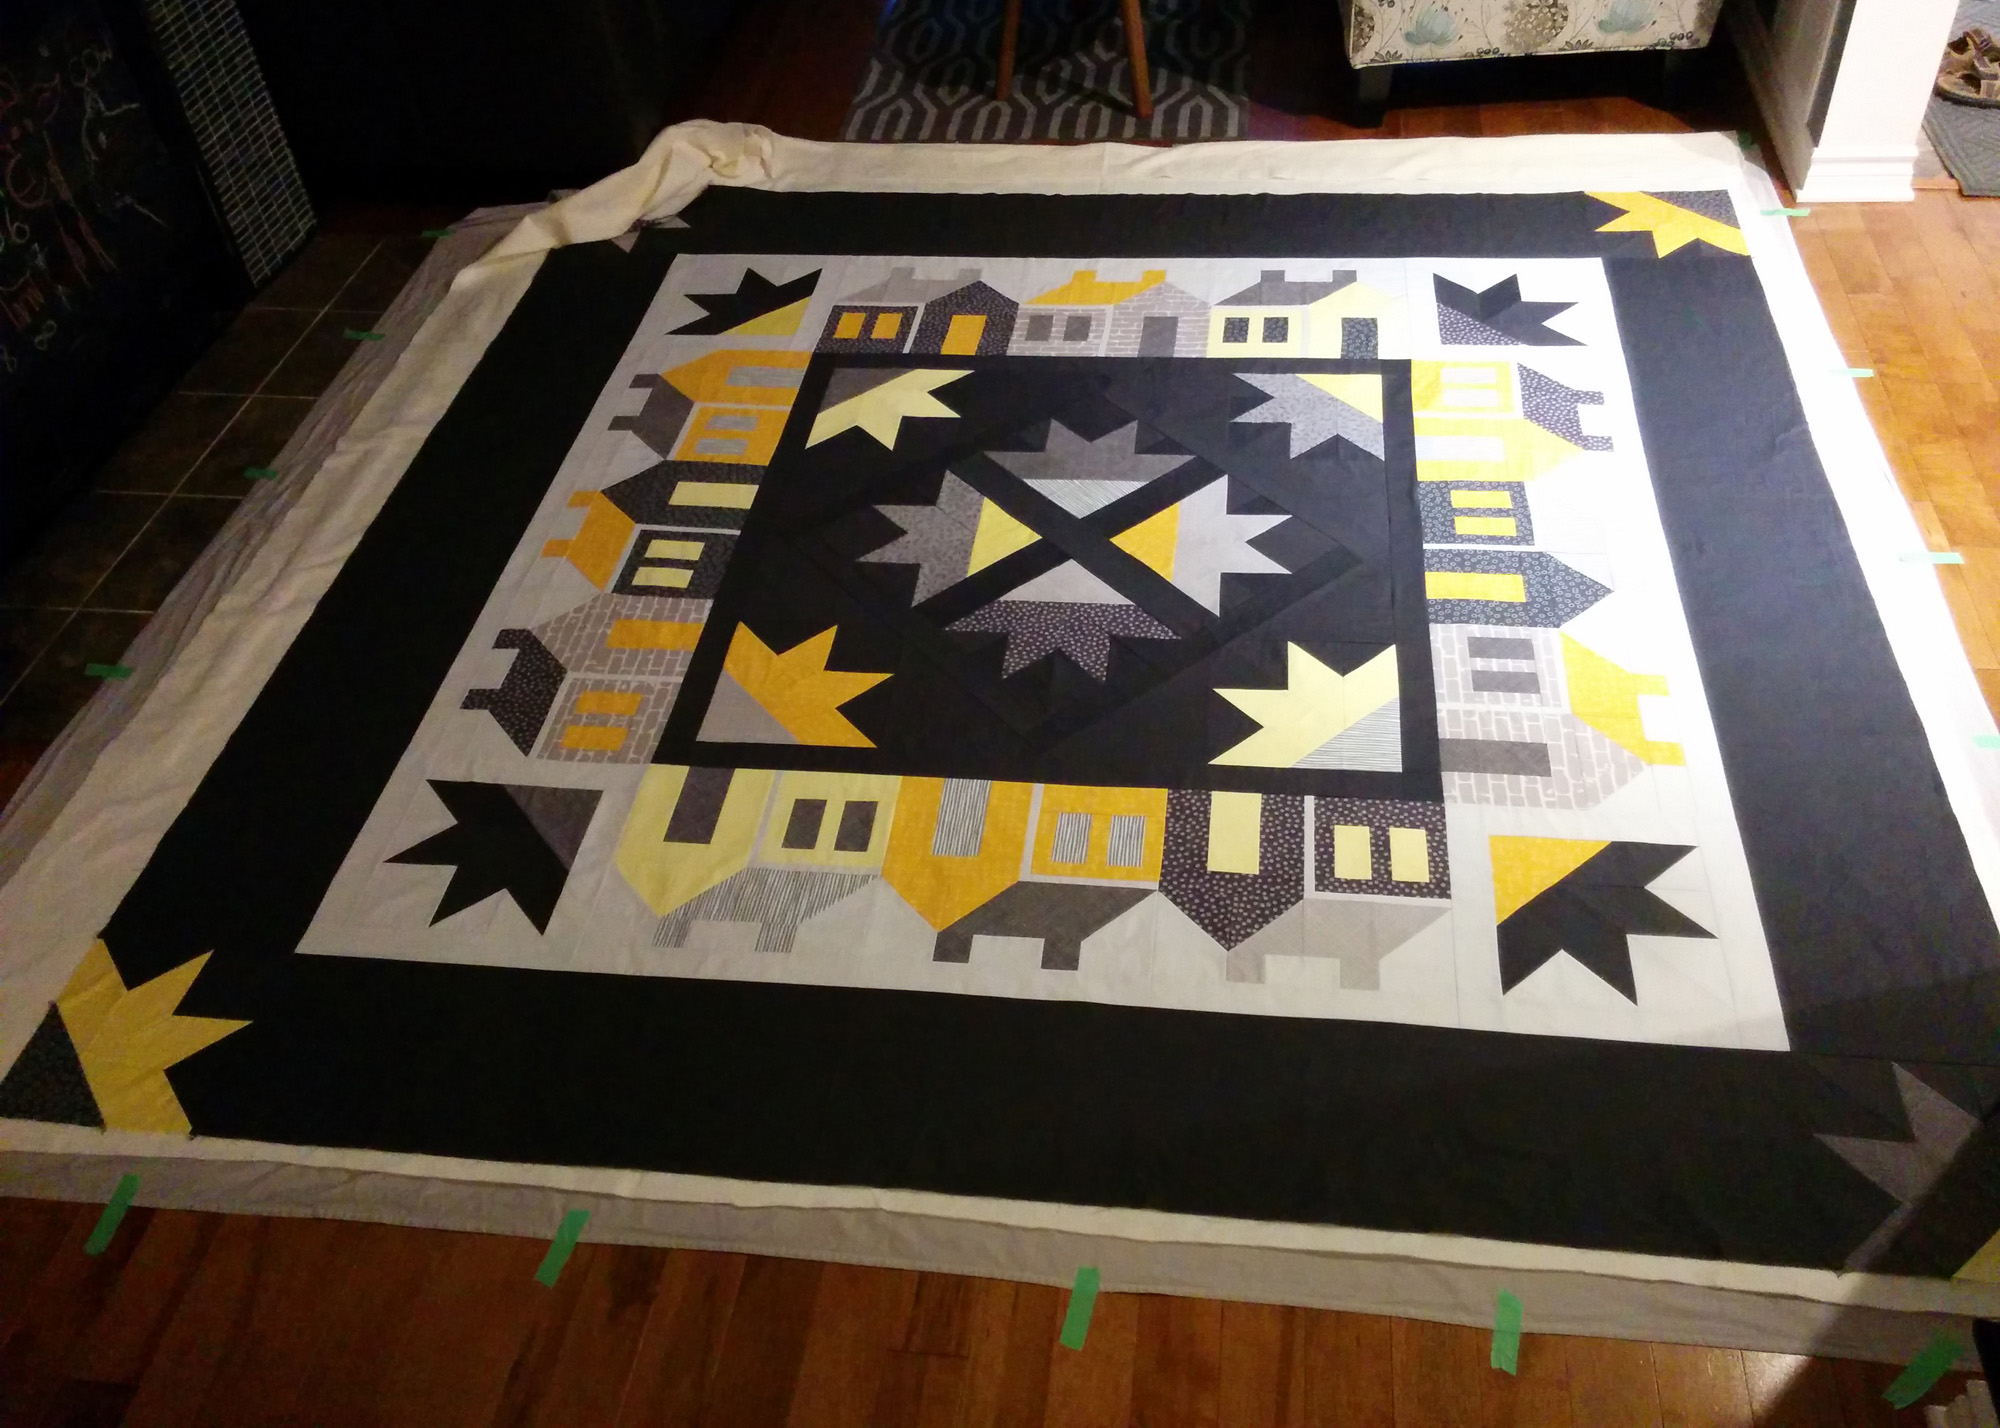
… added the last few charcoal pieces for the background, and eventually joined everything to form the quilt top. Once ironed it looked like this:
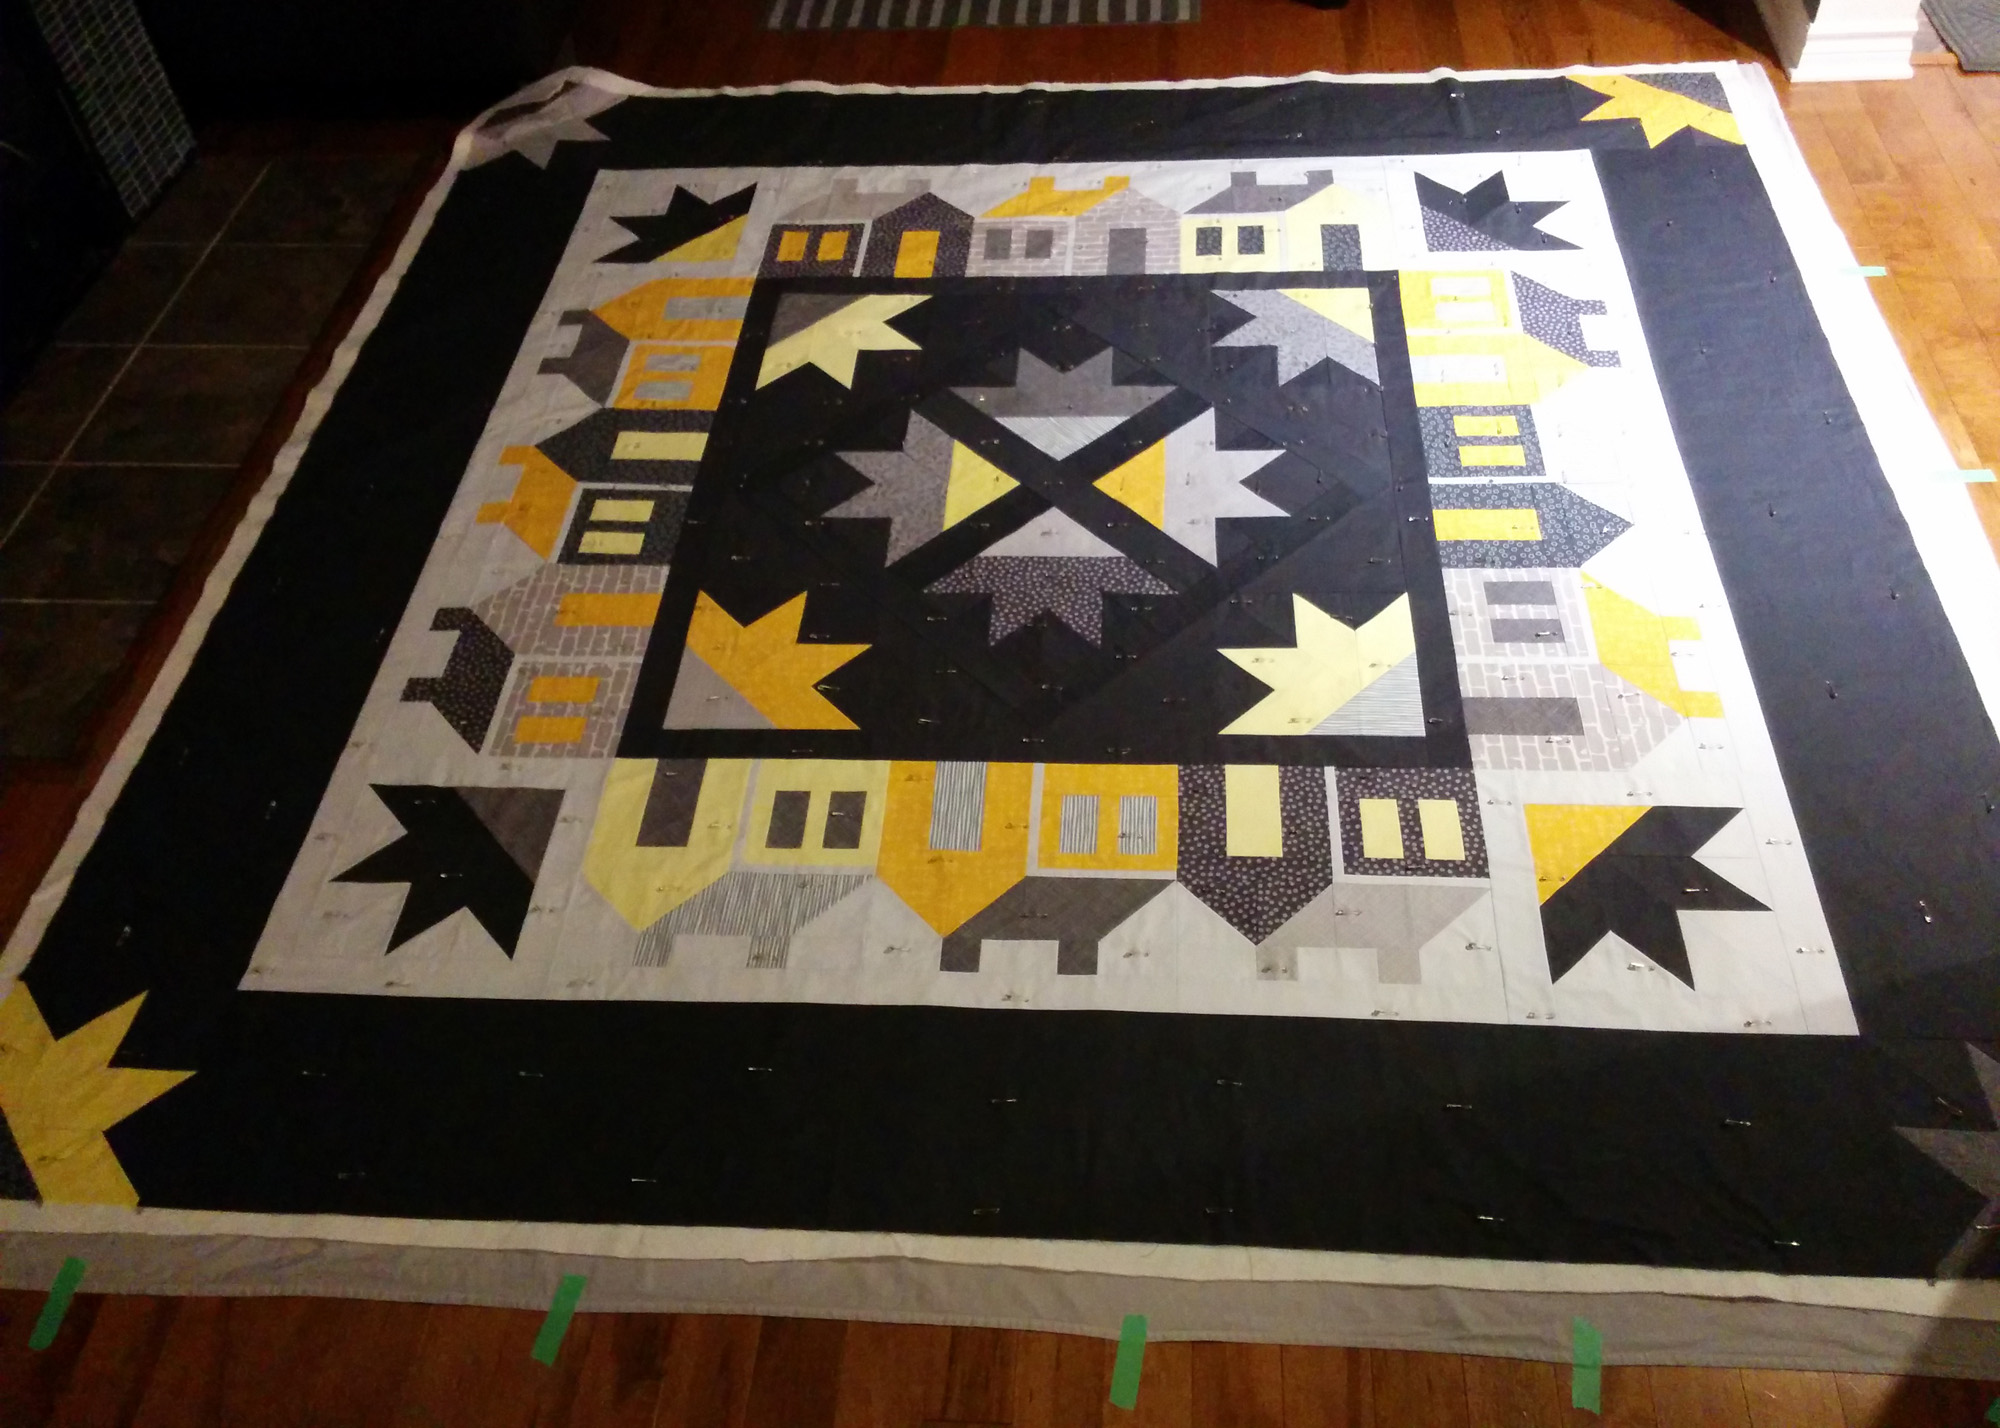
To prepare the quilt sandwich, I used the same spot on our living room floor as I did when basting my parents’ quilt.
Two hours, 300 safety pins and a glass of wine later…
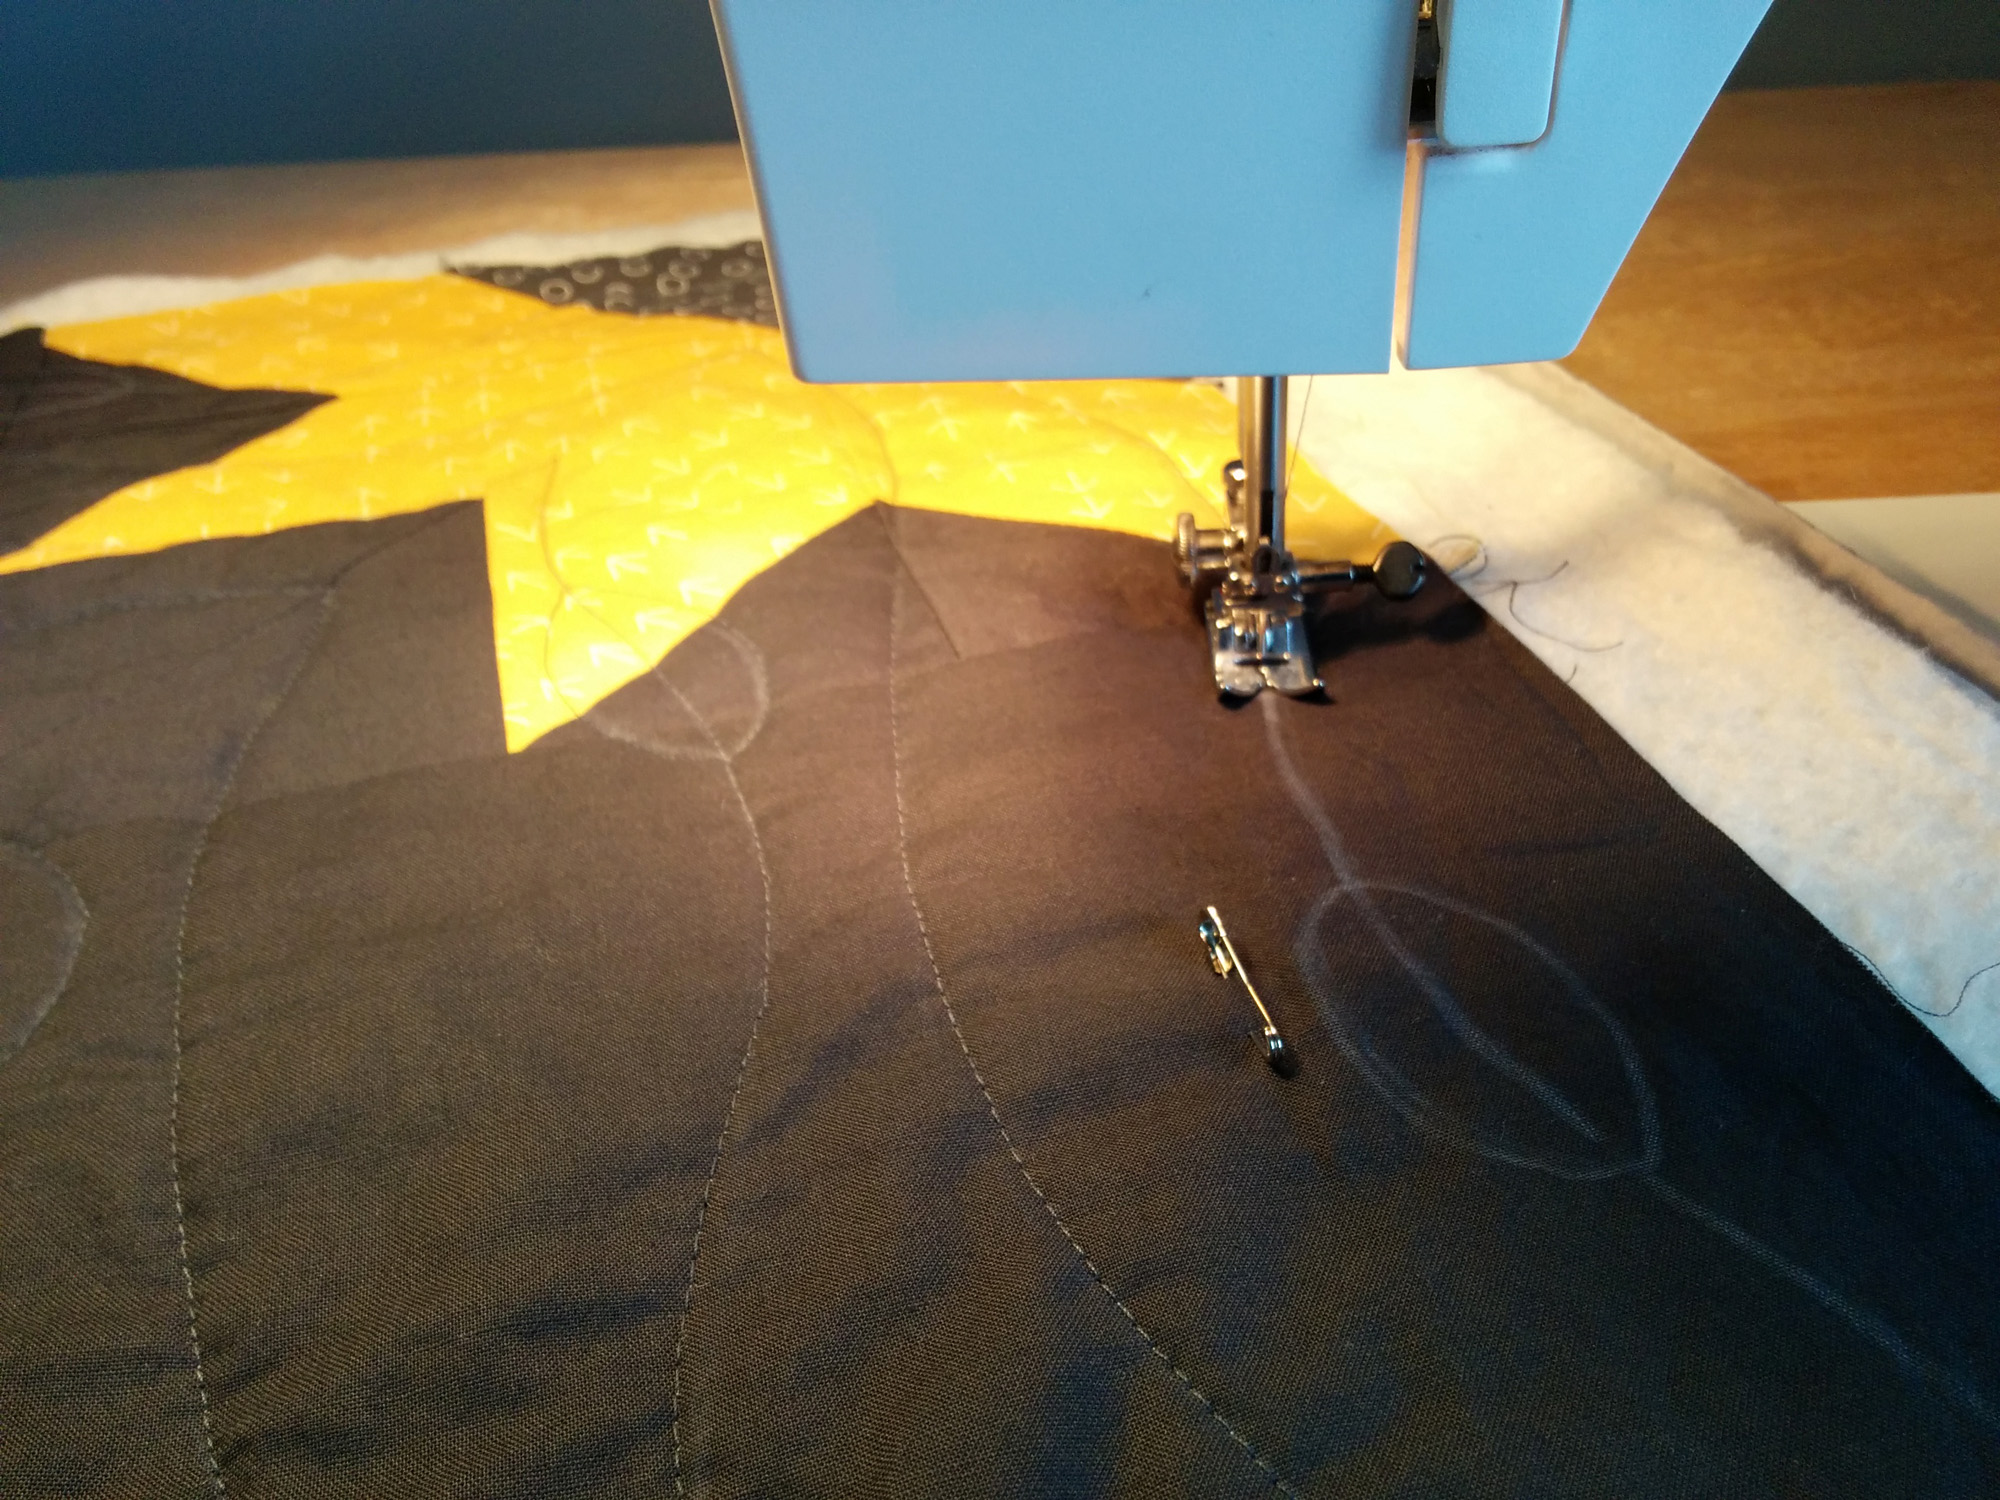
In order to facilitate the quilting of that huge thing my favorite husband made me a quilting table! It’s a wooden board that contoures perfectly around my sewing machine and for an even larger surface I can “attach” our ironing board by slipping its tip between this board and the table underneath. So great!
I started quilting the most painful part first, the dark square with the arrow heads in the middle. Again, as with my parents’ quilt, I chose to stitch wavy lines, but thanks to the raised surface of the quilting board, it was a lot easier to maneuver the quilt and especially to keep its weight off the sewing needle. So (almost) no cursing this time! 😉
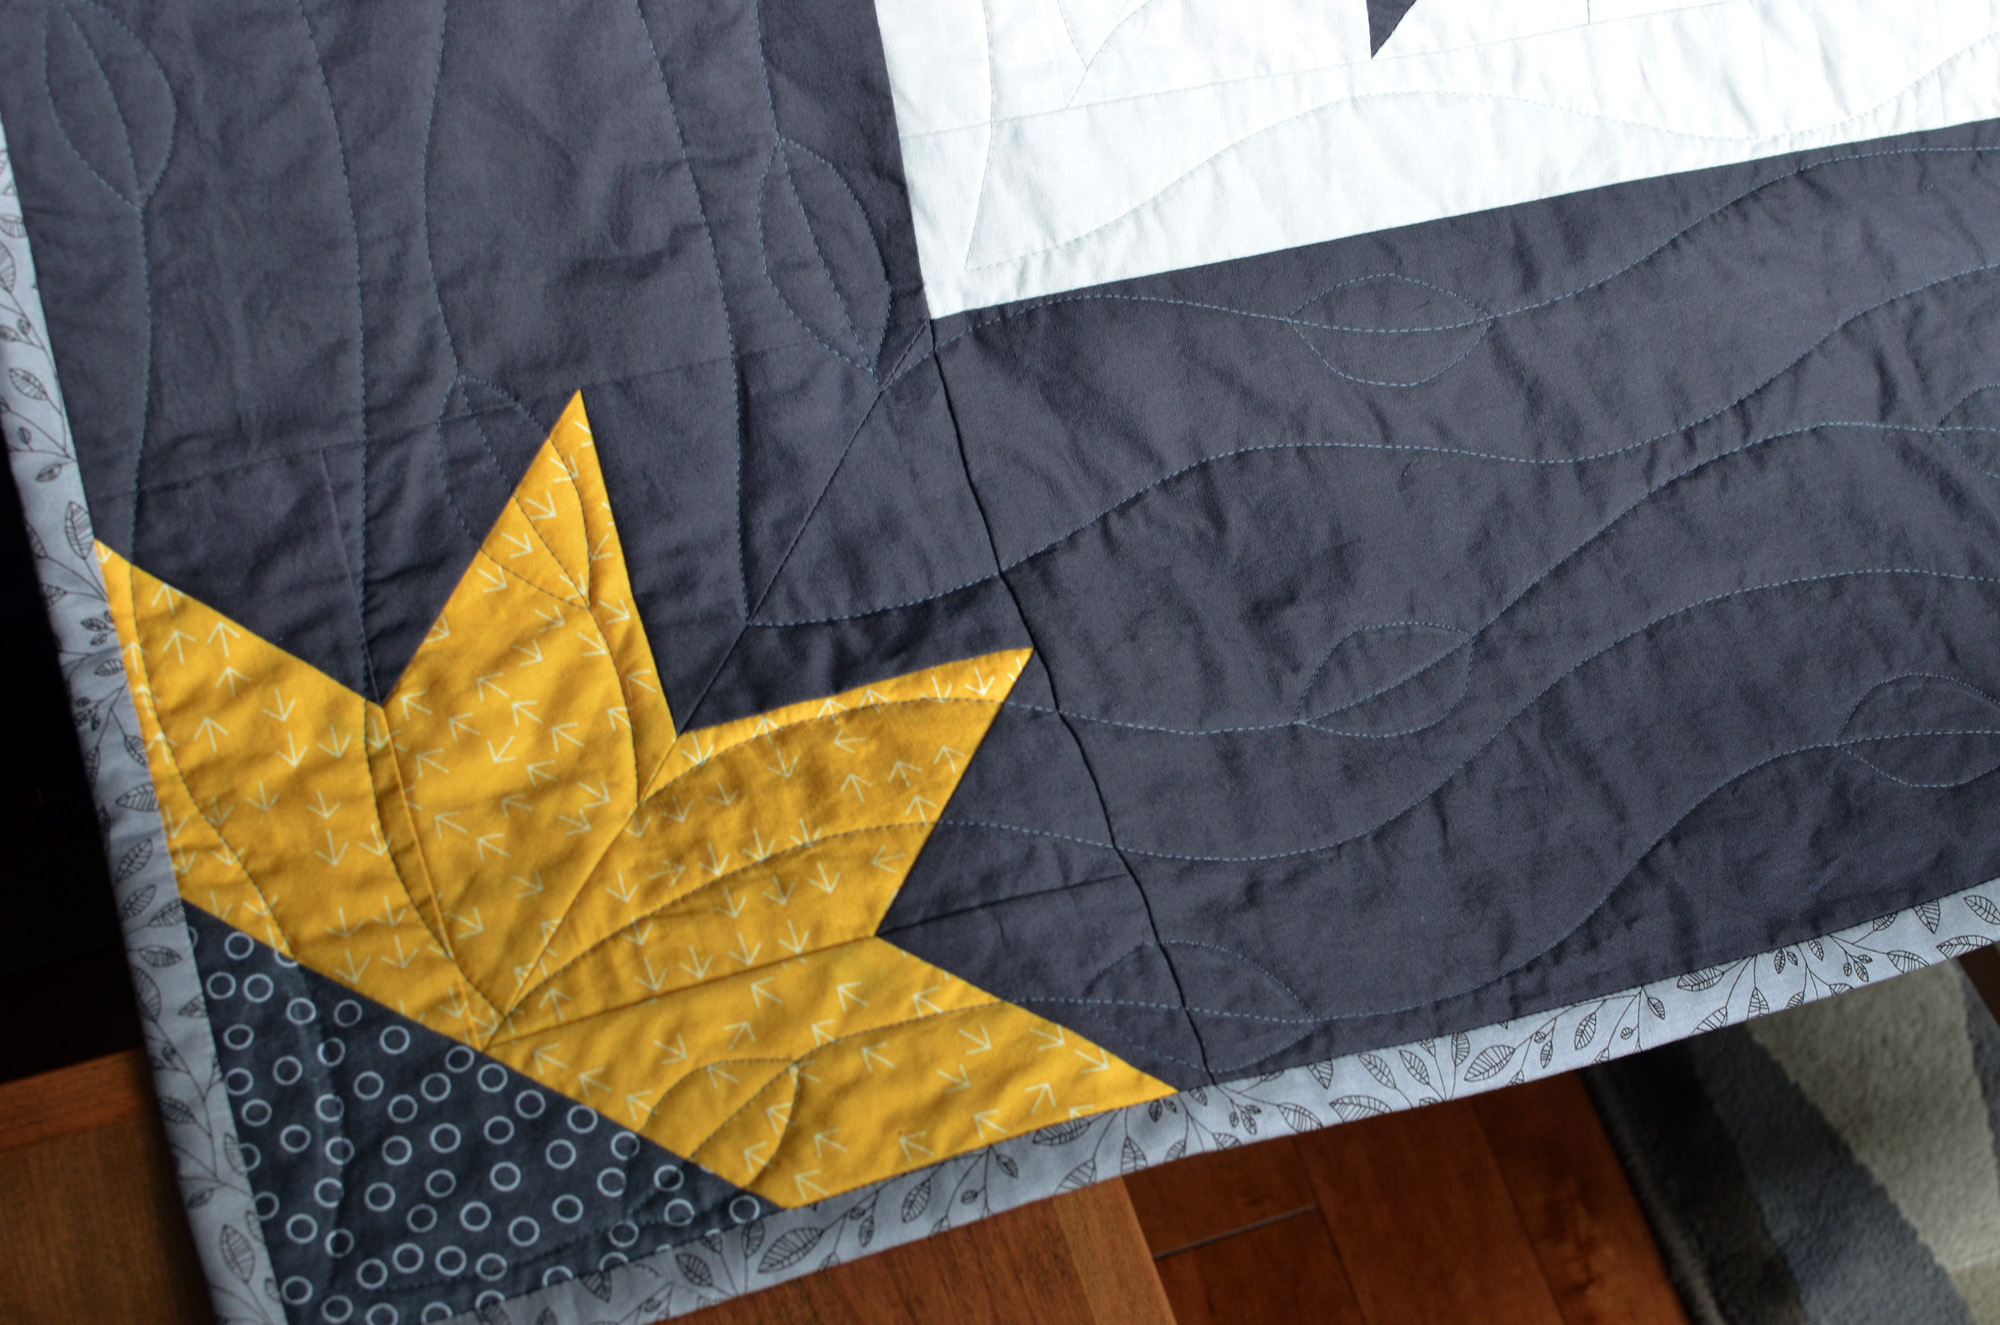
I also stitched wavy lines all over the houses and decided to add some leaves to the dark frame around the houses. Approaching one of the last leaves on the outermost quilting line…
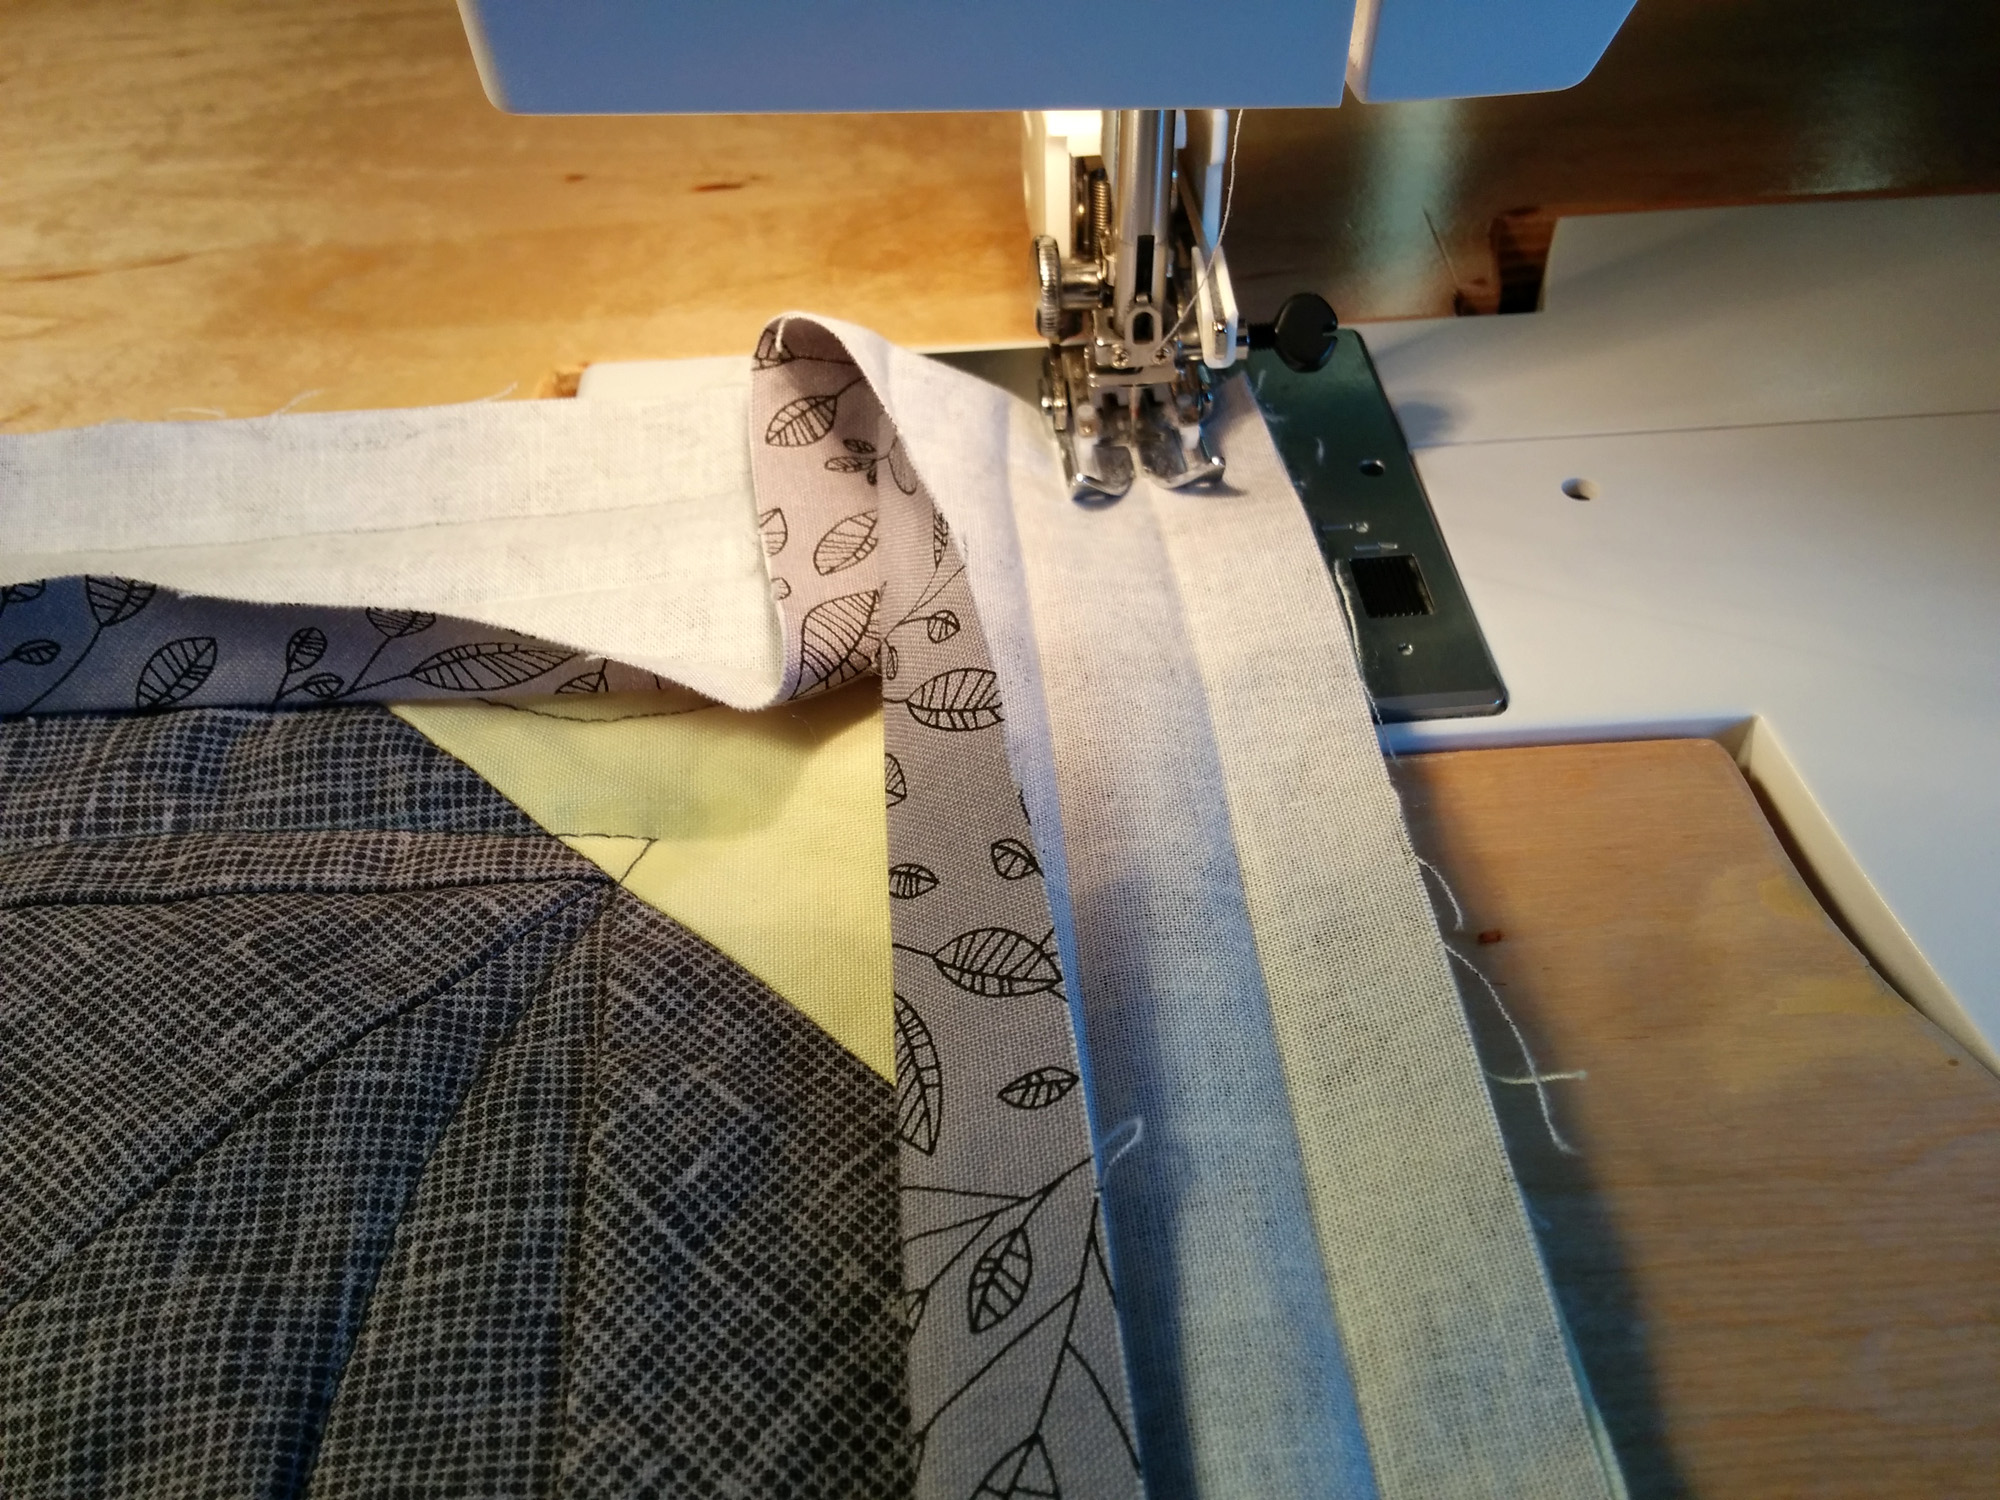
As the last step after trimming the edges of the quilt I attached the binding, using once again the grey leaves fabric that I mentioned at the start of this post.
The stitched leaves did not turn out as perfect as I was hoping – a lot of them are a bit wonky and the stitches vary a lot in size -, but overall they look really nice together with the binding I find. Here is a closeup of one of the prettier ones:
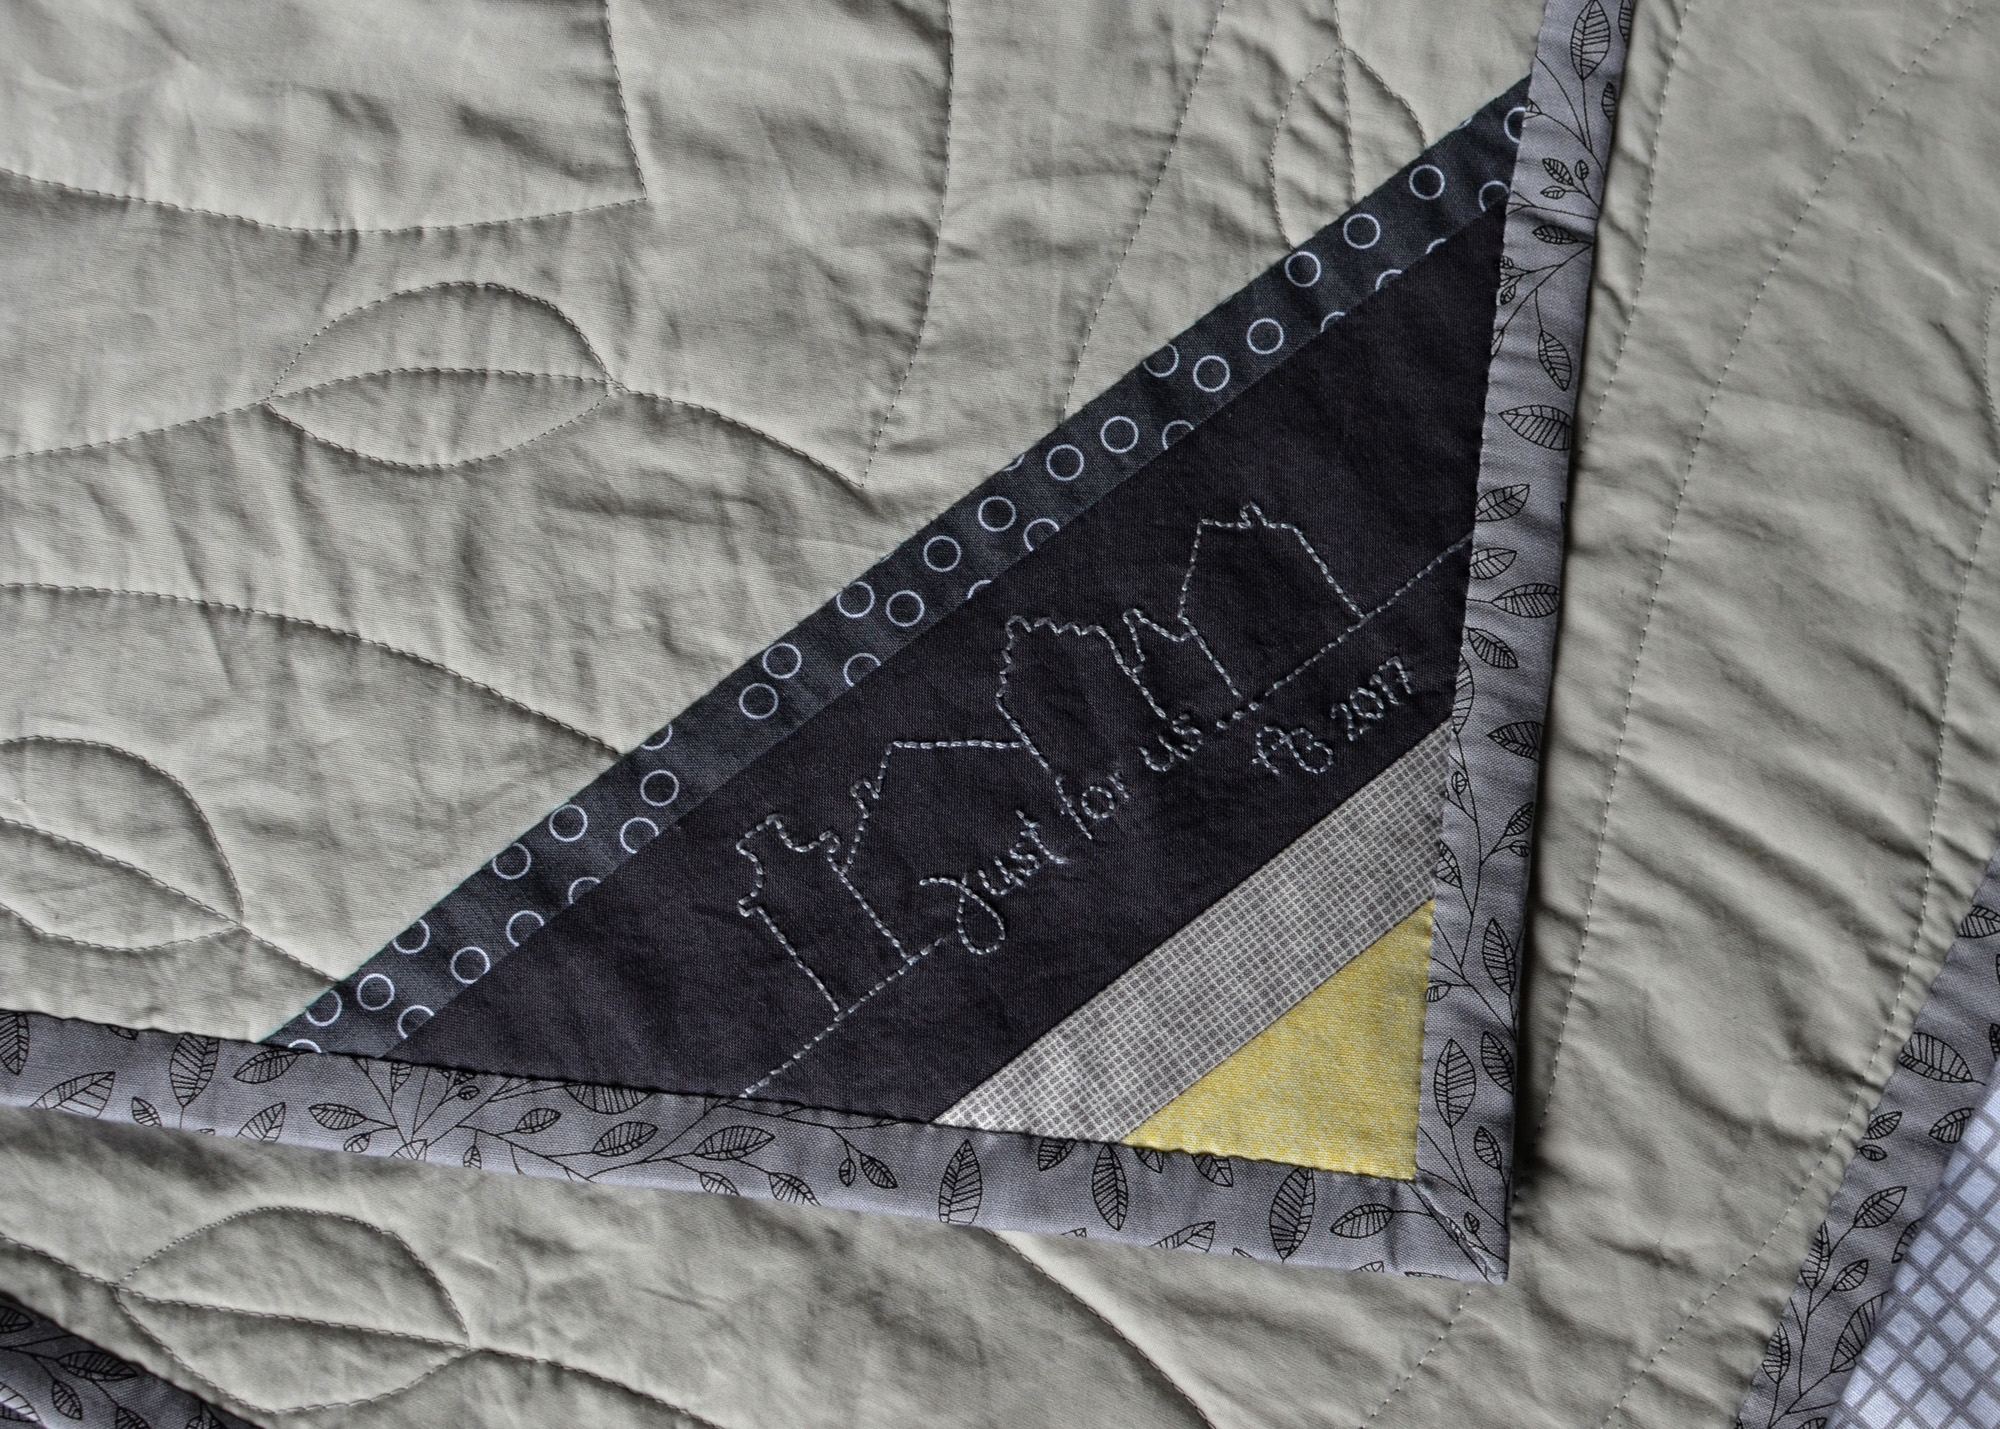
I also made a label again that I placed in one of the corners of the back of the quilt. Unlike my parents though, Paul did not find it until I gave him a hint… 😉
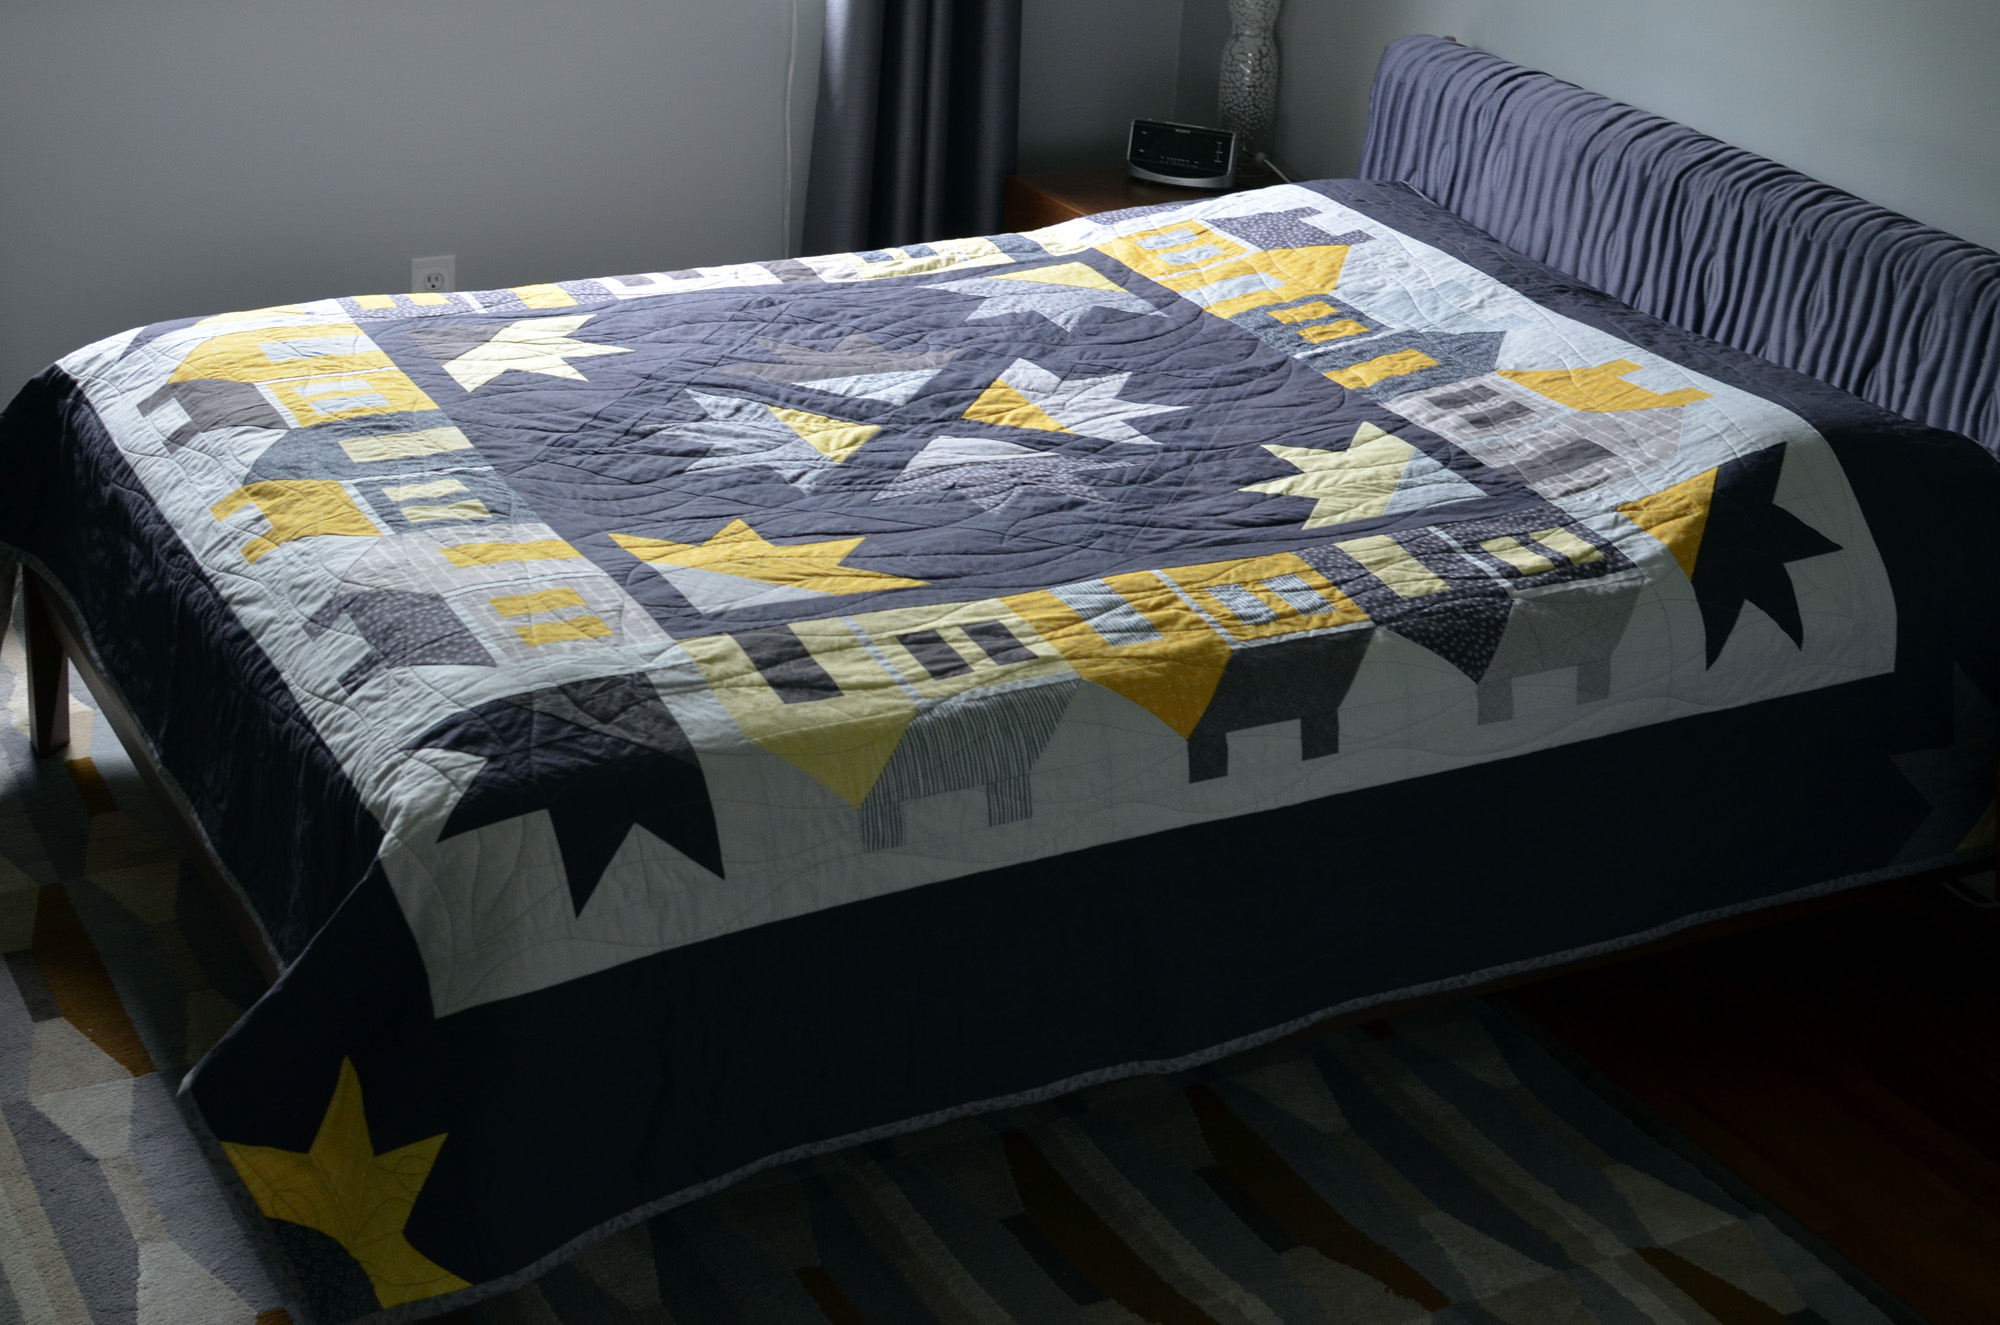
And here’s a picture of the quilt on our bed. Taking a nice picture of a big object like this is not all that easy. I might give it another try in our backyard once it stops raining… 😉





This quilt is absolutely wonderfui I can only imagine how much designing and measuring and cutting went to make this perfect quilt. The colors are perfect. Love it. Christa
Awe, thank you Christa! 🤗
Well Astrid — absolutely fantastic job again — you are definitely taking over from Martha Stewart as the most talented, intelligent and creative all-rounded woman!!!
Great wife, great mother, great cook, and the most talented and gifted person I know!
Oh Rose, you truly make me blush!! 😱
Thank you so much for these huge compliments!!
Wow sieht die toll aus. Unglaublich!! So eine Präzision
Wann machst du das nur?
Dankeschön! In vielen, vielen kleinen Mini-Etappen wenn die Monster schlafen… 😛
Ein Quilt-Traum – ein Meisterwerk – umwerfend … ☺
Danke, danke, bin auch ganz zufrieden mit mir! 😉